
This post may contain affiliate links. Read my disclosure policy.
Pan-fried Pork Belly Slices with Honey Garlic Sauce - easy appetizer that takes only 30 minutes from start to finish! This recipe explains how to cook sliced pork belly in a frying pan until crispy and browned. No need to turn on the oven.
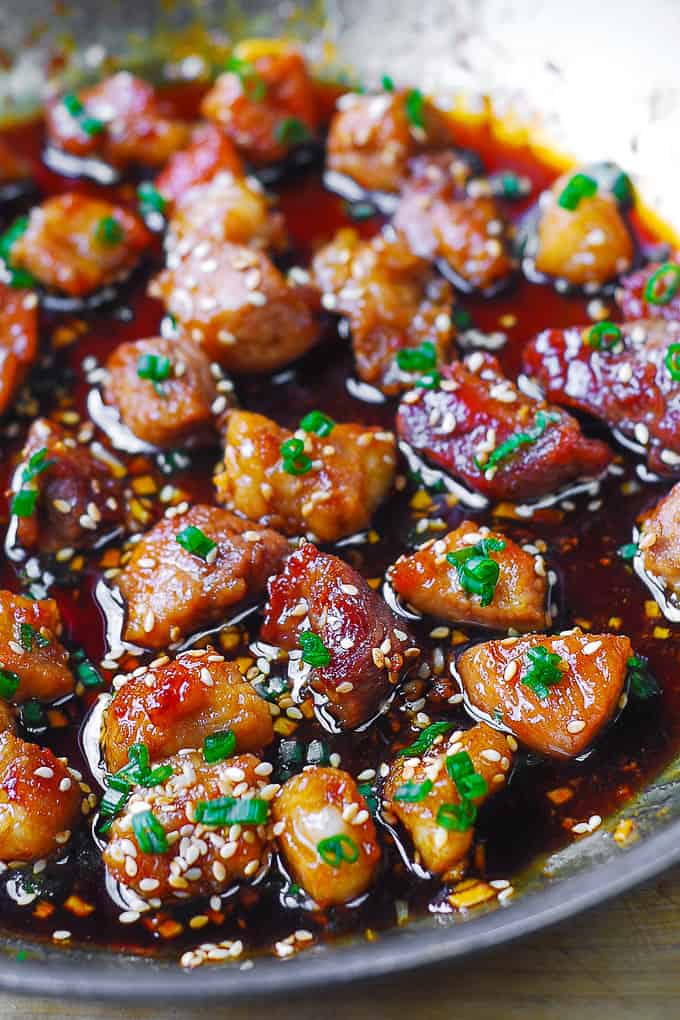
Many pork belly recipes require slow cooking or oven roasting the unsliced pork belly for a long time (usually at least an hour). This quick and easy recipe takes only 30 minutes, and that includes the time required to make the sauce!
In this recipe the uncooked pork belly is sliced into thick bites first, and then pan-fried in a frying pan on stove top until the texture is crispy on the outside, and soft on the inside. Pork belly pairs exceptionally well with Asian flavors, which is why the sauce in this recipe features ingredients that are commonly used in Asian cuisine: honey, tamari sauce (or use soy sauce), garlic, and toasted sesame seeds.
Pork belly is a very fatty cut of pork, so don't be surprised at the calorie count below in the recipe box. Make sure to plan a good size side dish, since this recipe doesn't make much volume-wise, but it's surely a lot calorie-wise.
What to serve with pork belly
Because pork belly is so rich and fatty, serve it with green vegetables, such as oven-baked asparagus, roasted broccoli, roasted brussels sprouts, or sautéed spinach. Also, mushrooms are good choice, such as oyster mushrooms or regular button mushrooms.
Or, serve Asian-flavored noodles alongside the pork belly. Here are some suggestions:
- Spicy Asian Noodles with Mushrooms and Snow Peas
- Asian Pasta with Broccoli and Mushrooms
- Thai Zucchini Noodles
Pork Belly vs Bacon
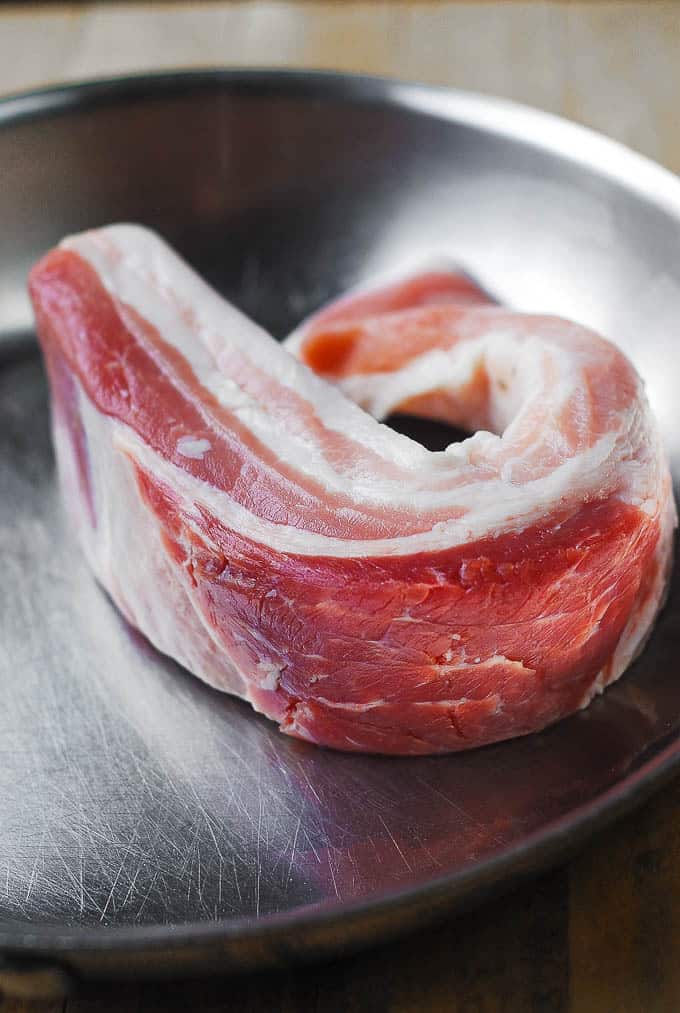
Both bacon and pork belly come from the same cut of pork (pork belly). The only difference between the two is that pork belly is fresh meat, while bacon has been sliced, cured, and smoked.
Pork belly looks very much like a very thick slice of bacon, uncut:
Cook's Tips
- Slice pork belly into cube-like pieces of medium size. These pork slices don't have to be perfectly shaped as cubes. They also don't have to be small - keep in mind that cubed pork belly will reduce in size considerably, once it's cooked.
- Do not add cooking oil when cooking pork belly in the skillet - pork belly is obviously a very fatty cut and it will release its own fat.
- When pan-frying sliced pork belly, use splatter screen to prevent oil from splattering all over the kitchen.
- Start cooking sliced pork belly on high heat but watch closely: reduce heat to medium once the skillet gets too hot.
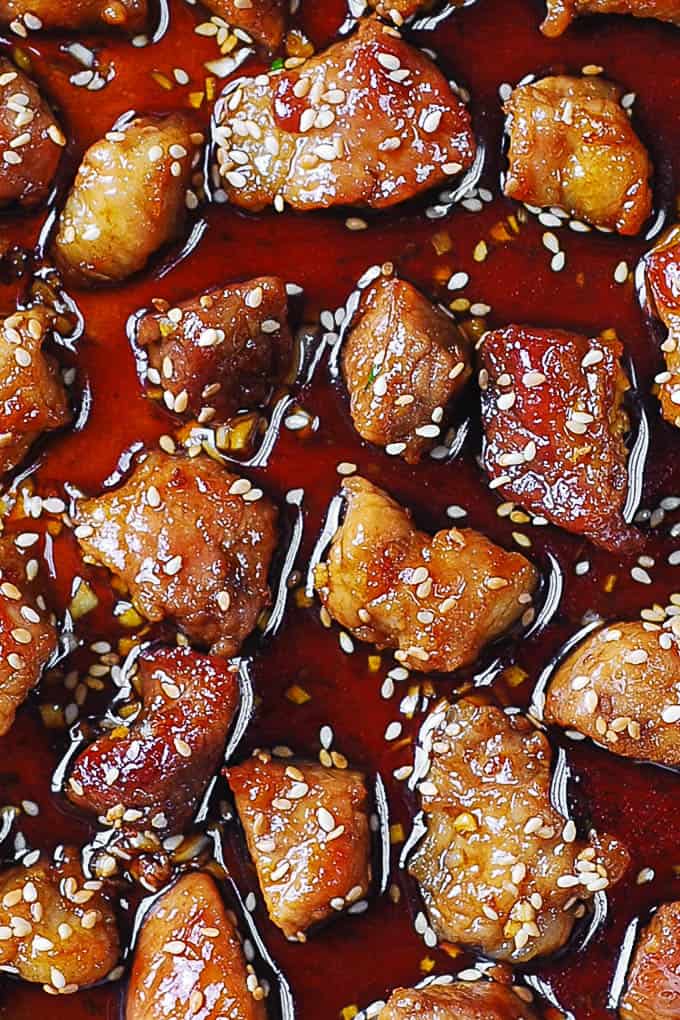
how to cook pork belly
1) Slice pork belly into small cube-like bites.
2) Add cubed pork belly to a large skillet and start frying on high heat. Do not add cooking oil.
3) Constantly move pork belly slices around the pan.
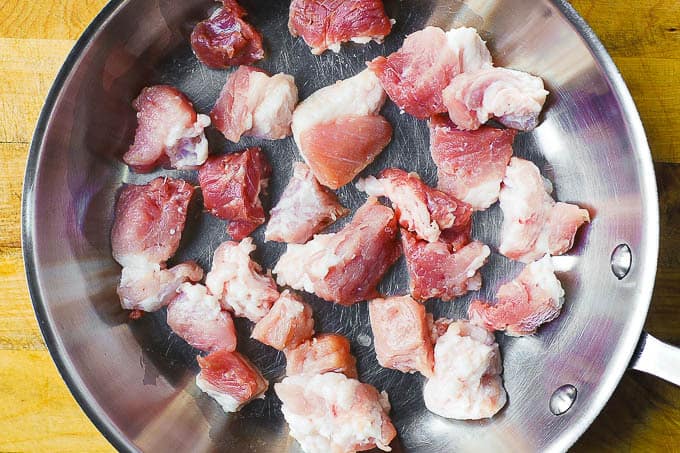 4) Pan fry sliced pork belly 5 minutes on one side, 5 minutes on the other side until nicely browned and crispy. Total cooking time should be about 10 minutes.
5) Reduce heat from high to medium as the pan gets hot.
6) There shouldn't be any burnt pieces or burnt pan on the bottom of the skillet.
7) Don't crowd the pan. Cook pork belly in 2 batches, if necessary.
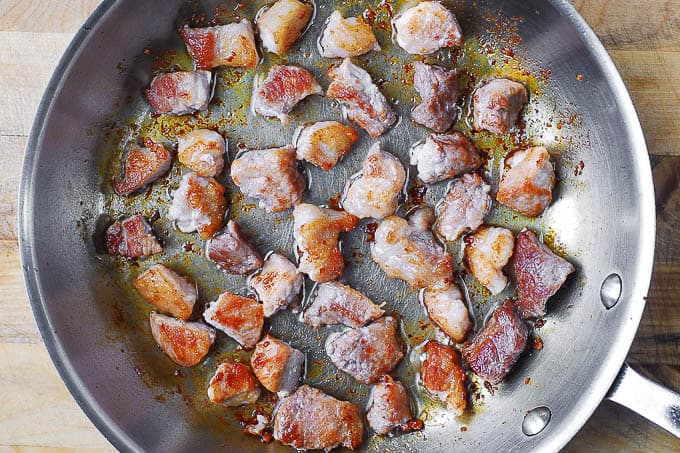
8) Remove pan-fried pork belly slices from the cooking pan.
9) Remove extra fat from the pan.
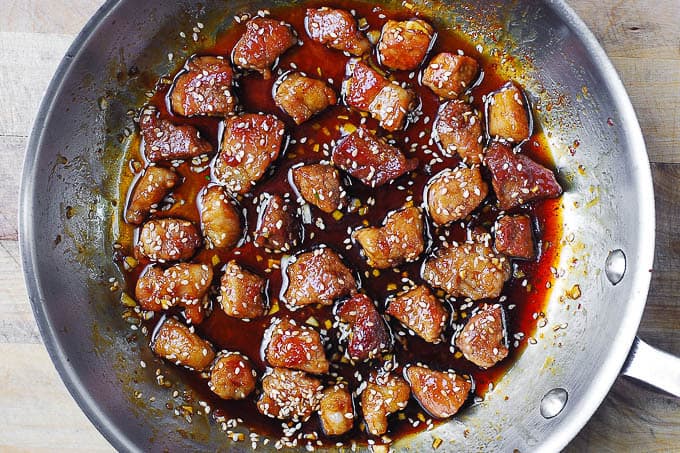
10) Make the sauce by combining ¼ cup honey with 3 tablespoons of tamari sauce, and minced garlic.
11) Heat it up the sauce and cook for about 1 minute.
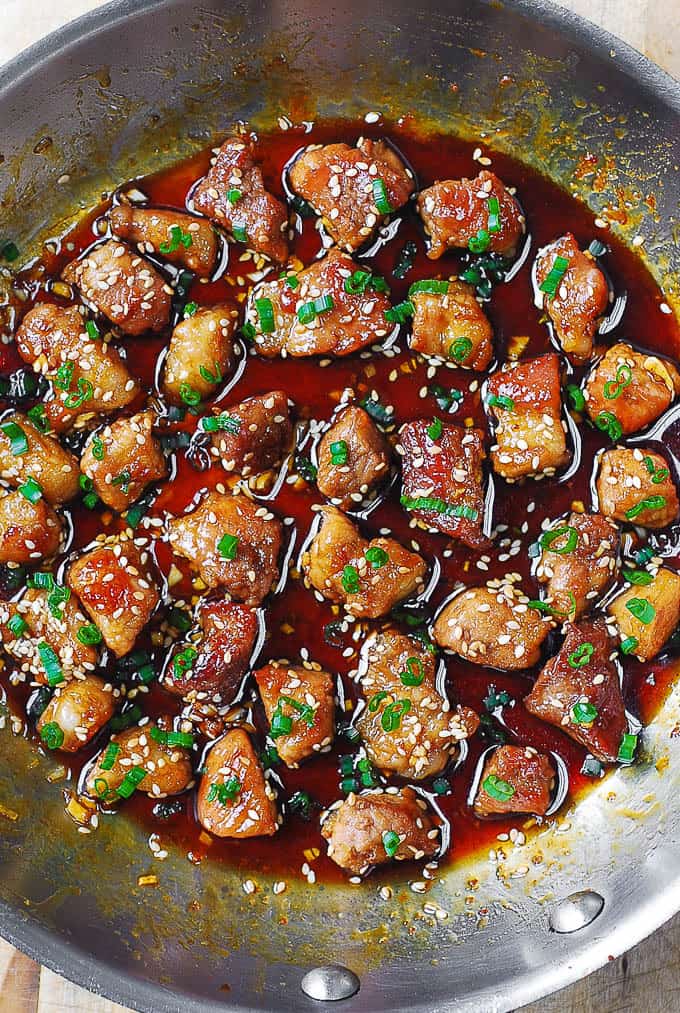
12) Add back pan-fried pork belly slices. Sprinkle with toasted sesame seeds.
Side dishes for pork belly
Serve pork belly with green vegetables or side dishes with creamy texture:
- Mashed potatoes.
- Cauliflower "mashed potatoes" - made from cauliflower, without using actual potatoes.
- Scalloped potatoes.
- Grilled asparagus.
- Sautéed spinach.
- Roasted broccoli.
- Oven-roasted brussels sprouts.
Sliced Pork Belly with Honey Garlic Sauce
Ingredients
- 1 lb pork belly
- ¼ cup honey
- 3 tablespoons tamari sauce or soy sauce
- 4 cloves garlic , minced
- 2 tablespoons sesame seeds , toasted
- 2 green onions , chopped
- salt , to taste
Instructions
How to cook sliced pork belly
- Slice pork belly into small cube-like pieces. Slice off extra fat, if you wish.
- Add sliced pork belly to a large pan and start frying on high heat. Do not add cooking oil.
- Constantly move pork belly slices in the beginning. Cook them for about 5 minutes on one side on high heat, then 5 minutes on the other side on high-medium heat. Use splatter screen. The total cooking time should be about 10 minutes. Reduce heat to medium, if the pan gets too hot. The sliced pork belly should get crispy and browned.
- As you're cooking you might have to reduce heat from high to medium as the pan gets hot. There shouldn't be any burnt pieces and the pan should not get burned on the bottom (I used stainless steel pan). Don't crowd the pan. Depending on the size of your frying pan, you might have to do this in 2 batches.
- Remove pan-fried pork belly slices to a plate. Remove extra fat from the frying pan.
Honey Garlic Sauce
- Add ¼ cup honey and 3 tablespoons tamari sauce, and minced garlic.
- Heat up the sauce until it boils, reduce heat, and cook for about 1 minute stirring. Remove from heat.
- Add 1 tablespoon of sesame seeds and stir it in. Add back the sliced pork belly.
- Sprinkle the remaining 1 tablespoon of sesame seeds on top. Top with chopped green onion, and serve.
Nutrition
Nutrition Disclaimer:
The nutritional information on this website is only an estimate and is provided for convenience and as a courtesy only. The accuracy of the nutritional information for any recipe on this site is not guaranteed. It should not be used as a substitute for a professional nutritionist’s advice.
I am very amateur, and always looking for something new to add to my cooking arsenal this is seriously the best I have ever done it also comes out so pretty, the sauce is a must! it is also very good on chicken thighs as well.
standalone amazing I added 5 tbsp of chili sauce to add a decent kick to it. i
Just amazing. Love how simple, quick, and dish-efficient this way of cooking pork belly is. I served as tacos, frying corn tortillas in some of the spare pork belly fat and topping with pickled onions.
It tasted like candy and become hard as a rock.
I ended up using 2.5 tbs soy sauce and .5 hoisin sauce- it was so yummy- Thank you so much
Looking to cook this as a main, it wouldn't be too sweet would it?
Thanks.
Flavor was great but cook time was too short. Tweaking for sure next time.
Really easy and delicious! 10/10
Happy to hear that! Thank you for your comment! 🙂
Do you use pork belly with skin on or removed ?
Hi Martin! I've used the pork belly as is - if you scroll up and down the recipe, you will see the photo of the huge raw pork belly slice I used. I haven't taken off anything of that raw slice. Just chopped it up for the recipe.
Judging by the pictures it appears hers doesn't have skin. Which would make sense given the 10 min cook time. Skin requires low heat for a long time to crisp up, if not treated this way the result is a hard but chewy texture.
This recipe is excellent. The pork took a bit longer than 10 mins to crisp but otherwise the recipe was spot on. My husband can't stop raving about this, thinks it was one of the best Chinese meals he's ever had. I served it with your Spicy Asian Noodles with Mushrooms and Snow Peas - DELISH!! Thanks so much for sharing, we can't wait to make this again.
Jackie, your comment made my day! Happy to hear you used 2 of my recipes and enjoyed them both! 🙂
Picked up some pork belly at Trader Joe’s recently and had no idea what to do with it. This recipe was perfect and I had everything on hand! Win-win!
great slow dish - cooked with rice and fried lettuce with oyster sauce!! loved the sauce mix in with the boiled rice!!!
First time posting a review, because my family and I absolutely enjoyed it. Simple, but yet so delicious. As recommended by one of the comment, adding ginger really elevate the taste to another level. I also marinate the pork belly with five-spice mix powder before cooking it. My family enjoy eating it with kangkung belacan (water spinach) as a side dish. It's fantastic! Thank you
Thanks for the recipe!
Lovely flavour but way too tough. I agree with previous comments. This would be lovely low and slow, covered in the oven. Then crisp off in the pan. Disappointing dinner!
This was yummy. Easy to change up a little and add to if wanted. I put this over cooked crushed ramen and my kid loves it!!