
This post may contain affiliate links. Read my disclosure policy.
Pan-fried Pork Belly Slices with Honey Garlic Sauce - easy appetizer that takes only 30 minutes from start to finish! This recipe explains how to cook sliced pork belly in a frying pan until crispy and browned. No need to turn on the oven.
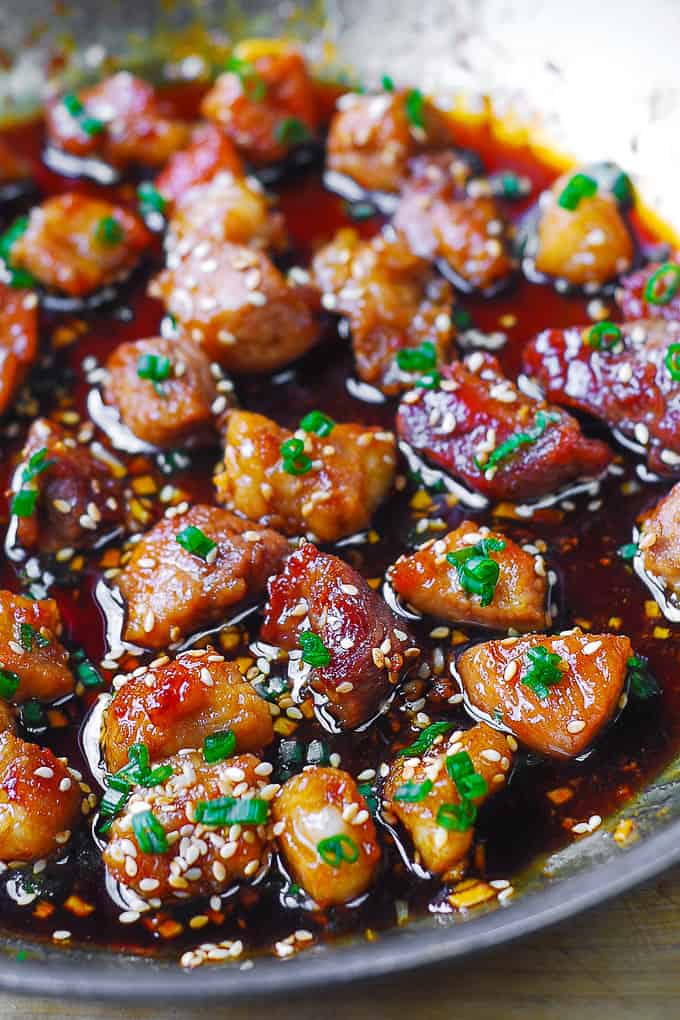
Many pork belly recipes require slow cooking or oven roasting the unsliced pork belly for a long time (usually at least an hour). This quick and easy recipe takes only 30 minutes, and that includes the time required to make the sauce!
In this recipe the uncooked pork belly is sliced into thick bites first, and then pan-fried in a frying pan on stove top until the texture is crispy on the outside, and soft on the inside. Pork belly pairs exceptionally well with Asian flavors, which is why the sauce in this recipe features ingredients that are commonly used in Asian cuisine: honey, tamari sauce (or use soy sauce), garlic, and toasted sesame seeds.
Pork belly is a very fatty cut of pork, so don't be surprised at the calorie count below in the recipe box. Make sure to plan a good size side dish, since this recipe doesn't make much volume-wise, but it's surely a lot calorie-wise.
What to serve with pork belly
Because pork belly is so rich and fatty, serve it with green vegetables, such as oven-baked asparagus, roasted broccoli, roasted brussels sprouts, or sautéed spinach. Also, mushrooms are good choice, such as oyster mushrooms or regular button mushrooms.
Or, serve Asian-flavored noodles alongside the pork belly. Here are some suggestions:
- Spicy Asian Noodles with Mushrooms and Snow Peas
- Asian Pasta with Broccoli and Mushrooms
- Thai Zucchini Noodles
Pork Belly vs Bacon
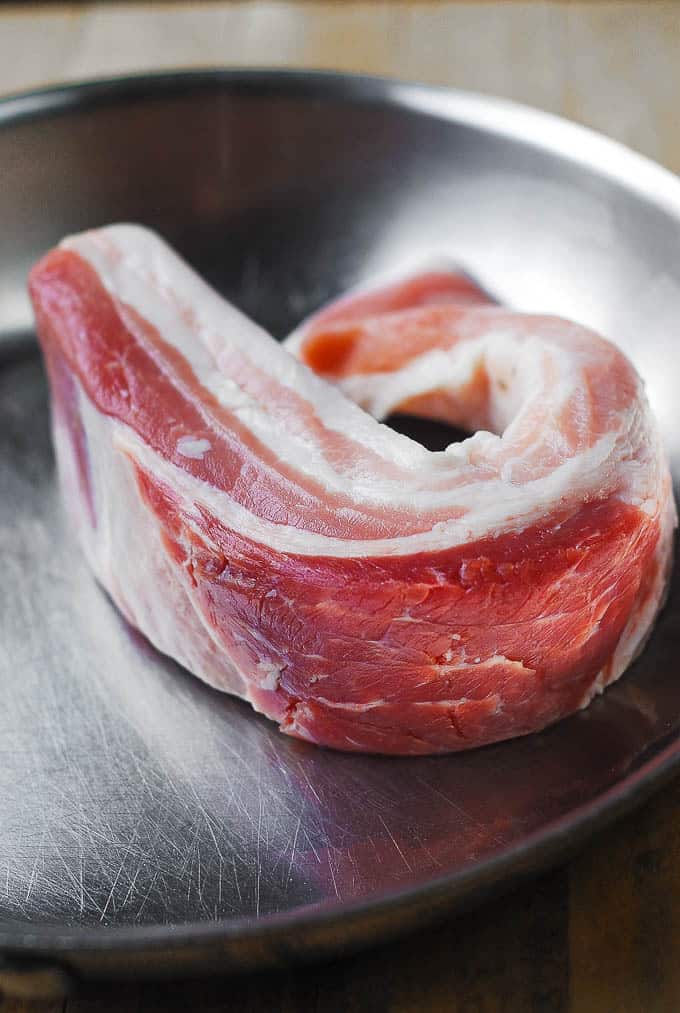
Both bacon and pork belly come from the same cut of pork (pork belly). The only difference between the two is that pork belly is fresh meat, while bacon has been sliced, cured, and smoked.
Pork belly looks very much like a very thick slice of bacon, uncut:
Cook's Tips
- Slice pork belly into cube-like pieces of medium size. These pork slices don't have to be perfectly shaped as cubes. They also don't have to be small - keep in mind that cubed pork belly will reduce in size considerably, once it's cooked.
- Do not add cooking oil when cooking pork belly in the skillet - pork belly is obviously a very fatty cut and it will release its own fat.
- When pan-frying sliced pork belly, use splatter screen to prevent oil from splattering all over the kitchen.
- Start cooking sliced pork belly on high heat but watch closely: reduce heat to medium once the skillet gets too hot.
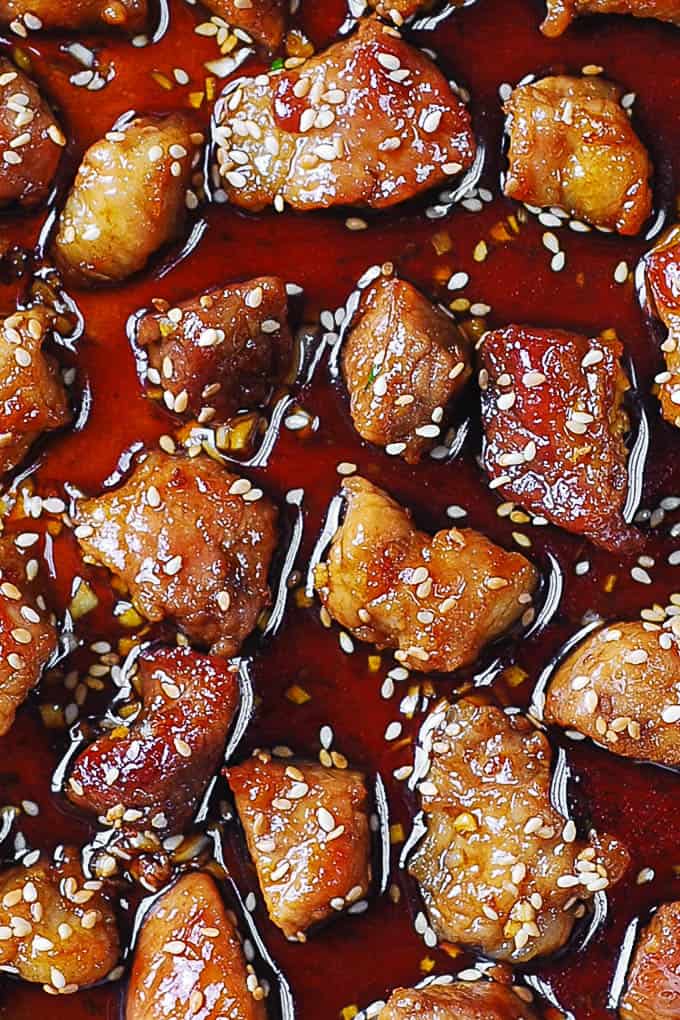
how to cook pork belly
1) Slice pork belly into small cube-like bites.
2) Add cubed pork belly to a large skillet and start frying on high heat. Do not add cooking oil.
3) Constantly move pork belly slices around the pan.
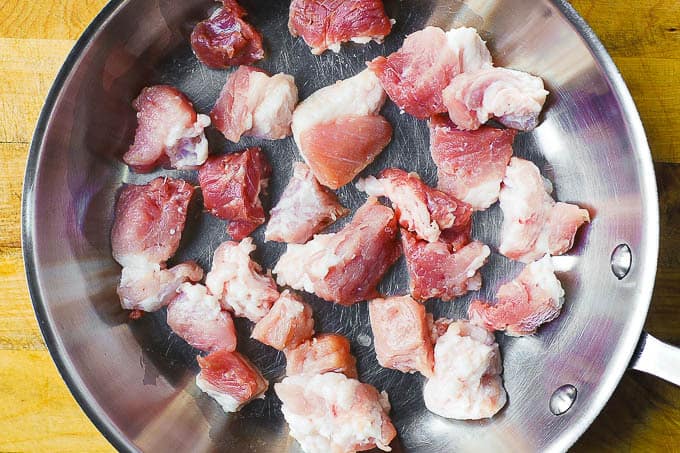 4) Pan fry sliced pork belly 5 minutes on one side, 5 minutes on the other side until nicely browned and crispy. Total cooking time should be about 10 minutes.
5) Reduce heat from high to medium as the pan gets hot.
6) There shouldn't be any burnt pieces or burnt pan on the bottom of the skillet.
7) Don't crowd the pan. Cook pork belly in 2 batches, if necessary.
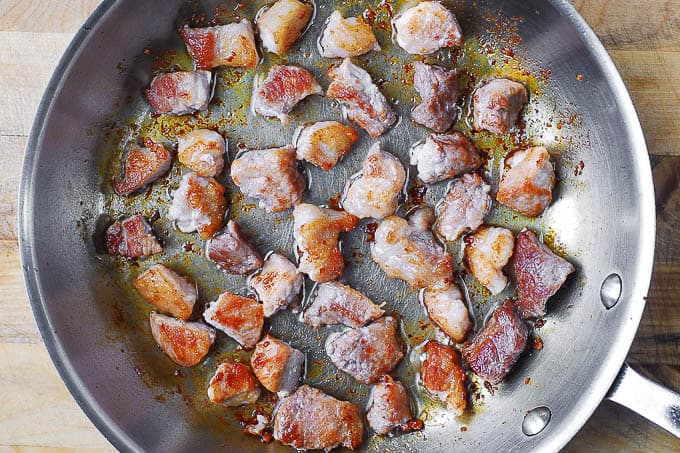
8) Remove pan-fried pork belly slices from the cooking pan.
9) Remove extra fat from the pan.
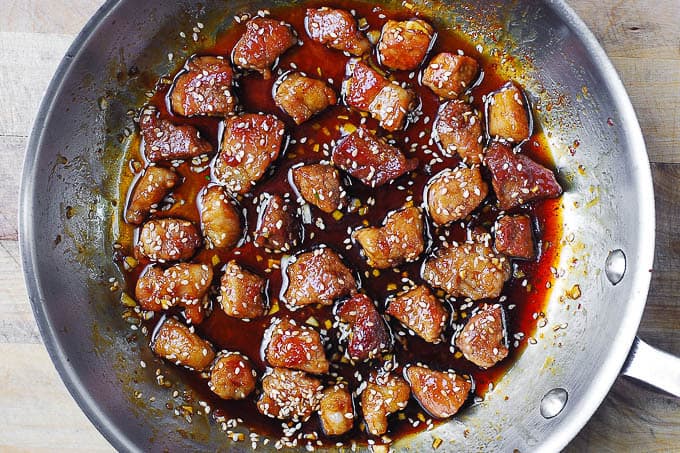
10) Make the sauce by combining ¼ cup honey with 3 tablespoons of tamari sauce, and minced garlic.
11) Heat it up the sauce and cook for about 1 minute.
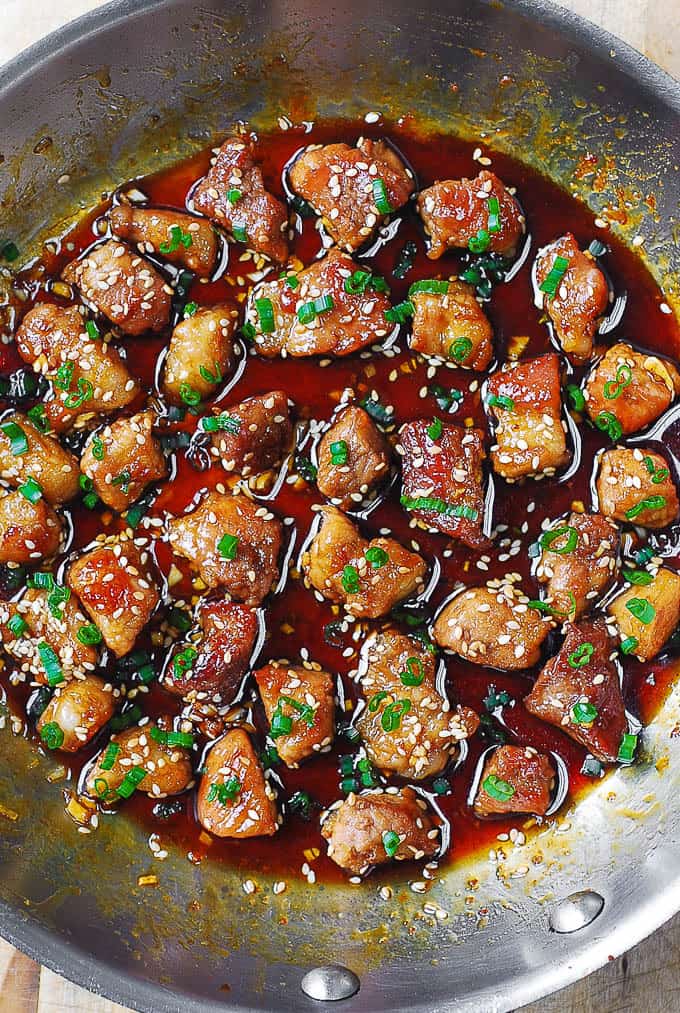
12) Add back pan-fried pork belly slices. Sprinkle with toasted sesame seeds.
Side dishes for pork belly
Serve pork belly with green vegetables or side dishes with creamy texture:
- Mashed potatoes.
- Cauliflower "mashed potatoes" - made from cauliflower, without using actual potatoes.
- Scalloped potatoes.
- Grilled asparagus.
- Sautéed spinach.
- Roasted broccoli.
- Oven-roasted brussels sprouts.
Sliced Pork Belly with Honey Garlic Sauce
Ingredients
- 1 lb pork belly
- ¼ cup honey
- 3 tablespoons tamari sauce or soy sauce
- 4 cloves garlic , minced
- 2 tablespoons sesame seeds , toasted
- 2 green onions , chopped
- salt , to taste
Instructions
How to cook sliced pork belly
- Slice pork belly into small cube-like pieces. Slice off extra fat, if you wish.
- Add sliced pork belly to a large pan and start frying on high heat. Do not add cooking oil.
- Constantly move pork belly slices in the beginning. Cook them for about 5 minutes on one side on high heat, then 5 minutes on the other side on high-medium heat. Use splatter screen. The total cooking time should be about 10 minutes. Reduce heat to medium, if the pan gets too hot. The sliced pork belly should get crispy and browned.
- As you're cooking you might have to reduce heat from high to medium as the pan gets hot. There shouldn't be any burnt pieces and the pan should not get burned on the bottom (I used stainless steel pan). Don't crowd the pan. Depending on the size of your frying pan, you might have to do this in 2 batches.
- Remove pan-fried pork belly slices to a plate. Remove extra fat from the frying pan.
Honey Garlic Sauce
- Add ¼ cup honey and 3 tablespoons tamari sauce, and minced garlic.
- Heat up the sauce until it boils, reduce heat, and cook for about 1 minute stirring. Remove from heat.
- Add 1 tablespoon of sesame seeds and stir it in. Add back the sliced pork belly.
- Sprinkle the remaining 1 tablespoon of sesame seeds on top. Top with chopped green onion, and serve.
Nutrition
Nutrition Disclaimer:
The nutritional information on this website is only an estimate and is provided for convenience and as a courtesy only. The accuracy of the nutritional information for any recipe on this site is not guaranteed. It should not be used as a substitute for a professional nutritionist’s advice.
Ours was lovely and very tasty, I will definitely make it again.
It was utterly delicious. Am making it again tonight with left over chicken. I made this last sunday and having it again tonight. Well done!
We made this last night and loved the flavor! Our pork belly was on the tough side though. Is there something we missed?
Yes, a decent recipe. Pork belly NEEDS to be cooked low and slow in the oven first. I’m all for shortcuts, but only in recipes where the final product actually turns out. I’m flabbergasted to even see this. I would find a recipe that explains how to cook it in the oven, then you can follow it up with this recipe to crisp it up and get the sauce.
I used my Sous vide to cook the pork belly then pan fried and added sauce. Perfection. I served it with broccolini and zoodles because I don’t eat rice. So good.
Can I use a non stick pan or does it need to be a metal one?
Skin on or off
Skin off. This stuff is delicious.
Great recipe. I cooked everything up placed the pork /sauce combo over the rice then sprinkled with freshly toasted seasame seeds and finished it off with the green onion. The taste was awesome and the dish looked and smelled like a million bucks. Thanks for a solid go to in the rotation.
Thank you so much for sharing. I loved how it turned out. I used Yoshida sauce instead. Yummy!
Loved this! I added a tablespoon of garlic paste (instead of the minced garlic) and a tablespoon of ginger paste to the recipe, but otherwise followed directions and it came out perfectly. Thanks!
Beautiful...
Thank you!
Can't get enough!!! Looked for a recipe to use a pork belly I received when I bought a whole hog. Had a 11 lb belly and tripled the recipe. Have 3 boys so nothing left. Considering using the rest of the belly so I can have meals for the next week. So don't worry about what to do with a big pork belly because once you try this recipe, you'll want to make more.
Thank you, Jeff! I am glad you enjoyed this recipe!
I followed the recipe to the letter except for the timing - got the pork belly fried ahead of time because it was for a big staff party. I kept it refrigerated for three days, then mixed the sauce, tossed it with the pork belly and heated it to 170 degrees in a slow cooker and served it with rice. I didn't get to try any of it - gone before I got to it... 😉 But I learned something about the sauce. I made some to pour over a stirfry from the leftover hot pot veggies later in the week and the sauce gets its creamy texture from cooking with the pork, which makes sense. Great recipe, thanks for sharing! I love having make-ahead dishes that people inhale in record time...I just have to be faster with the chopsticks next time! 🙂
Ha-ha, you made me laugh about not even being able to try it! That's the biggest compliment to the cook. I am so glad you made this recipe (even though you didn't get to enjoy it). Thank you for taking the time to leave this positive comment. It made my day!
Super tasty and super easy! Great intro to cooking pork belly for the first time. Everyone LOVED it!
So happy you found this recipe useful! Thank you for such a wonderful comment!
Very nice and quick alternative to the traditional slow-roasted pork belly recipes, as you mention, so good job Julia! You also include a lot of info on the belly itself, shrinkage, reasons why not to add oil or overcrowd the pan, etc., and that is good, important background for people who have never experienced this cut. I also love honey in my pork belly dishes, am careful with soy or salt since too much saltiness can ruin a dish, as you know, and often add vinegar (rice or Champagne) to add a certain briskness and create a sweet/sour balance if honey, brown sugar,maple syrup, or other sweet ingredients are utilized. Sometimes it's fun to add a very small dash of liquid smoke, too. I'd probably serve this over jasmine rice to let the flavors meld and shine through. Your photos are great, by the way. As a side note, I find the price of pork belly creeping up in price as it become more popular and it reminds me of when my great grandmother used to buy and make rabbit, sweetbreads, and beef ("ox") tails because they were so cheap! Cheers!
Thank you, Richard, for such an informative, detailed, and thoughtful comment! You have provided so much interesting and useful information - I appreciate it. I am glad you found my recipe useful.
I added broccoli and served with rice. My husband loved it. So quick and simple, yet so good. This recipe is a keeper.
I am very happy you enjoyed this recipe! The addition of broccoli sounds delicious!
Those nutritional values ar a little off, once bacon or pork belly is cooked it gives up the majority of its fat as it melts away. This recipe is amazing too, I doubled the sauce and put it over hand pulled noodles.
Thank you, Tim! I am glad you enjoyed this recipe! Serving this sliced pork belly with the sauce over the noodles sounds delicious!