
I'm obsessed with this homemade turkey gravy made with pan drippings because it's smooth, glossy, and full of real roasted turkey flavor. It's ready in 20 minutes and pairs with every Thanksgiving side.
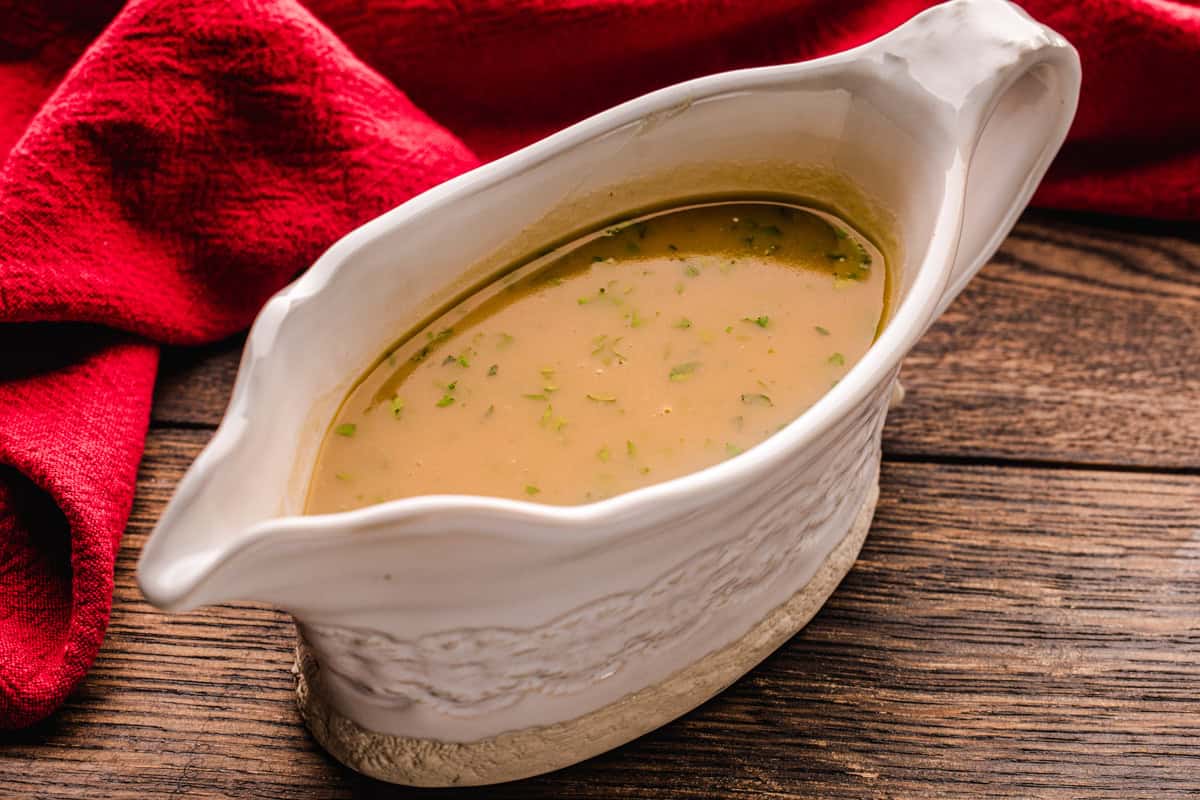
Easy Homemade Turkey Gravy (With or Without Drippings)
Gravy is the one Thanksgiving dish that touches almost everything on the plate. So I wanted a recipe that never turns lumpy, pasty, or bland. I tested the timing on the roux until it tasted toasty instead of floury. I also learned to taste before salting, because drippings can be salty on their own. Short on drippings? Low-sodium stock fills the gap, and nobody will know.
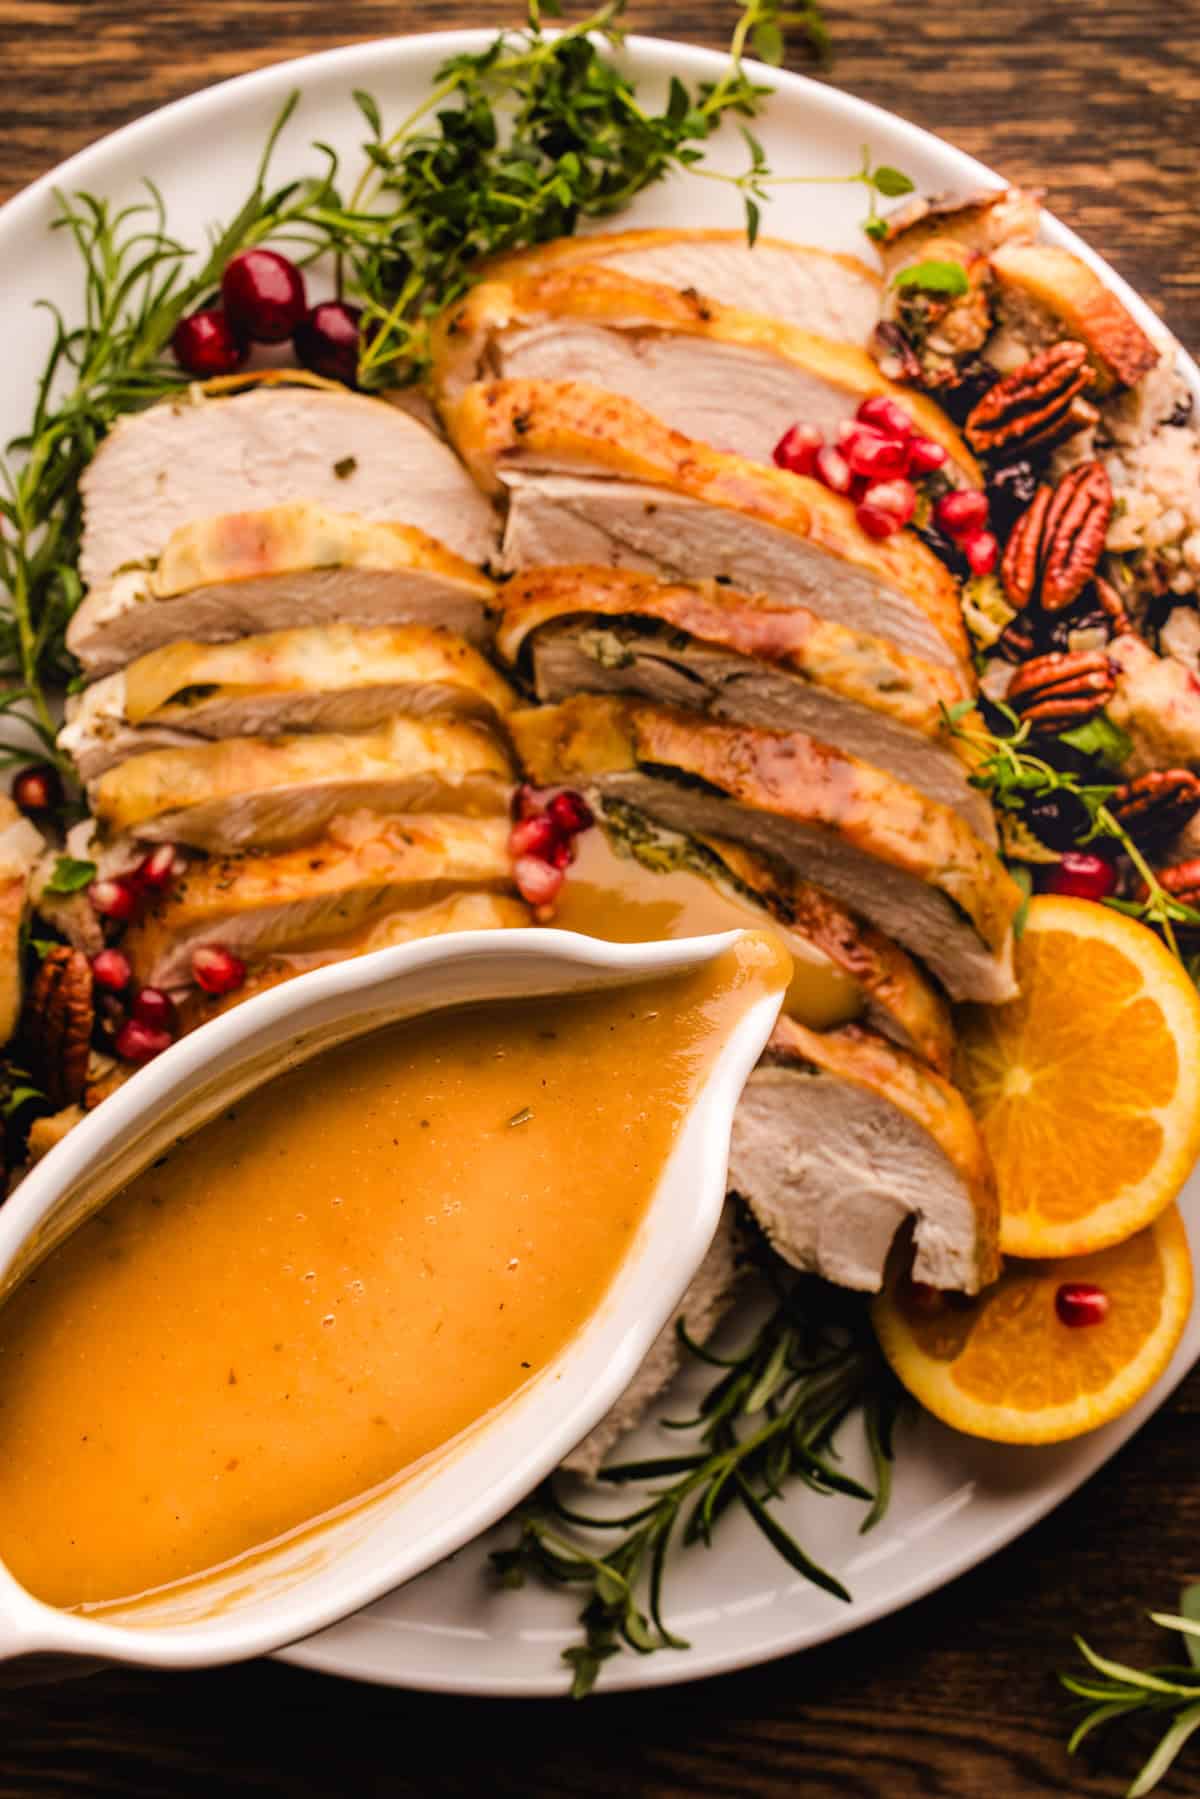
The flavor comes straight from your roasted turkey. I strain the pan drippings, skim off the fat, and whisk them into a golden butter-and-flour roux. A handful of fresh thyme and parsley at the end keeps it bright and savory.
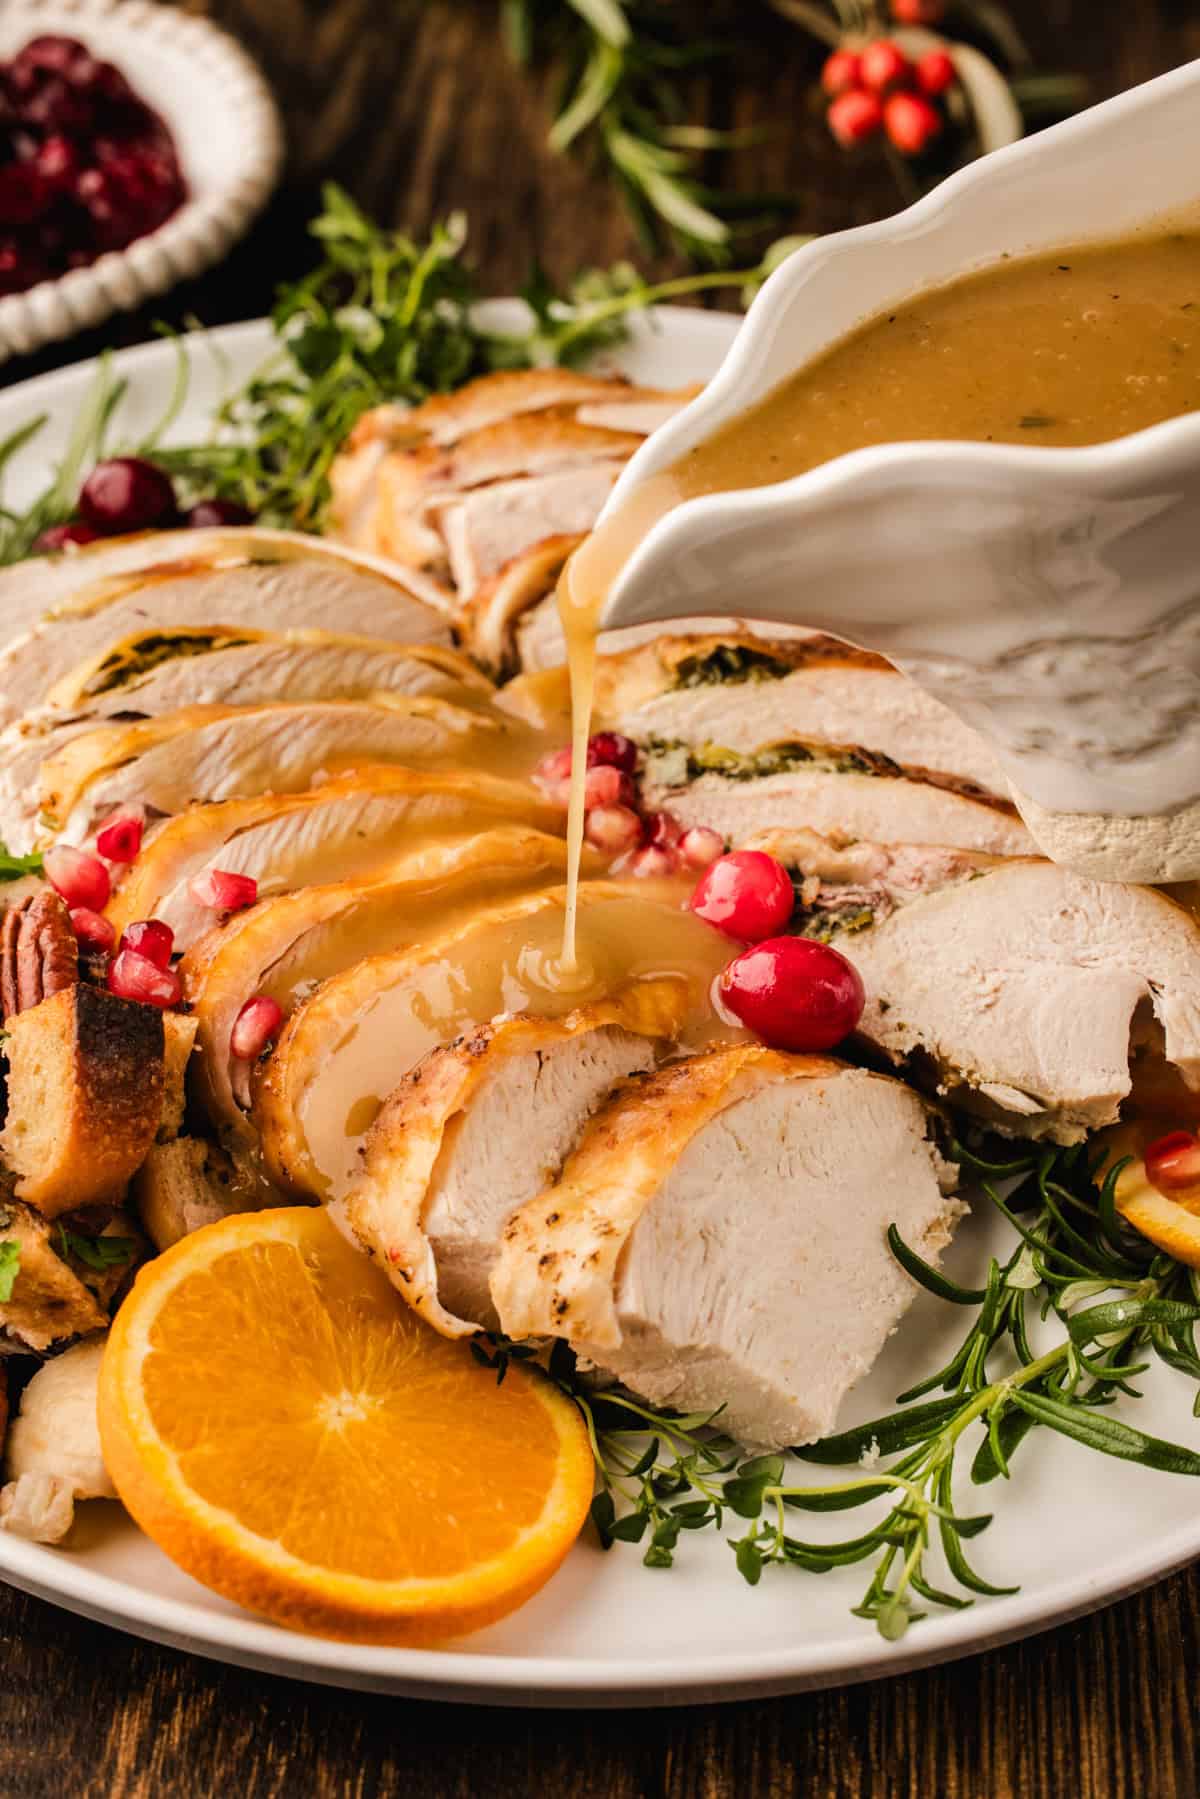
This is the gravy I pour over everything on the Thanksgiving plate. It goes on my traditional stuffing first, of course. Then it soaks into my cheesy sweet potato gratin with toasted pecans or sweet potato casserole with pecan streusel. I also love a spoonful next to my mashed potatoes with roasted garlic and a warm garlic butter dinner roll for mopping up the plate.
Planning the whole meal? My Thanksgiving menu with 50+ recipes has every course covered. For Thanksgiving pie, make my mother-in-law's classic pecan pie. For another holiday dessert, try my apple pumpkin bundt cake or cranberry apple pecan bundt cake.
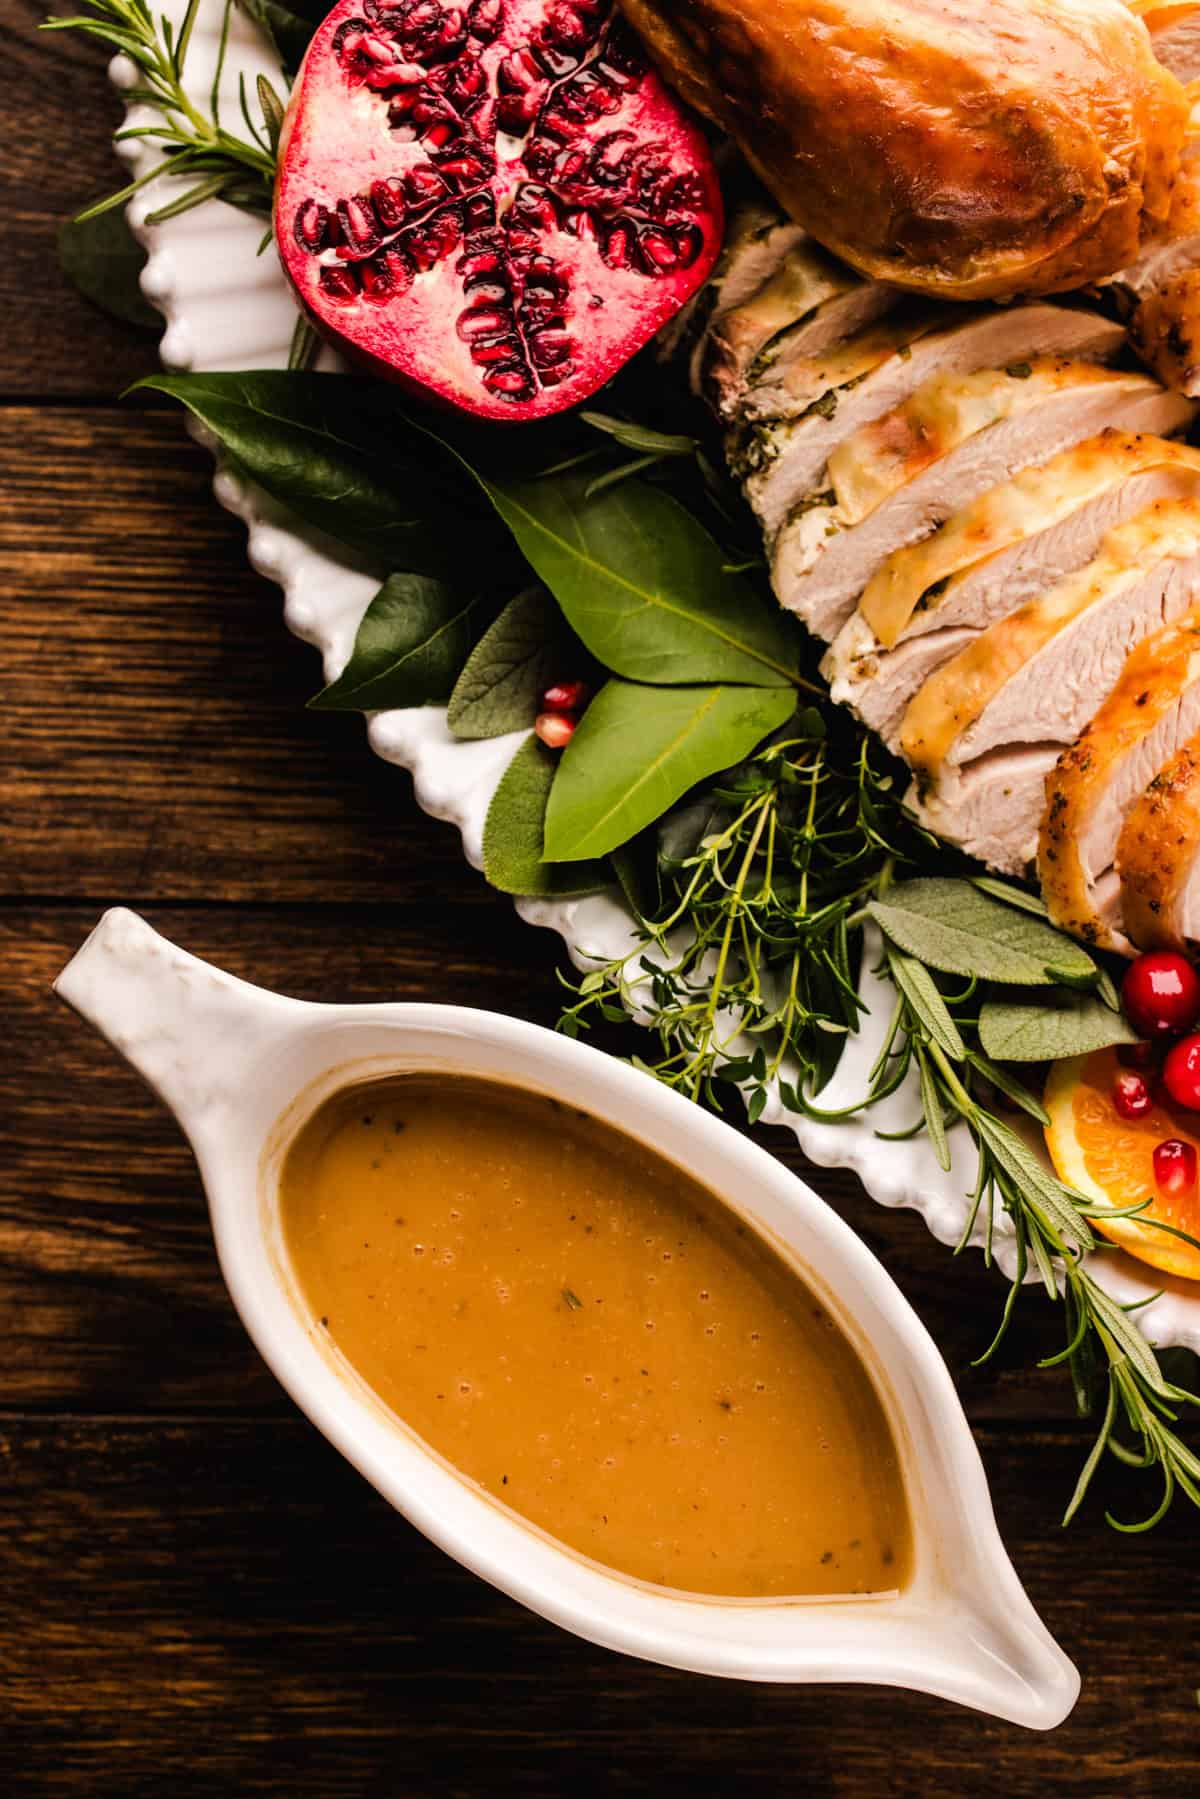
Why You'll Love It
- Easy and Ready in 20 minutes. Just 6 ingredients and one saucepan. Make it while the turkey rests and carves, and it will be hot when everything else hits the table.
- Real turkey flavor. Strained, skimmed drippings are the base, so it tastes like your turkey, not like a packet.
- Smooth, Lump-Free Texture: I cook the roux for a few minutes and add the liquid slowly. That's the secret to silky gravy every single time, and I'll show you exactly how below.
- No lumps. Adding the liquid a little at a time while whisking keeps it silky and smooth.
- Not enough drippings? No problem. Top them up with low-sodium chicken or turkey stock to get to 2½ cups.
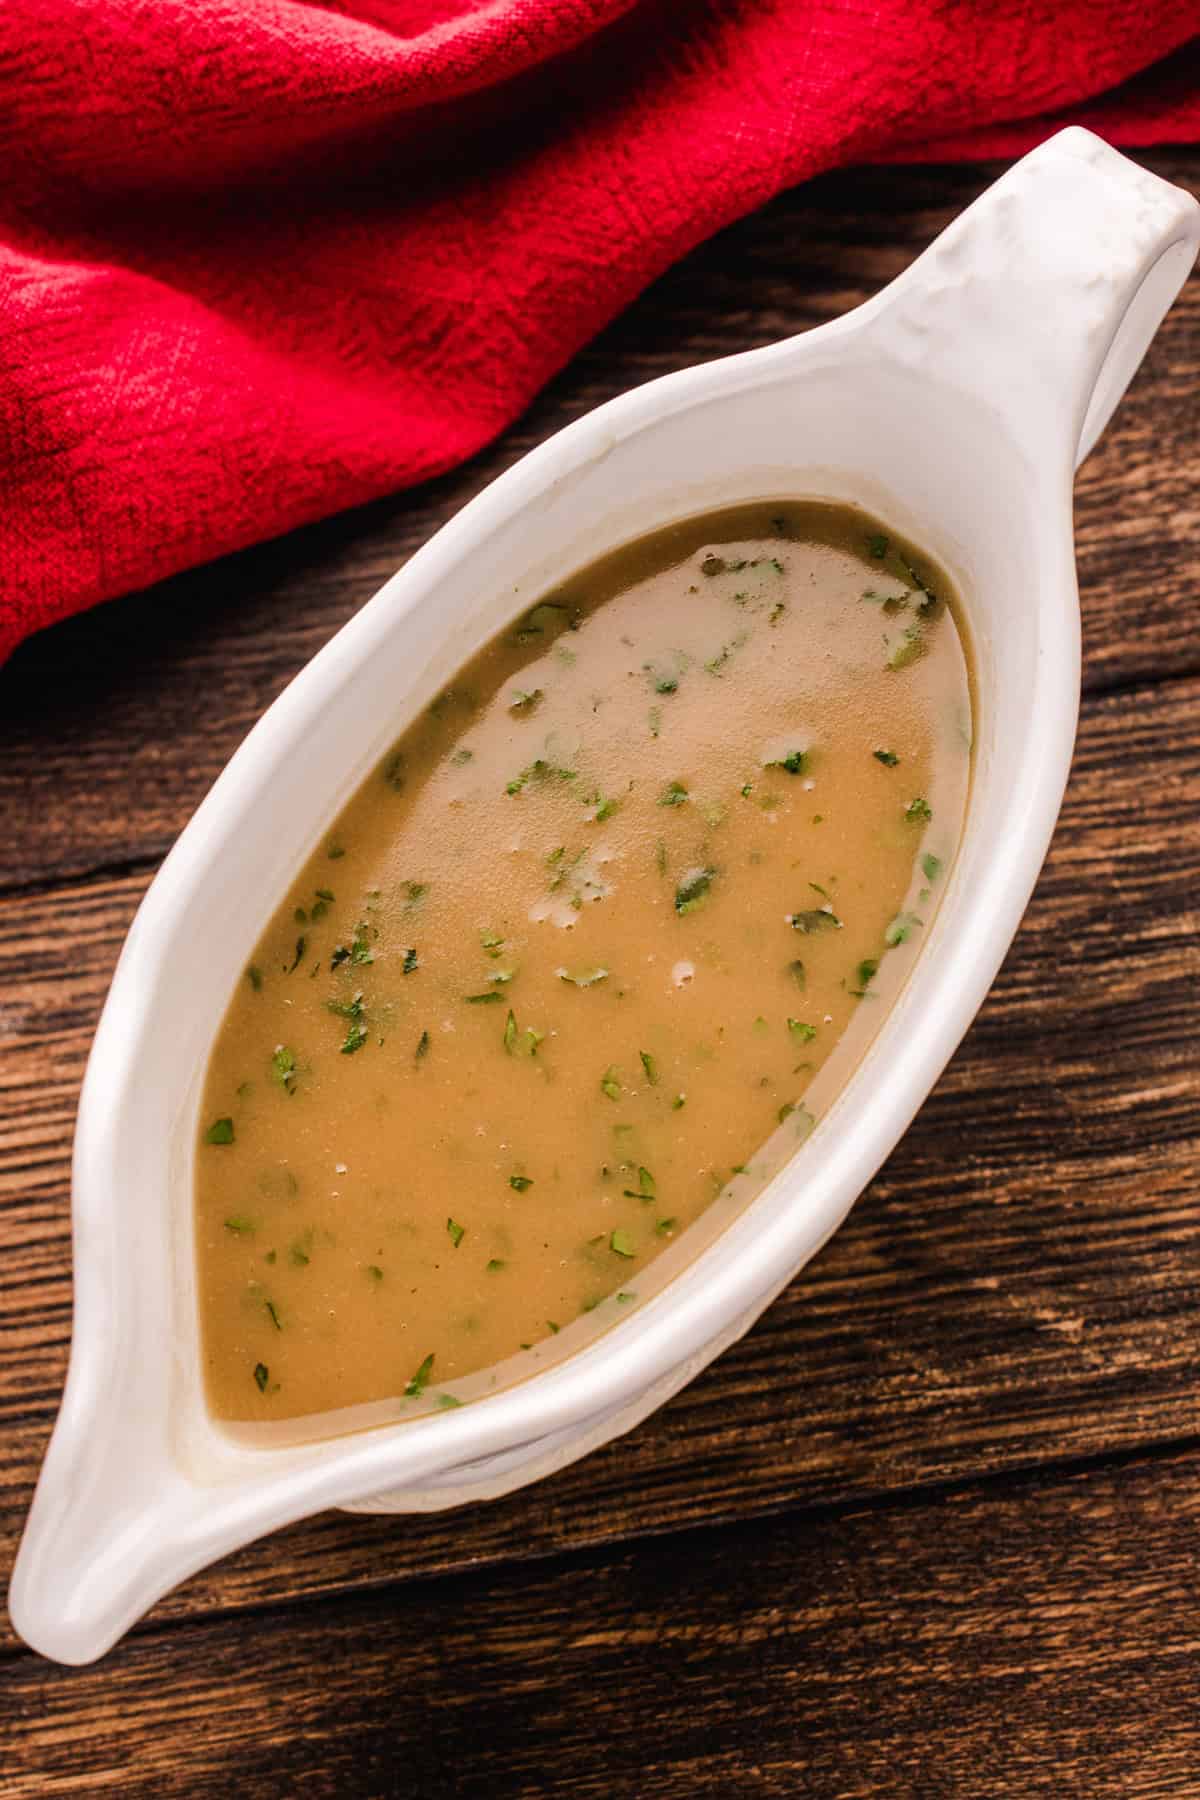
The Ingredient Notes & Substitutions
Here's what goes into this easy turkey gravy, plus a few notes on each ingredient. For exact amounts, scroll down to the recipe card.
- Turkey Pan Drippings: I pour the juices from my roasting pan through a sieve and skim off the fat. If I come up short of 2½ cups, I add low-sodium chicken or turkey stock. Low-sodium is better here because the drippings are often salty already.
- Low-Sodium Stock: I always use low-sodium. Drippings can be salty, so this keeps the gravy from tasting too salty. Regular stock works if you taste before adding any salt.
- Unsalted Butter: I melt ¼ cup to make the roux. For even more turkey flavor, swap in ¼ cup of the fat you skimmed from the drippings.
- All-Purpose Flour: Equal parts flour and butter thicken the gravy. For a gluten-free version, skip the roux. Whisk 2 tablespoons cornstarch with 2 tablespoons cold water, then stir it into the simmering drippings.
- Fresh Thyme and Parsley: I stir these in at the end so they stay fresh and green. You can swap in 1 teaspoon of chopped fresh sage or rosemary if you have it from the turkey. I chop thyme very finely so it blends right into the gravy. No fresh thyme? Use about ¾ teaspoon dried thyme and add it with the liquid so it has time to soften.
- Kosher Salt and Black Pepper: I always taste before seasoning. Drippings from a brined or heavily seasoned turkey may not need any salt at all.
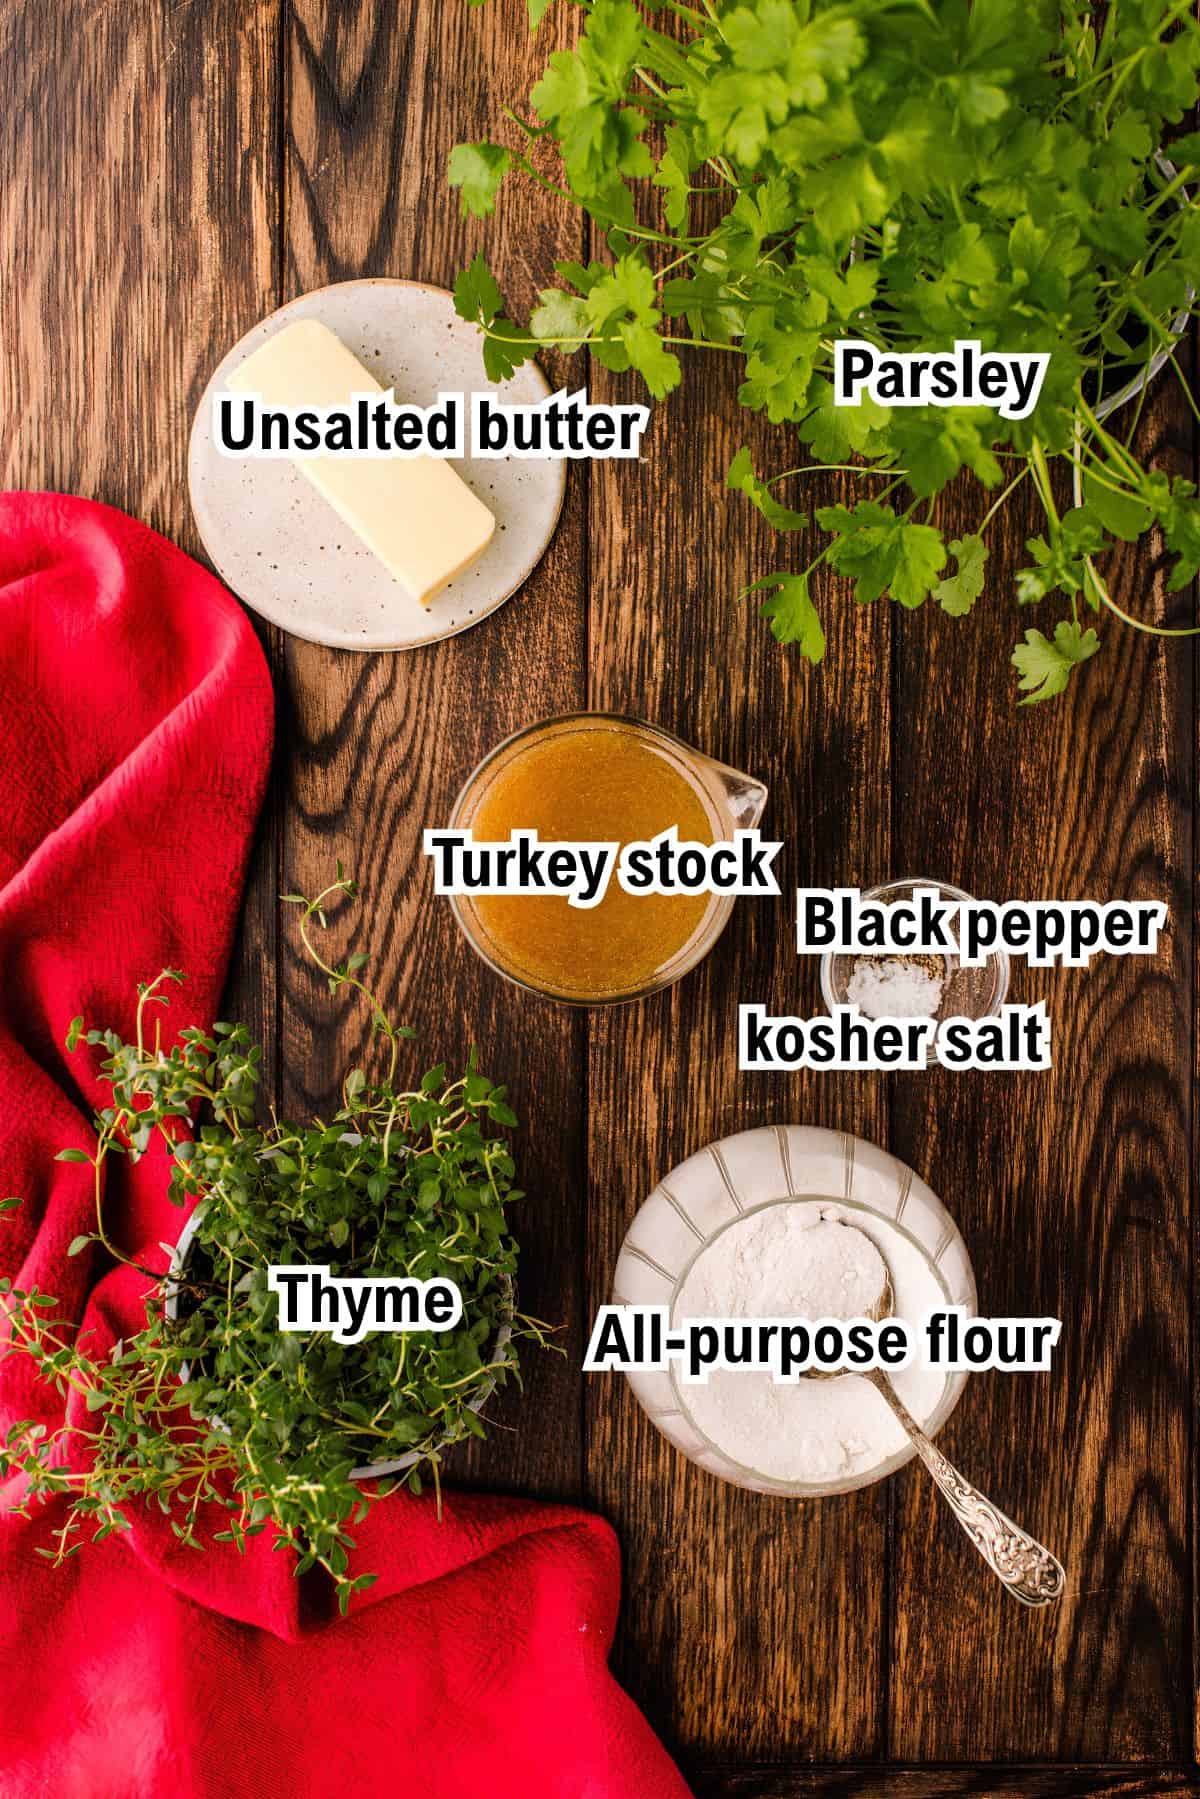
How to Make Turkey Gravy (Step-by-Step)
Here's a quick look at the process. The full instructions are in the recipe card below.
- Strain and skim: Pour the turkey drippings through a fine-mesh sieve into a heatproof jug. Let the fat rise to the top for a minute, then skim it off with a spoon or ladle. Add enough stock to make 2½ cups.
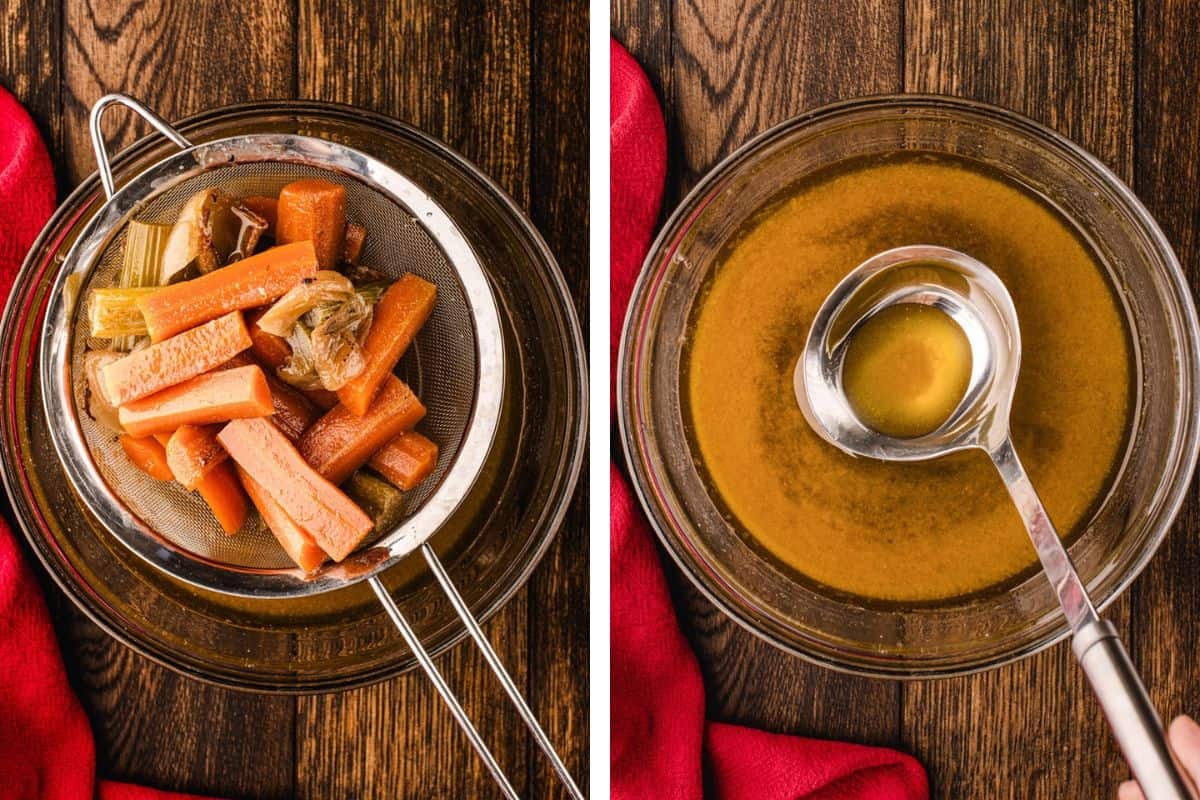
- Make the roux: Melt the butter in a saucepan over medium heat. Whisk in the flour and keep whisking for 2 to 3 minutes. It's ready when it turns lightly golden and smells nutty instead of raw.
- Whisk in the liquid slowly: Add a small splash of drippings first and whisk until smooth. Then pour in the rest a little at a time. This is how I keep lumps away.
- Simmer until glossy. Let it bubble gently for 5 to 8 minutes. It's ready when it coats the back of a spoon but still pours easily.
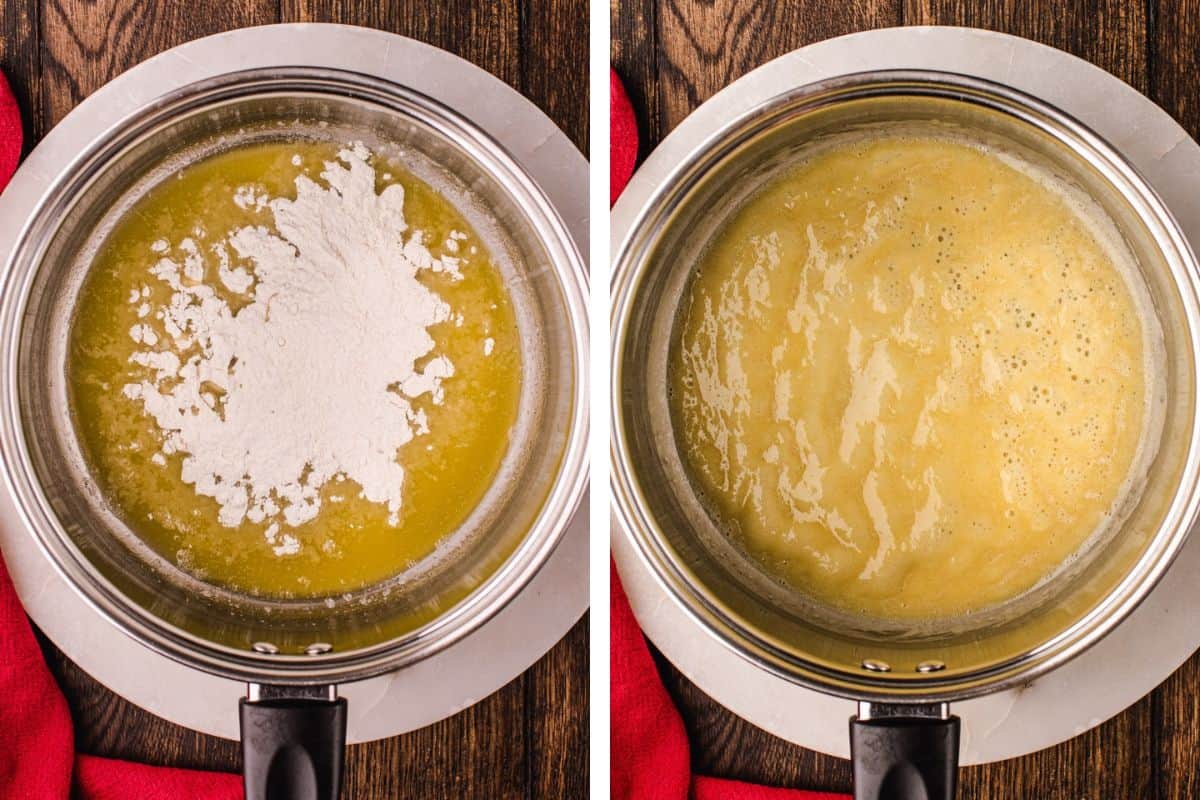
- Add herbs and season. Stir in the thyme and parsley. Taste first, then add salt and pepper.
- Serve it hot in a warmed gravy boat. Leftovers are great over garlic and bacon green beans or tucked into a bowl of chicken pot pie soup made with leftover turkey.
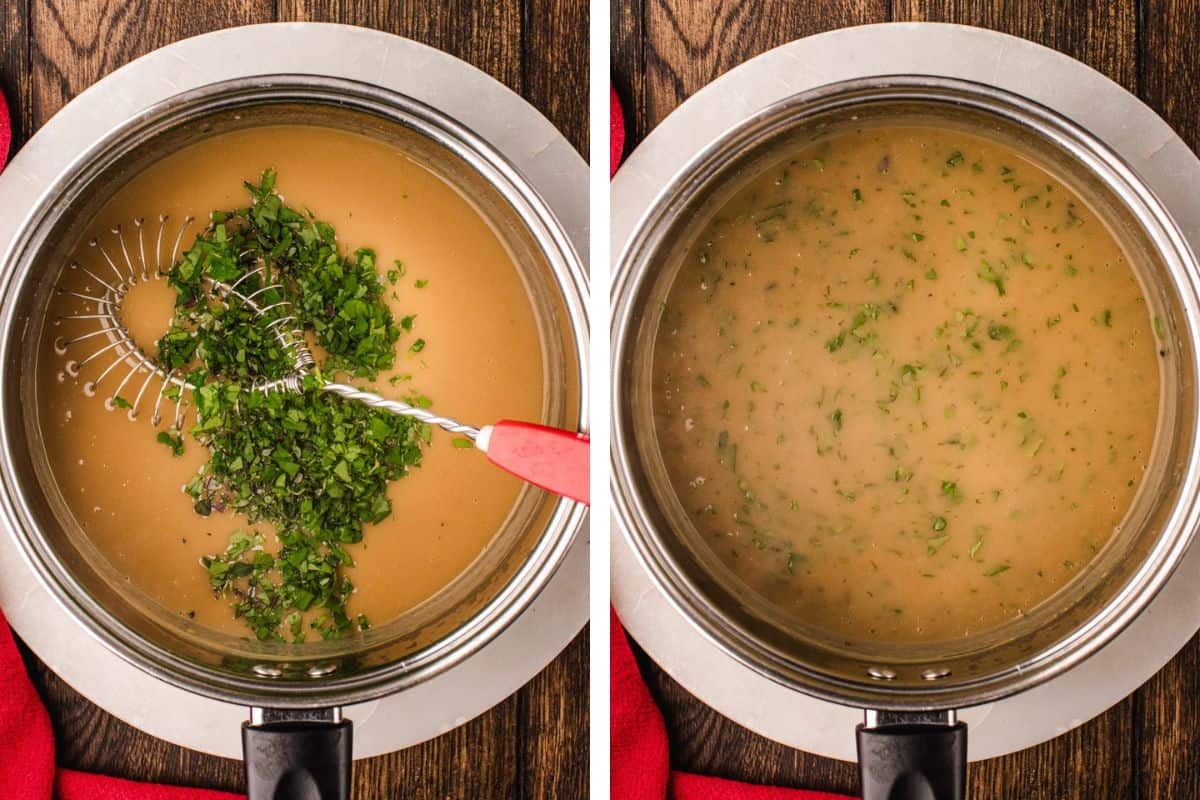
How to Separate the Fat from Turkey Drippings
Turkey drippings are a mix of rendered fat and cooking juices. Removing most of the fat keeps the gravy from turning greasy. You don't need to remove every drop.
- Skim with a spoon: Pour the strained drippings into a bowl or measuring jug and let them settle. When the fat rises to the top, skim it off with a large spoon or ladle.
- Use a fat separator: Pour the strained drippings into a gravy fat separator and follow the manufacturer's instructions.
- Refrigerate the drippings: If you're preparing the drippings ahead, chill them until the fat solidifies on top. Then lift it off with a spoon and use the juices underneath.
How Thick Should Turkey Gravy Be?
Smooth and pourable, thick enough to coat the back of a spoon, but not so thick that it sits heavily on the plate. It thickens as it cools, so take it off the heat while it's still a little looser than you want. If it's too thick: Whisk in a splash of warm chicken or turkey stock, or boiling water. If it's too thin: Simmer gently for a few more minutes, stirring often.
Not Enough Drippings? Use Stock
The amount varies with the size of the bird and how it was cooked. If you don't have the full 2½ cups of defatted drippings, make up the difference with low-sodium chicken or turkey stock. For example, if you have 1 cup of drippings, add 1½ cups of stock. If you have plenty of drippings, you can use them for all of the liquid. All drippings make a very rich gravy, while adding some stock gives a slightly lighter flavor.
Tips for the Best Turkey Gravy
- Collect every bit of the drippings. After you remove the turkey, collect all the juices from the roasting pan. The drippings give homemade gravy its depth. They hold concentrated roasted juices, seasoning, and browned bits from the pan. Onions, carrots, celery, garlic, or herbs roasted with the turkey add even more flavor.
- Scrape up the browned bits: If browned bits are stuck to the bottom, add a splash of warm stock and gently scrape them loose before straining.
- Use unsalted butter. Turkey drippings can already be quite salty, especially if the turkey was brined or generously seasoned. I recommend unsalted butter and low-sodium stock so you can control the seasoning at the end.
- Don't rush the roux. The butter and flour mixture (the roux) is what thickens the gravy. Cook it for 2 to 3 minutes over medium heat, whisking continuously, until lightly golden but not dark brown. This removes the raw flour taste.
- Add the liquid gradually. Start with just a small splash of drippings and whisk until smooth, then slowly add the rest. Adding it all at once can cause lumps.
- Use fresh herbs. Thyme adds a subtle earthy flavor that works well with turkey, and parsley brings freshness. Chop them finely. If you only have dried herbs, use about ⅔ teaspoon dried thyme and 1 teaspoon dried parsley, and add them while the gravy simmers.
- Taste before adding salt. Always taste the finished gravy first, since brined or well-seasoned turkey can make the drippings salty.
- Keep it warm gently: Hold the gravy over very low heat for a short time before serving, stirring now and then so a skin doesn't form. Don't let it boil repeatedly, or it will reduce and get too thick.
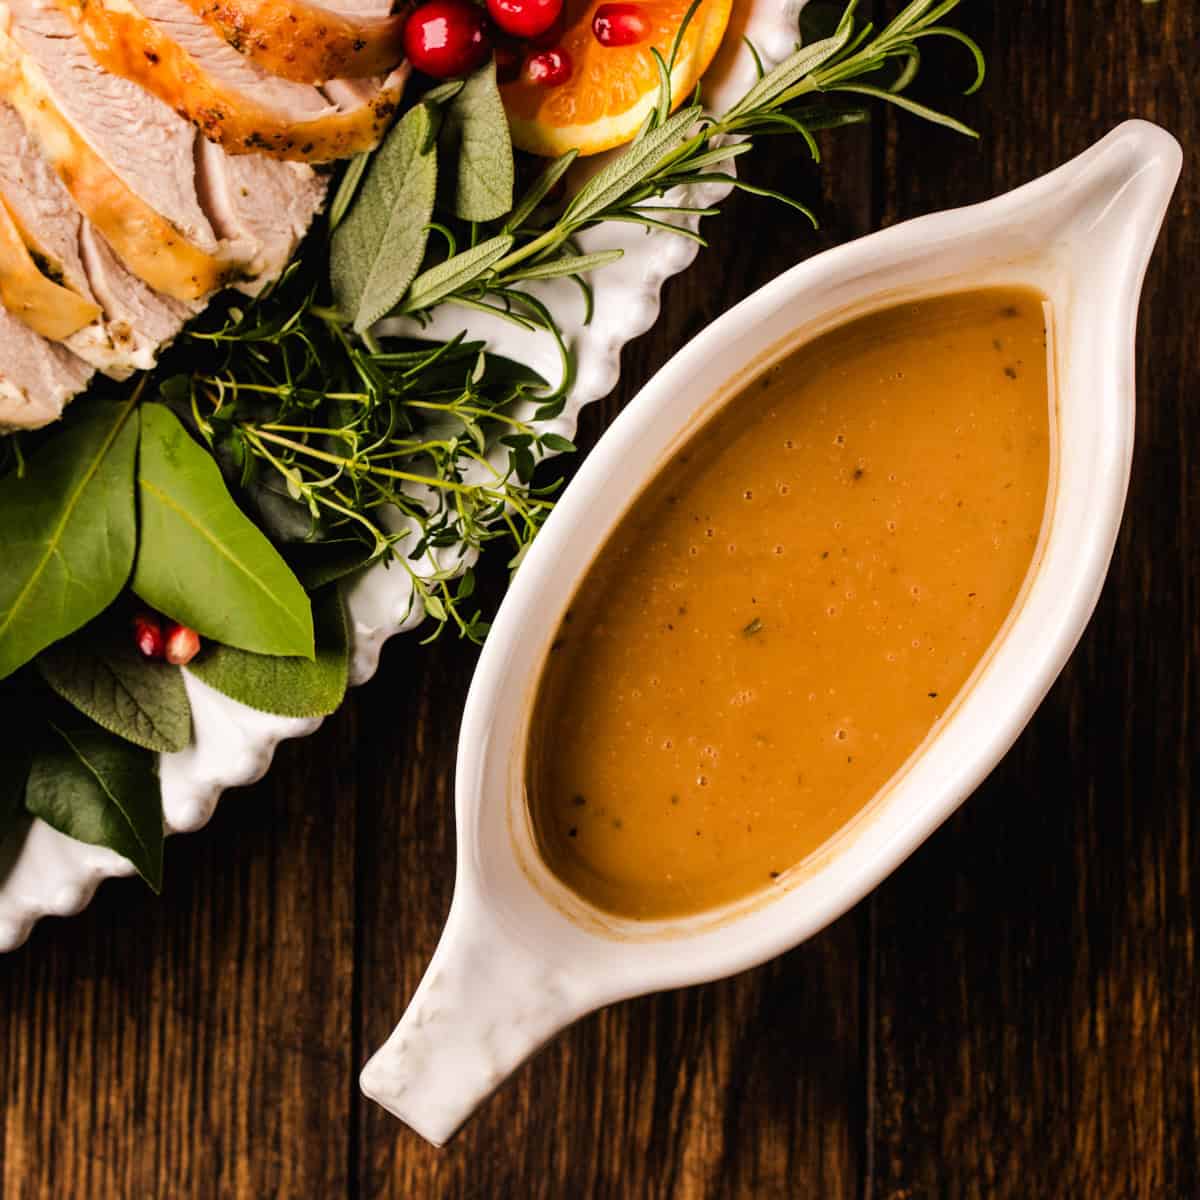
Turkey Gravy
Ingredients
- 2½ cups turkey pan drippings fat removed, or a combination of turkey drippings and low-sodium chicken or turkey stock
- ¼ cup unsalted butter
- ¼ cup all-purpose flour
- 2 teaspoons fresh thyme finely chopped
- 1 tablespoon fresh parsley finely chopped
- kosher salt to taste
- black pepper freshly ground, to taste
Instructions
- Strain and skim the drippings: Pour the drippings from your roasted turkey through a fine-mesh sieve into a heatproof bowl or measuring jug to remove any pieces of meat, vegetables, or herbs. Allow the liquid to settle briefly, then use a large spoon or ladle to skim the excess fat from the surface.
- Measure the remaining juices, adding enough low-sodium chicken or turkey stock to make 2½ cups if necessary.
- Make the roux: Melt the butter in a medium saucepan over medium heat. Add the flour and whisk continuously for 2 to 3 minutes, until the mixture is smooth, bubbling, and lightly golden. The flour should lose its raw smell and develop a slightly nutty aroma.
- Add the liquid: Slowly pour a small amount of the prepared drippings into the roux, whisking constantly until smooth. Gradually add the remaining liquid, continuing to whisk to prevent lumps from forming.
- Simmer: Bring the mixture to a gentle simmer, stirring occasionally. Cook for 5 to 8 minutes, until the gravy has thickened and is smooth and glossy. It should coat the back of a spoon while remaining easy to pour.
- If the gravy becomes too thick, whisk in a little additional stock or boiling water until it reaches your preferred consistency.
- Add the herbs and season: Stir in the chopped thyme and parsley until evenly distributed. Taste the gravy before adding salt, as the turkey drippings may already contain plenty of seasoning. Add kosher salt and freshly ground black pepper as needed.
- Transfer to a warmed gravy boat and serve immediately with roasted turkey and your favorite Thanksgiving sides.
Notes
- Thicker Gravy: Simmer a few minutes longer. Or whisk 1 tablespoon of flour into 2 tablespoons of cold stock and stir it into the simmering gravy.
- Thinner Gravy: Whisk in warm stock or boiling water, a little at a time.
- Lumpy Gravy: Pour it through a fine-mesh sieve, or blend it for a few seconds with an immersion blender.
- Skimming tip: Chill the drippings in the freezer for 10 to 15 minutes so the fat rises and firms up on top.
- Don't rush the roux: Cooking the butter and flour until lightly golden takes away the raw flour taste and gives the gravy its nutty flavor.
- Salt Check: Drippings from a brined or dry-brined turkey can be very salty. Always taste before you season.
- Richer Flavor: Use ¼ cup of the skimmed turkey fat in place of the butter.
- No Drippings: Use 2½ cups of low-sodium turkey or chicken stock. Cook the roux an extra minute for a deeper color and flavor.
- Gluten-Free Option: Skip the butter and flour. Bring the drippings to a simmer, then whisk in a slurry of 2 tablespoons cornstarch mixed with 3 tablespoons cold water. Simmer for 1 to 2 minutes, until thickened.
- Warm the gravy boat: Fill it with hot water while the gravy simmers, or warm it in a 200°F (95°C) oven for 10 minutes, so the gravy stays hot longer at the table.
- For more tips, read my Top Tips and FAQ sections. Check my Ingredients & Substitutions section for helpful info. To see step-by-step photos, go here. For serving suggestions, see my Thanksgiving Sides section.
- Special Tools: Fine-Mesh Sieve | Heatproof Measuring Jug or Fat Separator | Medium Saucepan | Whisk | Large Spoon or Ladle | Gravy Boat
Storage, Reheating, & Make-Ahead Tips
- Refrigerator: Cool slightly, then refrigerate in an airtight container within 2 hours of cooking. It keeps for 3 to 4 days, counting any time the drippings were stored before you made the gravy. It firms up as it chills, which is normal.
- Freezer: Freeze in a freezer-safe container or bag for up to 3 months. Leave a little room for expansion, and freeze in smaller portions if you like. Thaw overnight in the refrigerator.
- Reheating: Warm in a saucepan over medium-low heat, whisking often, until piping hot throughout. Thin with a little chicken stock, turkey stock, or boiling water if needed. You can also microwave small portions, stirring at regular intervals.
- Make ahead: Make the gravy 2 to 3 days early using store-bought low-sodium turkey stock in place of the drippings. Refrigerate it, then reheat gently on the stove on Thanksgiving. Once the turkey comes out of the oven, strain and skim the fresh drippings and whisk a few spoonfuls into the warm gravy for extra roasted flavor.
Nutrition
Nutrition Disclaimer:
The nutritional information on this website is only an estimate and is provided for convenience and as a courtesy only. The accuracy of the nutritional information for any recipe on this site is not guaranteed. It should not be used as a substitute for a professional nutritionist's advice.
FAQs
- Can I make turkey gravy without drippings? Yes! Use 2½ cups of low-sodium turkey or chicken stock. For deeper flavor, I like to brown the butter slightly before adding the flour, and a small splash of Worcestershire sauce or soy sauce adds richness.
- How do I make gluten-free turkey gravy? Skip the butter and flour roux. Bring the drippings to a simmer, then whisk 2 tablespoons of cornstarch into ¼ cup of cold stock. Stir it into the simmering liquid and cook for 1 to 2 minutes until thick.
- Why is my gravy lumpy? Lumps form when the liquid goes in too fast. I add a small splash first, whisk until smooth, and then slowly add the rest. If lumps happen anyway, strain the gravy or use an immersion blender.
- How do I fix lumpy gravy? Whisk hard for a minute first, since most small lumps will break up. If any are left, pour the gravy through a fine-mesh sieve, return it to the pan, and bring it back to a simmer.
- How do I keep gravy warm during dinner? Keep it in the saucepan over the lowest heat, whisking now and then. A small slow cooker on the warm setting works well too, and it frees up a burner.
- Can I make turkey gravy ahead of time? Yes. Make it with all stock up to 3 days ahead, then whisk in a few spoonfuls of turkey drippings when you reheat it for that fresh roasted flavor.
- My gravy is too thin. What should I do? Let it simmer a few more minutes, since it thickens as it reduces. If it's still thin, whisk 1 tablespoon of flour into 1 tablespoon of soft butter and whisk the paste into the simmering gravy, a little at a time.
More Thanksgiving Sides
- Mashed Potatoes with Roasted Garlic
- Brussels Sprouts with Bacon, Pecans, and Cranberries
- Italian Sausage Stuffing with Apples, Cranberries, and Pecans
- Sweet Potato Casserole with Pecan Topping
- Cheesy Sweet Potato Gratin with Toasted Pecans
- Easy Scalloped Potatoes
- Green Beans Wrapped in Bacon
- Garlic Butter Dinner Rolls
- Hasselback Butternut Squash with Candied Pecans
- 60 Thanksgiving Side Dishes
Submit your question or provide a review of the recipe + star rating RIGHT HERE.