
This post may contain affiliate links. Read my disclosure policy.
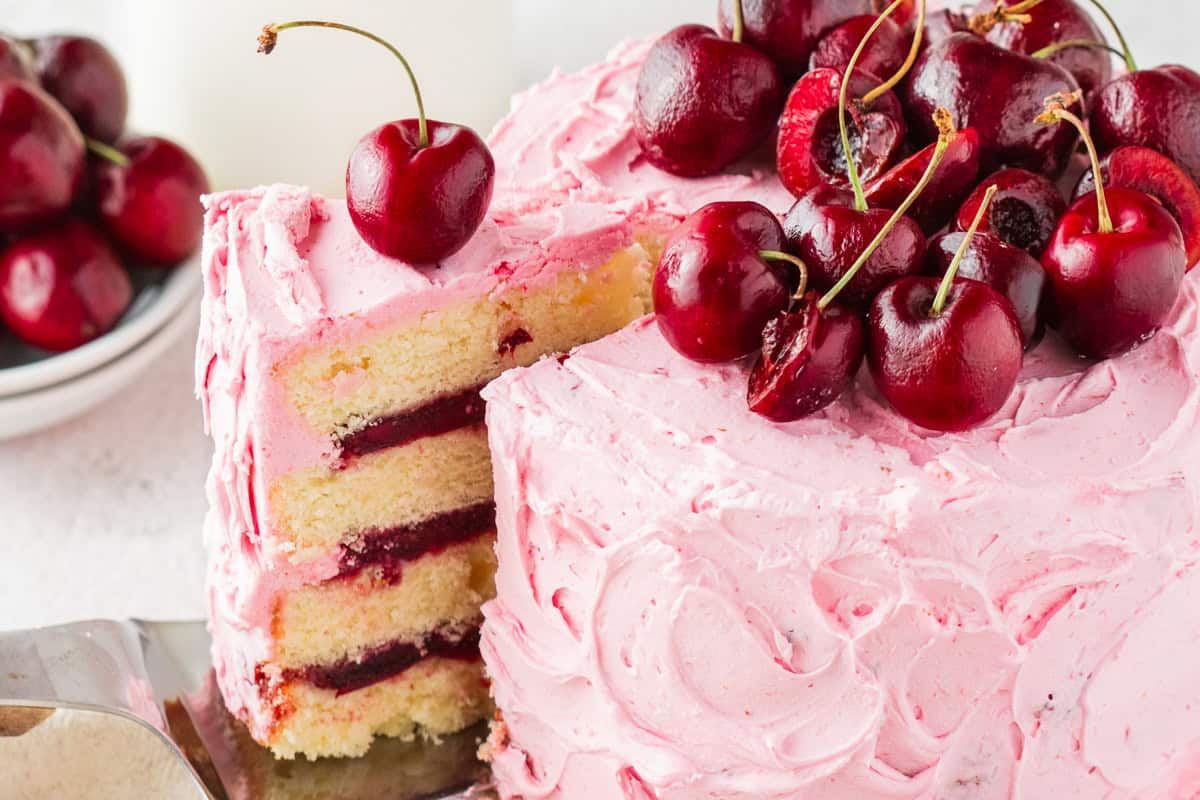
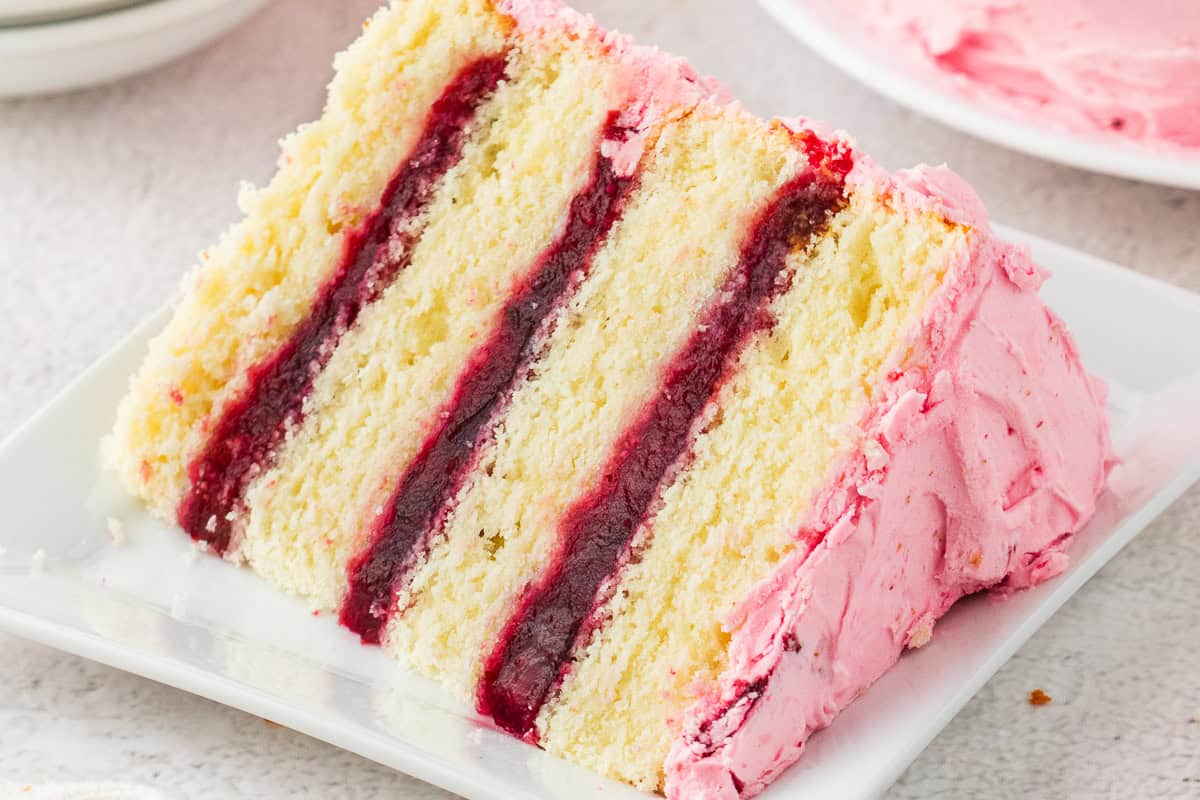
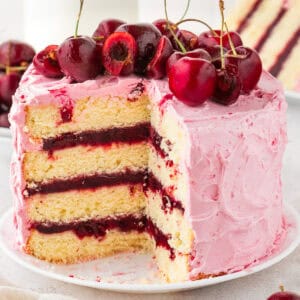
My Cherry Layer Cake features four soft, buttery vanilla layers filled with a homemade cherry filling, then frosted in a silky cherry buttercream made from that very same filling. If you've been looking for a cherry cake recipe that doesn't rely on canned pie filling, this is the one! Only 45 minutes of prep!
Move Over, Cherry Pie - This Layer Cake Just Stole the Show!
This Cherry Cake is exactly the kind of summer cake I love to make: soft vanilla cake layers, a homemade cherry filling, and a cherry buttercream that balances sweet and tart flavors without being overly sugary. If you've made my Lemon Raspberry Cake, you'll recognize the same philosophy here: I let the real fruit be the star.
And, I don't know about you, but I've never been fully satisfied with cherry desserts made with canned pie filling. What makes my cherry cake so different from many other recipes online is that I make my own cherry filling from scratch. It takes only about 10 minutes on the stovetop and gives you complete control over the sweetness and consistency. It goes without saying that it's so much better than the artificial stuff from the store.
This Cherry Cake Has the Prettiest Naturally Pink Frosting
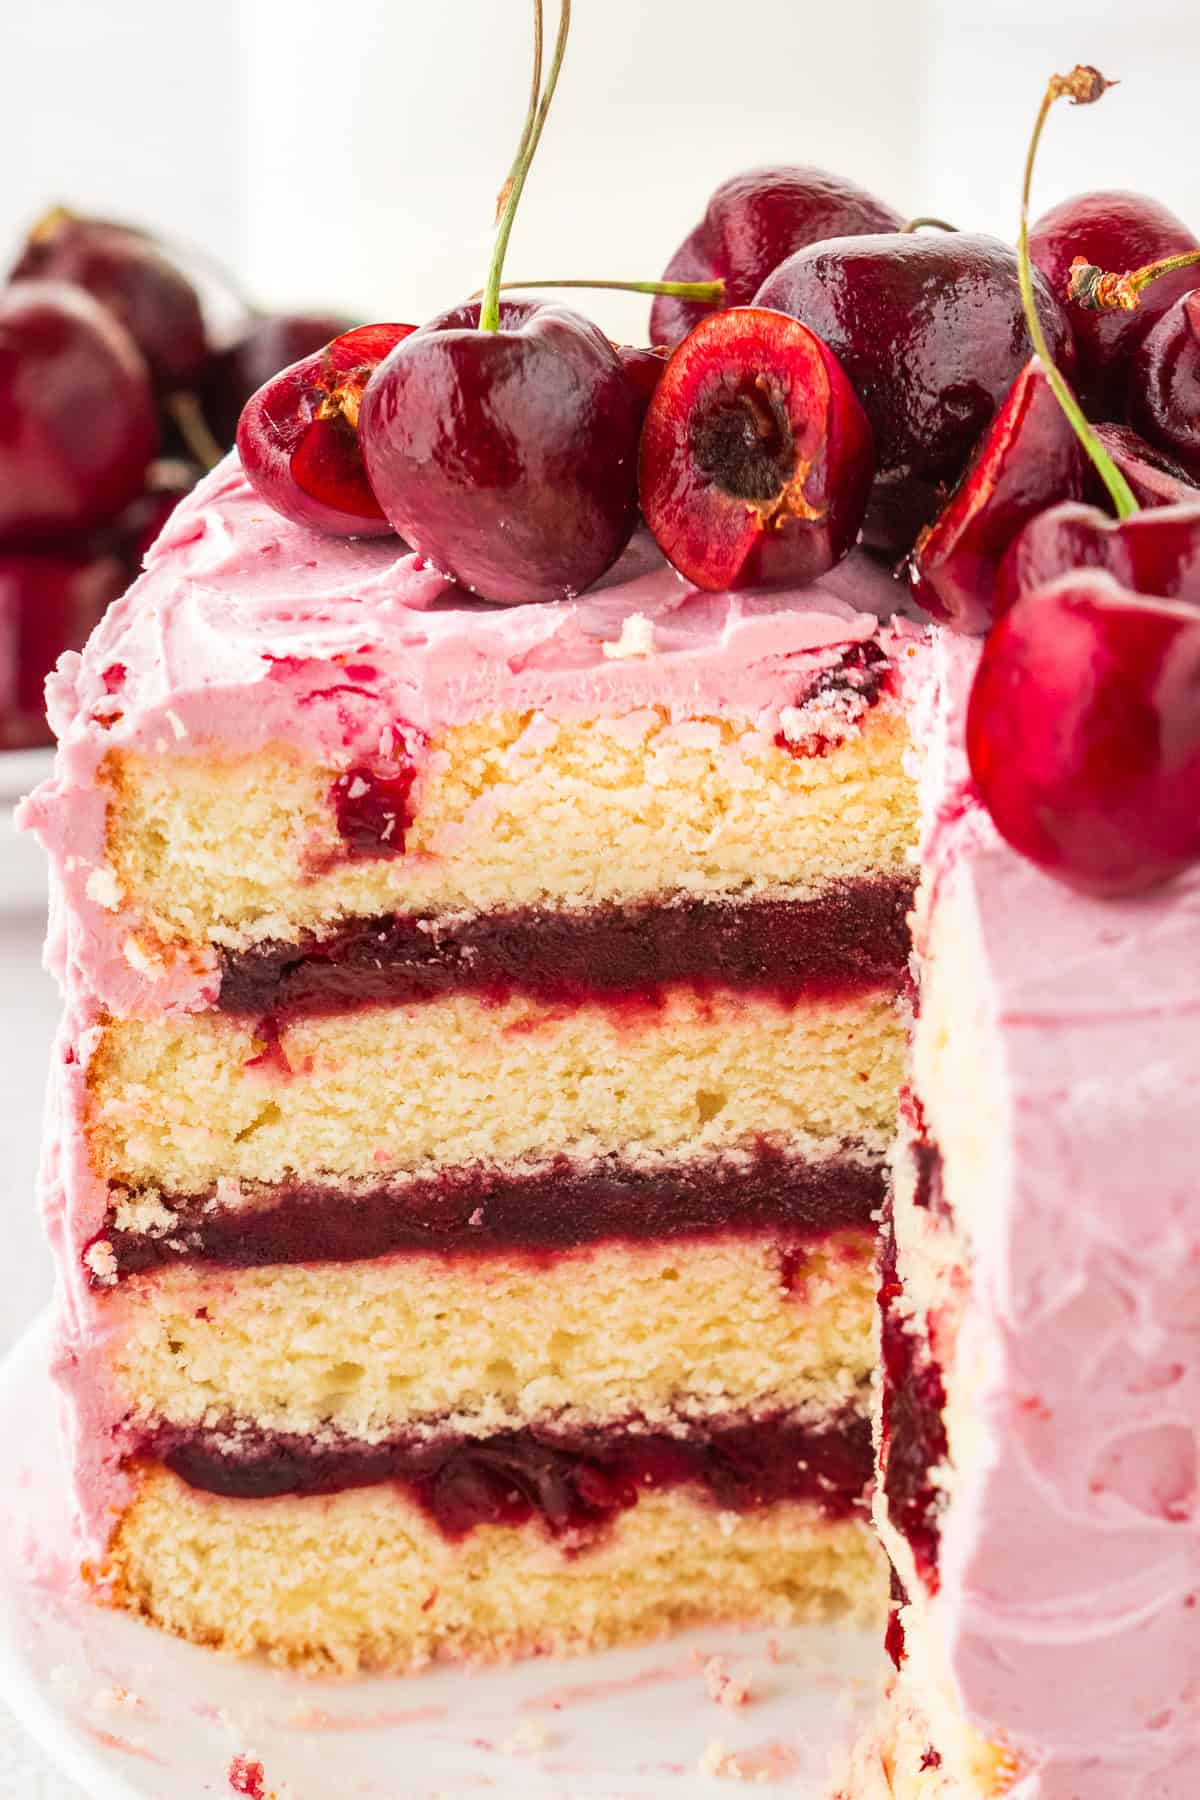
But the thing that really sets this cake apart is that I use that homemade cherry filling twice: between the cake layers and folded right into the buttercream. That means every layer and every bite is packed with real cherry flavor.
No artificial flavoring, no food coloring. Even that gorgeous pink hue comes naturally from the cherries. If you love baking cherry desserts, try my Simple Cherry Cake and my Chocolate Cherry Cake next!
Grab These Ingredients
This recipe consists of 3 components: vanilla cake layers, fresh cherry filling, and cherry buttercream. Scroll down to the recipe card for precise ingredient amounts and complete instructions, or keep reading for my notes on the key ingredients.
1) Vanilla Cake Layers Ingredients
- Unsalted butter: Softened (not melted!), so it creams properly with the sugar and whips up light and fluffy.
- Granulated sugar: Creamed with the butter to give the cake its light texture.
- Large eggs: Let these come to room temperature before mixing them into the batter for the smoothest texture and to keep the batter from curdling.
- Vanilla extract: I always recommend pure vanilla extract over imitation here since it's such a prominent flavor in the cake.
- All-purpose flour: The base of the cake layers.
- Baking powder: Make sure yours is fresh so the layers rise properly.
- Salt: Just a touch, to balance the sweetness.
- Whole milk: Whole milk gives the richest, most tender crumb. Room temperature is best.
2) Fresh Cherry Filling Ingredients
- Pitted Cherries: Fresh or frozen both work. Dark sweet cherries are my favorite here. I used fresh cherries and pitted them using a cherry pitter (a very handy tool) on Amazon. If using frozen, you do not need to thaw them first. Just add a couple of extra minutes to the cook time. This same filling gets used two ways: layered between the cakes and folded into the buttercream.
- Granulated sugar: Sweetens the cherries as they cook down.
- Cornstarch: This is what thickens the filling into that luscious, jammy texture that stays put between the layers.
- Lemon juice: I always recommend using freshly squeezed lemon juice for the best flavor.
- Water: Helps dissolve the cornstarch smoothly before it hits the hot pan.
3) Cherry Buttercream Ingredients
- Unsalted butter: Softened and beaten first on its own until creamy before the sugar goes in.
- Powdered sugar: Add it gradually, one cup at a time, so your kitchen (and your mixer) don't end up covered in a sugar cloud.
- Cherry filling: You'll reserve ¼ cup of the filling you just made for the cake layers. This is what gives the buttercream its real cherry flavor and soft pink color.
- Vanilla extract: Real is always better.
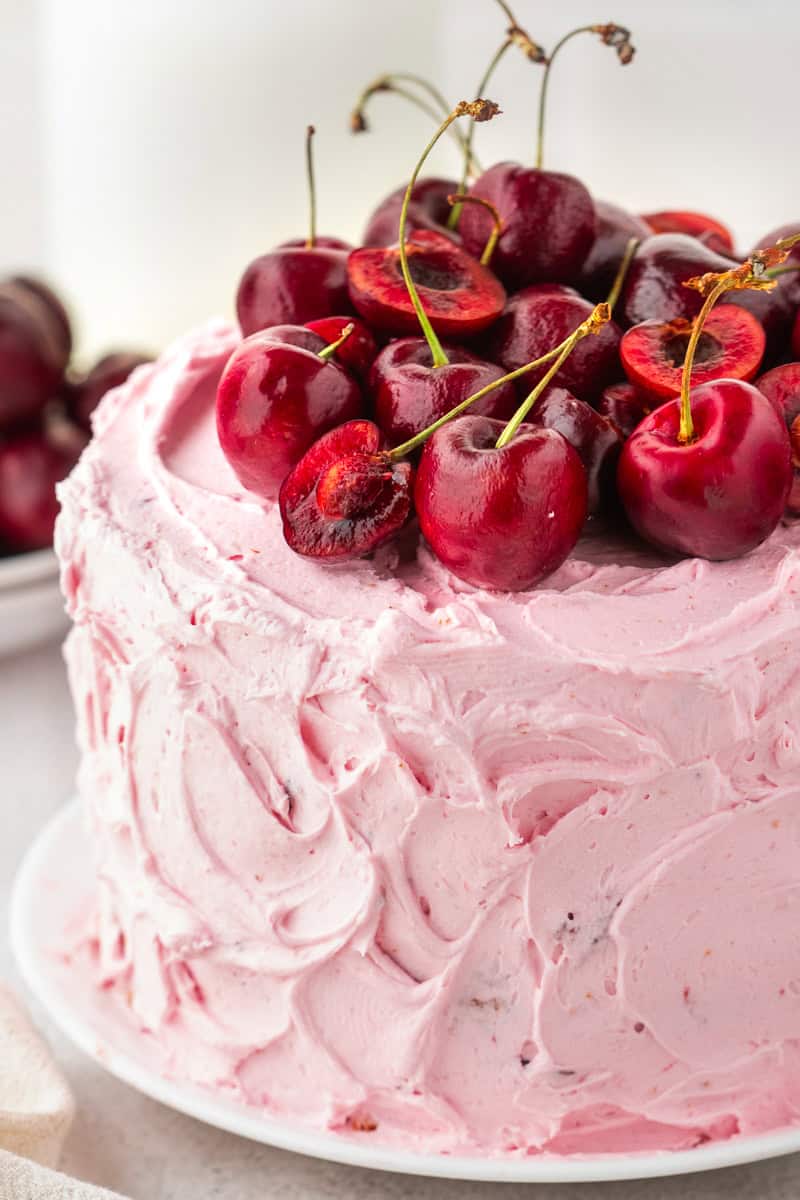
- Fresh cherries: A little cluster of cherries with stems on top makes this cake absolutely gorgeous.

How to Make Cherry Layer Cake (Step-by-Step)
- PREP: Preheat the oven to 350°F. Grease four 8-inch cake pans. Cream the butter and sugar until light and fluffy, then beat in the eggs and vanilla.
- MIX: Whisk together the flour, baking powder, and salt. Alternate adding the dry ingredients and milk to the butter mixture, mixing just until combined. Divide the batter evenly between the pans.


- BAKE: Bake for 25-30 minutes, or until a toothpick comes out clean. Cool in the pans for 10 minutes, then transfer to wire racks to cool completely.

- MAKE THE CHERRY FILLING: Cook the cherries, sugar, lemon juice, and cornstarch slurry over medium heat, crushing the cherries as they soften, until thickened, about 10 minutes. Cool completely.

- MAKE THE BUTTERCREAM: Beat the butter until fluffy. Gradually mix in the powdered sugar, then beat in the cherry filling and vanilla until smooth.


- ASSEMBLE: Level the cake layers if needed. Spread cherry filling between each layer, then apply a thin crumb coat of buttercream and chill for 30 minutes. Frost with the remaining buttercream and garnish with fresh cherries or decorative piping, if desired.


About Fresh vs. Frozen Cherries
- For this recipe, you can use either fresh or frozen pitted cherries. If you're using fresh cherries, look for ones that are deep red and firm, and budget a little extra time for pitting them.
- If you're using frozen cherries, don't thaw them first. Add them straight to the saucepan. They'll release their juices as they cook, and you'll get the same jammy texture without extra prep. The cook time may run a minute or two longer since you're starting from frozen.

About the Cherry Buttercream
- Here's the thing about this buttercream: it's not just vanilla buttercream with a cherry on top. It's made directly from the same cherry filling you use for the cake layers, so make sure to set aside a quarter cup of it before using the rest between the layers.
- The filling needs to cool completely before you fold it in. If you add it warm, it'll melt your butter and turn the frosting soupy instead of light and fluffy. I recommend making the filling first, so it has plenty of time to cool while you bake and let the cake layers cool.

Variations
- Add almond extract. Cherries and almond are a classic pairing. Swap ½ teaspoon of the vanilla in the cake for almond extract.
- Chocolate lovers: Add mini chocolate chips between the layers, or drizzle the finished cake with melted dark chocolate. (And if that combination speaks to you, my chocolate cherry cake needs to be on your list!)
- Extra filling, please. If you're a fruit-filling fanatic like me, make 1.5x the cherry filling and pipe a buttercream dam around the edge of each layer to hold the extra filling in place.
- Play with garnish (cake toppings)! Fresh cherries with stems, piped rosettes, a sprinkle of chopped pistachios for color. Make this cherry cake your own.
How to Adapt This Cherry Cake for Different Cake Pans
- Can I make this a two-layer cake instead of four? Absolutely! Divide the batter between two 9-inch pans instead of four 8-inch pans and increase the bake time to around 35-40 minutes, checking for doneness with a toothpick.
- Can I bake this in two pans instead of four? Yes - bake two thicker layers (about 35-40 minutes) and slice each in half horizontally with a serrated knife once cooled. You'll get the same four beautiful layers.
- Make it a 3-layer cake. No fourth pan? Bake three slightly thicker layers and add a few minutes to the bake time, but start checking at 30 minutes.
FAQ (You Ask, I Answer)
- Can I use canned cherry pie filling instead of making my own? You could, but I really recommend making the homemade filling. It takes about 10 minutes, tastes infinitely fresher, and it's what flavors the buttercream. Canned filling is much sweeter and won't give you that natural tart-sweet balance.
- Why did my buttercream turn out too soft? The cherry filling adds moisture, so make sure it's completely cool before beating it in. If the frosting still feels loose, add powdered sugar a few tablespoons at a time, or chill it for 15 minutes and re-whip.
- Do I really need the crumb coat? I promise it's worth the extra 30 minutes! The thin first layer of frosting traps all the loose crumbs so your final coat is smooth, clean, and crumb-free. This is the step that makes a homemade cake look professional.

Make-Ahead and Storage Tips
- Make ahead: This cake is very make-ahead friendly! Bake the cake layers up to 2 days ahead and cool completely. Wrap them tightly in plastic wrap, and keep at room temperature (or freeze for up to 2 months). The cherry filling can be made up to 3 days ahead and refrigerated in an airtight container.
- Refrigerator: Store the assembled cake, covered, in the refrigerator for up to 4 days. Let slices sit at room temperature for 20-30 minutes before serving to soften the buttercream and cake layers.
- Freezer: Freeze individual slices, wrapped tightly, for up to 2 months. Thaw overnight in the fridge.
More Summer Cake Recipes
If you enjoyed this Cherry Layer Cake, don't miss these reader favorites from my site:
- Simple Cherry Cake - my classic fresh cherry summer cake
- Chocolate Cherry Cake - fresh cherries + chocolate chunks, no mixer required
- Lemon Raspberry Cake - three layers of lemon cake with raspberry jam and lemon buttercream
- Stone Fruit Cake with Cherries and Peaches - juicy cherry and peach chunks in every bite
- Raspberry Lemon Cake - light, refreshing, and made with Greek yogurt
- Blueberry Cake - packed with juicy blueberries and a pop of citrus
- Key Lime Bundt Cake - like key lime pie, but easier
- Tres Leches Cake - light, airy, and soaked in three milks
I hope this Cherry Layer Cake becomes just as much of a favorite in your home as it is in mine. If you make it, I'd love to hear how it turns out!
The Best Cherry Layer Cake (With Homemade Cherry Buttercream)
Ingredients
Vanilla Cake
- 1 cup unsalted butter softened
- 2 cups granulated sugar
- 4 large eggs
- 1 tablespoon vanilla extract
- 2 ⅔ cups all-purpose flour
- 1 tablespoon baking powder
- ½ teaspoon salt
- 1 ½ cups whole milk
Cherry Filling
- 2 cups pitted cherries fresh or frozen
- ½ cup granulated sugar
- 2 tablespoons cornstarch
- 1 tablespoon lemon juice
- ¼ cup water
Cherry Buttercream
- 1 cup unsalted butter softened
- 4 cups powdered sugar
- ¼ cup cherry filling
- 1 teaspoon vanilla extract
Instructions
For the vanilla cake
- Preheat the oven to 350°F (175°C). Grease four 8-inch round cake pans.
- In a large mixing bowl, cream the butter and sugar until light and fluffy.
- Add the eggs one at a time, mixing well after each addition. Mix in the vanilla extract.
- In a separate bowl, whisk together the flour, baking powder, and salt.
- Gradually add the dry ingredients to the wet ingredients, alternating with the milk. Mix until just combined.
- Divide the batter evenly among the prepared pans. Smooth the tops with a spatula.
- Bake for 25-30 minutes, or until a toothpick inserted into the center comes out clean.
- Let the cakes cool in the pans for 10 minutes, then turn them out onto wire racks to cool completely.
For the cherry filling
- In a medium saucepan, combine the cherries, sugar, and lemon juice.
- In a small bowl, mix the cornstarch with water until smooth. Add this mixture to the saucepan.
- Cook over medium heat,crushing the cherries with a wooden spoon and stirring constantly, until the mixture thickens and starts to bubble (about 10 minutes).
- Remove from heat and let the filling cool completely before using.
For the cherry buttercream
- In a large bowl, beat the butter until creamy and fluffy.
- Gradually add powdered sugar, 1 cup at a time, mixing well after each addition.
- Add the cherry filling and vanilla extract. Beat on medium speed until smooth and fluffy.
To assemble
- Use a large serrated knife to remove the tops of the cakes and create an even surface.
- Place the first cake layer on a cake stand or plate. Spread a layer of cherry filling evenly across the top.
- Repeat with the second and third layer of filling.
- Place the final cake layer on top. Spread a thin crumb coat of cherry buttercream frosting over the entire cake. Chill for 30 minutes.
- Once the crumb coat is set, frost the cake with the remaining buttercream.
- Garnish with fresh cherries or decorative piping if desired.
Notes
- Fresh or frozen cherries both work here - if using frozen, add them straight to the saucepan without thawing.
- Make the cherry filling first. It needs to cool completely before it goes into the buttercream or between the cake layers, so give it a head start.
- Cool the cake layers completely before filling and stacking. Warm layers will melt the buttercream and cause the cherry filling to slide right out the sides. I promise the wait is worth it.
- Level your layers with a serrated knife. A slightly domed cake layer will make your finished cake lean. Trimming the tops flat keeps everything stacked evenly.
- Measure your cherry filling for the layers. Using a consistent amount between each layer (rather than eyeballing it) keeps the cake from leaning as you stack.
- Don't skip the crumb coat before adding the final layer of buttercream. This thin layer of buttercream traps the crumbs against the cake instead of letting them mix into your final frosting layer. Chilling it for 30 minutes before the final coat is what gives you that clean, bakery-style finish.
- Use a cake stand that turns. A rotating cake stand makes it so much easier to get an even coat of buttercream around the sides. You barely have to move your spatula; just turn the stand.
- Save some fresh cherries for garnish. A handful of fresh cherries on top (stems on, if you can find them) makes this cake look as good as it tastes, and it signals right away what flavor you're about to bite into.
Storage Instructions
- Room Temperature: Store leftover cake covered for up to 2 days.
- Refrigerator: Store covered in the fridge for up to 5 days; let slices come to room temperature before serving for the best texture.
- Freezer: Freeze unfrosted cake layers, wrapped tightly, for up to 3 months. Thaw overnight in the fridge before filling and frosting.
Nutrition
Nutrition Disclaimer:
The nutritional information on this website is only an estimate and is provided for convenience and as a courtesy only. The accuracy of the nutritional information for any recipe on this site is not guaranteed. It should not be used as a substitute for a professional nutritionist's advice.

This cake has 6-1/2 cups of sugar !!
Hi Carol. It does! Most of that is powdered sugar in the buttercream, and this is a tall four-layer cake that serves about 16. If it's too sweet for you, halve the frosting or make it a two-layer cake.