
This post may contain affiliate links. Read my disclosure policy.
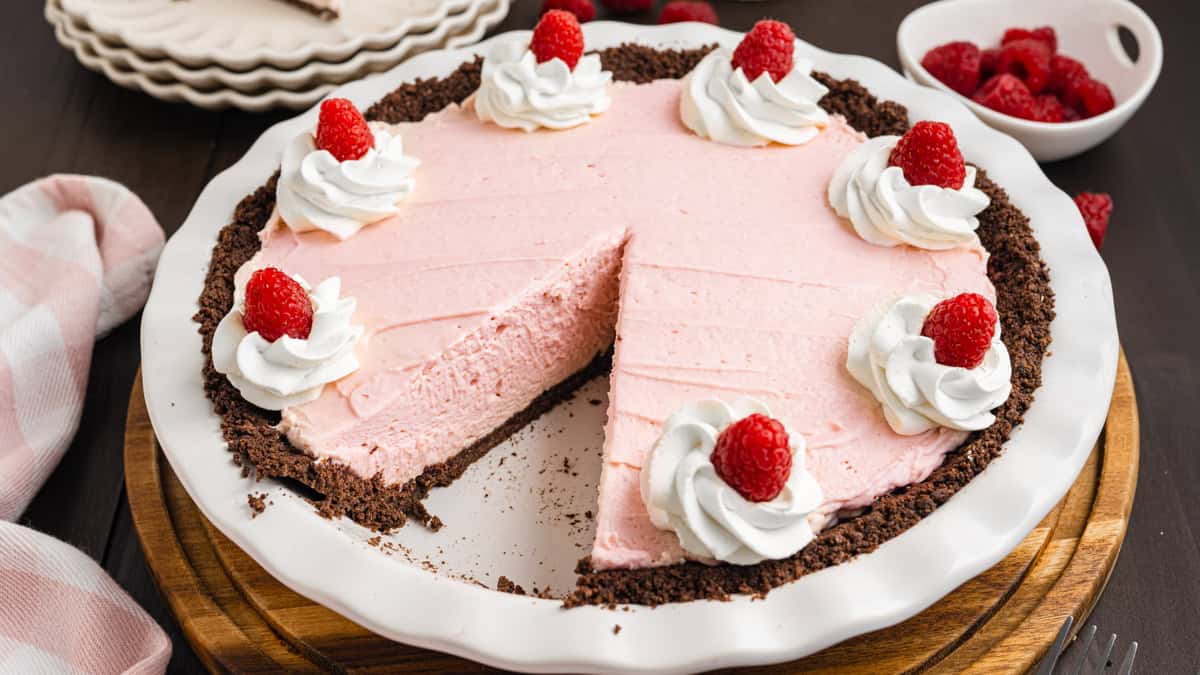
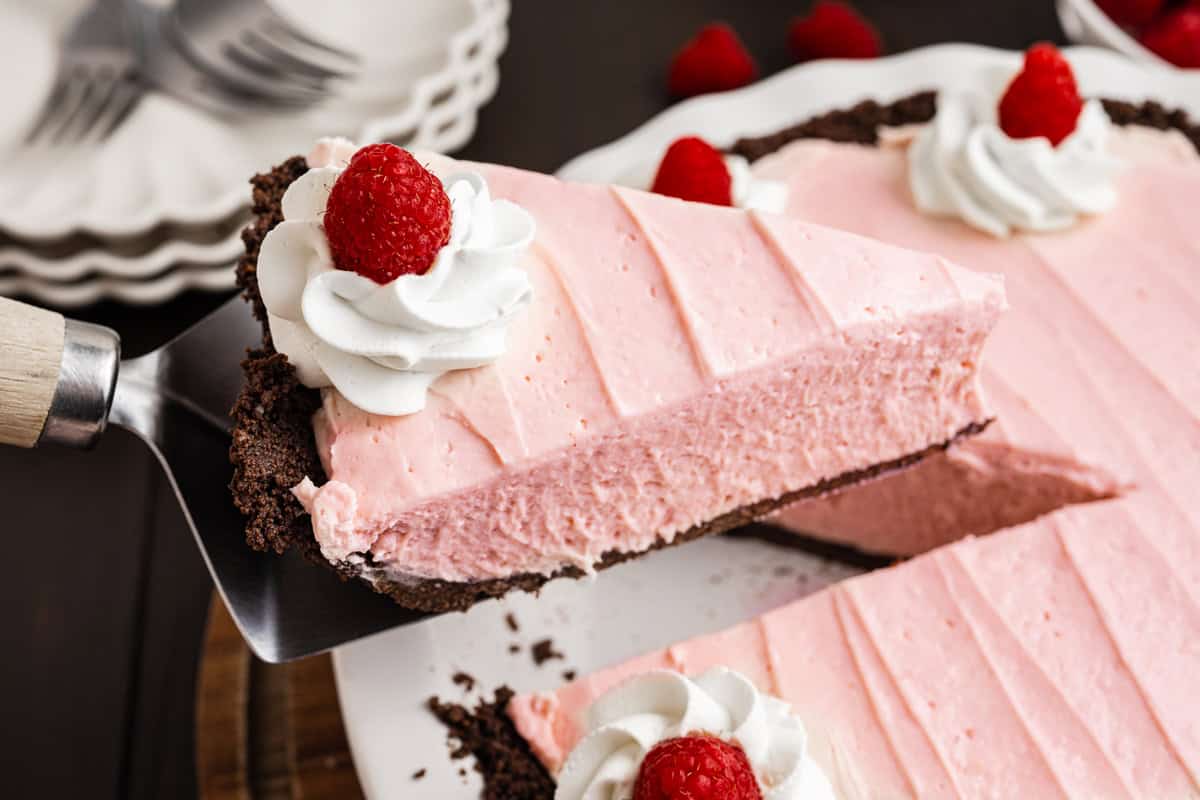
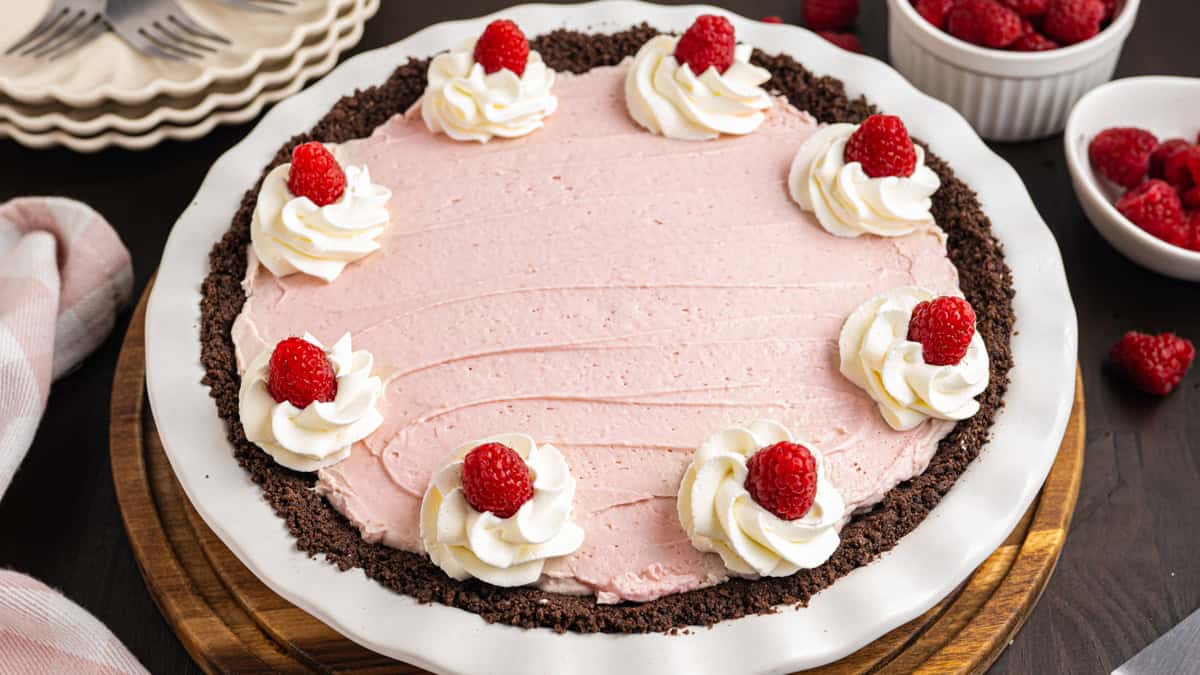
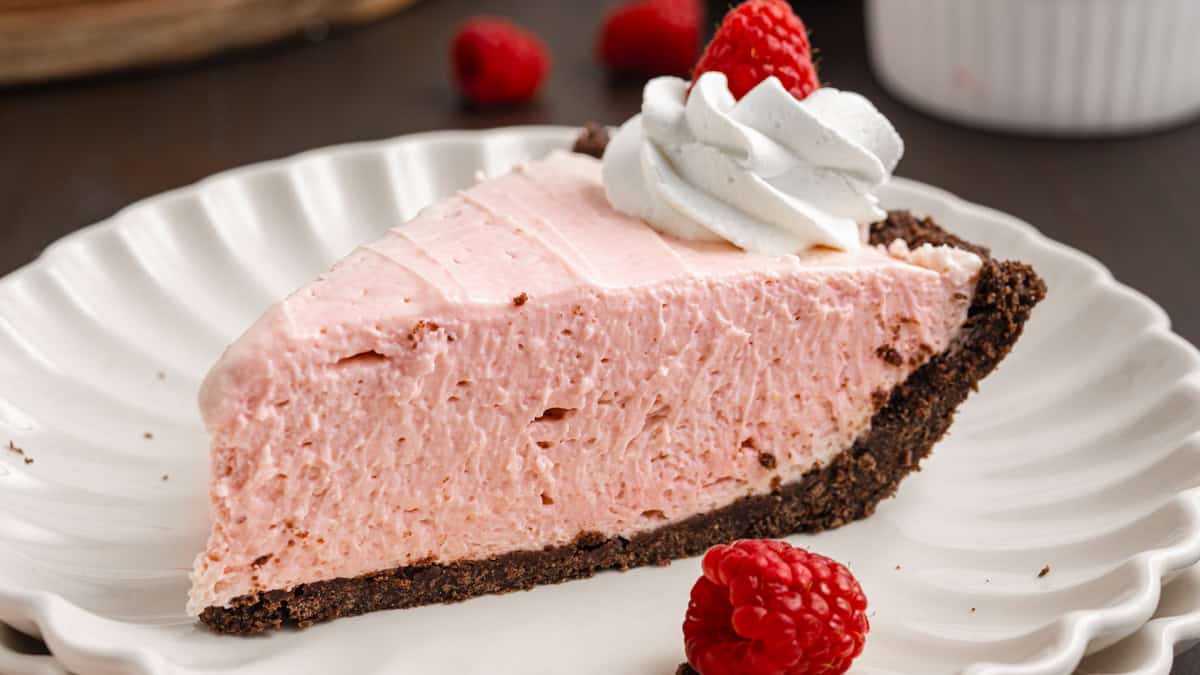
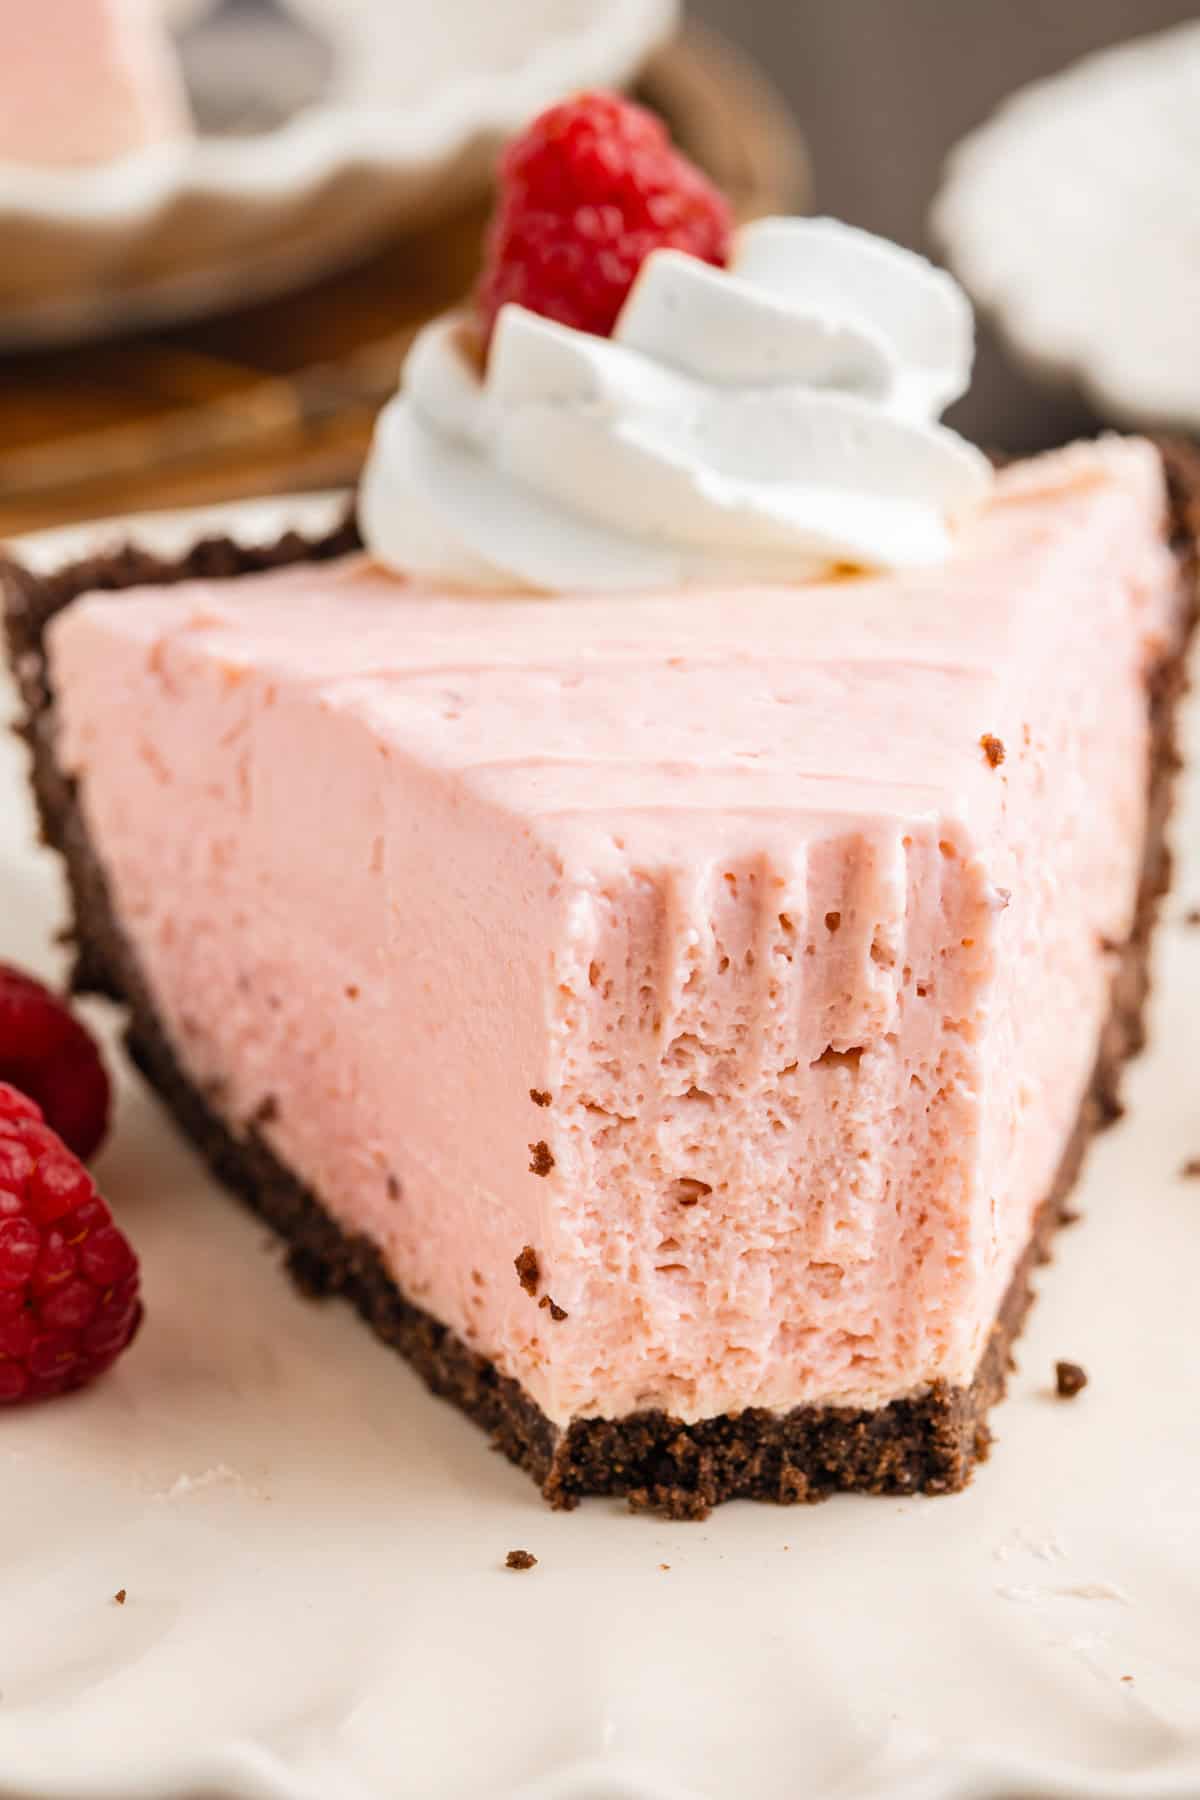
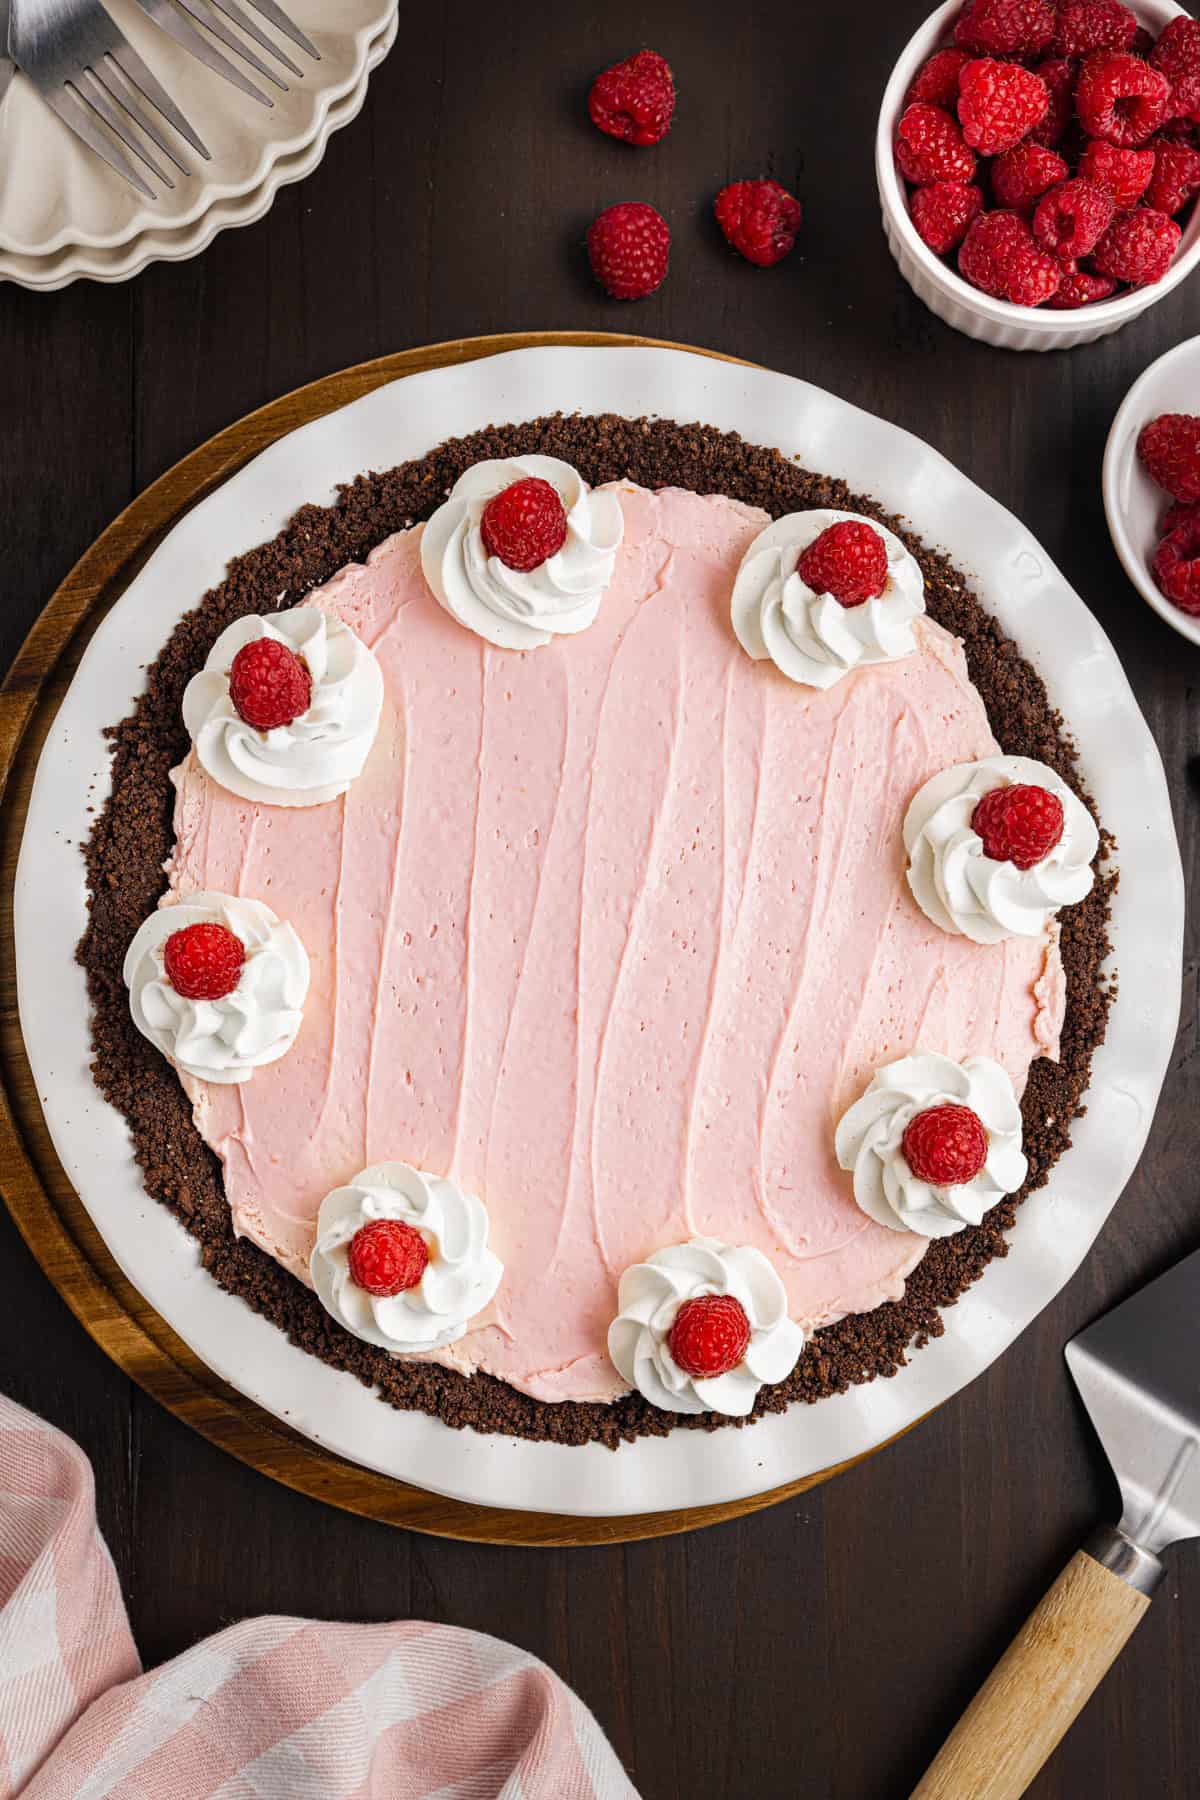
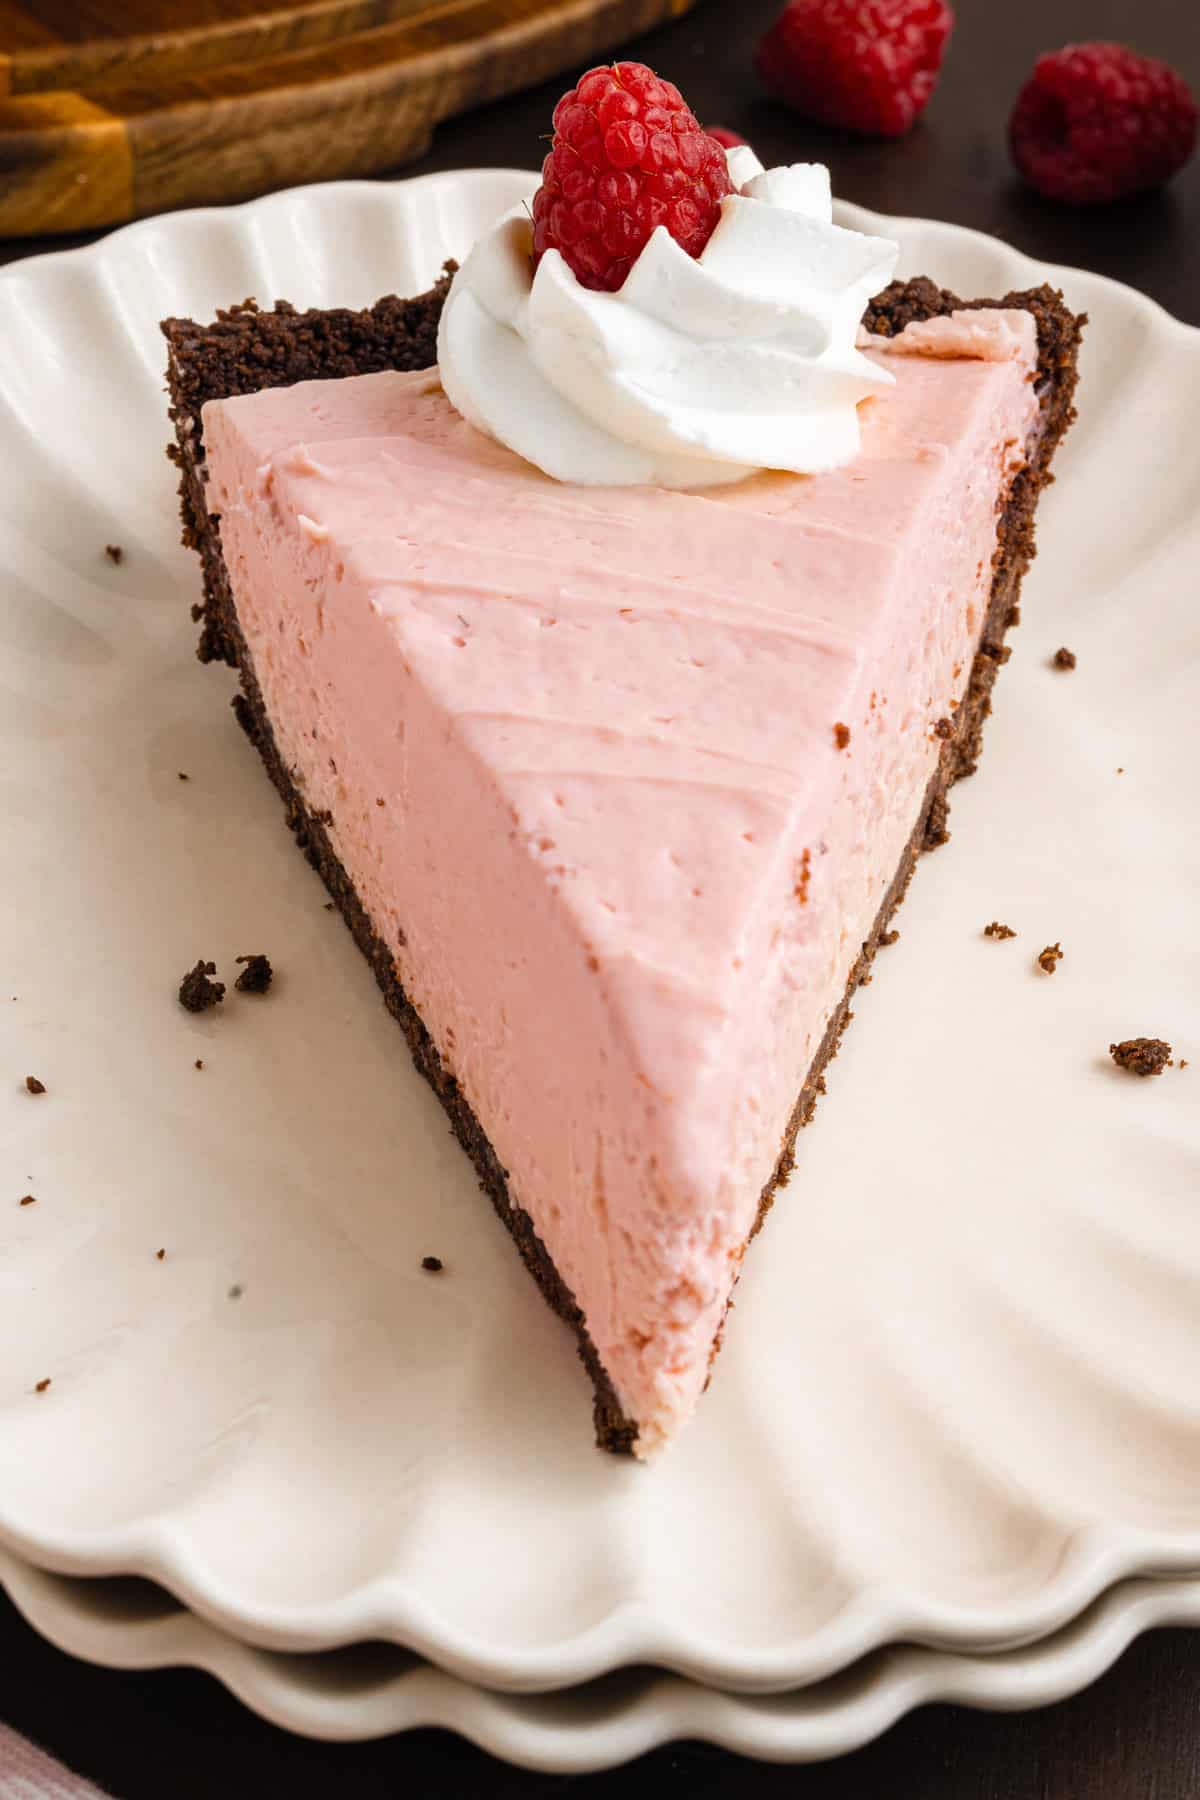
This No-Bake Raspberry Cream Pie is an easy raspberry pie recipe made with fresh raspberries, a creamy no-bake cheesecake filling, and a chocolate graham cracker crust. Only 25 minutes of prep - no oven required! The perfect make-ahead summer dessert.
Tell Me More About This Raspberry Pie
If you've been following my site for a while, you know I can't stay away from raspberries. From my Raspberry Cheesecake with its swirl of real raspberry sauce to my Lemon Raspberry Cake and my summery Raspberry Peach Cheesecake, I keep coming back to that bright, sweet-tart berry flavor. This raspberry cream pie takes everything I love about those desserts and turns it into the easiest version yet. You don't need a springform pan or a water bath. In fact, there is no baking involved at all!
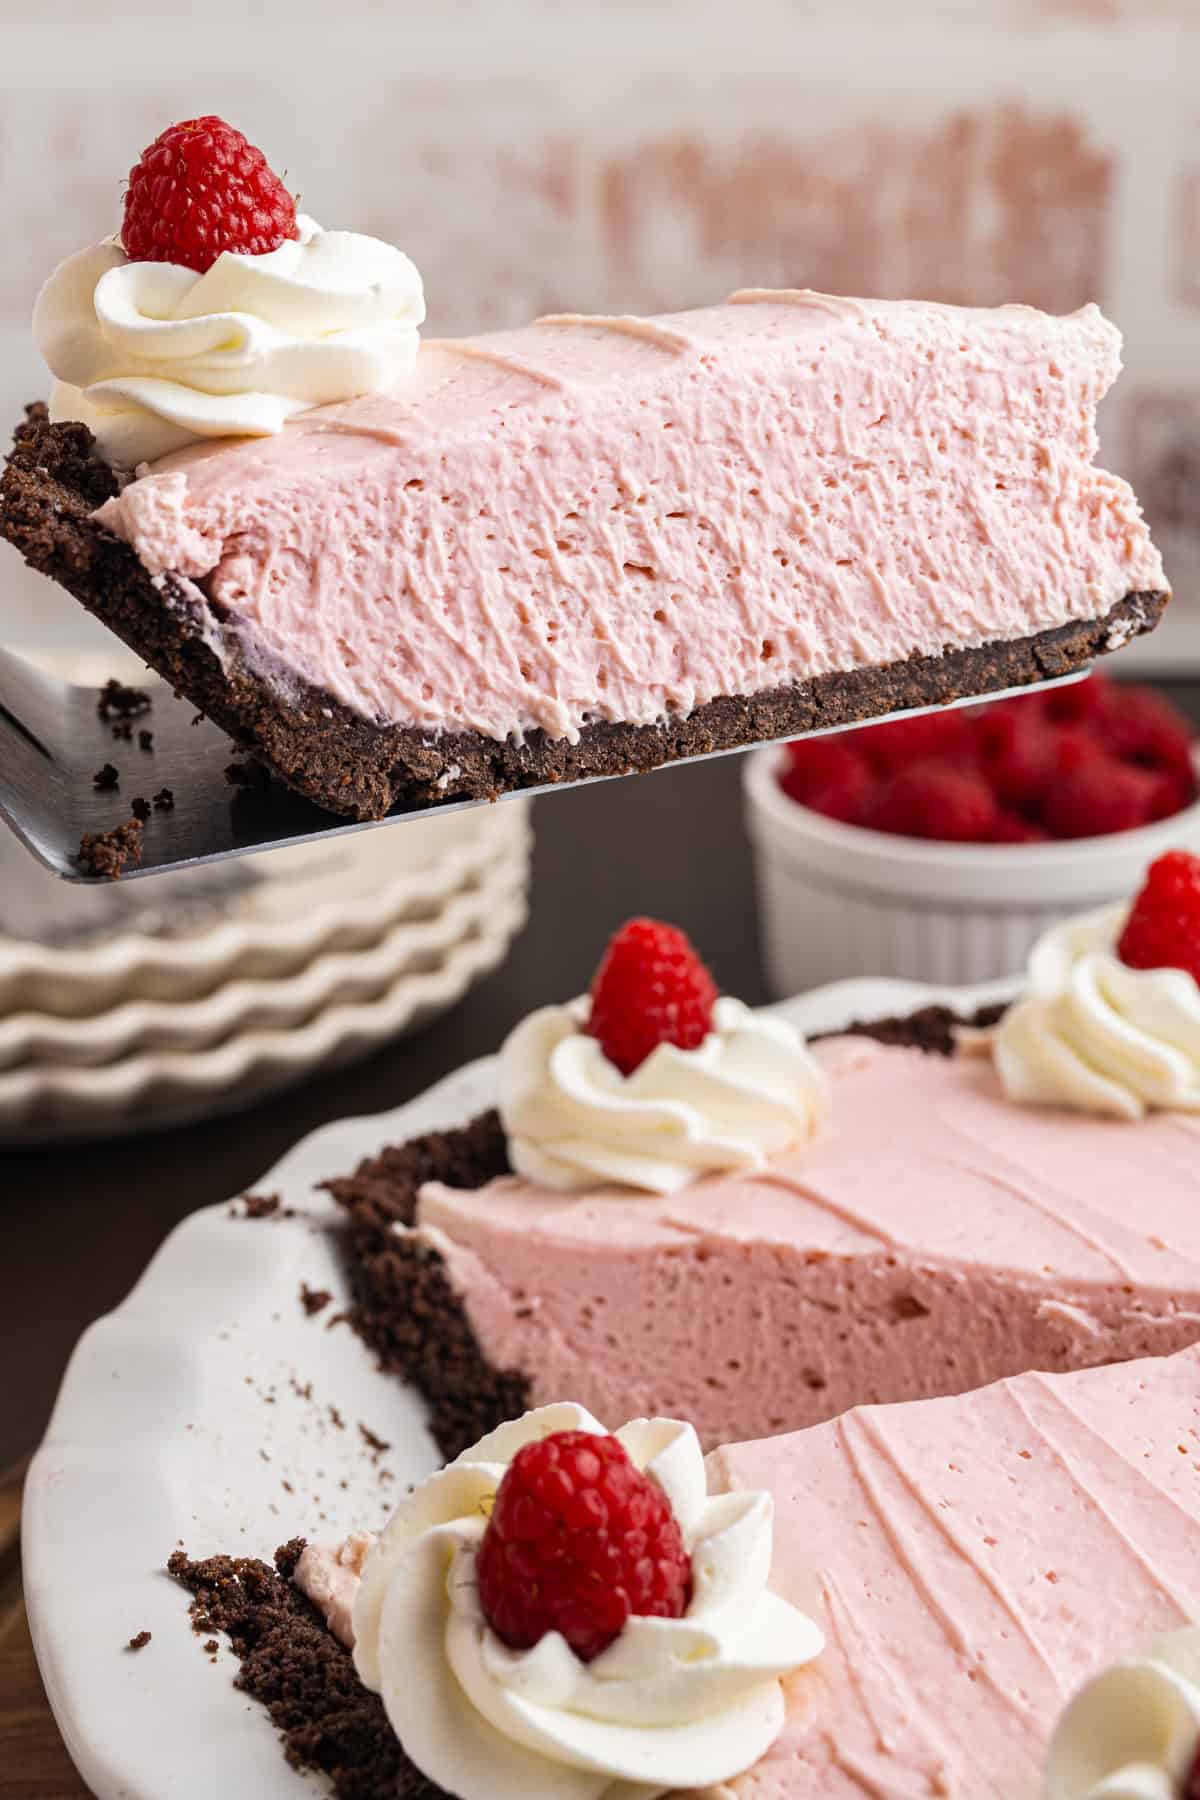
This no-bake raspberry cream pie is everything I want in a summer dessert: a buttery chocolate graham cracker crust, a light and fluffy raspberry cream cheese filling made with real berries, and absolutely zero time spent next to a hot oven. Just 25 minutes of hands-on prep, then the refrigerator does all the work!
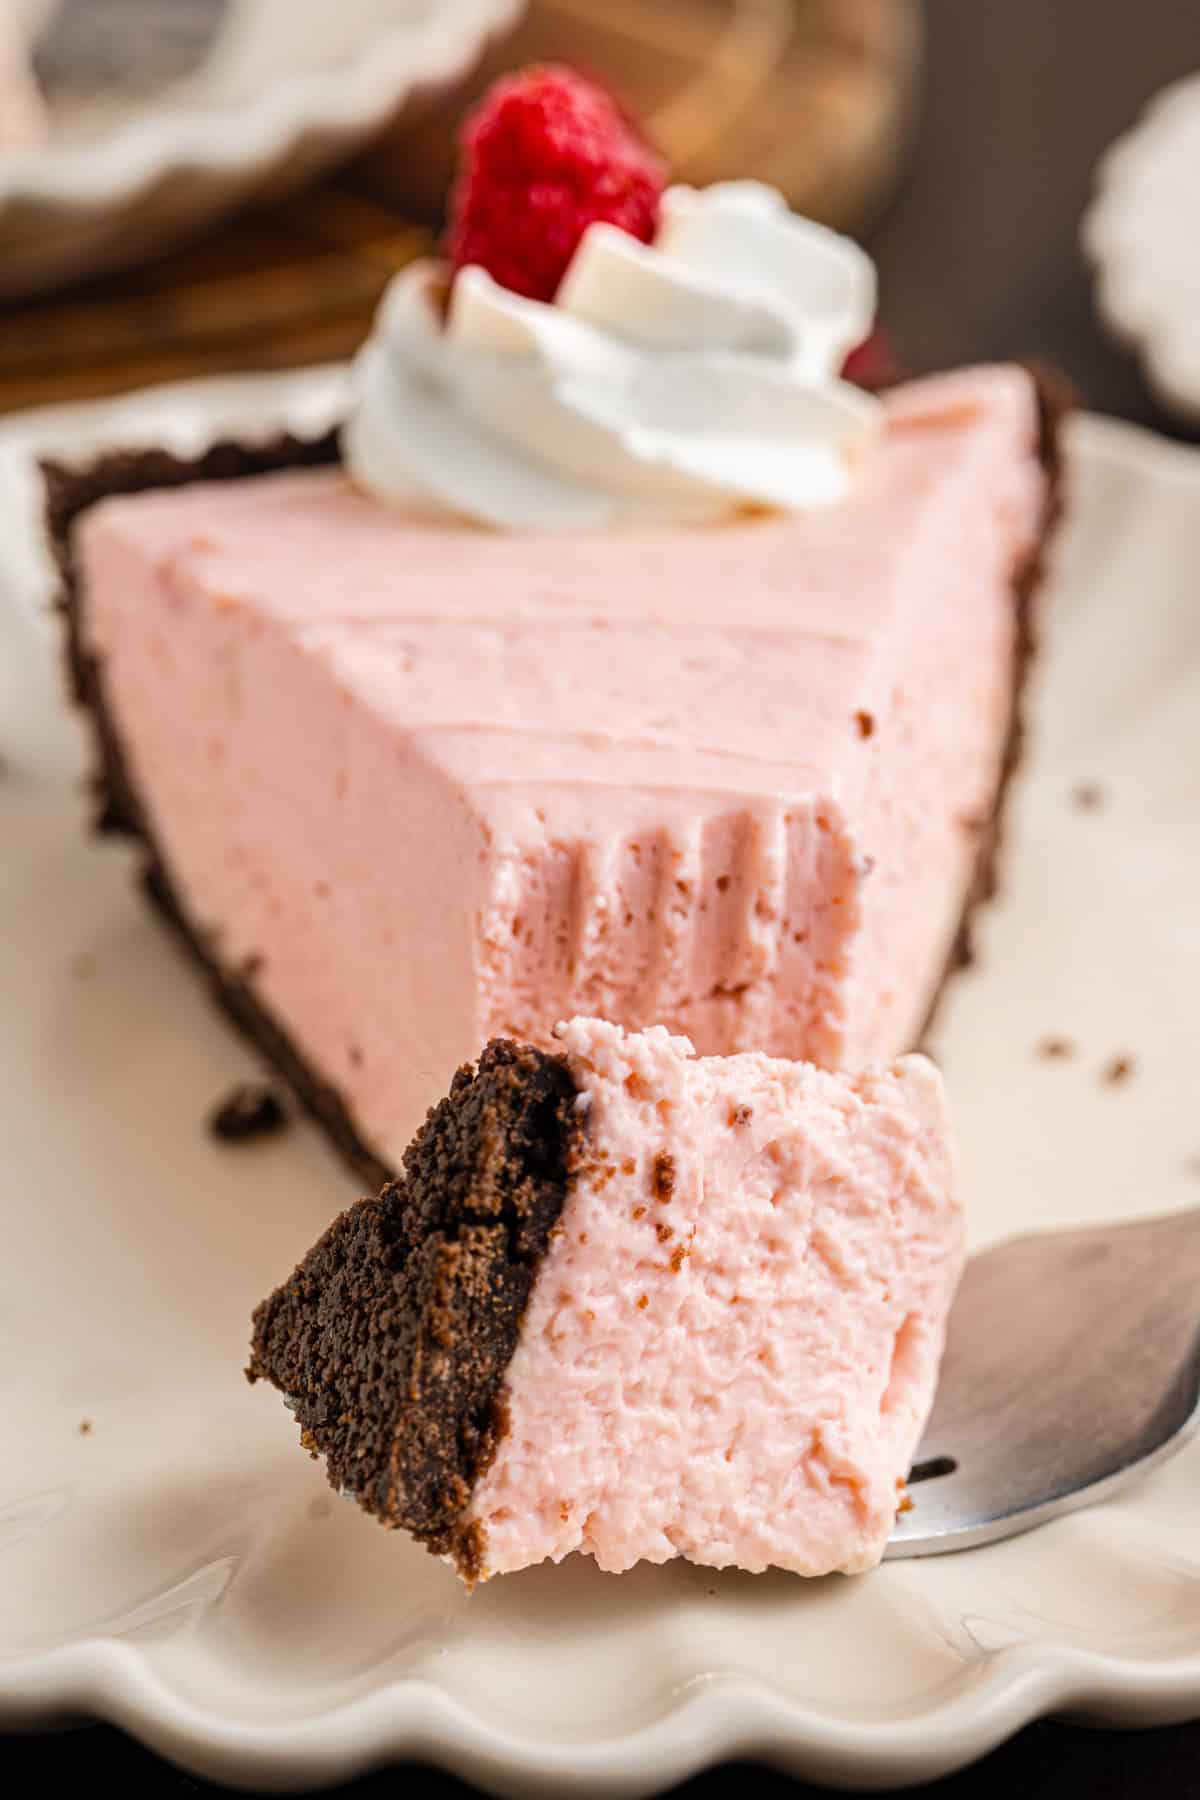
The filling gets its gorgeous pink color and sweet-tart flavor from a quick homemade raspberry sauce. You won't need gelatin, boxed pudding mixes, or artificial coloring. Just natural ingredients including lots of raspberries! I make a similar berry sauce for my Raspberry Cheesecake, and it's the secret to real raspberry flavor in every single bite.
You Will Need These Ingredients
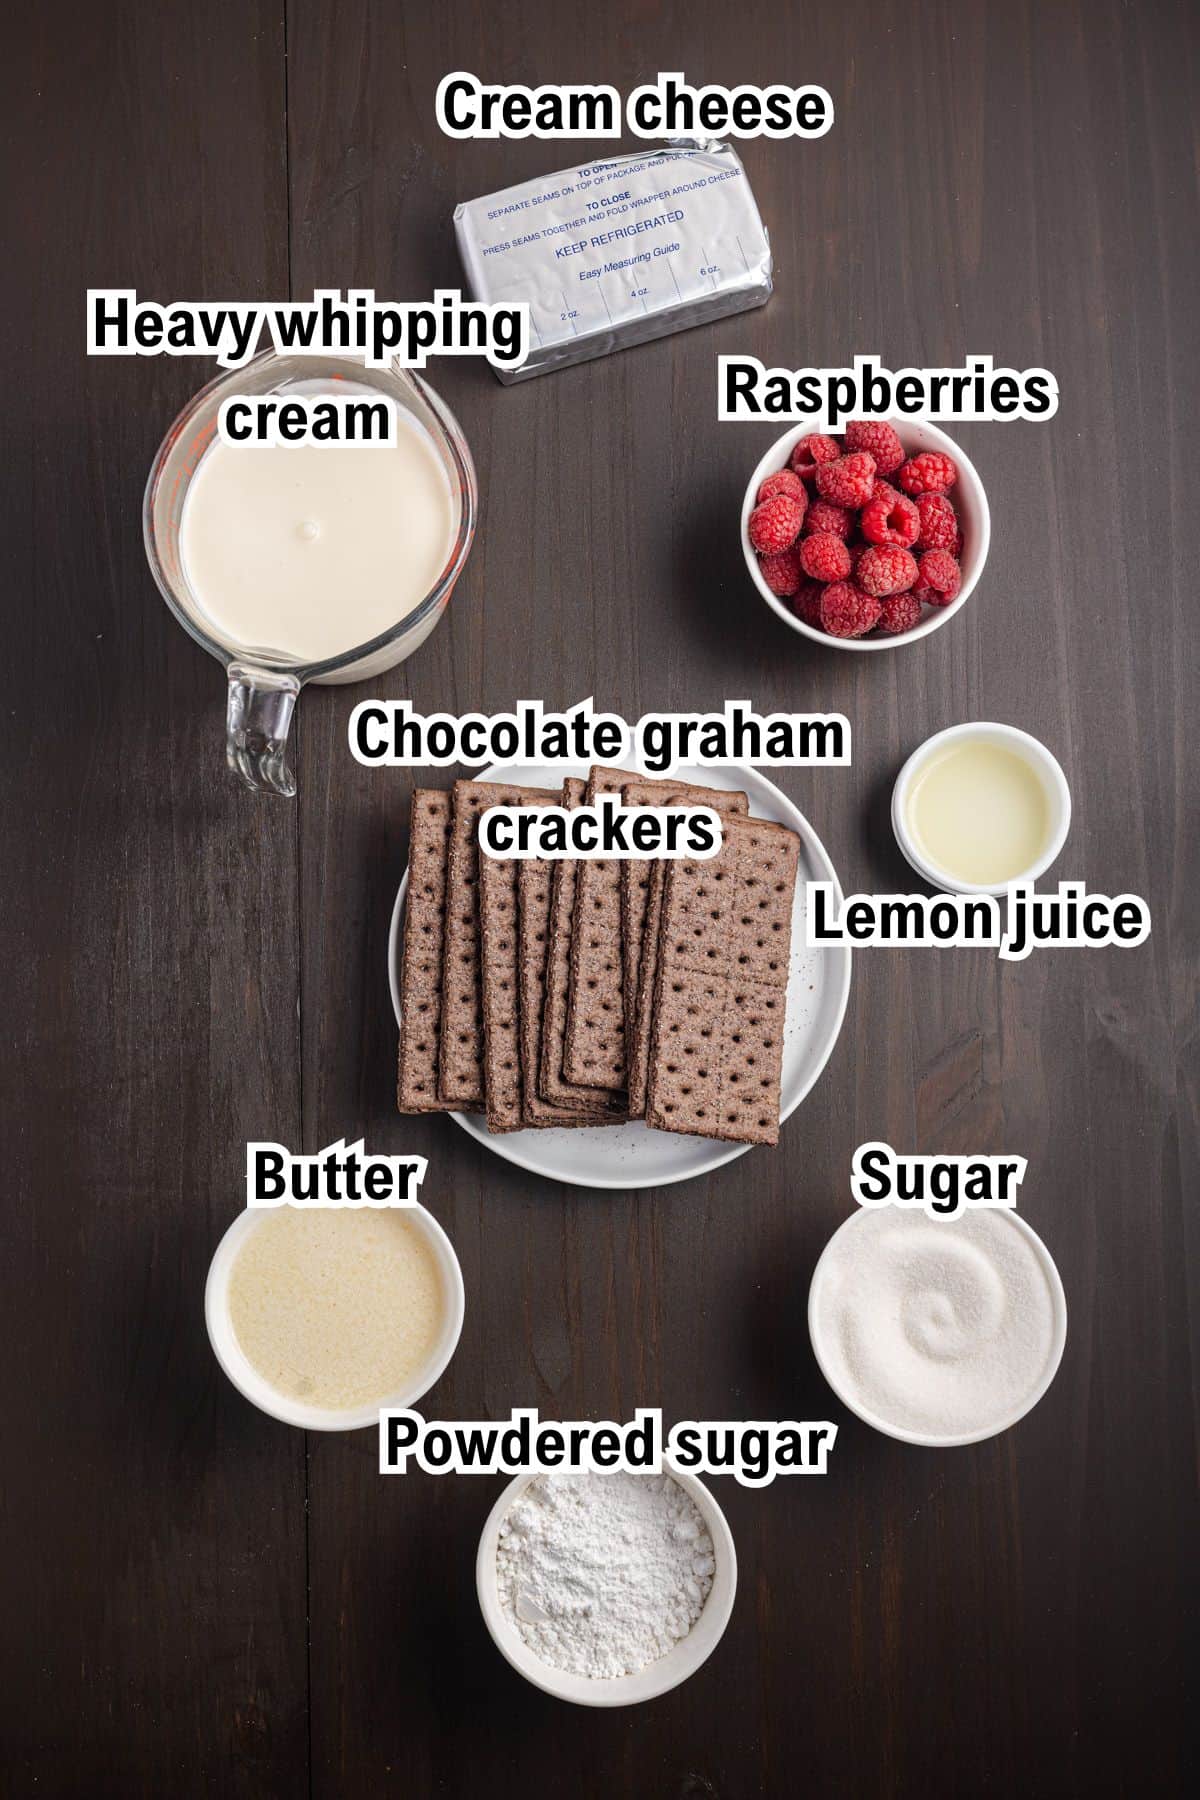
Here's everything you'll need to make this raspberry cream pie, separated into 3 components (raspberry sauce, chocolate graham cracker crust, and cream filling). The full measurements are in the recipe card below.
1) Raspberry Sauce Ingredients
- Fresh raspberries - 6 ounces, plus extra for garnishing. Fresh berries give the brightest flavor, but frozen work too. No need to thaw frozen ones; just simmer a minute or two longer.
- Granulated sugar - sweetens the sauce and helps it thicken as it simmers.
- Lemon juice - I used bottled lemon juice. The acidity of the lemon juice helps the pectin form in the jam for thickening.
2) Chocolate Graham Cracker Crust Ingredients
- Chocolate graham crackers - 12 full crackers, crushed into fine crumbs. I used store-brand chocolate graham crackers from Stater Brothers, and they may also be found at Walmart or Albertsons. This makes about 2-2 ½ cups of crumbs. You can use Oreos as a substitute. Regular graham crackers or chocolate sandwich cookies work too.
- Unsalted butter - melted, to bind the crumbs into a crust that holds its shape.
3) Cream Filling Ingredients
- Heavy whipping cream - cold, straight from the fridge. Cold cream whips up faster and holds stiff peaks better than room temperature cream.
- Cream cheese - softened to room temperature so it blends completely smooth, with no lumps. Full-fat is a must here, just like in my Raspberry Cheesecake.
- Powdered sugar - dissolves seamlessly into the cream cheese for a silky-smooth filling.
- This photo conveniently shows you all the ingredients (labeled) you need:
How to Make Raspberry Cream Pie - Step-by-Step
This is just a quick overview - find the full recipe with exact measurements in the recipe card below.
- Make the raspberry sauce. Simmer the raspberries, sugar, and lemon juice for about 5 minutes, crushing the berries as they cook, until slightly thickened. Press through a fine mesh sieve to remove the seeds, and let it cool completely.
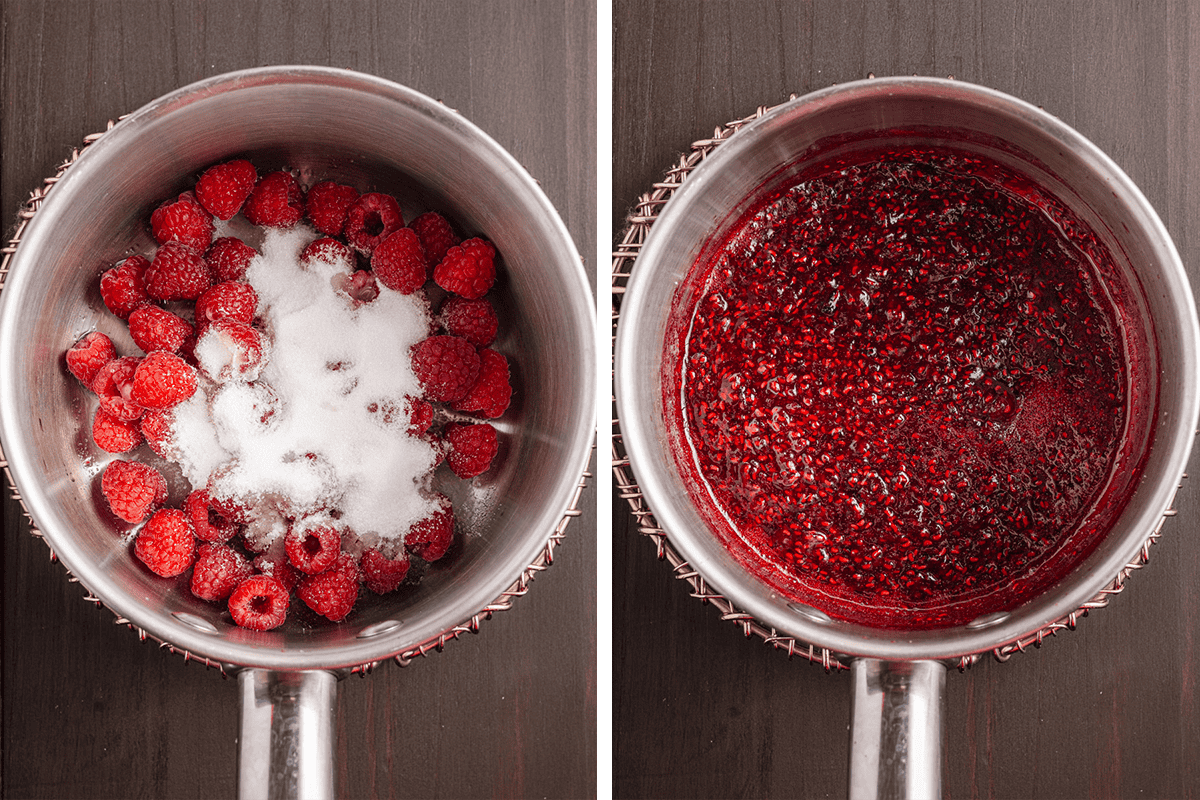
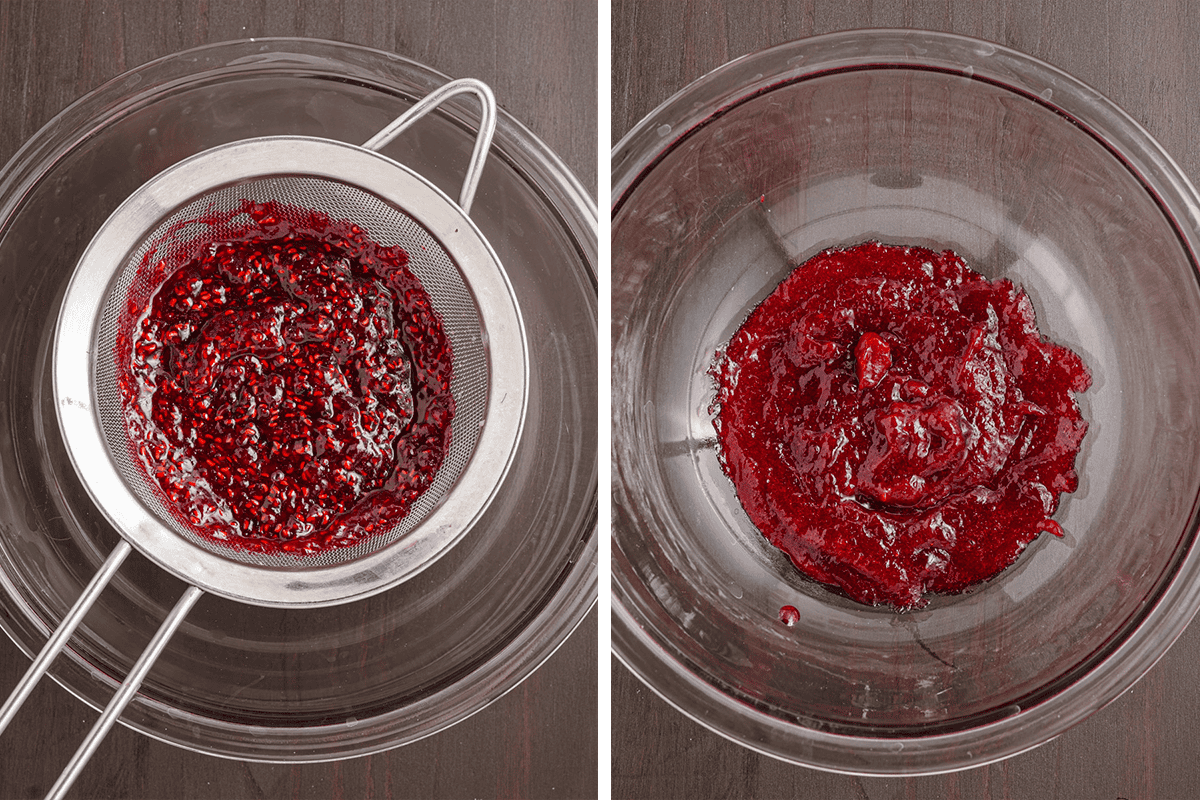
- Make the crust. Crush the chocolate graham crackers in a food processor, mix in the melted butter, and press firmly into a greased 9 or 10-inch pie dish. Freeze for 15-20 minutes until solid.
- Whip the cream. While the crust chills, whip the cold heavy cream to stiff peaks and set it aside.
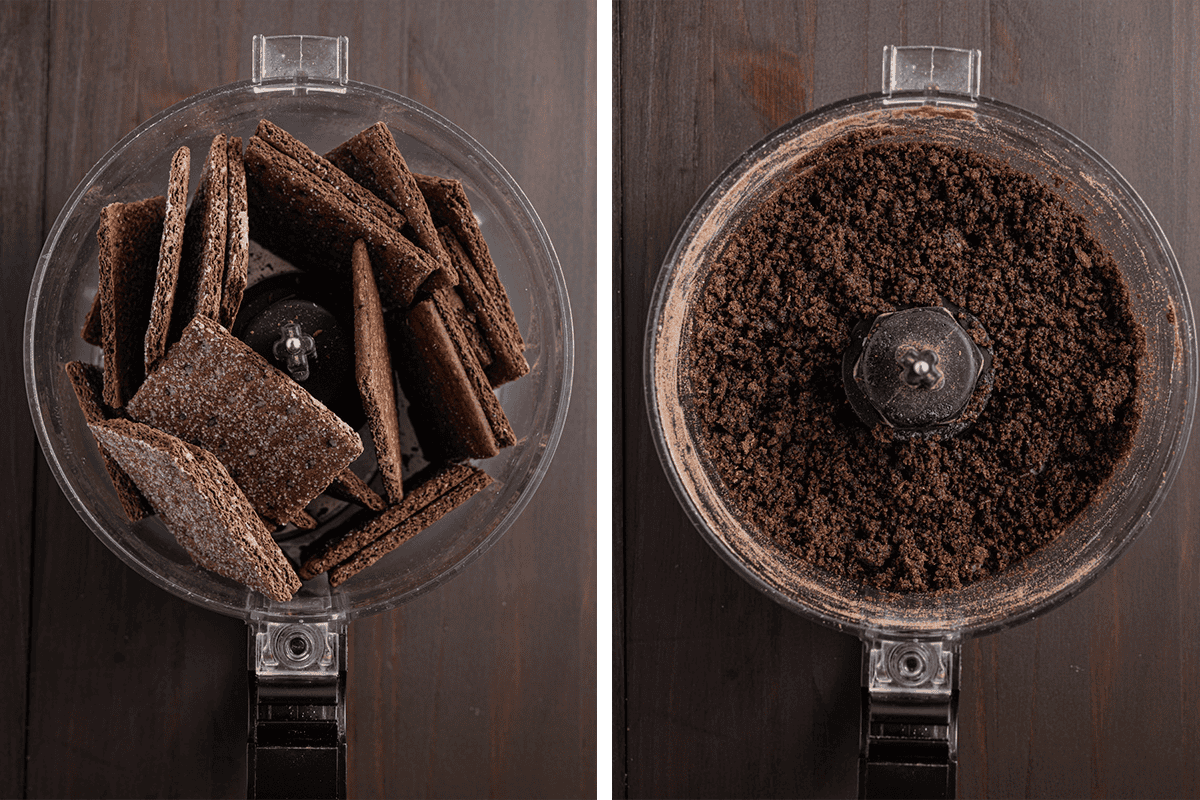
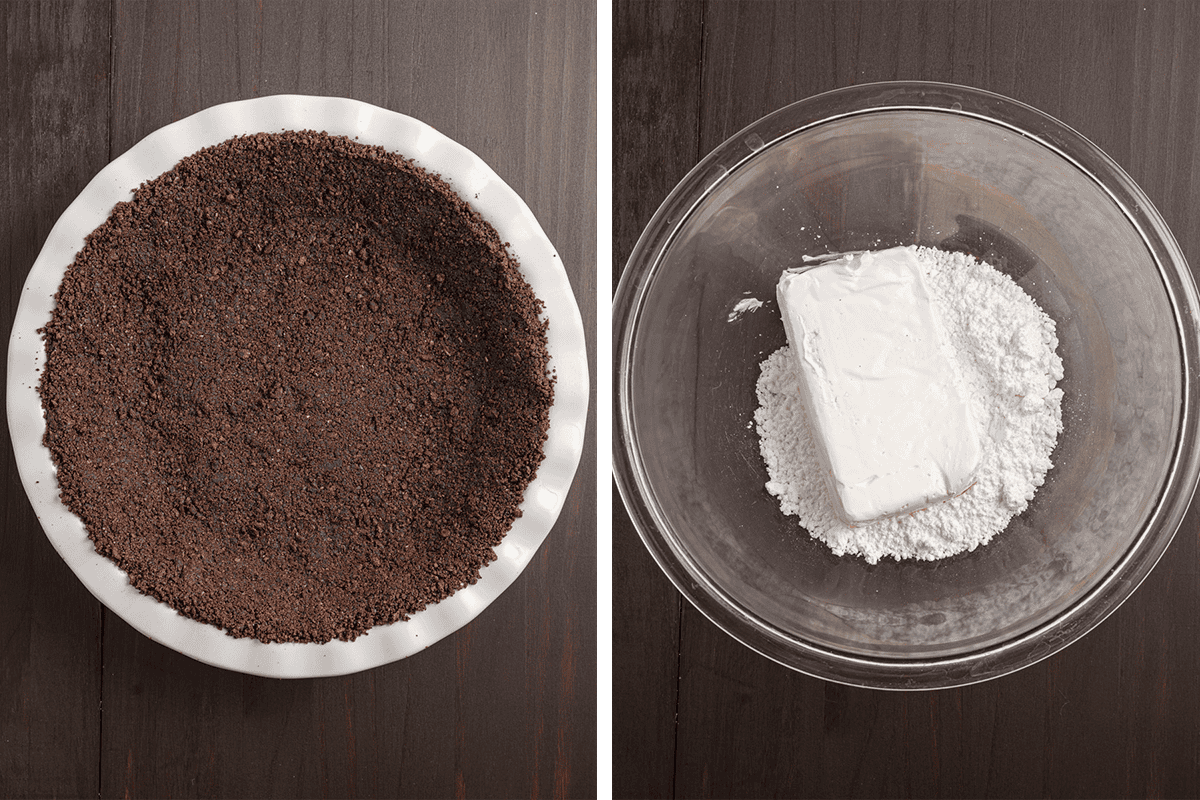
- Make the filling. Blend the cream cheese and powdered sugar until smooth, mix in the cooled raspberry sauce, then gently fold in the whipped cream.
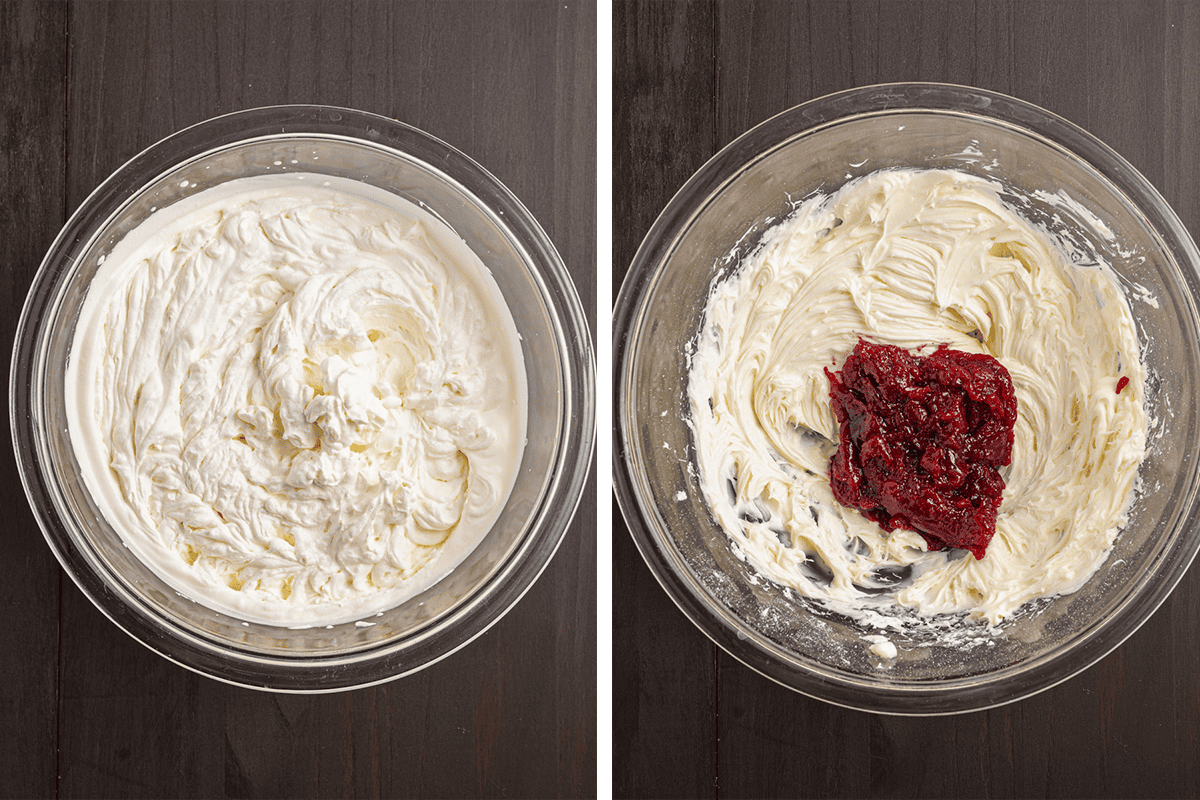
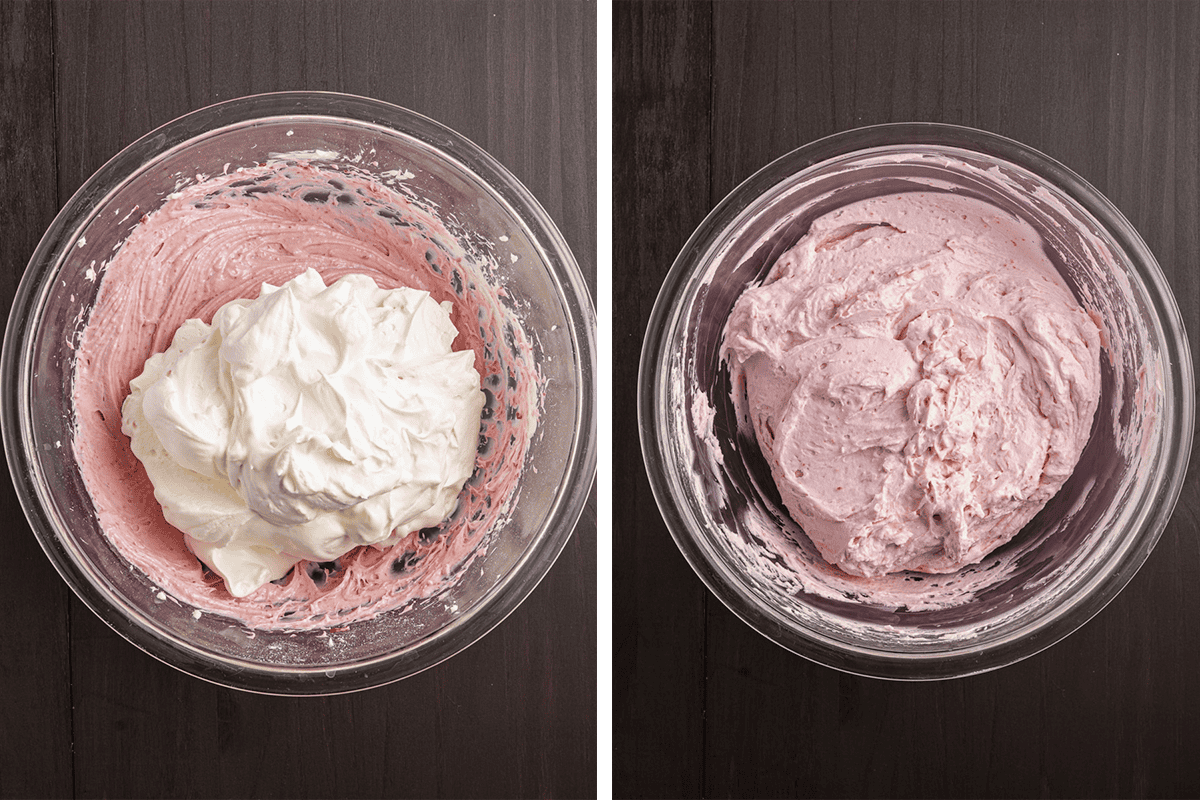
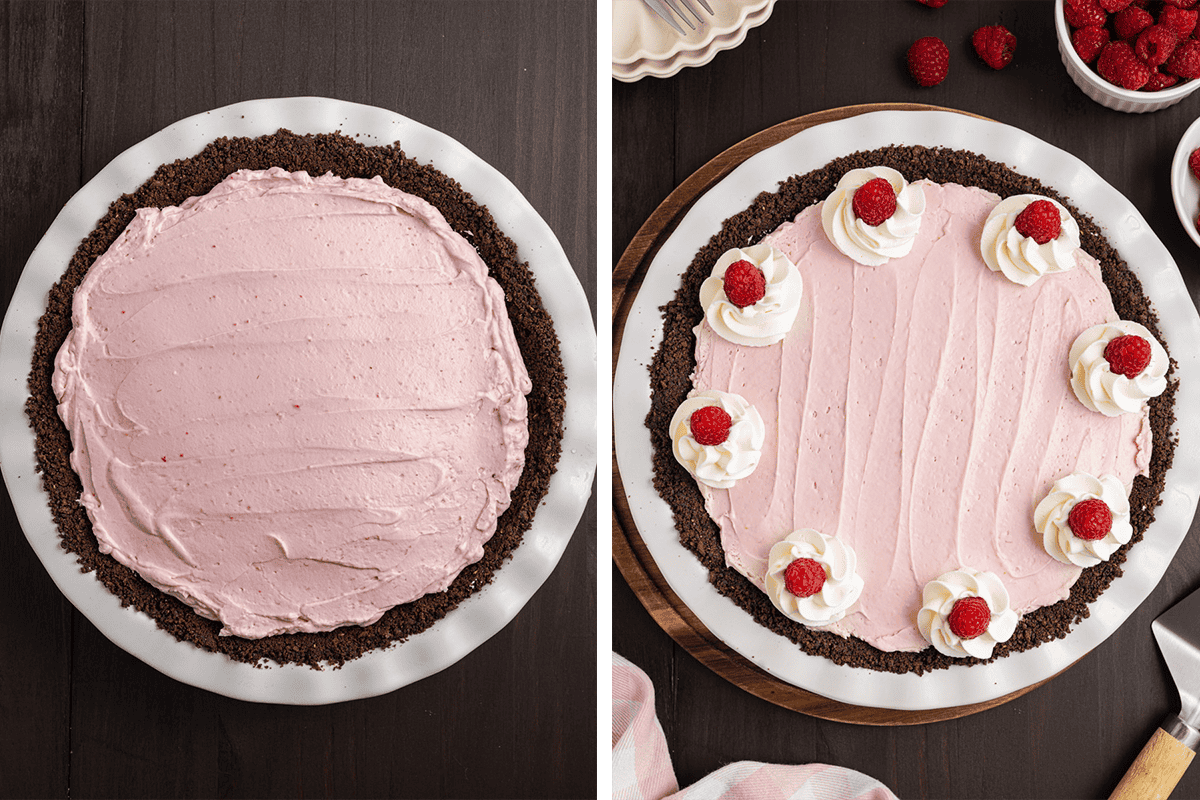
- Assemble and chill. Spoon the filling into the crust, smooth the top, cover, and refrigerate for at least 4 hours until set.
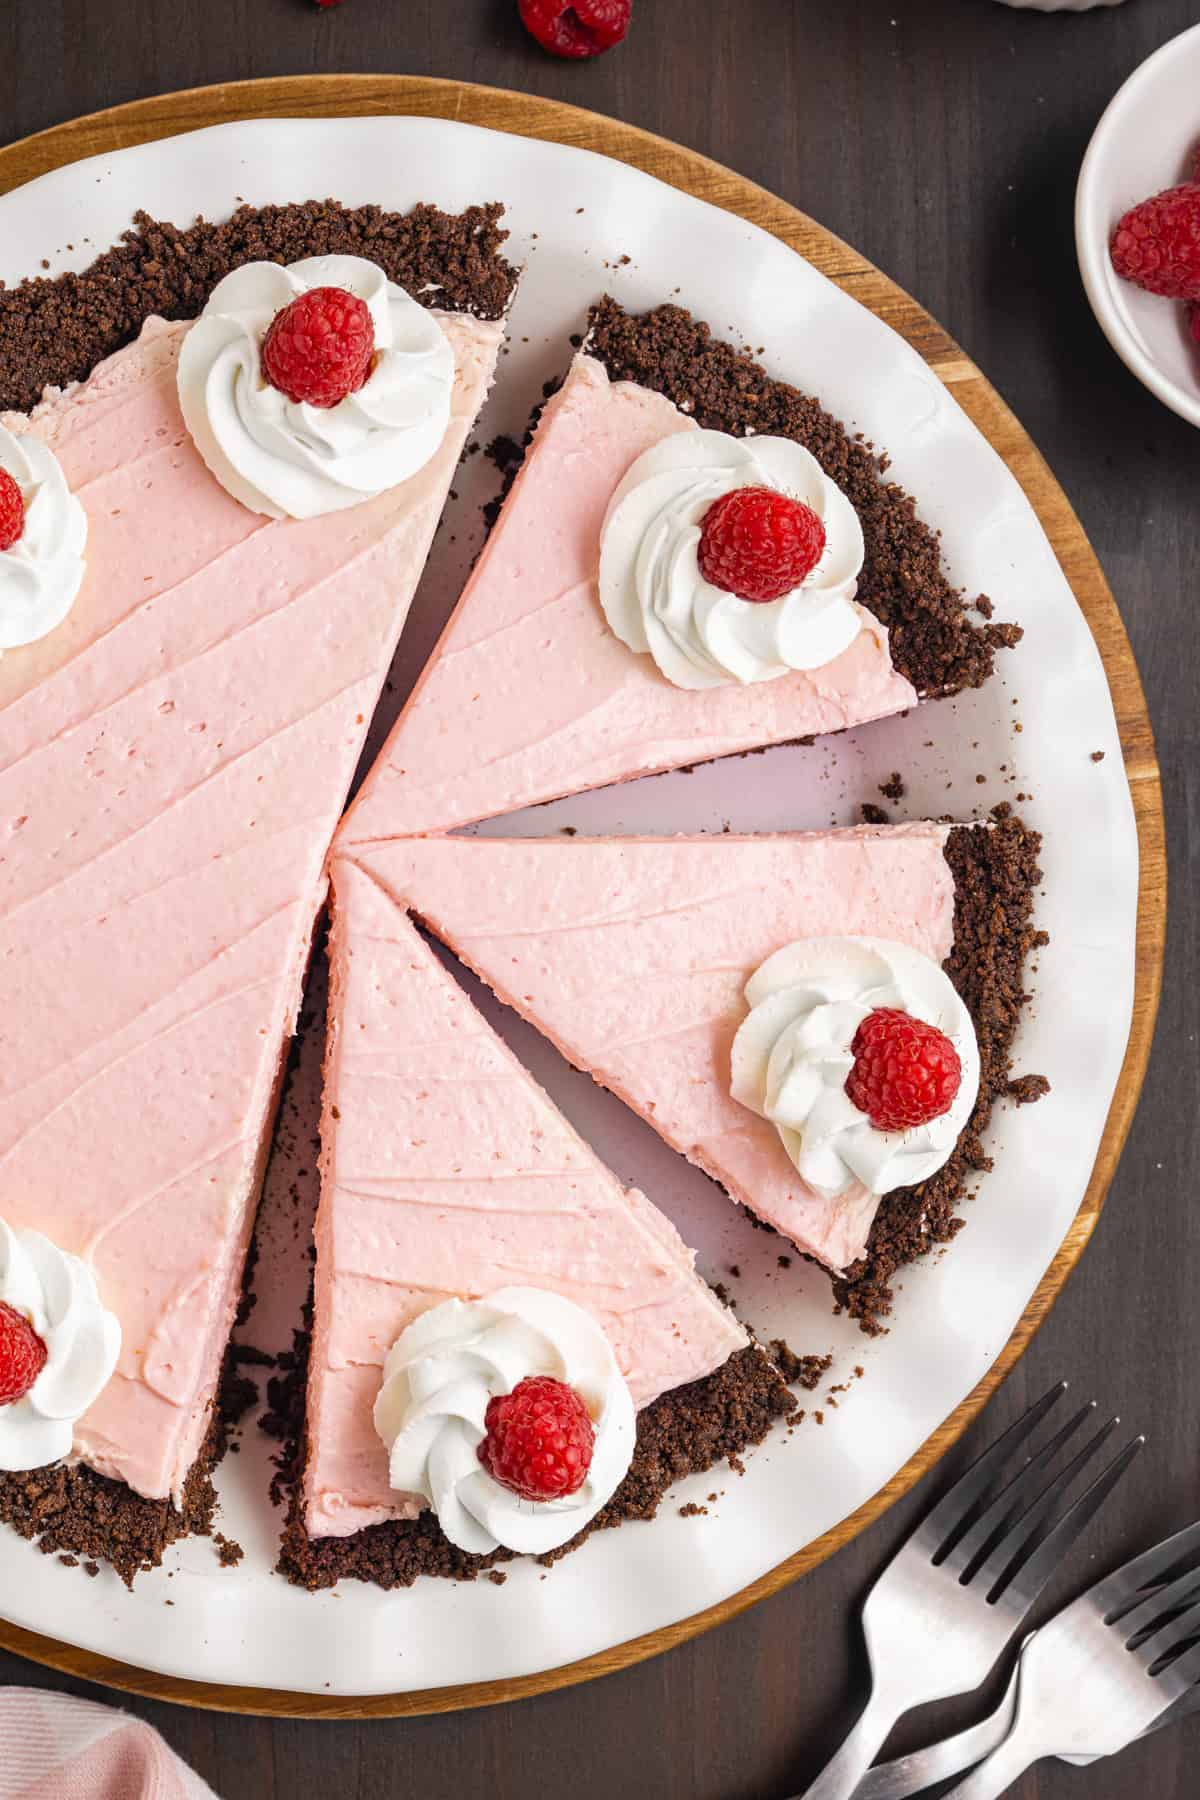
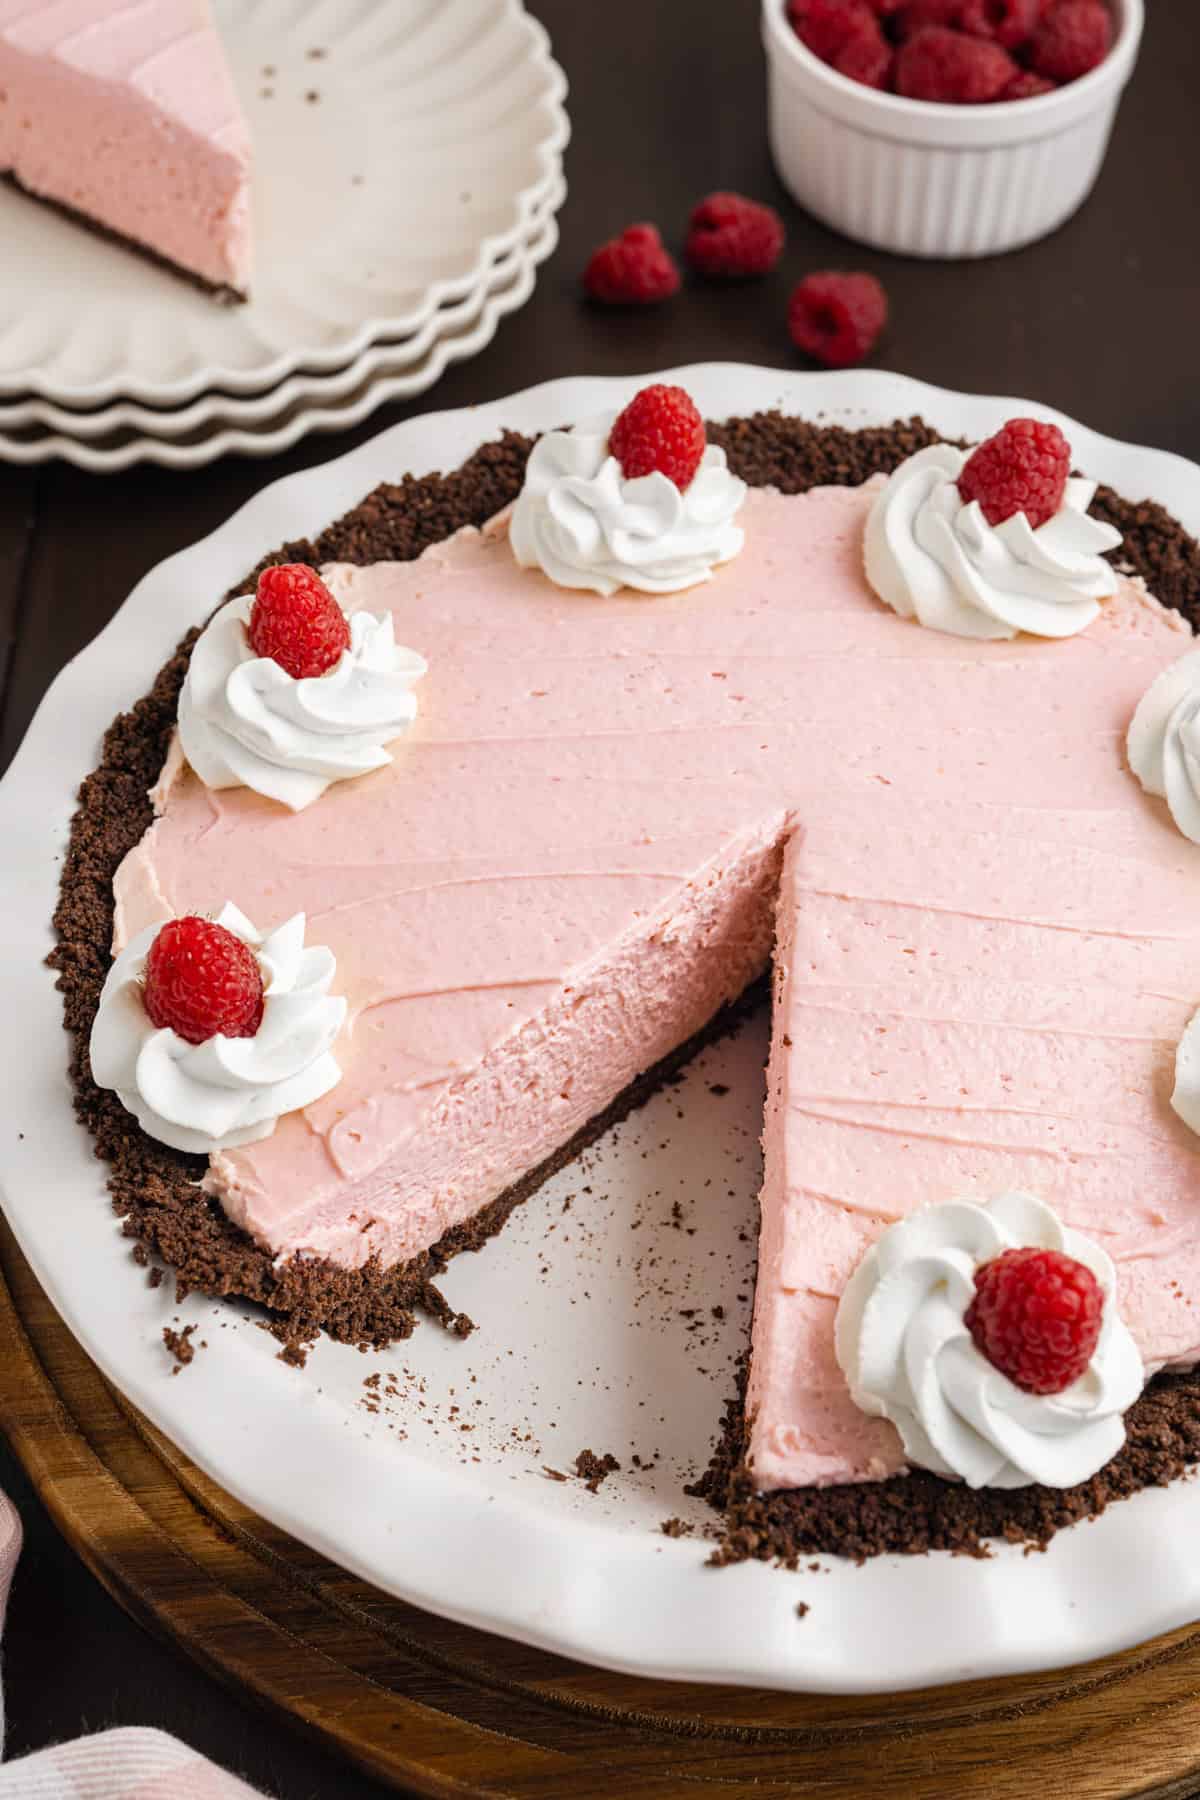
- Serve. Top with extra whipped cream and fresh raspberries, and serve chilled!
My Best Tips for Success
- Cool the raspberry sauce completely. This is the one step I don't want you to rush. Warm sauce will melt the whipped cream and deflate your filling. I make the sauce first, then prep everything else while it cools.
- Strain the seeds. Don't skip the sieve! Removing the seeds gives the filling that silky texture. I do the same thing in my Blackberry Cheesecake Bars, and it makes all the difference.
- Soften the cream cheese, but keep the cream cold. Room-temperature cream cheese blends lump-free. Cold heavy cream whips to sturdy peaks. This will ensure a smooth, fluffy, lump-free filling.
- Fold, don't beat. Once the whipped cream goes in, switch to a gentle folding motion with a spatula. You worked hard for that airy texture - don't whip it away!
- Press the crust firmly. I use the flat bottom of a measuring cup to pack the crumbs down. A firmly pressed crust means clean, picture-perfect slices. It's the same method I use for the graham cracker crust in my Blueberry Cheesecake Bars.
- Give it the full 4 hours. I know it's tempting to cut into it early, but this no-bake pie needs the chill time to firm up for those clean, beautiful slices. Overnight is even better.
- Wipe your knife between slices. For picture-perfect servings, dip the knife in hot water and wipe it clean before each cut.
Variations and Substitutions
- Different berries: Swap the raspberries for blackberries, strawberries, or a mixed berry blend. The method stays exactly the same.
- Different crust: Regular graham crackers, chocolate sandwich cookies, or Biscoff cookies all make a delicious crust. Oreos or chocolate wafer cookies may be used for the crust. You'll want 2 to 2 ½ cups of crumbs.
- Butter: You can use salted butter instead of unsalted butter for the crust.
- Extra chocolate: Drizzle the finished raspberry cream pie with melted dark chocolate or scatter chocolate shavings on top. So yum!
- Lemon twist: Add 1 teaspoon of fresh lemon zest to the filling for a citrus flavor. And, if you love that raspberry-lemon combo, my Raspberry Lemon Cake is calling your name!
- To save time, you can use ¾ cup of raspberry jam or preserves instead of making fresh raspberry jam.
- Use thawed Cool Whip instead of homemade whipped cream. The pie will be sweeter.
No-Bake Raspberry Cream Pie
Ingredients
Raspberry Sauce:
- 6 ounces fresh raspberries plus extra for garnishing if desired
- ⅓ cup granulated sugar (68 grams)
- 1 tablespoon lemon juice
Chocolate Graham Cracker Crust:
- 12 whole chocolate graham crackers
- ½ cup unsalted butter (113 grams), melted
Cream Filling:
- 1 ½ cups heavy whipping cream cold
- 8 ounces cream cheese softened
- ½ cup powdered sugar (60 grams)
Instructions
- Make the raspberry sauce. Add the raspberries, sugar, and lemon juice to a small saucepan and stir. Place the saucepan over medium heat, stirring often and crushing the raspberries with a wooden spoon or silicone spatula. As the juices release, bring the raspberries to a simmer for 5 minutes or until the sauce starts to thicken, then remove from heat. Press the raspberries through a medium fine mesh sieve over a medium heat-proof bowl to remove the seeds. Set aside to cool completely.
- Prep the pie dish. Grease a 9 or 10-inch (I used a 10-inch) pie dish or pan with butter or shortening.
- Make the crust. Use a food processor on high speed to crush the chocolate graham crackers into fine crumbs. Change the speed to low, then slowly add the melted butter and mix until the crumbs start to stick together. Firmly press the crumbs into the greased pie dish using the flat bottom of a measuring cup, and freeze the crust for 15-20 minutes or until it is firm and solid.
- Whip the cream. While the crust is in the freezer, whip the cold heavy whipping cream in a large mixing bowl with an electric mixer until stiff peaks form. Set it aside.
- Make the filling. In a separate large bowl, blend the cream cheese and powdered sugar until smooth. Add the cooled raspberry sauce and continue mixing until thoroughly combined. Fold in the whipped cream, and mix gently until it is evenly incorporated.
- Assemble and chill. Spoon the pie filling into the crust and smooth out the top with a silicone or offset spatula. Cover the pie with plastic wrap and refrigerate for at least 4 hours or until the filling is set.
- Serve. Top with extra whipped cream and fresh raspberries, if desired, and serve chilled.
Notes
- I used a 10-inch pie dish when I made this. Using a 9-inch pie dish may result in a pie with extra filling. This will just make the pie taller.
- Cool the sauce completely before adding it to the filling. Warm sauce will deflate the whipped cream.
- You can use frozen raspberries for the sauce (no thawing needed). Use fresh berries for garnish.
- Straining the seeds (pressing the raspberries through a sieve) is optional, but I highly recommend it! It gives the pie filling a smoother texture.
Storage Instructions
- Refrigerator: Store the raspberry cream pie in the fridge in an airtight container or wrapped in plastic wrap for up to 4 days.
- Freezer: Freeze the whole pie (or individual slices) tightly wrapped for up to 2 months. I recommend freezing the pie before topping with whipped cream or raspberries. Move it to the refrigerator to thaw overnight before serving. Or enjoy it semi-frozen for an ice-cream-pie vibe. So good on a hot day!
- Make-ahead: This pie is a make-ahead dream. You can assemble it up to a day in advance and add the whipped cream and fresh berry garnish right before serving.
Tools & Supplies You'll Need:
- Small saucepan (1 or 2 quart)
- Medium and Large mixing bowls
- Small or medium fine mesh sieve
- Wooden spoon or silicone spatula
- 9- or 10-inch pie dish
- Butter or shortening to grease the pie dish
- Electric mixer or a stand mixer with a paddle attachment
- Plastic wrap
Nutrition
Nutrition Disclaimer:
The nutritional information on this website is only an estimate and is provided for convenience and as a courtesy only. The accuracy of the nutritional information for any recipe on this site is not guaranteed. It should not be used as a substitute for a professional nutritionist's advice.
Frequently Asked Questions
- Can I use frozen raspberries? Yes! Thaw them first, then cook the sauce exactly as written. Since we strain the sauce anyway, frozen berries work beautifully. They make this an easy raspberry pie recipe you can enjoy all year round.
- Can I use Cool Whip instead of whipping the cream myself? You can substitute about 3 cups of thawed whipped topping, but I really recommend whipping your own. It takes 3 minutes, and the flavor is so much better.
- Why didn't my pie set? The two most common culprits: the raspberry sauce was still warm when it went into the filling, or the whipped cream wasn't whipped to stiff peaks. Give it a few extra hours in the fridge - overnight chilling fixes almost everything.
- Can I make this in a different pan? Yes! A 9-inch pie dish works (the filling will just be a bit taller), or press everything into an 8x8 dish and cut it into bars, just like my Blueberry Cheesecake Bars.
- Can I make this raspberry cream pie ahead of time? Absolutely, it's actually better that way. Make it up to 2 days in advance and keep it covered in the refrigerator. Add the whipped cream and fresh raspberry garnish just before serving.
- Does this no-bake pie use gelatin? No - this is a raspberry pie without gelatin. The combination of cream cheese and stiffly whipped cream sets the filling naturally in the fridge.
- Can I use a regular graham cracker crust instead of chocolate? Of course! Regular graham crackers, chocolate wafer cookies, or even Oreos (cream centers scooped out) all work.

Made this with fresh raspberries from the garden. Froze the sauce to use later.
Made this week and the filling did not set at all! After 5 hours in the fridge it was runny like soup. Taste was quite fine. My sauce did not thicken as the picture indicates even though the process was followed exactly.
Certainly not a show stopper.
Any ideas as to what I did wrong?
Hi Fran! I’m sorry it didn’t set! From what you described, I suspect the raspberry sauce was the culprit, especially since you mentioned that it never thickened. Fresh garden raspberries can vary quite a bit in how much liquid they release. The sauce should be noticeably reduced and thickened before straining, and then completely cooled before adding it to the filling. Also make sure the heavy cream is whipped all the way to stiff peaks, since that’s what gives this no-bake filling most of its structure. I’m going to add a little more detail to the recipe about the consistency of the raspberry sauce — that’s helpful feedback!
Love all ur recipes. Please continue to send them. My family now looks forward to dinner.
This means so much, thank you, Becky! ❤️ I love that your family looks forward to dinner now — that's the best compliment. Thank you for cooking along with me! ❤️
Can I just use seedless jam?
Hi Danielle! Yes, absolutely! Use about ¾ cup of seedless raspberry jam in place of the homemade raspberry sauce. Just know that store-bought jam runs sweeter than the homemade version, so you may want to hold back a little on the sugar in the filling. Everything else stays exactly the same. Let me know how it turns out! 🙂