This easy cherry cake is made completely from scratch using fresh cherries and pantry staples. Serve it warm for breakfast, brunch, midafternoon snack, or as an after-dinner dessert with a scoop of vanilla ice cream! This is the best homemade summer cake to make during the cherry season! It can become a family favorite recipe with both kids and adults!
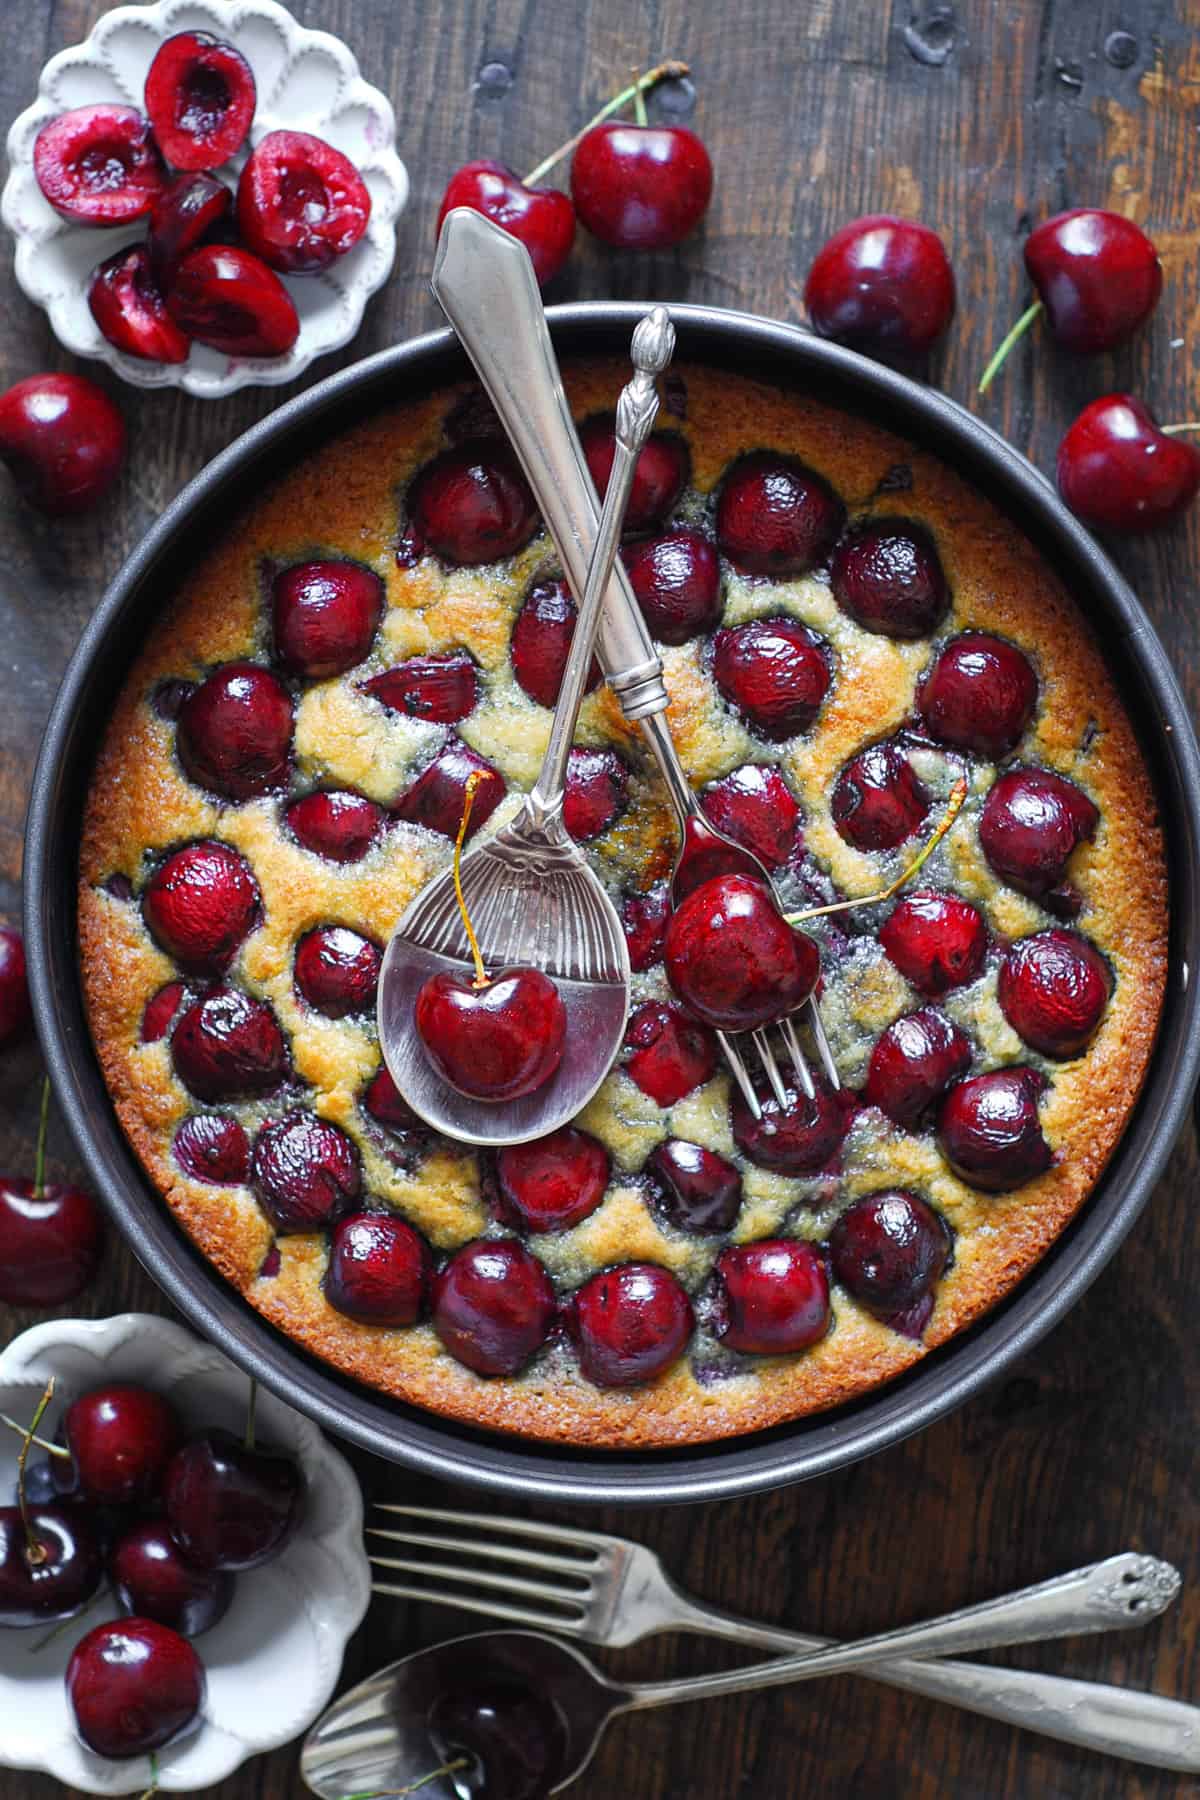
Simple cherry cake
Are you looking for a delicious summer cake recipe? Did you go overboard at your local farmers market and bought way too many fresh cherries that you can possibly eat? Then, look no further. This cherry cake is your answer to everything!
It will become your new favorite sweet treat that you will be tempted to not share with anybody.
- This recipe uses simple ingredients and is literally stuffed with fresh cherries.
- It's an easy and quick dessert that will go well with any weeknight dinner. It also looks gorgeous and is perfect for special occasions and for entertaining guests. Just like this peach and blueberry skillet cake.
- Take advantage of the summer cherry season and use up the fresh produce (cherries) in this simple recipe!
Summer cake with a light and fluffy texture
This cake is super easy to make yet looks sophisticated enough like it came from a fine restaurant or a French bakery. It's perfect for snacks, breakfast, and dessert.
- This is a super decadent summer cherry cake but without the heaviness that usually comes from using too much butter or cream.
- In fact, there is only 2 oz of butter used for the whole cake, and Greek yogurt is used instead to provide moisture and texture to the cake.
- This fresh cherry cake didn't last long in my house, so be ready to make a double batch! This way, you can keep one cake to yourself, and share the second one with family and friends!
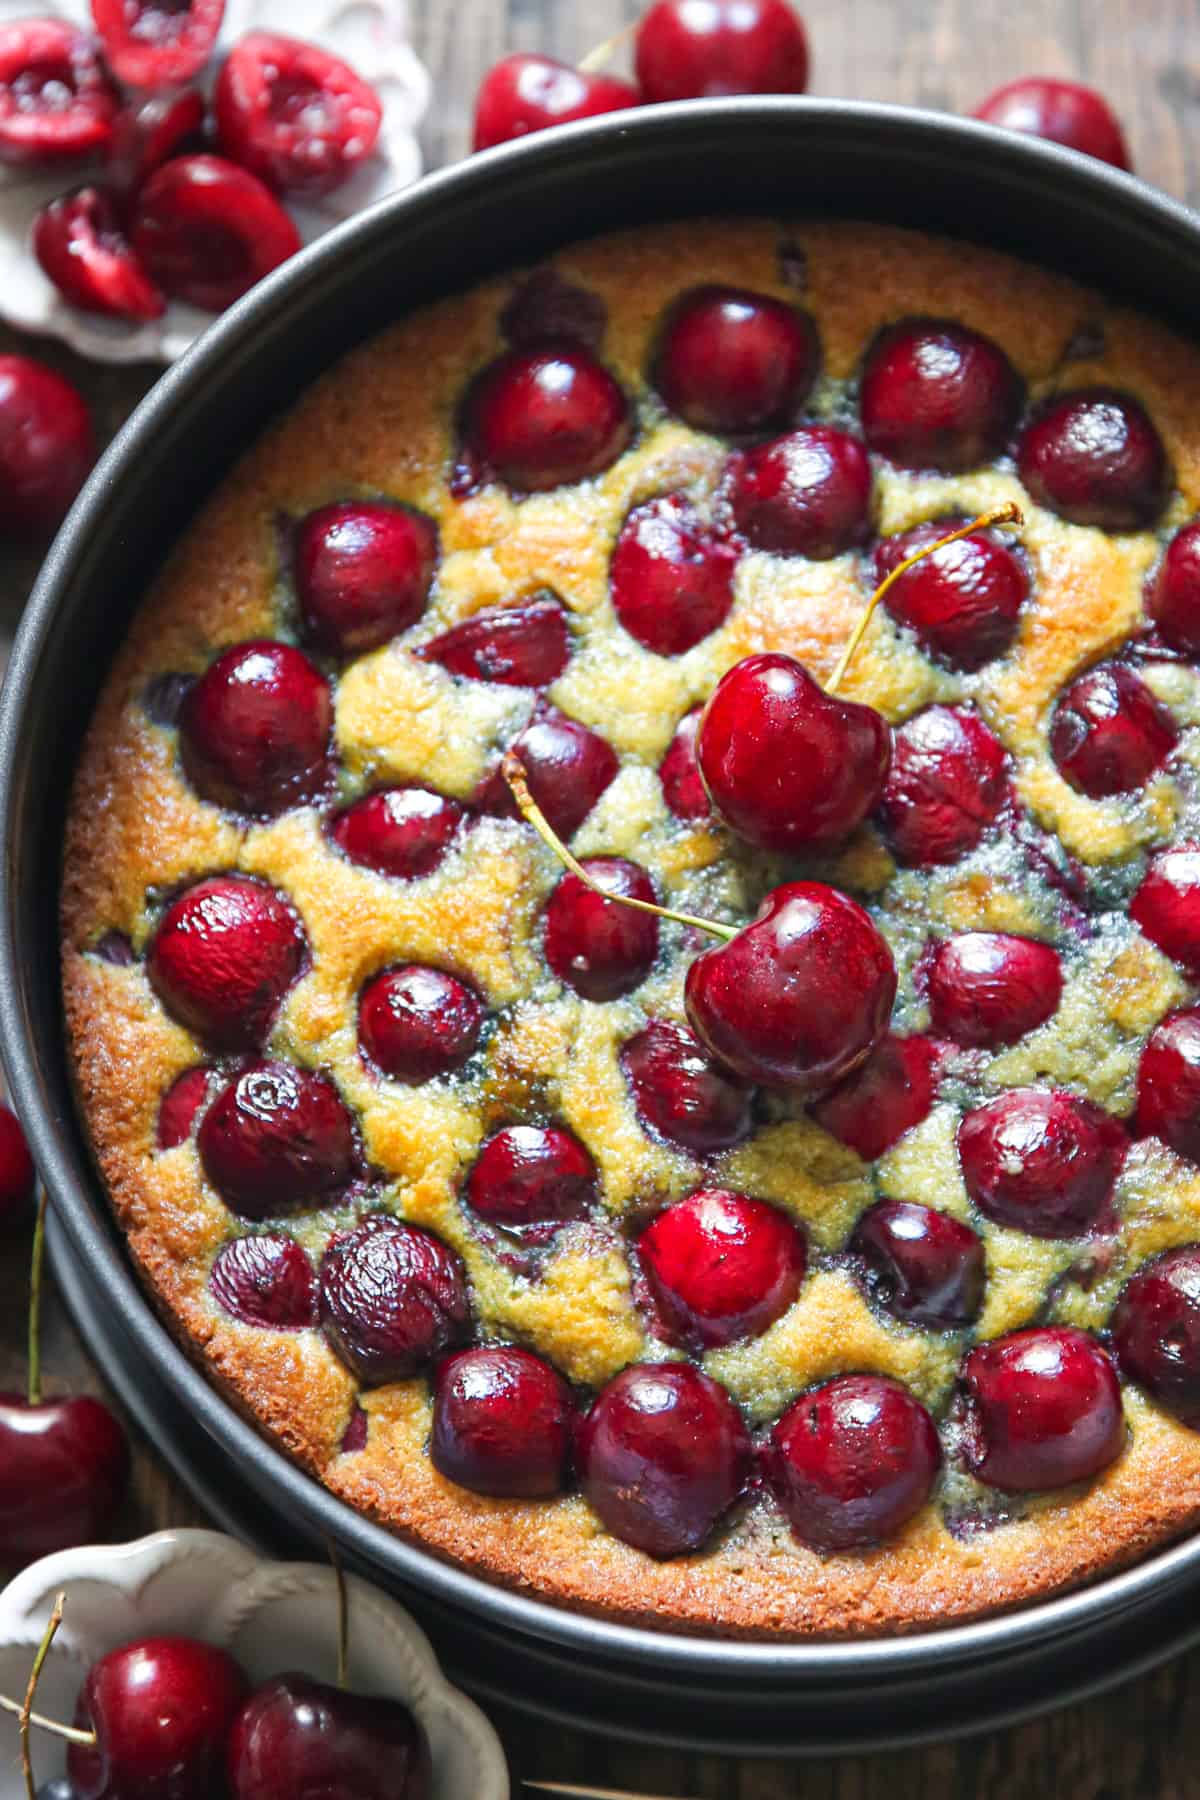
Why you'll love it
Take advantage of the cherry season, do yourself and your family a favor, and bake this cake!
- The fresh cherries are the stars of the show here! This cake is literally packed with fresh cherries that have been pitted using a very handy tool you can buy online (Amazon) to save you a ton of time.
- Greek yogurt works great in cakes and ensures a nice, smooth texture. It is also a good substitute for some portion of butter. I love baking with Greek yogurt and try to avoid using as much butter as I can get away with without losing the texture. Greek yogurt helps with this.
- The cake is flavored with vanilla which elevates the flavor of fresh cherries.
- There is no cream cheese, no heavy cream, no milk, and no frosting in this recipe. Only 2 oz of butter. It's a truly light and refreshing Summer cake that will satisfy your sweet tooth without being overly sweet or overloaded with too many extra calories.
- A light and moist texture is created by the combination of Greek yogurt and butter. In this recipe, you'll be using 2 oz of softened butter and ½ cup Greek yogurt to produce a full-size 9-inch diameter cake. Not too much butter, yet the texture does not suffer. In fact, I prefer the texture that Greek yogurt creates in a cake much better than if I just use butter.
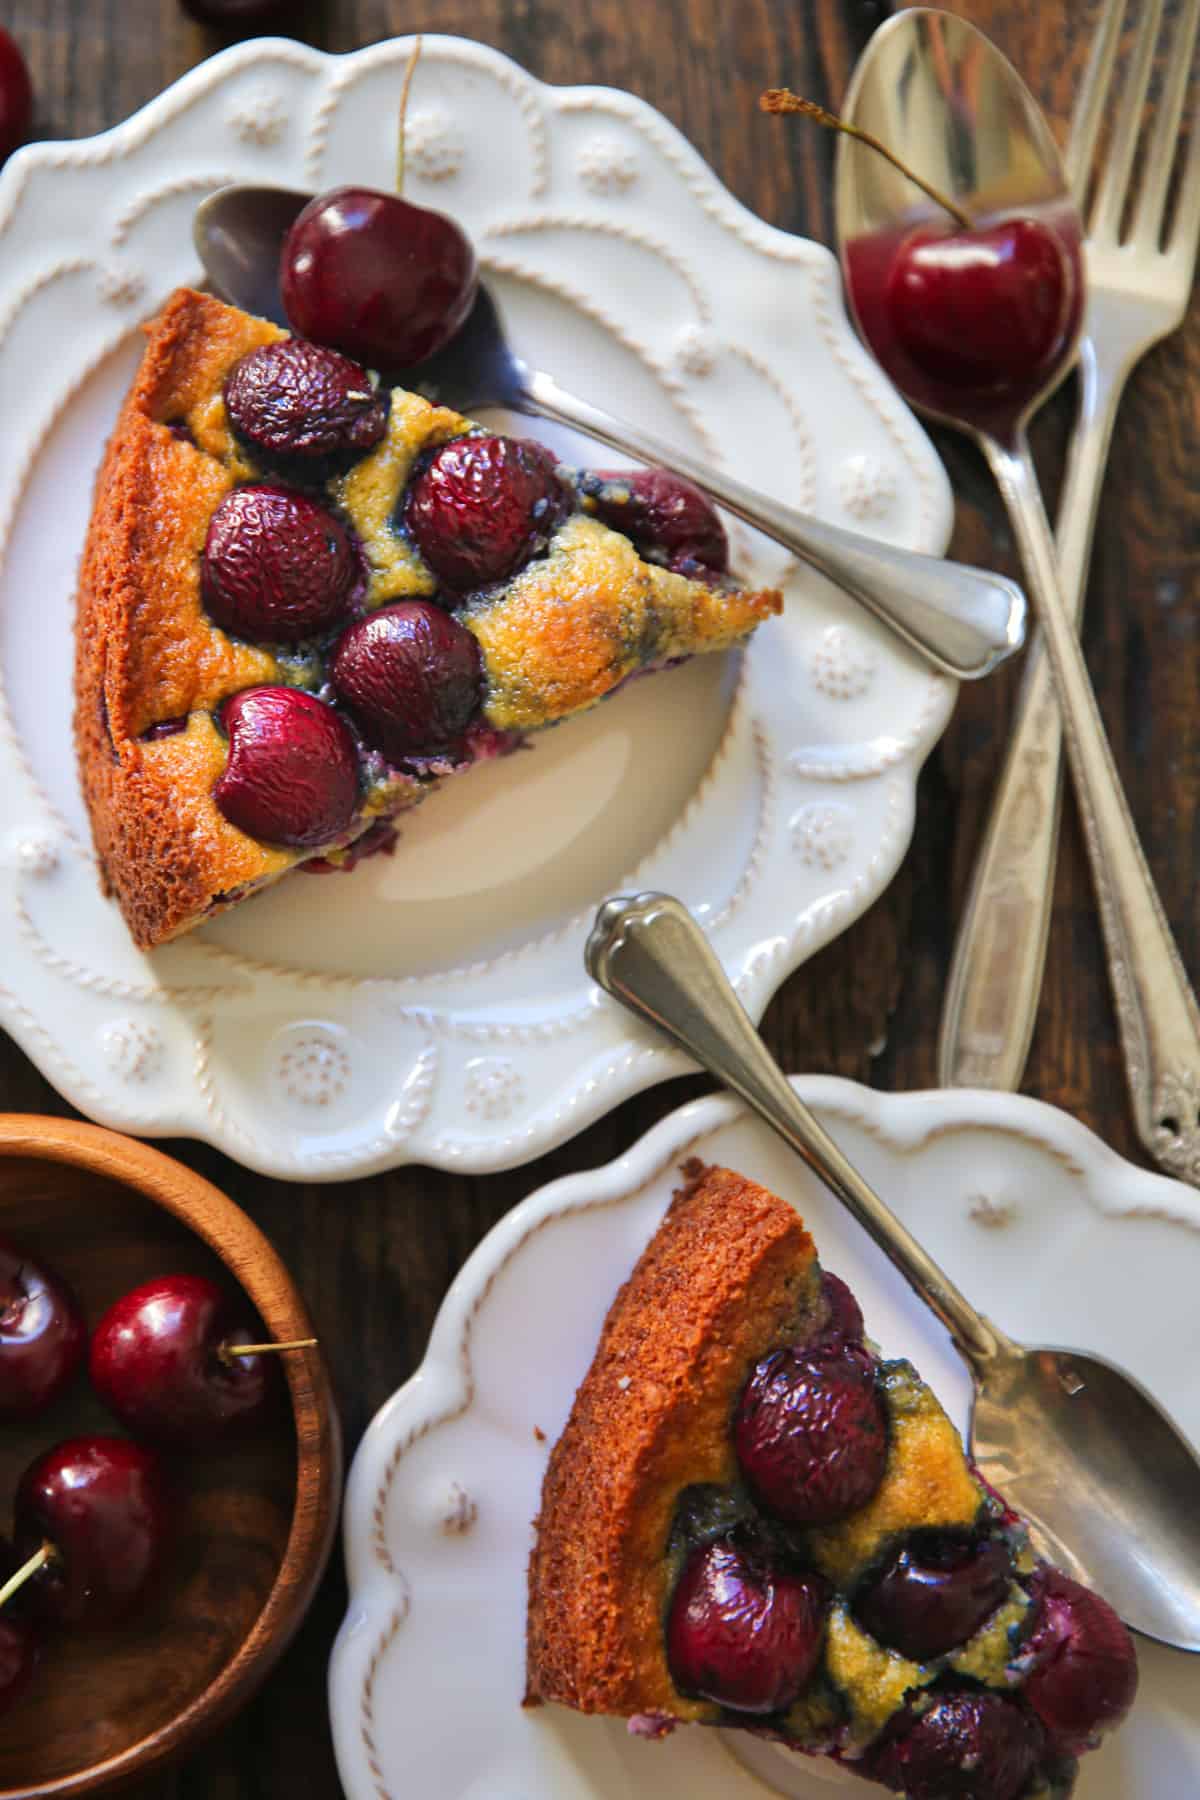
Effortless beautiful presentation
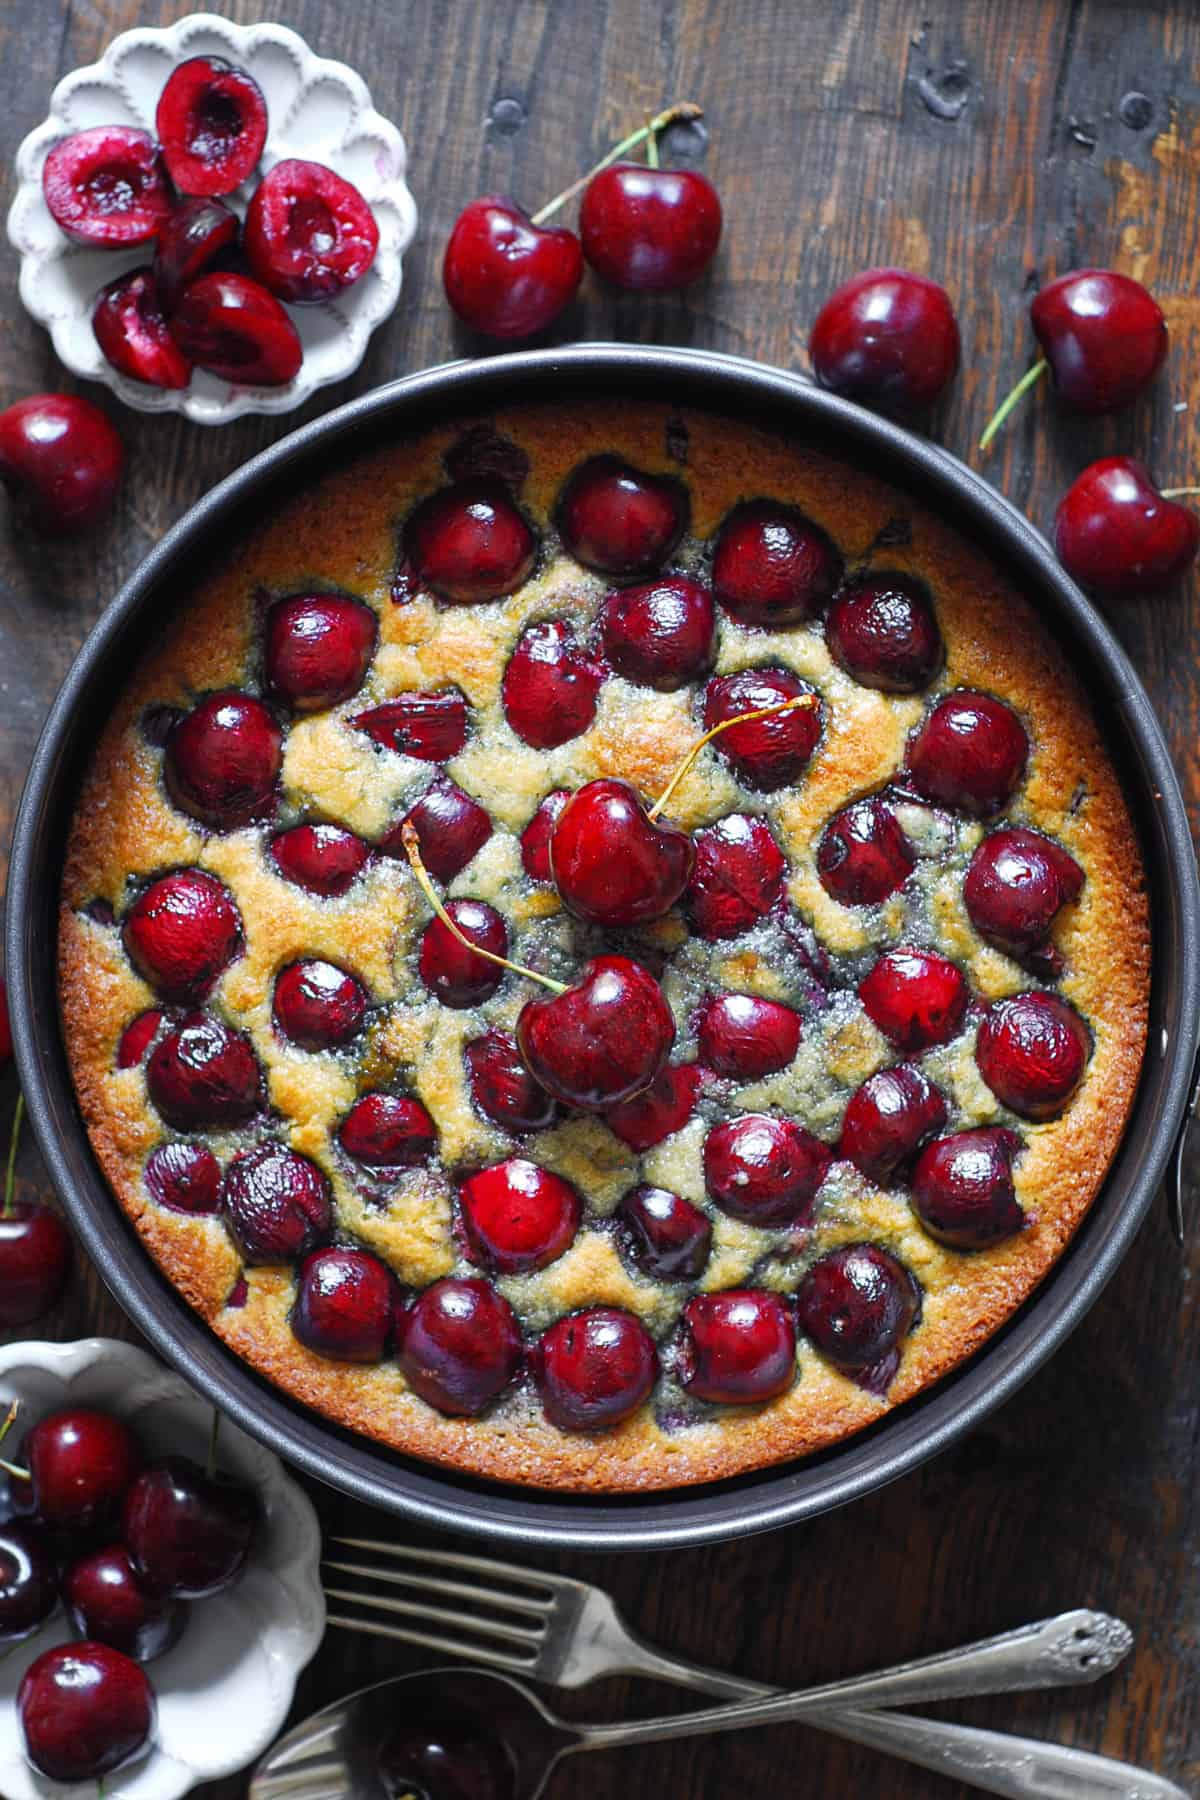
Even though the cake is light and fluffy - the opposite of heavy and dense - the cherries stay on top and don't sink. This happens because the cake is literally stuffed with cherries AND because I press extra cherries on top halfway through baking. This creates not only a great flavor but a beautiful presentation, as well.
What are the best cherries for baking to use for this cake?
- Dark sweet cherries are the way to go. Buy fresh cherries that are crisp and firm in texture - they will hold up the best in the cake. I've used Northwest dark sweet cherries. Avoid fresh cherries with a soft and mushy texture. In this recipe, the cherries are pressed into the cake batter so it's best to use firm fresh cherries (pitted). This cake is not overly sweet, to begin with, so you will want to use sweet cherries (not sour ones).
- Use a cherry pitter to pit them before using them in a cake.
- Do not use canned or frozen cherries - they won't work as well because they have a much softer texture than fresh cherries. Frozen or canned cherries will also add too much extra moisture to this cake.
- Do not use tart cherries - they would be way too sour for this cake.

What baking dish can you use?
- A 9x3 inch springform baking pan is what I used in this recipe. It allows you to seamlessly release the cake without any effort while still keeping its pretty shape! I like to line the bottom of the springform pan with parchment paper, which ensures an even cleaner release from the bottom portion of the pan.
- 10-inch round high-sided cast-iron skillet. You can bake this cherry cake in a cast iron skillet - which creates crispy, golden-brown edges with a soft and moist center. The cast-iron skillet heats through evenly resulting in a beautiful and consistent texture.
- You can also use a regular 8-inch or 9-inch round cake pan.

Main ingredients
- Flour. Use regular all-purpose flour. You can also use gluten-free flour - this cake has been tested with King Arthur gluten-free measure-for-measure flour.
- Baking powder and baking soda. Make sure both are fresh so that the cake rises.
- Butter. I use salted butter and did not add any extra salt. Use softened butter at room temperature. You don't need to use much - only 2 oz (or half a stick of butter).
- Greek yogurt adds a tang and moist texture to the cake. I love baking with Greek yogurt and avoid using as much butter as I can get away with by replacing some of it with Greek yogurt - which is what I did in this recipe.
- Sugar. Use regular granulated white sugar.
- Eggs make the cake moist and light.
- Vanilla. Use the highest quality vanilla extract.
- Cherries. Use dark fresh sweet cherries that are firm in texture. Use a cherry pitter (that you can buy on Amazon) to pit the cherries. Slice each pitted cherry in half. Do not use frozen or canned cherries. Sour (tart) cherries won't work in this recipe, either.
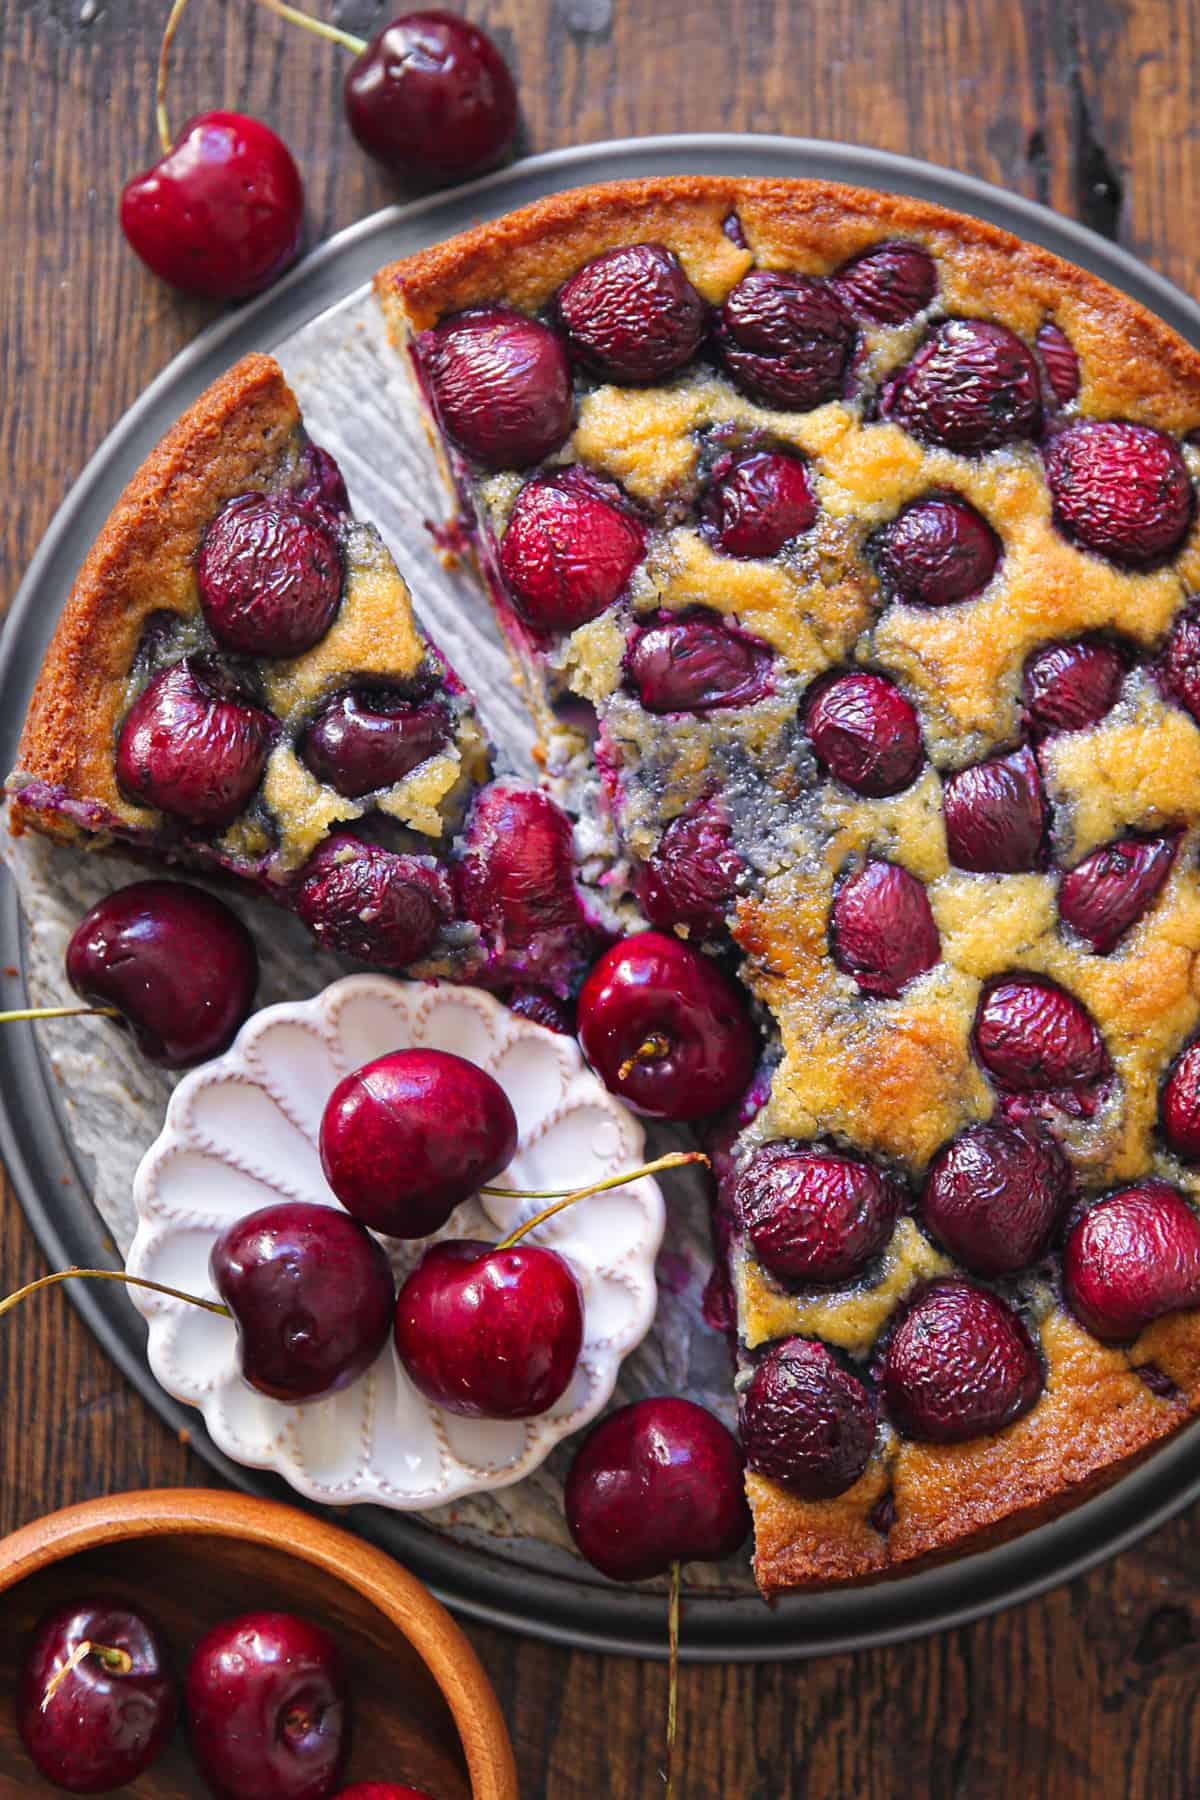
How to make cherry cake
Below are step-by-step photos and instructions on how to make a simple cake with fresh cherries. For a more detailed recipe, see the recipe card below at the bottom of this post.
Step 1 - Prepare the cake batter
1) First, you will preheat the oven to 350°F with a rack in middle. Grease the 9x3 inch springform pan with butter. Pit the cherries and slice each pitted cherry in half.
2) Next, you will combine the dry ingredients together by sifting flour, baking powder, and baking soda into a medium bowl.
3) Then, in a separate bowl, combine the wet ingredients by beating butter, sugar, and 2 eggs until very light in color and fluffy, about 2 minutes on high speed. Add vanilla and Greek yogurt and continue beating until very creamy and light in color, for about 1 more minute.
4) After that, combine wet and dry ingredients this way: Keeping the mixer speed low, mix the flour mixture into the wet ingredients mixture until combined. Do not overmix.
Step 2 - Arrange the cake batter with fresh cherries in a baking dish
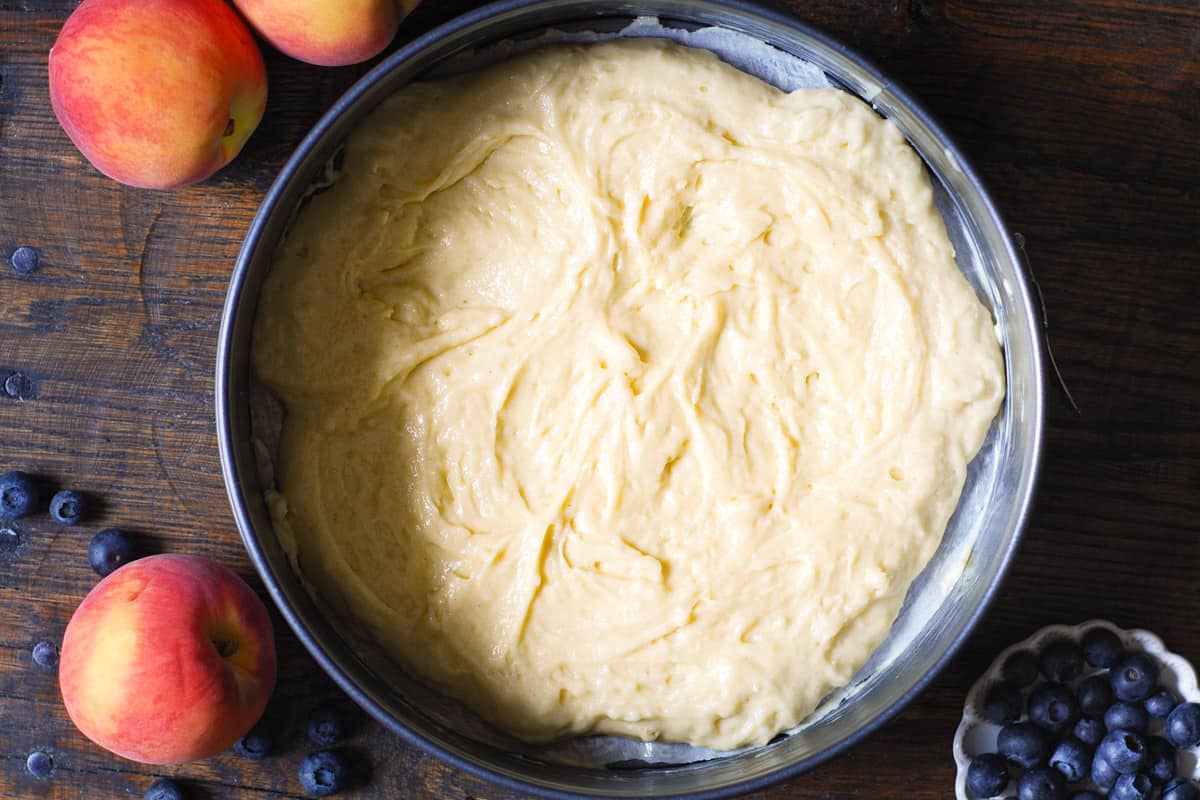
5) Transfer half of the cake batter to the springform pan.
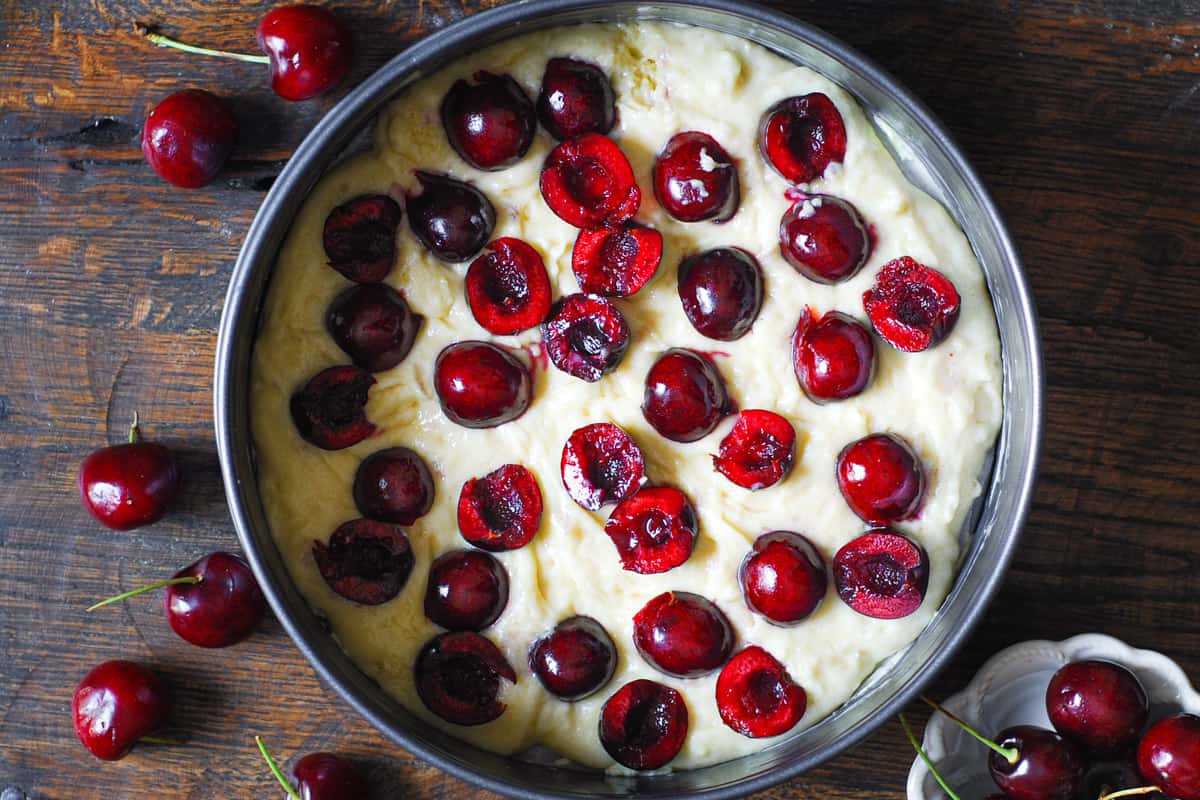
6) Top with sliced cherries. All cherries should be pitted and sliced in half.
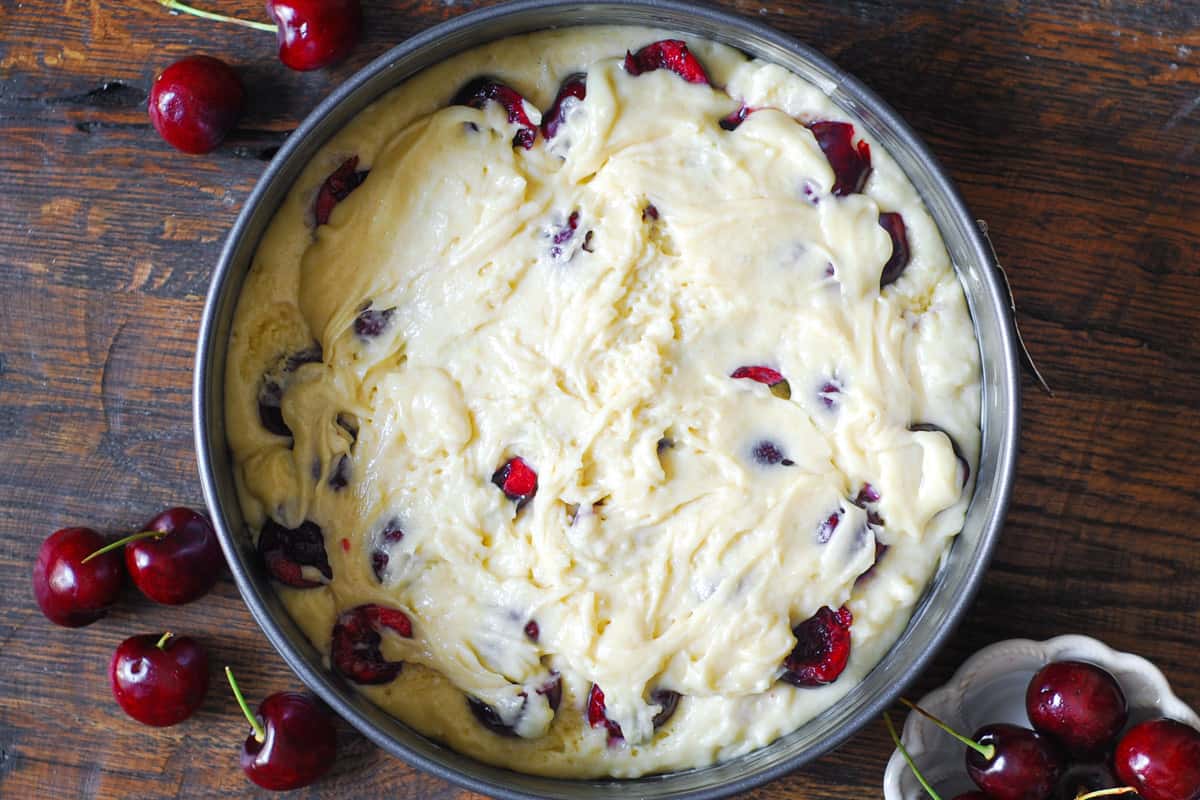
7) Top with the remaining half of the cake batter.
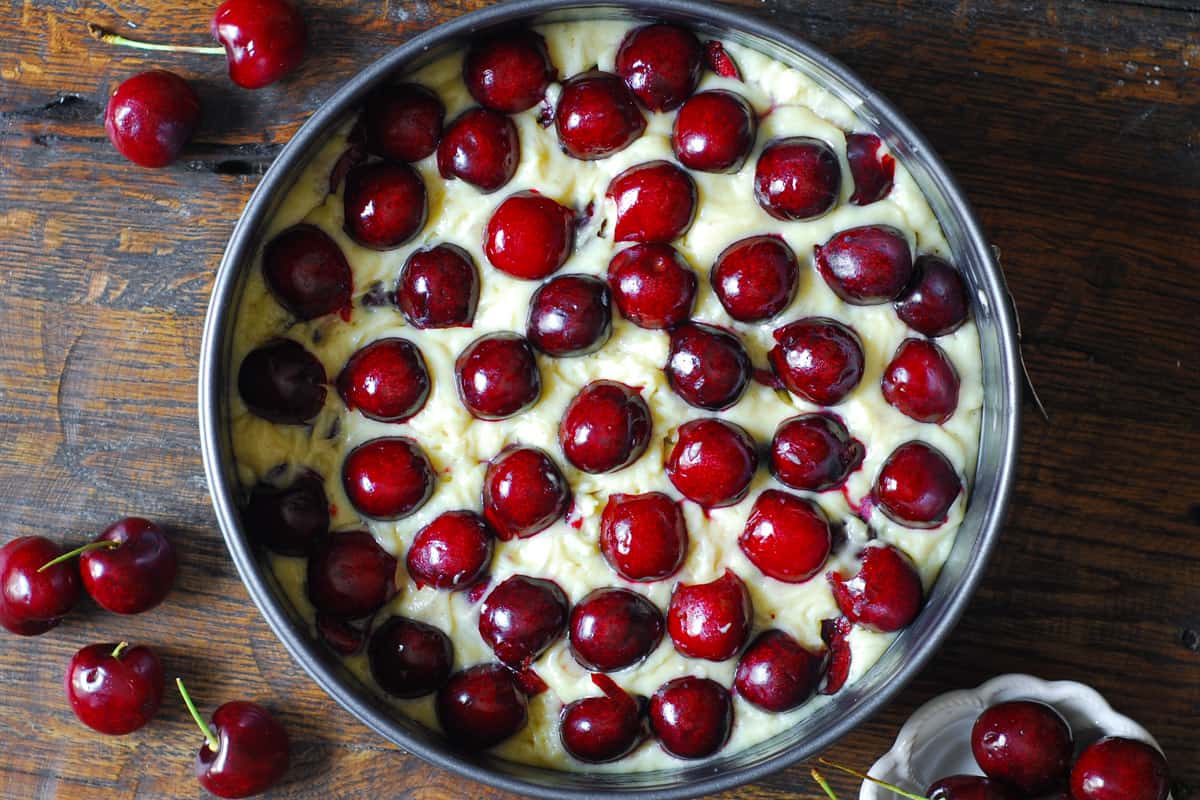
8) Top with more cherries.
Step 3 - Bake the cherry cake
9) Bake the cherry cake in the preheated oven at 350 F until the cake turns golden, and the tester comes out clean in the center, about 45 minutes or 1 hour, depending on your oven.
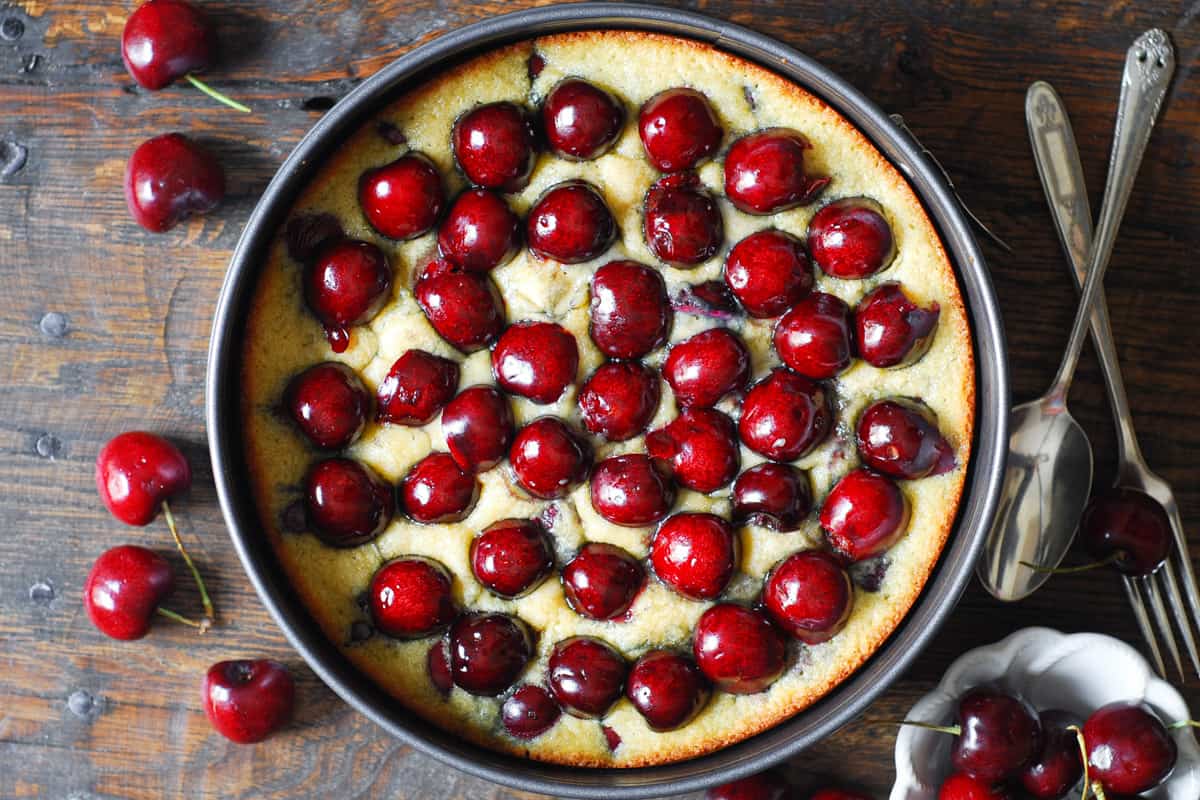
10) Midway through baking, I like to put some extra cherries on top of the cake for presentation purposes and return the cake to baking:
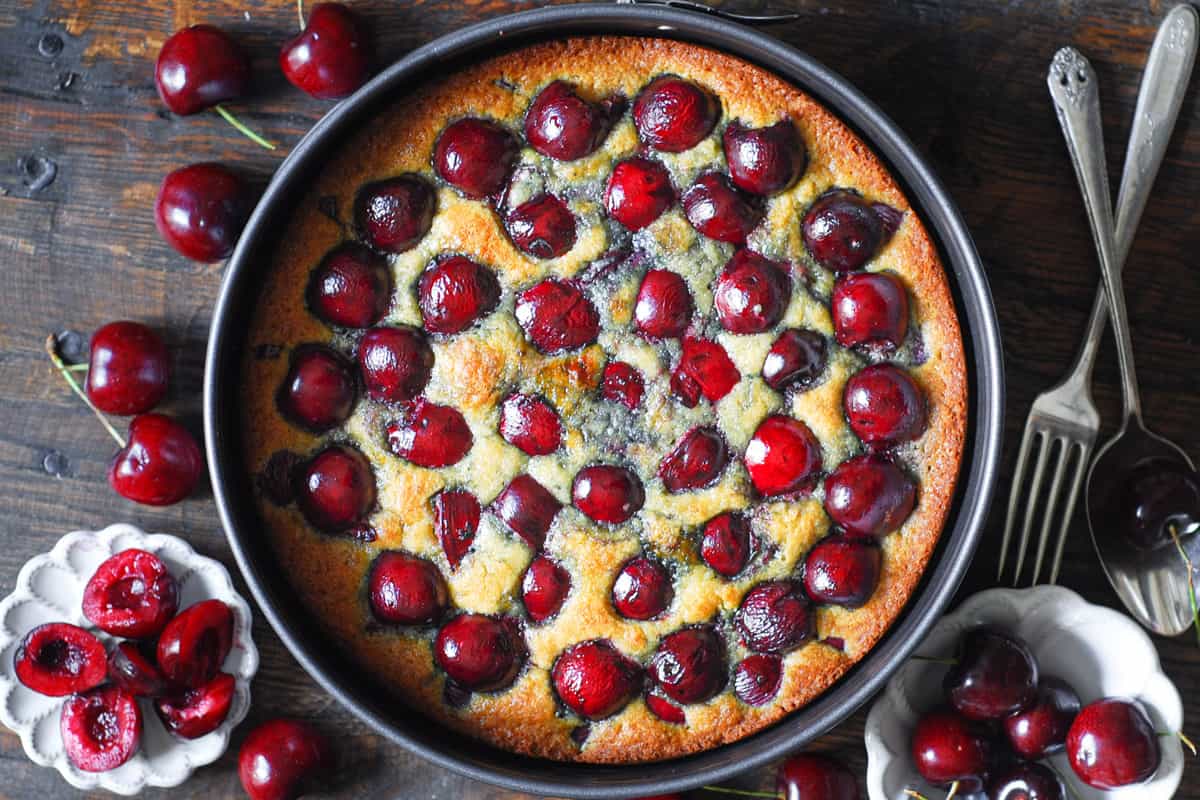
11) When the cake is done baking, let it cool (still in the baking pan) on a wire rack. After the cake has cooled for about 40 minutes, release the cake from the springform pan.
Baking tips and recipe notes
- Use a cherry pitter. I bought mine on Amazon, and it's a true time saver! I pitted a whole bag of cherries in no time! Then, I sliced each cherry in half. Super fast, super easy!
- Use a scale to measure flour or aerate the flour well. Aerate the flour by fluffing it with a spoon and adding it into your measuring cup with the spoon instead of just packing the flour into the cup. This will prevent the flour from overpacking. Overpacking the flour results in a denser cake texture.
- Use butter at room temperature. It should be soft but not melted.
- Do not overmix the cake batter. Be sure to combine the ingredients thoroughly without overmixing. Overmixing will result in a dense texture.
- Grease the pan. Make sure to grease the baking dish really well with butter so that the cake doesn't get stuck. In this recipe, I used a 9x3 inch springform baking dish and I greased both the sides and the bottom of the pan. Then, I cut out a round of parchment paper to line the bottom of the springform pan and greased the parchment paper with butter as well.
- The electrical mixer is optional. This cake is so easy to make, that you don't really need an electric mixer. Yes, it makes things easy, but you can totally whip up all the wet ingredients by hand, using a large fork or a whisk.
- Halfway through baking, add extra pitted cherries on top of the cake for presentation purposes, and return the cake to the oven.
Variations
- Don't have vanilla extract? Use an almond extract instead.
- What fruit can you use instead of cherries? Fresh yellow peaches, fresh apricots, plums, and nectarines would work well in this recipe. Take a look at this peach and blueberry cake.
- How to make this cake gluten-free. I have tested this recipe with King Arthur Measure for Measure Gluten-Free flour and it turned it beautifully! Just follow the recipe as is.
How to serve cherry cake
This simple cherry cake can be served as-is with a cup of coffee or tea for breakfast, midafternoon snack, or late-night dessert. Here are some ideas on how to dress it up:
- Serve it warm with vanilla ice cream.
- Top the slice of cherry cake with vanilla yogurt.
- Dust the cake with powdered sugar.
- Or, take it over the top with a dollop of whipped cream!
How to store it
This simple cherry cake is best served the same day you baked it or the next day. It gets too moist on the third day, so keep it refrigerated for best results!
- Keep it at room temperature for the first 24 hours. If you plan to eat this cake within 24 hours, cool the cake completely, then just loosely cover the cake with parchment paper or aluminum foil, leaving spaces for air - this will allow the top of the cake to stay nice and crunchy! You can store the cake at room temperature this way for up to 24 hours.
- Fridge. Beyond the first 24 hours, store this cherry cake in the fridge for up to 4 days in an airtight container or tightly wrapped in a plastic wrap or freezer bag. After that, the cherries on top of the cake start getting soggy so it's best to consume this cake in 4 days or less.
- Can you freeze this cake? Once the cake is completely cool, freeze it within 2 days of baking. Wrap it tightly in an airtight plastic wrap and transfer it to a freezer bag or a sturdier freezer container. Freeze it for up to 2 months.
- How to reheat it. You can enjoy cherry cake straight from the fridge. You can also warm a slice of cake in the microwave for 15 seconds.
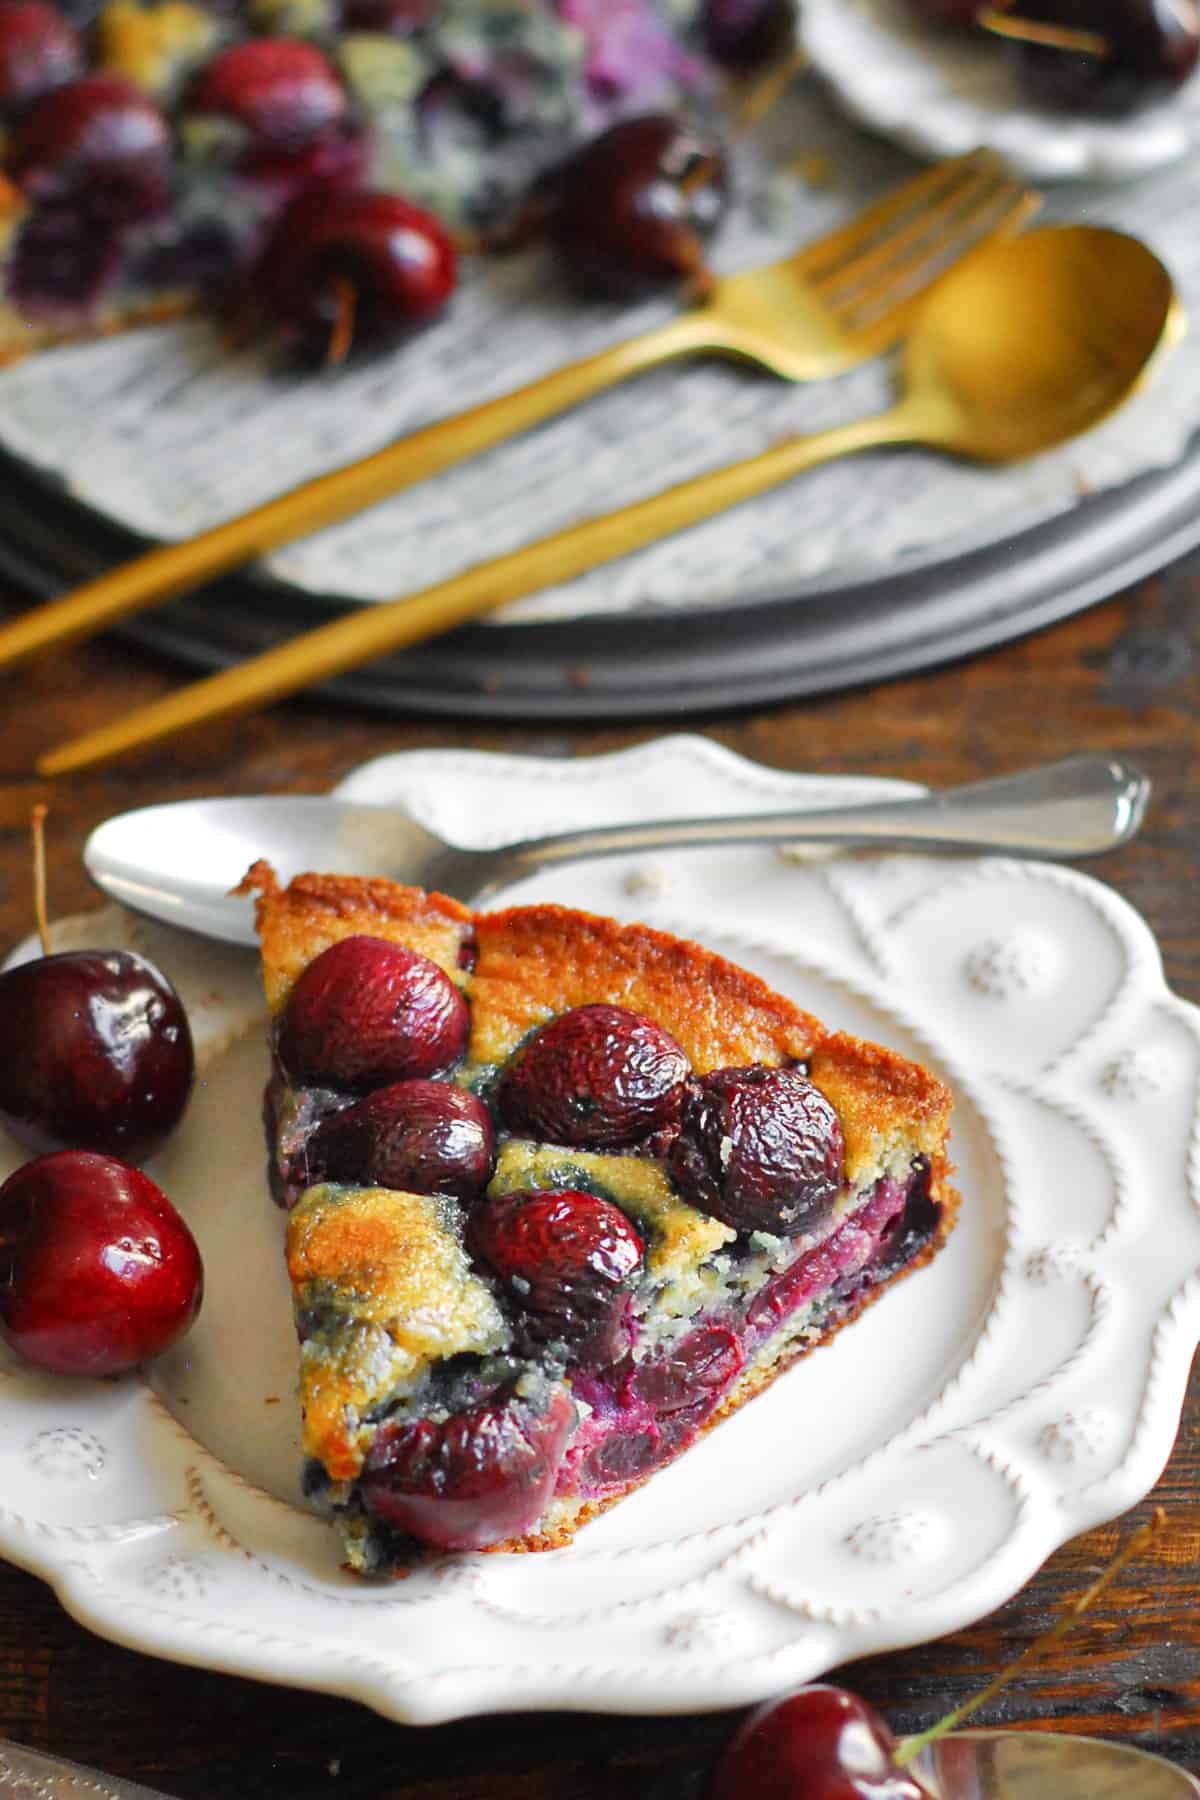
Other summer desserts you might like
- Peach and Blueberry Greek Yogurt Cake
- Peach Coffee Cake with Vanilla Glaze
- Peach Cream Cheese Cake with Streusel Topping
- Blueberry and Peach Skillet Cake
- Apple, Blueberry, Peach Coffee Cake

Simple Cherry Cake
Ingredients
- 1 ½ cups all-purpose flour (or use gluten-free measure-for-measure flour - King Arthur brand)
- 1 teaspoon baking powder
- ½ teaspoon baking soda
- 2 oz butter softened
- ¾ cup sugar
- 2 eggs
- ½ teaspoon vanilla
- ½ cup Greek yogurt
- 4 cups sweet cherries fresh, pitted, each cherry sliced in half
Instructions
- Use a 3-inch springform pan or a 9-inch round cake pan.
- Preheat oven to 350°F with rack in middle. Grease the sides and the bottom of the pan with butter. Line the bottom of a 9x3-inch springform pan (or 9 inch round cake pan) with parchment paper. Grease the parchment paper too.
- Combine the dry ingredients together - Sift flour, baking powder, baking soda, together into a medium bowl.
- In a separate bowl combine the wet ingredients together. Beat butter, sugar, and 2 eggs until very light in color and fluffy, 2-3 minutes on high speed. Add vanilla and Greek yogurt and continue beating until very creamy and light in color, for about 1 more minute.
- Now combine the dry ingredients with wet ingredients. Keeping the mixer speed low, mix the flour mixture into the wet ingredients until combined. Do not overmix.
- Transfer half of the cake batter to the springform pan. Top with sliced cherries. Top with the remaining half of the cake batter. Top with more cherries. To get a better visual idea, refer to the step-by-step photos in this recipe post by scrolling up above this recipe card.
- Bake until the cake turns golden, and the tester comes out clean in the center, about 45 minutes or 1 hour, depending on your oven.
- Midway through baking, I like to put some extra cherries (pitted) on top of the cake for prettiness and return the cake to baking. Again, please refer to the step-by-step photos in this recipe post by scrolling up above this recipe card.
- When the cake is done baking, let it cool (still in the baking pan) on a wire rack. After the cake has cooled for about 40 minutes, release the cake from the springform pan.
Notes
- Best cherries to use. Use dark fresh sweet cherries that are firm in texture. Do not use frozen or canned cherries. Sour (tart) cherries won't work in this recipe, either.
- Use a cherry pitter (that you can buy on Amazon) to pit the cherries. Slice each pitted cherry in half.
- Greek yogurt adds a tang and moist texture to the cake. I love baking with Greek yogurt and avoid using as much butter as I can get away with by replacing some of it with Greek yogurt. In this recipe, you'll be using 2 oz of softened butter and ½ cup Greek yogurt to produce a full-size 9-inch diameter cake. Not too much butter, yet the texture does not suffer.
- Use a scale to measure flour or aerate the flour well. Aerate the flour by fluffing it with a spoon and adding it into your measuring cup with the spoon instead of just packing the flour into the cup. This will prevent the flour from overpacking. Overpacking the flour results in a denser cake texture.
- Do not overmix the cake batter. Be sure to combine the liquid and dry cake batter ingredients thoroughly without overmixing. Overmixing will result in a dense texture.
- Halfway through baking, add extra fresh cherries (pitted) on top of the cake for presentation purposes, and return the cake to baking.
- Make this cherry cake gluten-free. I have tested this recipe with King Arthur Measure for Measure Gluten-Free flour and it worked great! Just follow the recipe as is.
- Helpful step-by-step photos are provided in this recipe post if you scroll up above the recipe card.
Nutrition
Nutrition Disclaimer:
The nutritional information on this website is only an estimate and is provided for convenience and as a courtesy only. The accuracy of the nutritional information for any recipe on this site is not guaranteed. It should not be used as a substitute for a professional nutritionist’s advice.


Hi! If I use plums, how much? Still 4 cups?
The cake preparation in itself was a little involved - pitting the cherries and then stuffing them in layers. The presentation is beautiful.
Yes, pitting cherries does take time but it's much faster if you use a cherry pitter - I got a great one at Amazon! Pitted my cherries in no time! Even enjoyed the process!
Looks great! Can you use sour cream instead of yogurt?
Yes, you can replace Greek yogurt with sour cream.
Made this for my husband's birthday and it was a hit with everyone!
I am so flattered you made it for your husband's birthday! Thank you so much for the comment and the 5-star review! 🙂