
This post may contain affiliate links. Read my disclosure policy.
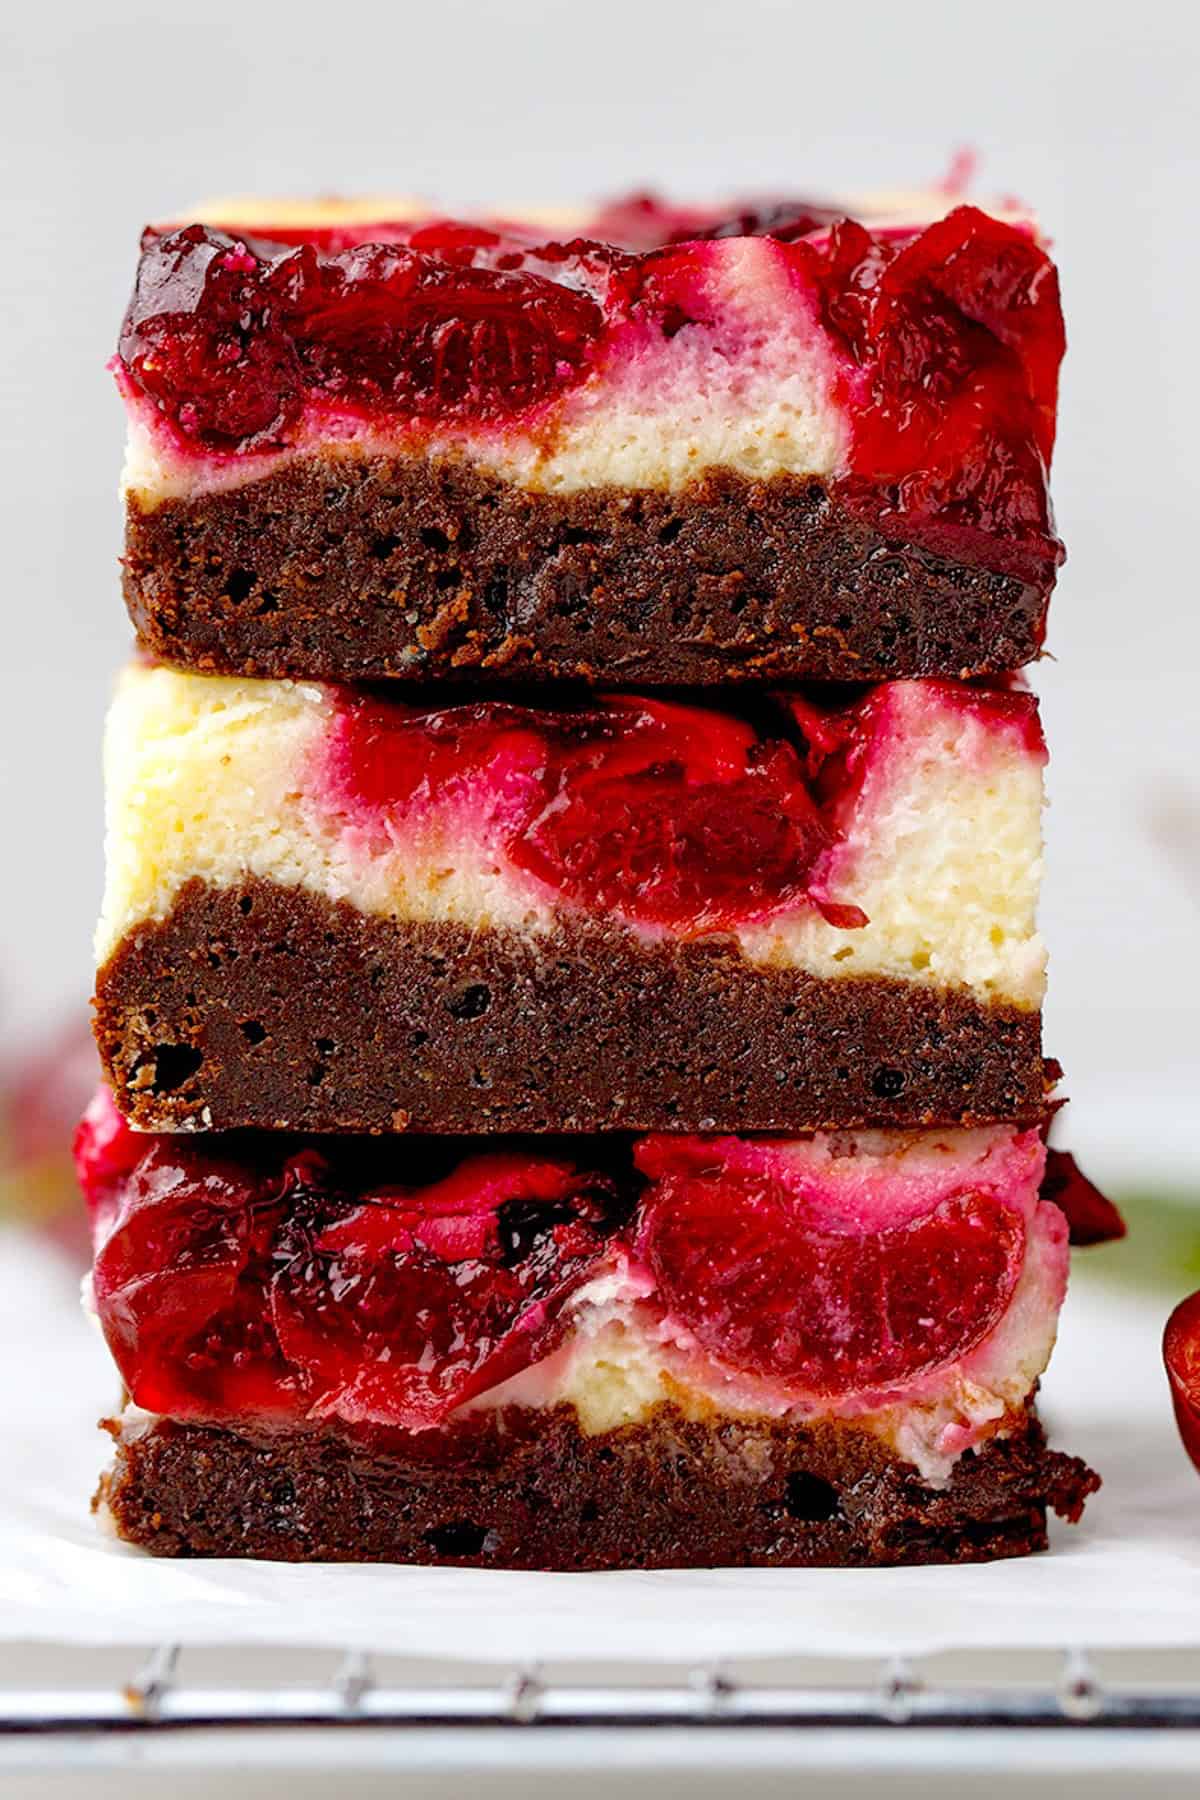
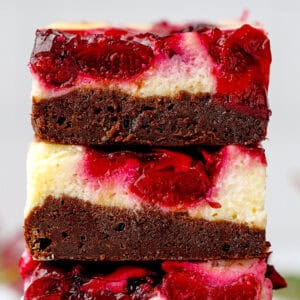
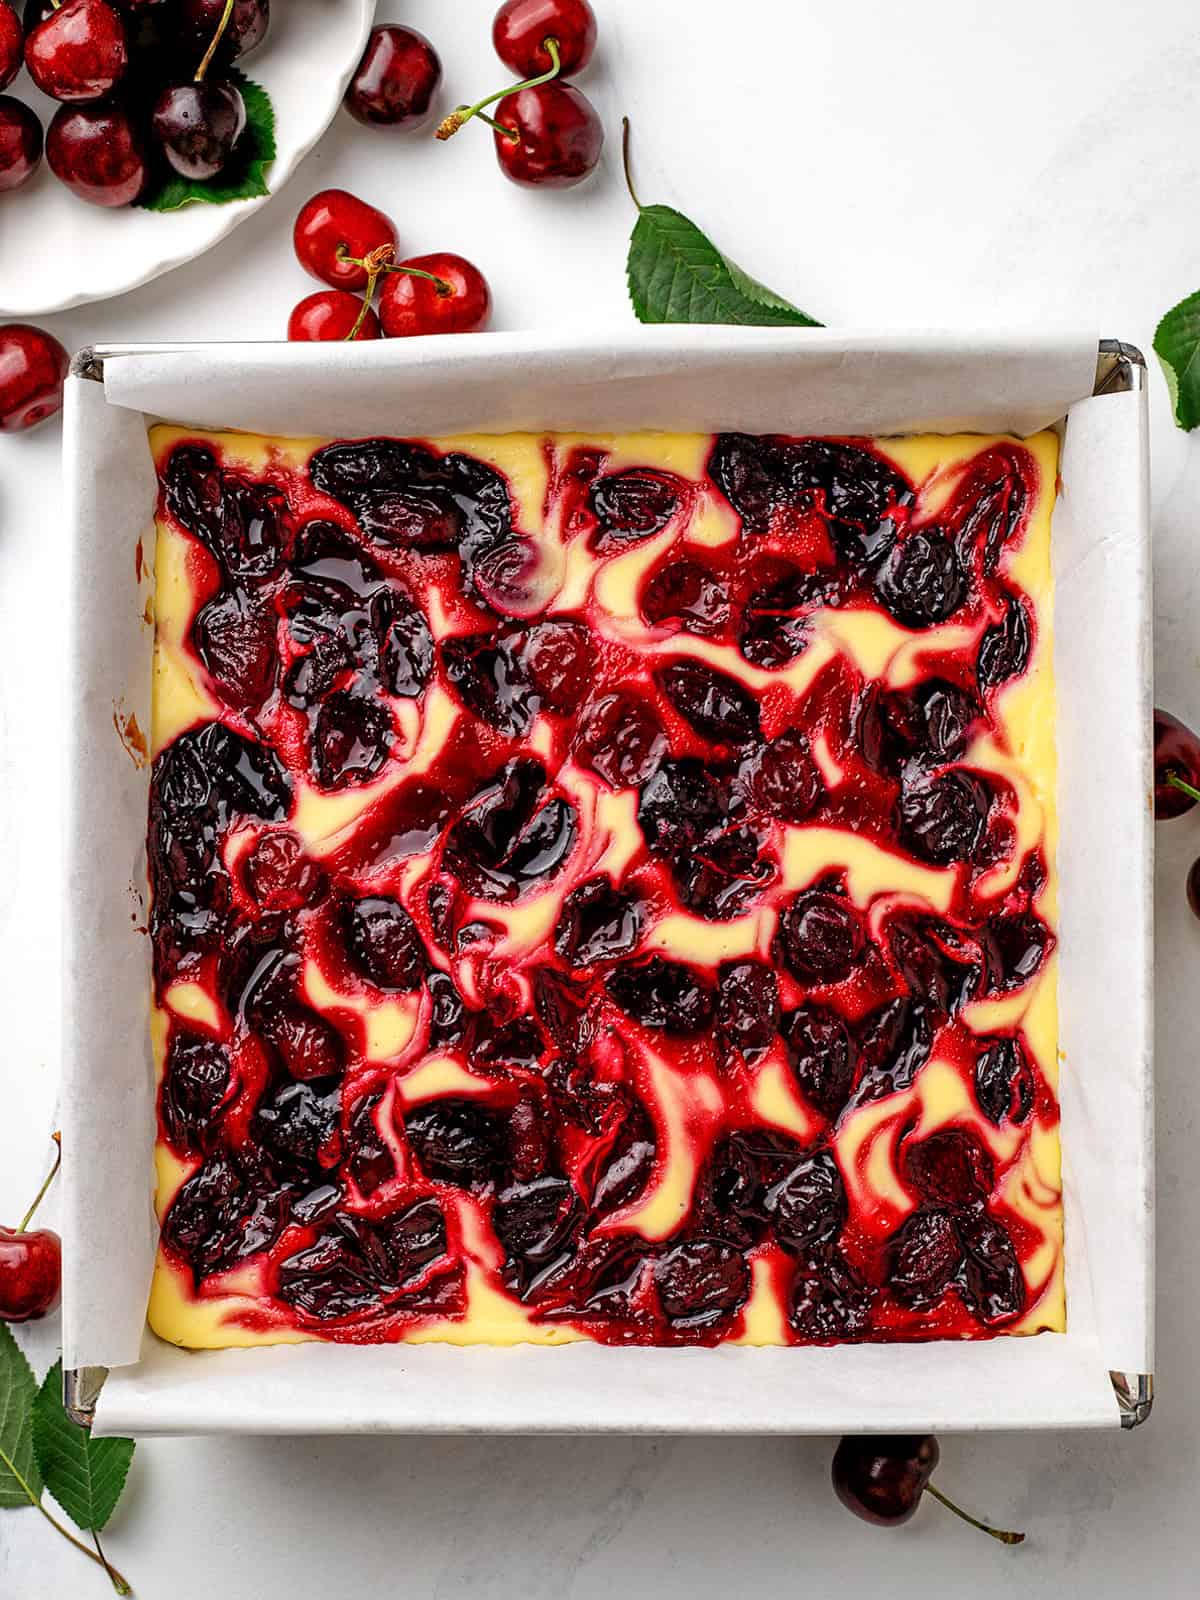
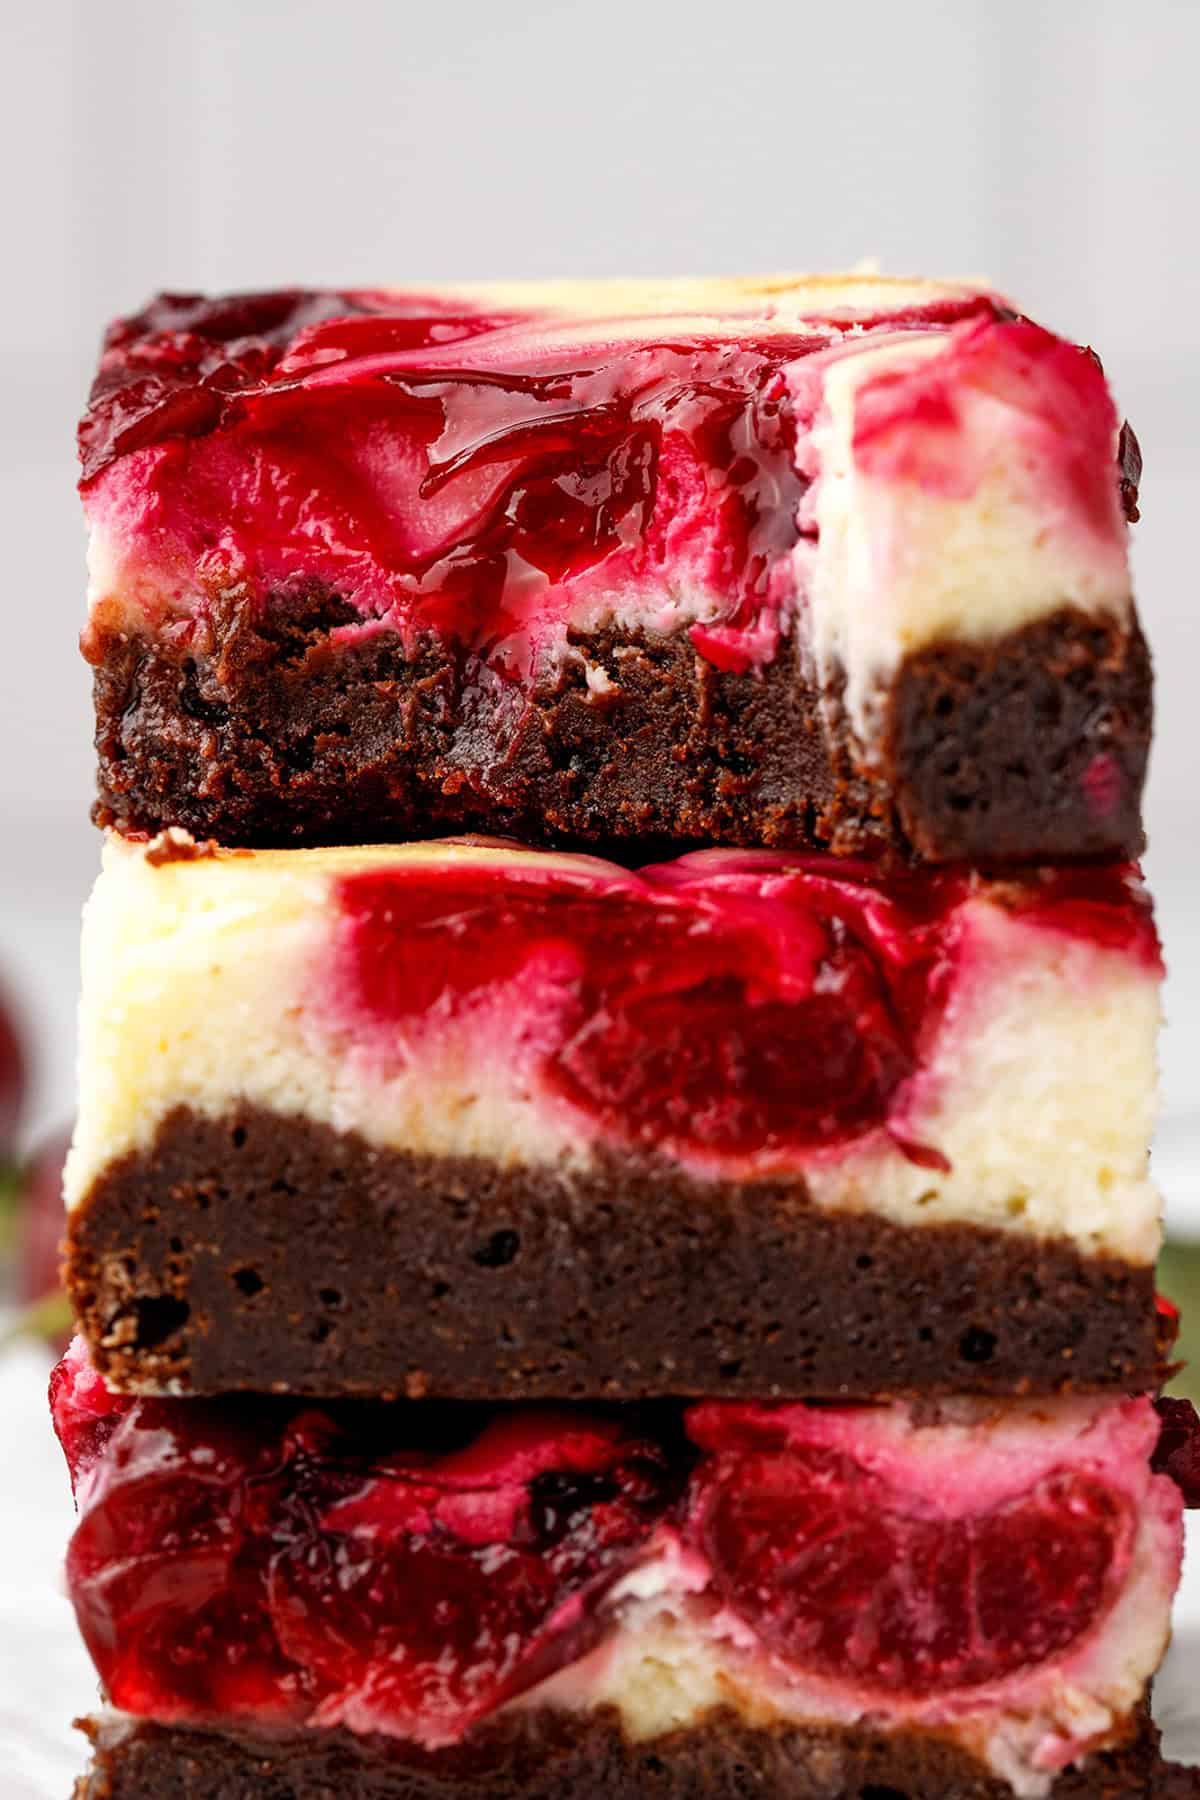
My fudgy cherry cheesecake brownies feature three layers: a rich chocolate base, a creamy cheesecake layer, and a homemade fresh cherry filling swirled on top. Baked in a 9x9 square pan, no water bath required, and best made a day ahead.
Cherry Cheesecake Brownies (with Homemade Cherry Pie Filling)
Cherry season in Colorado runs from about June through August, and by mid-August I am usually looking for one more way to use up the last good bag from the farmers market. Last summer it went into a cherry layer cake, fan-favorite simple cherry cake, and cherry bars with lemon glaze. This year I wanted something chocolate, something I could cut into squares, and something I could make the day before.
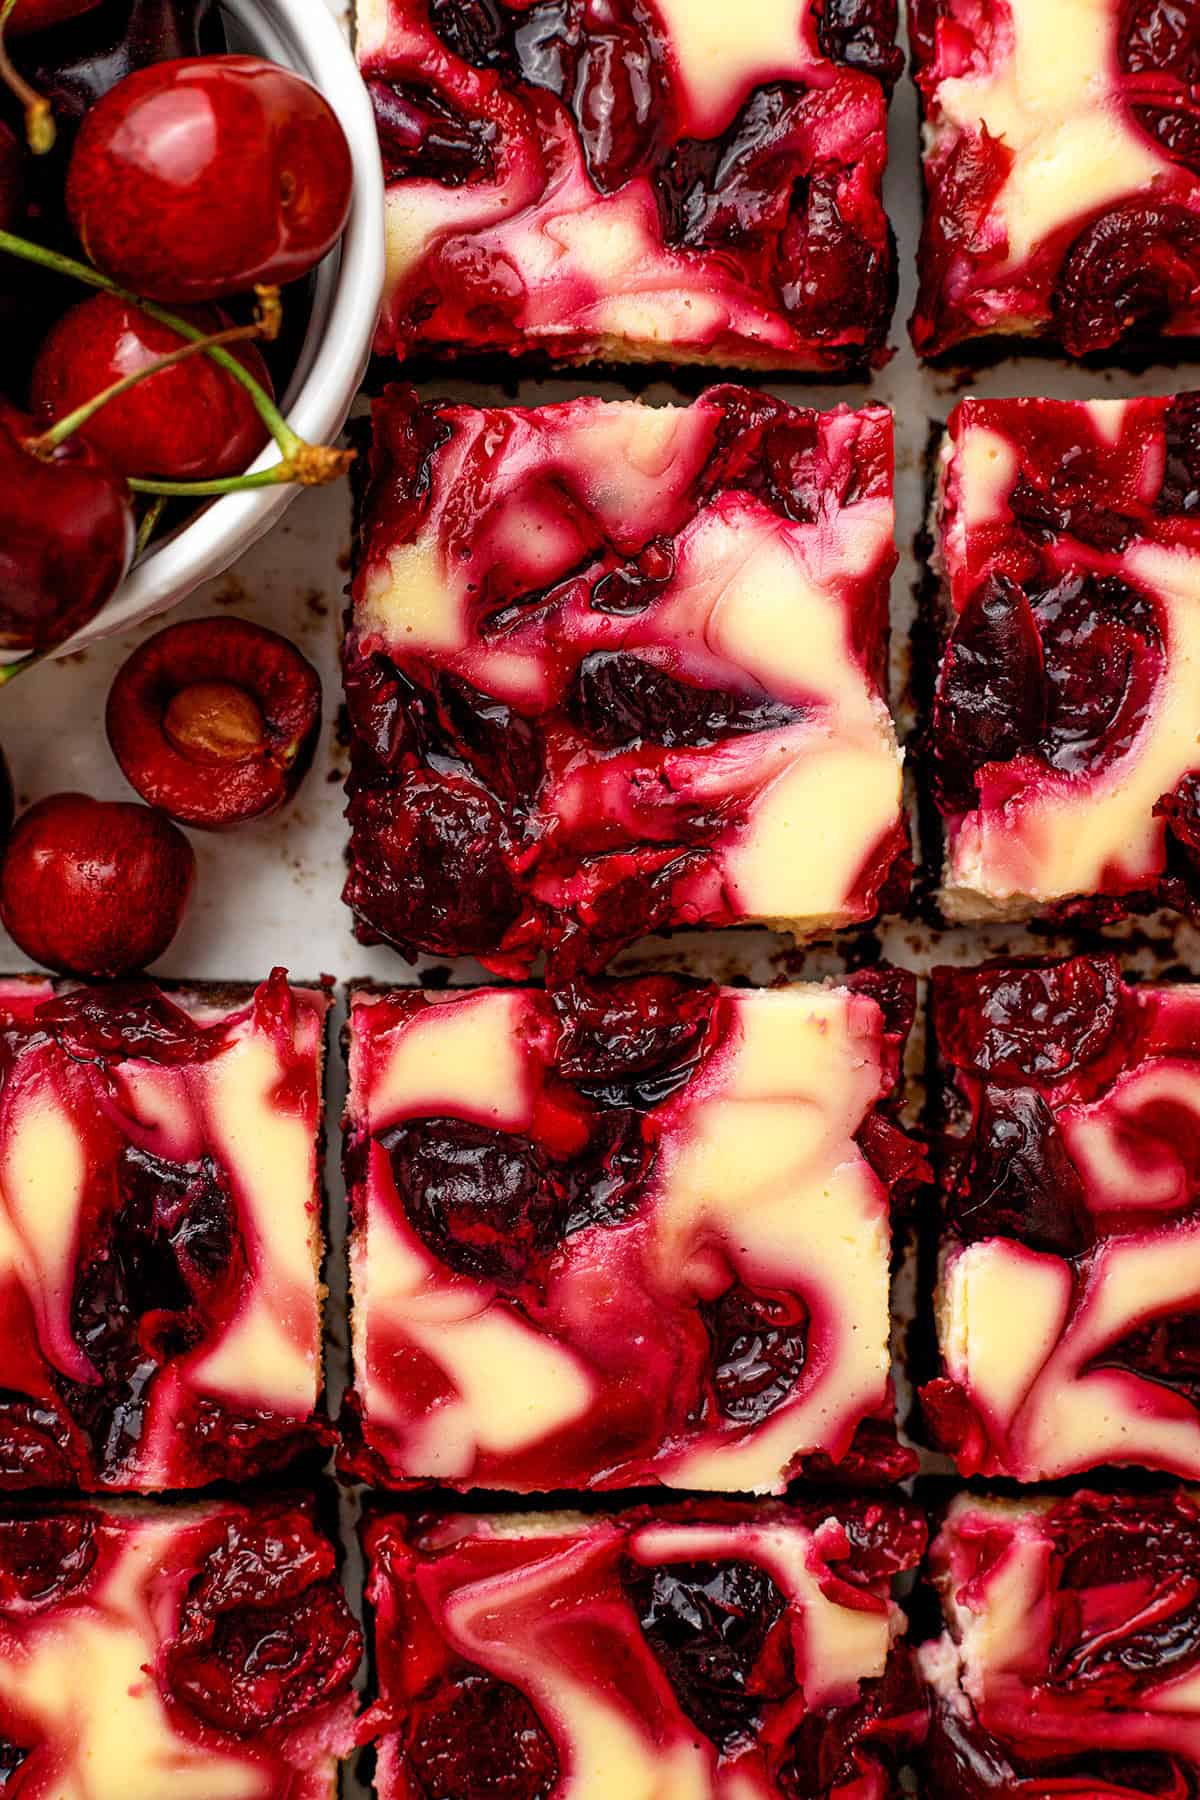
These cherry cheesecake brownies are three desserts in one pan: a dense, fudgy chocolate brownie base, a creamy vanilla cheesecake layer, and a homemade cherry pie filling made with fresh sweet cherries, swirled across the top. I chill them for at least 4 hours so they slice into clean, tidy squares, which makes them one of my favorite desserts to carry to a Summer party.
I make the cherry filling from scratch (it takes only eight minutes on the stove), and it tastes nothing like the gluey stuff in a can. No artificial flavor, no food coloring. Just fresh cherries, sugar, lemon juice, and a cornstarch slurry, simmered for a few minutes. Real cherries hold their shape and bring actual tartness.
Ingredients and Substitutions
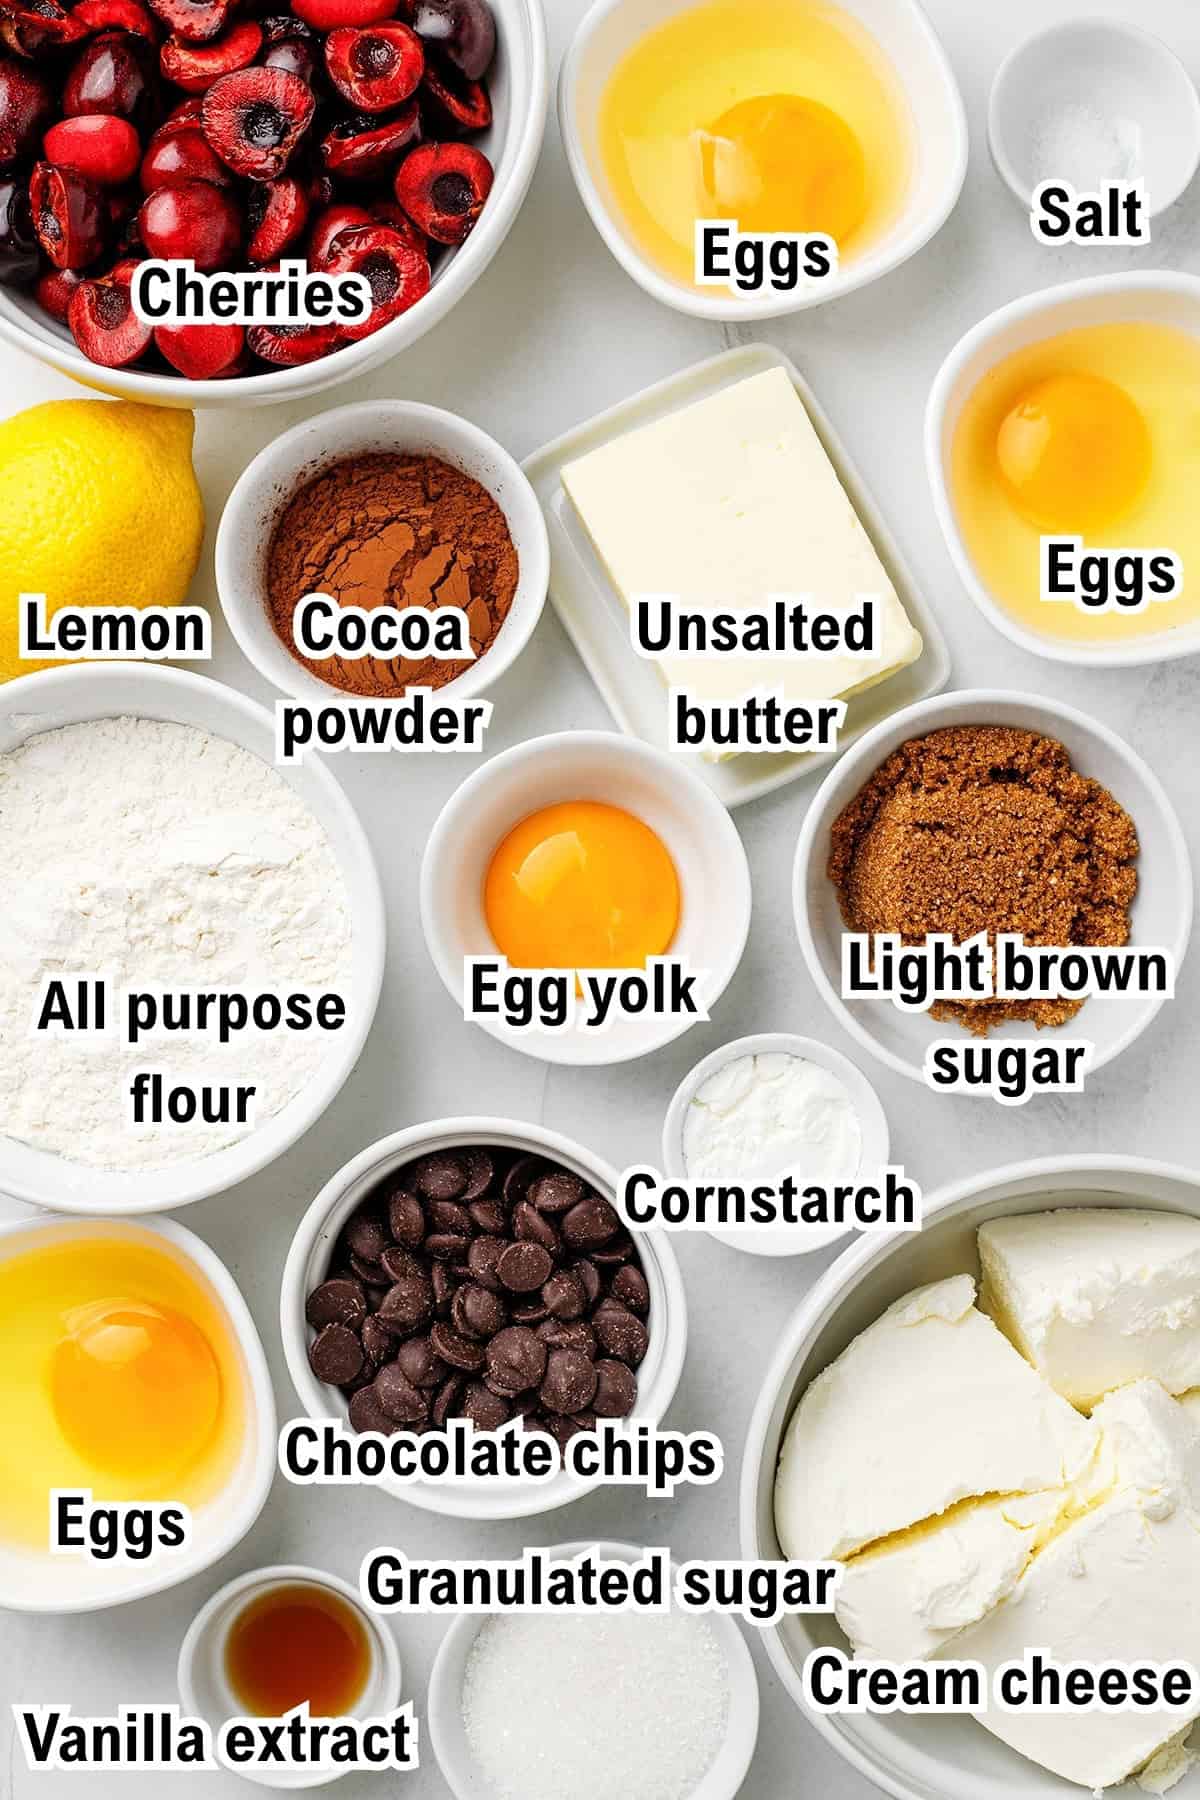
These cherry cheesecake brownies have 3 layers: homemade cherry pie filling, fudgy brownies, and cheesecake. My ingredient tips are below; for the full amounts and instructions, see the recipe card.
1) Homemade Cherry Pie Filling Ingredients
- Fresh sweet cherries (pitted and halved): Bing or Rainier both work. I use dark sweet cherries that are firm, not mushy. Buy a cherry pitter if you make cherry desserts more than once a summer, it pays for itself in about ten minutes of not swearing at your kitchen. Frozen cherries work too, thawed and drained well. Sour cherries will work but add another tablespoon of sugar.
- Granulated sugar: Sweetens the filling and helps draw the juices out of the cherries.
- Lemon juice: Freshly squeezed, please. It keeps the filling from tasting flat.
- Cornstarch + water (1 tablespoon each): Whisked into a slurry, this is what thickens the filling and gives it that glossy finish. Mix them cold before adding, or you'll get lumps. Tapioca starch works too, but you will need double the amount.
2) Brownie Layer Ingredients
- Unsalted butter: One stick, melted with the chocolate.
- Chocolate chips or chopped chocolate: I recommend a good bar chopped by hand (Ghirardelli or Guittard) over chips, since chips contain stabilizers that keep them from melting as smoothly.
- Granulated sugar and light brown sugar: The brown sugar adds moisture and is what gives you that chewy edge. You can use all granulated if that is what you have.
- Large eggs: Room temperature. Cold eggs can seize the melted chocolate. Set them out with the cream cheese.
- Vanilla extract: Pure, not imitation.
- All-purpose flour: Just ¾ cup, which is what keeps these fudgy rather than cakey.
- Cocoa powder: Works with the melted chocolate for a deeper chocolate flavor. Dutch-process or natural both work.
- Salt: A small amount, but do not skip it. It balances all that sugar.
3) Cheesecake Layer Ingredients
- Cream cheese: Full-fat, block style (not the tub kind), softened to room temperature. Cold cream cheese gives you lumps you will never fully beat out.
- Granulated sugar: Sweetens the layer without making it grainy.
- 1 whole egg + 1 egg yolk (room temperature): the extra yolk adds richness and helps the layer set firm enough to slice.
- Vanilla extract: Balances out the tang of the cream cheese.
How to Make Cherry Cheesecake Brownies (Step-by-Step Photos)
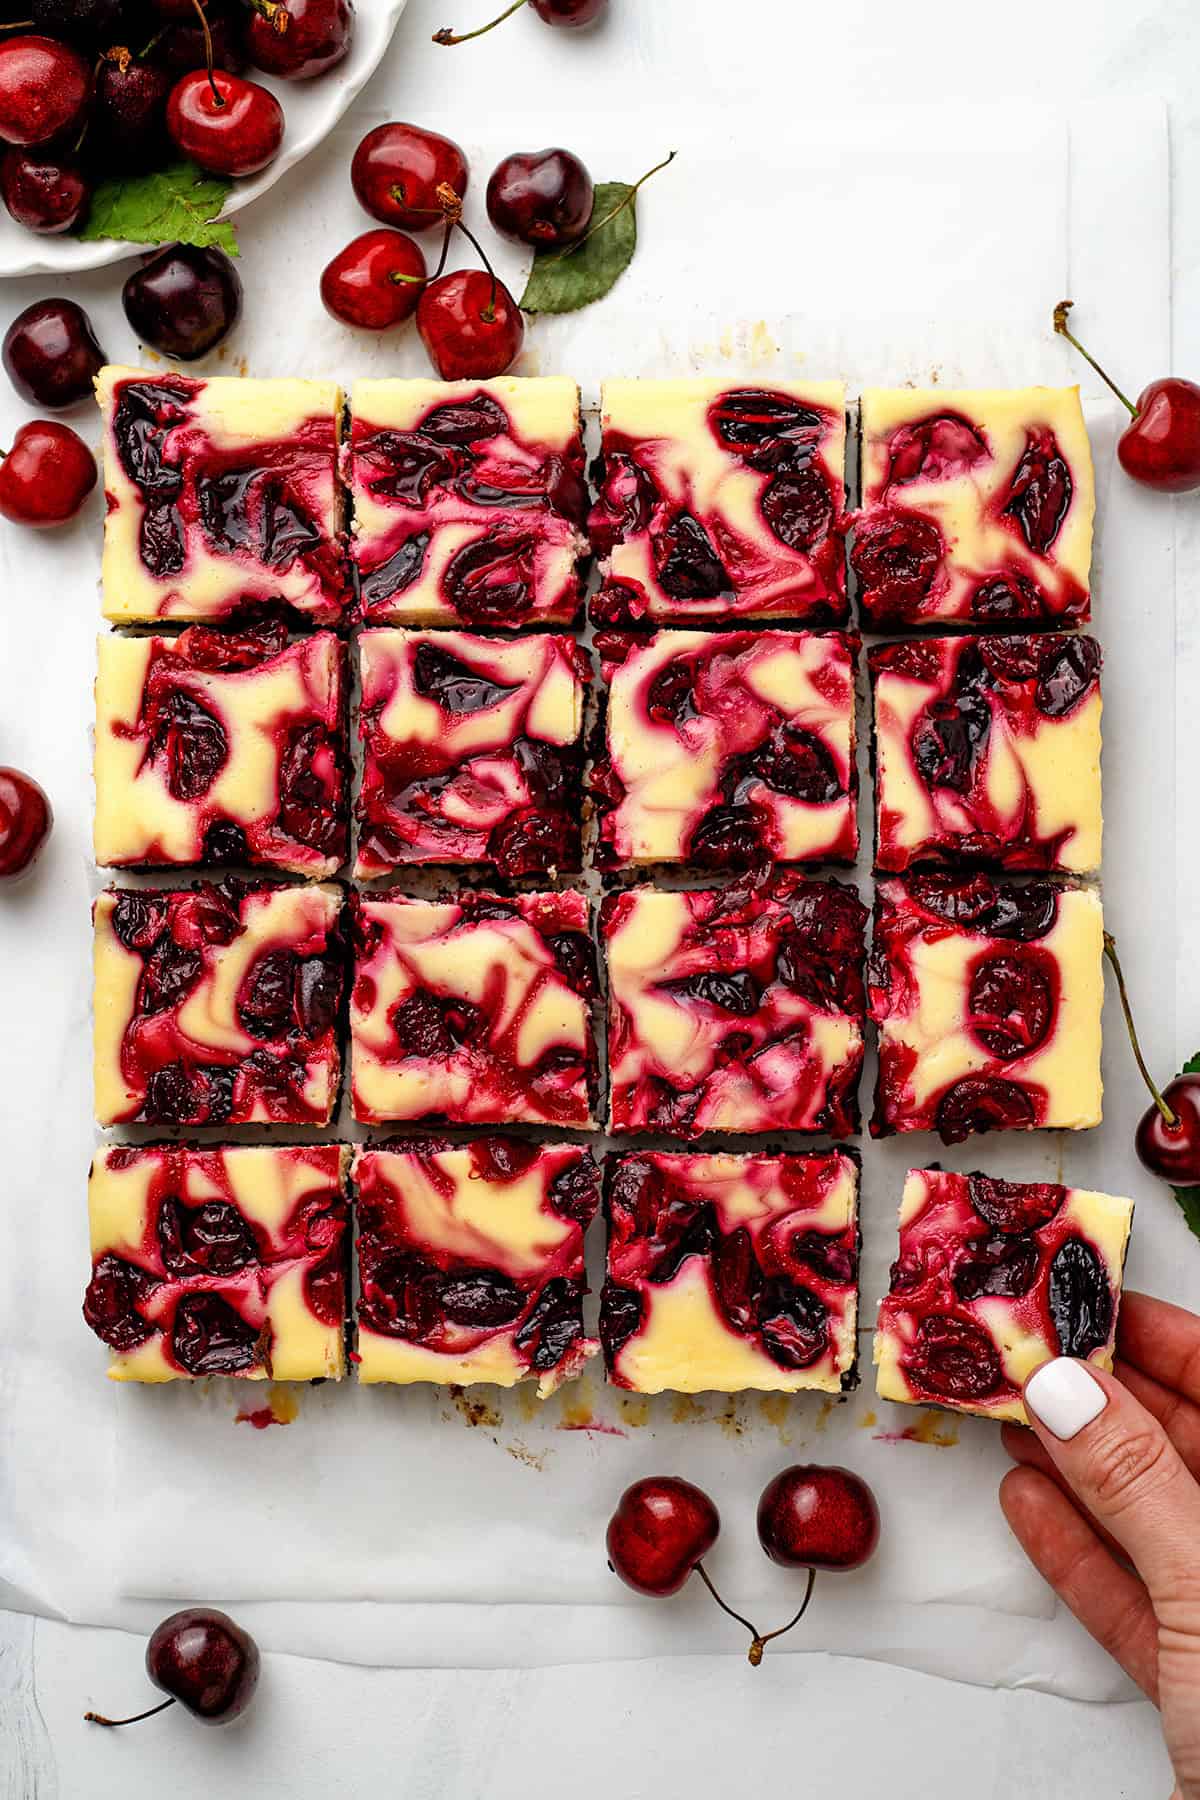
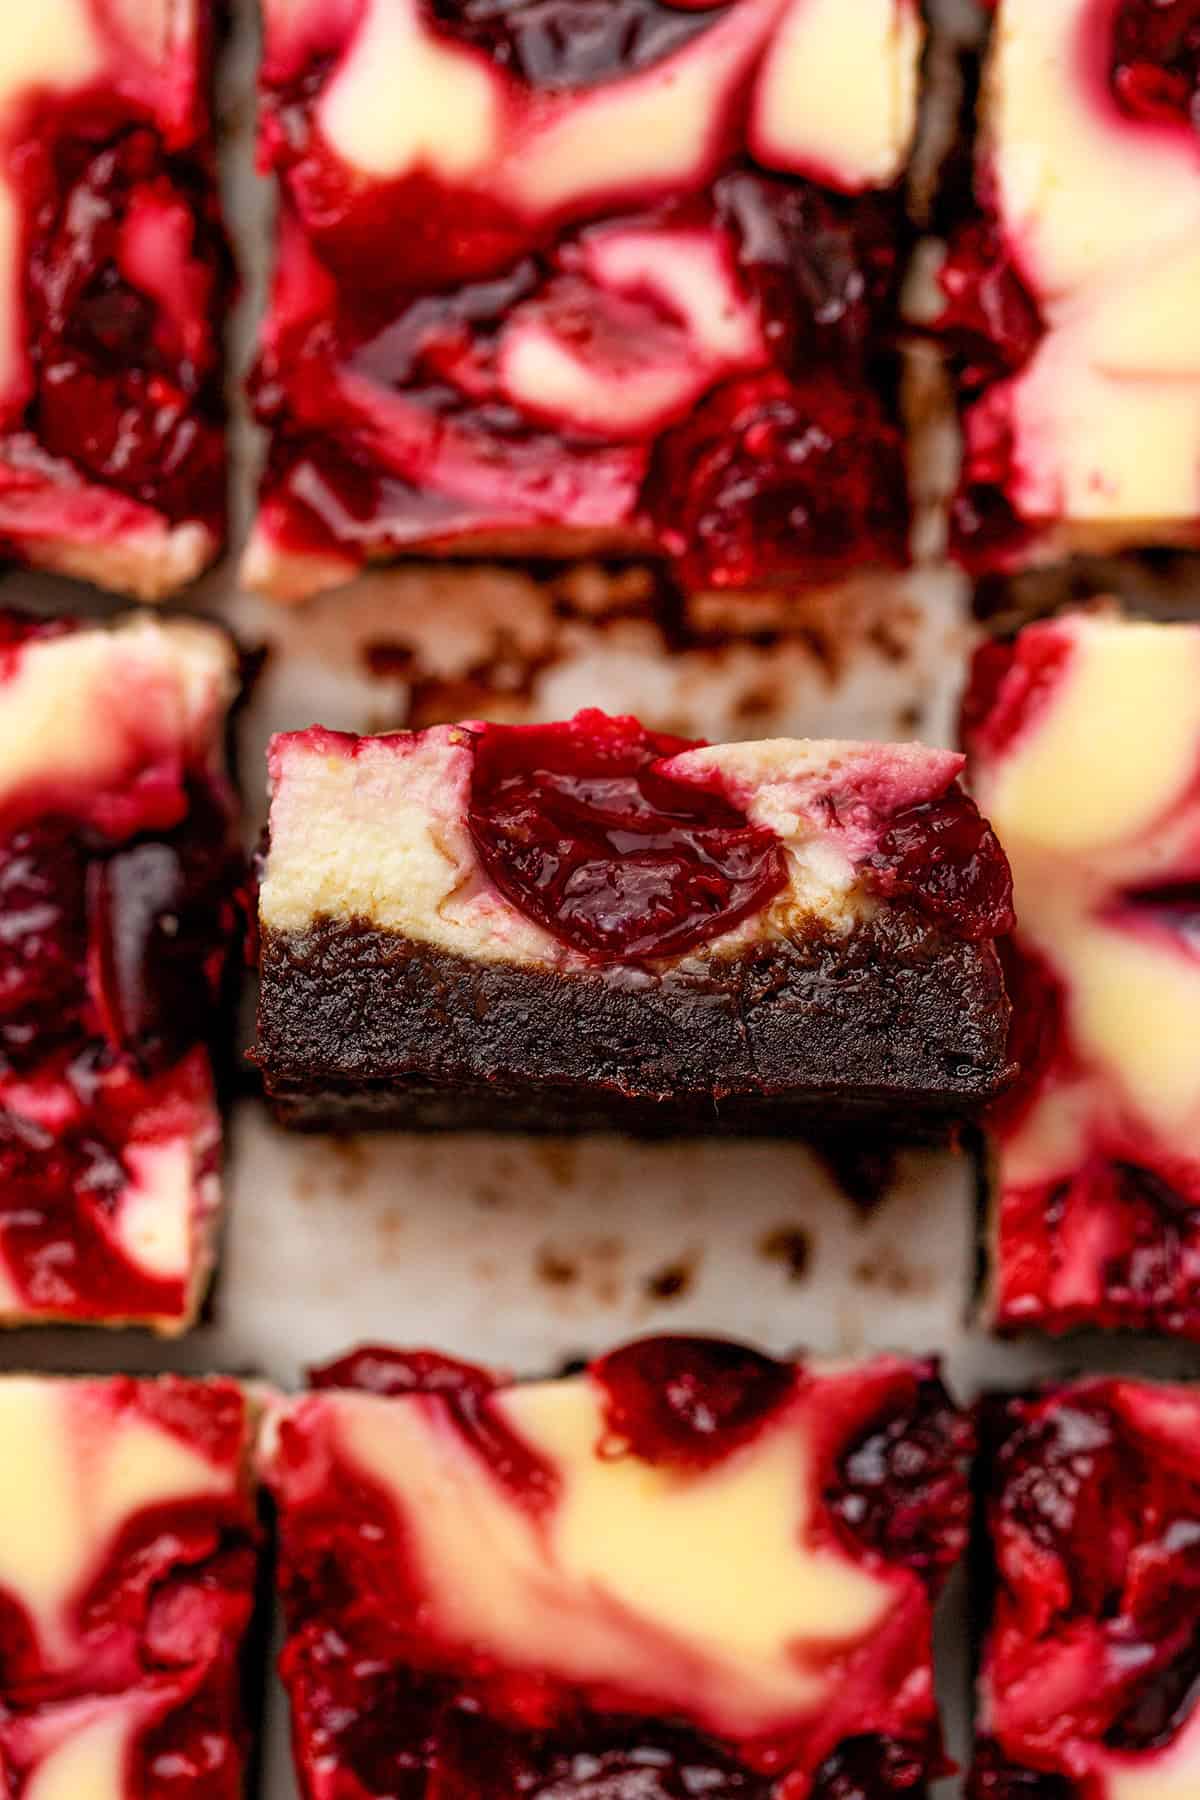
This is a quick overview with helpful step-by-step photos. Scroll to the recipe card below for exact amounts and full instructions.
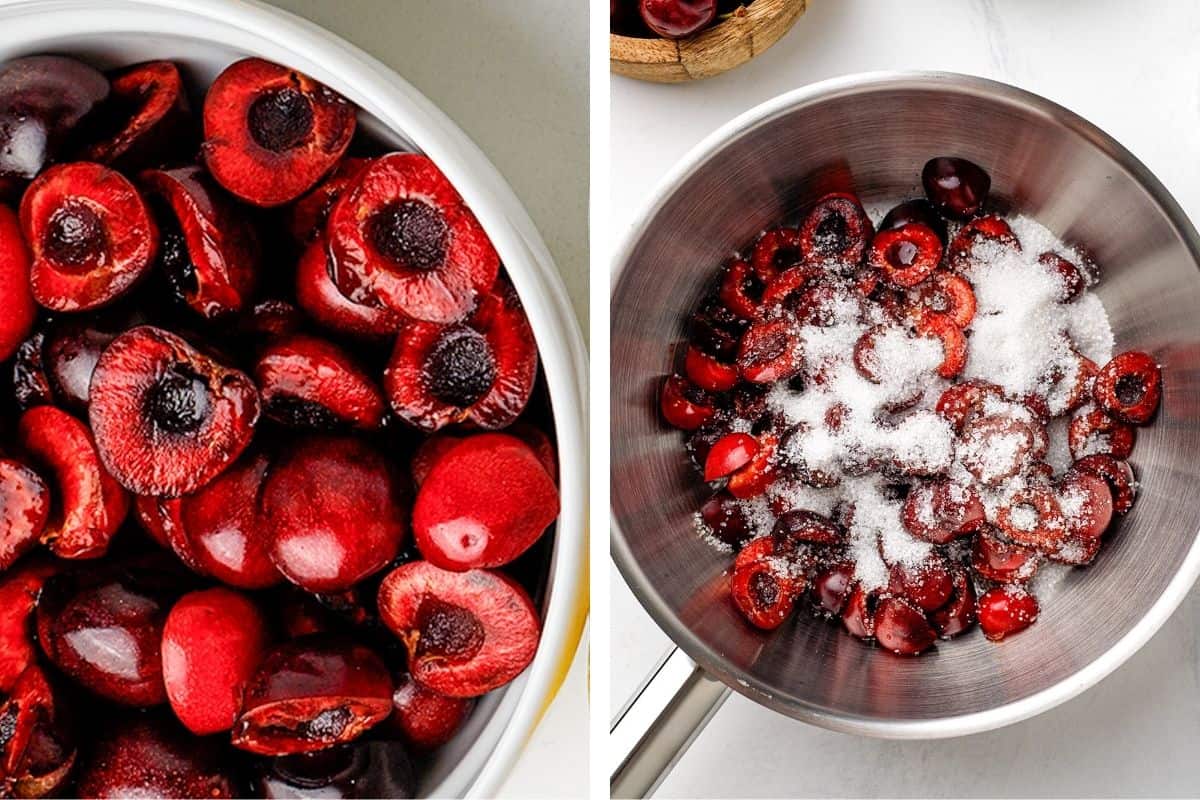
- Cook the cherry filling: Simmer cherries, sugar, and lemon juice for 5 to 6 minutes, stir in the cornstarch slurry, then cook 1 to 2 minutes more until thick and glossy. Cool completely.
- Melt the chocolate: Melt butter and chocolate together in a double boiler, then let it cool to room temperature.
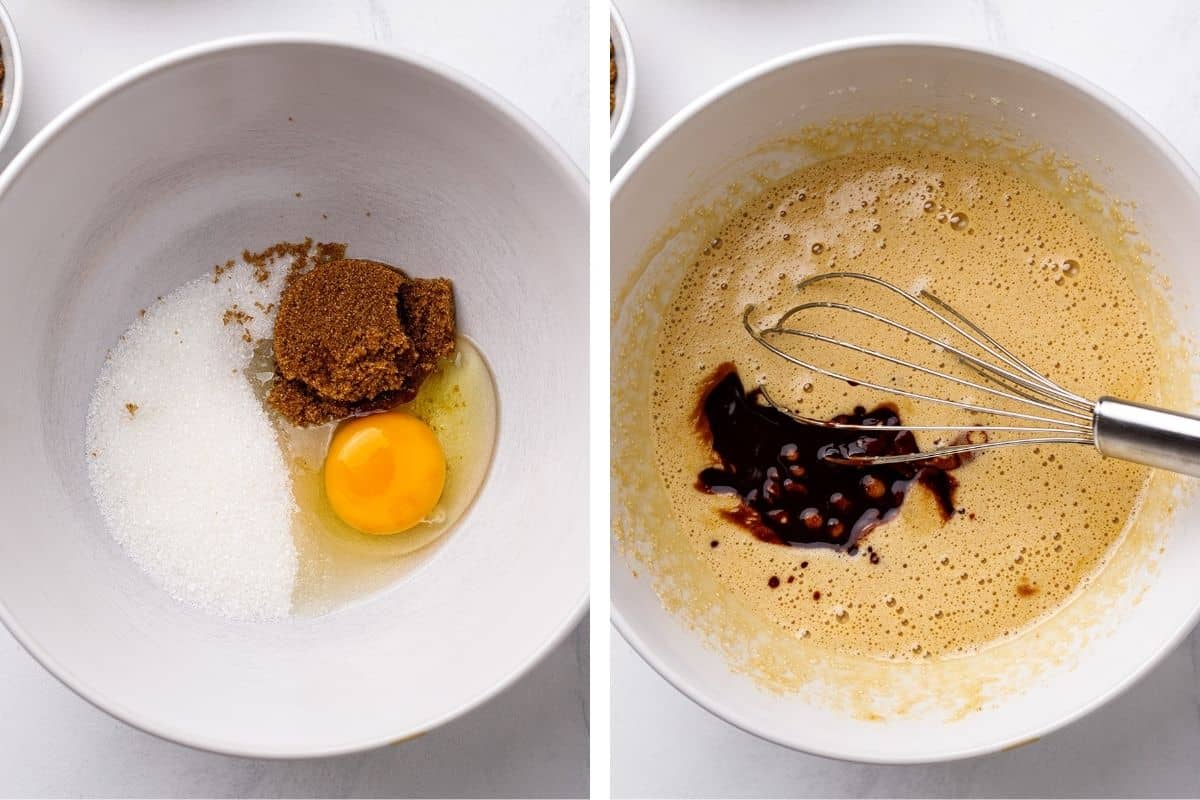
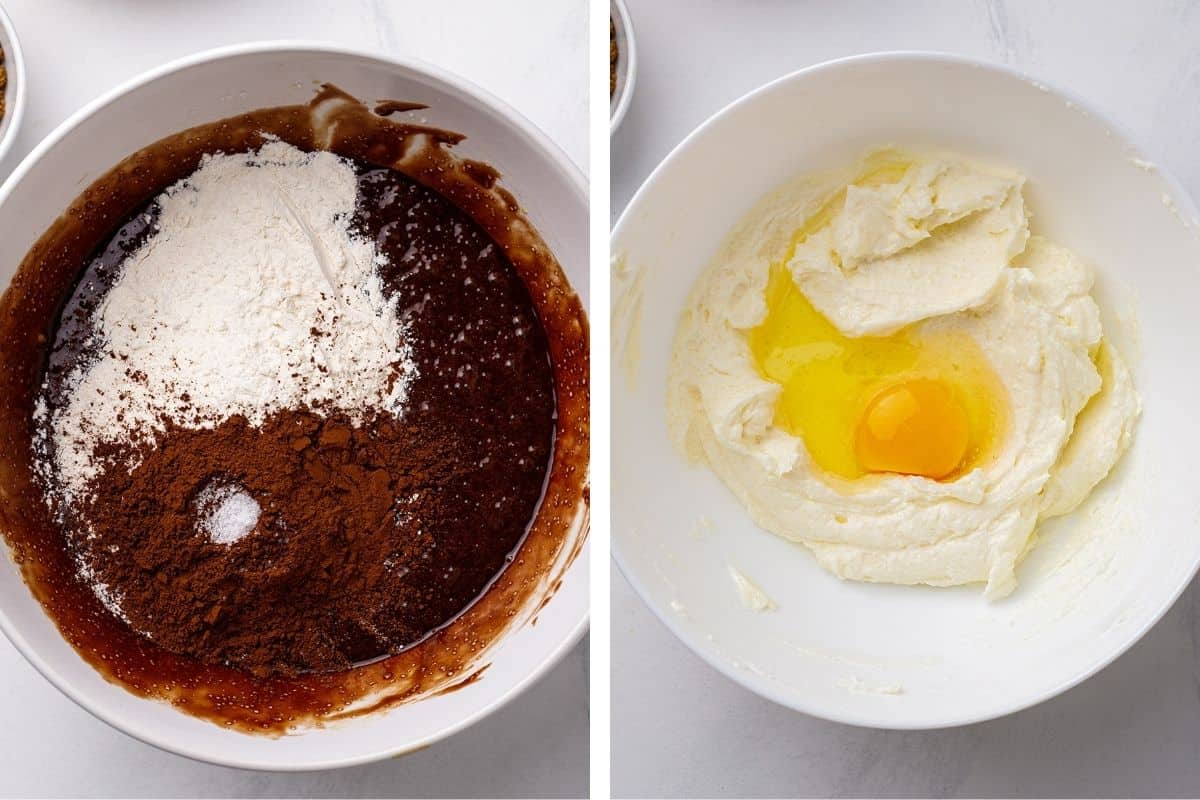
- Mix the brownie batter: Whisk the sugars with the eggs, add vanilla and the cooled chocolate, then fold in flour, cocoa, and salt. Stop as soon as the streaks disappear.
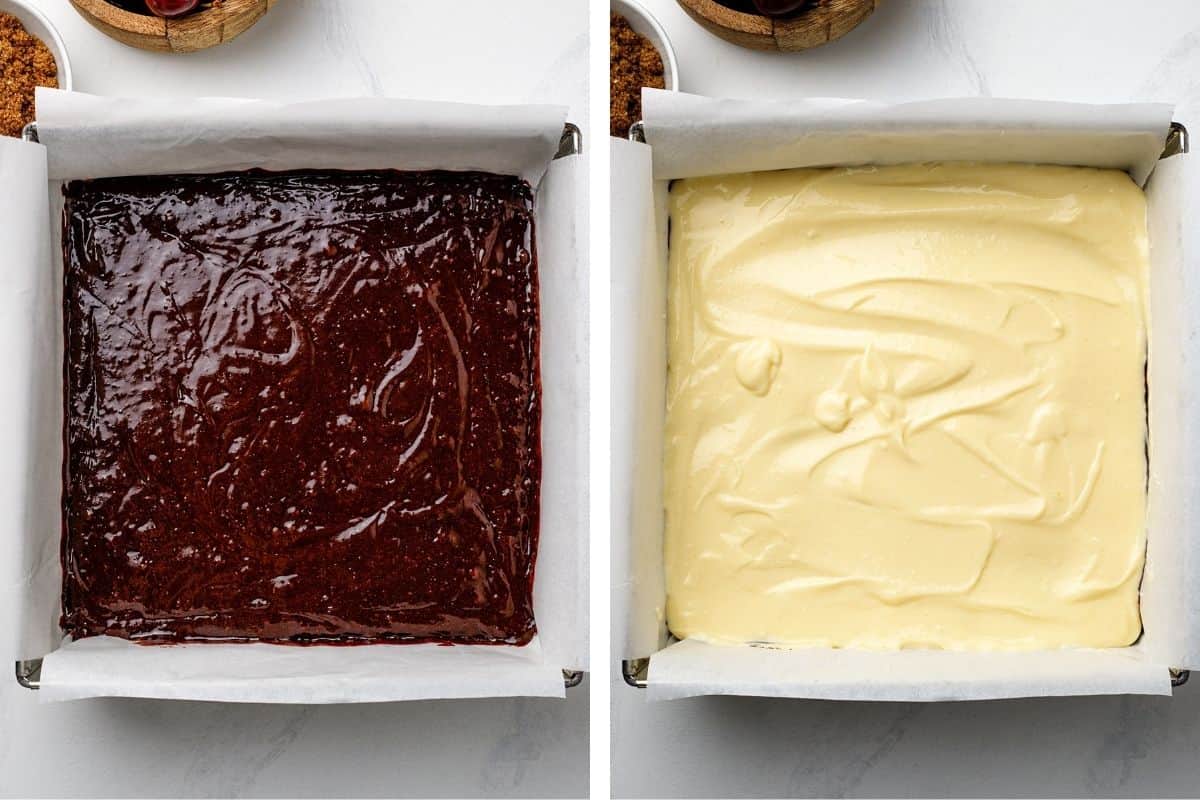
- Spread the brownie layer: Smooth the batter into a parchment-lined 9x9-inch pan.
- Beat the cheesecake layer: Beat cream cheese until smooth, add sugar, then mix in the egg, yolk, and vanilla on low speed. Spread gently over the brownie batter.
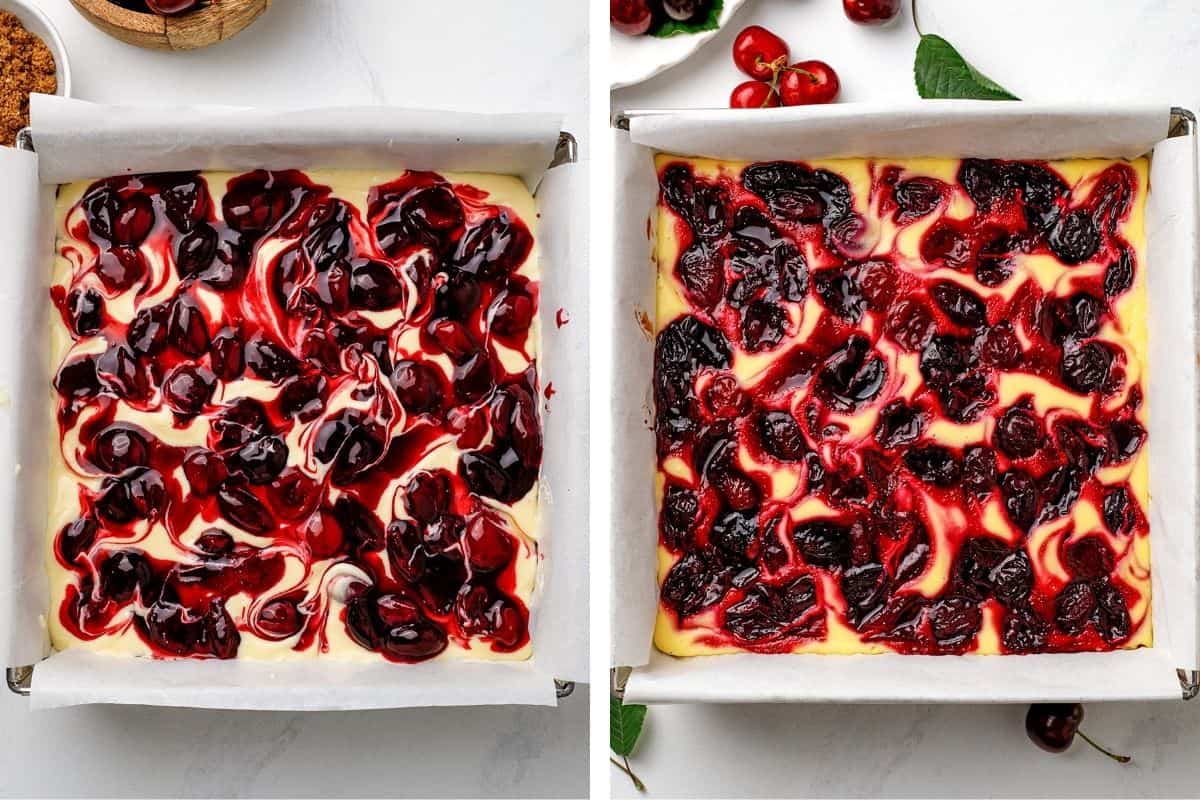
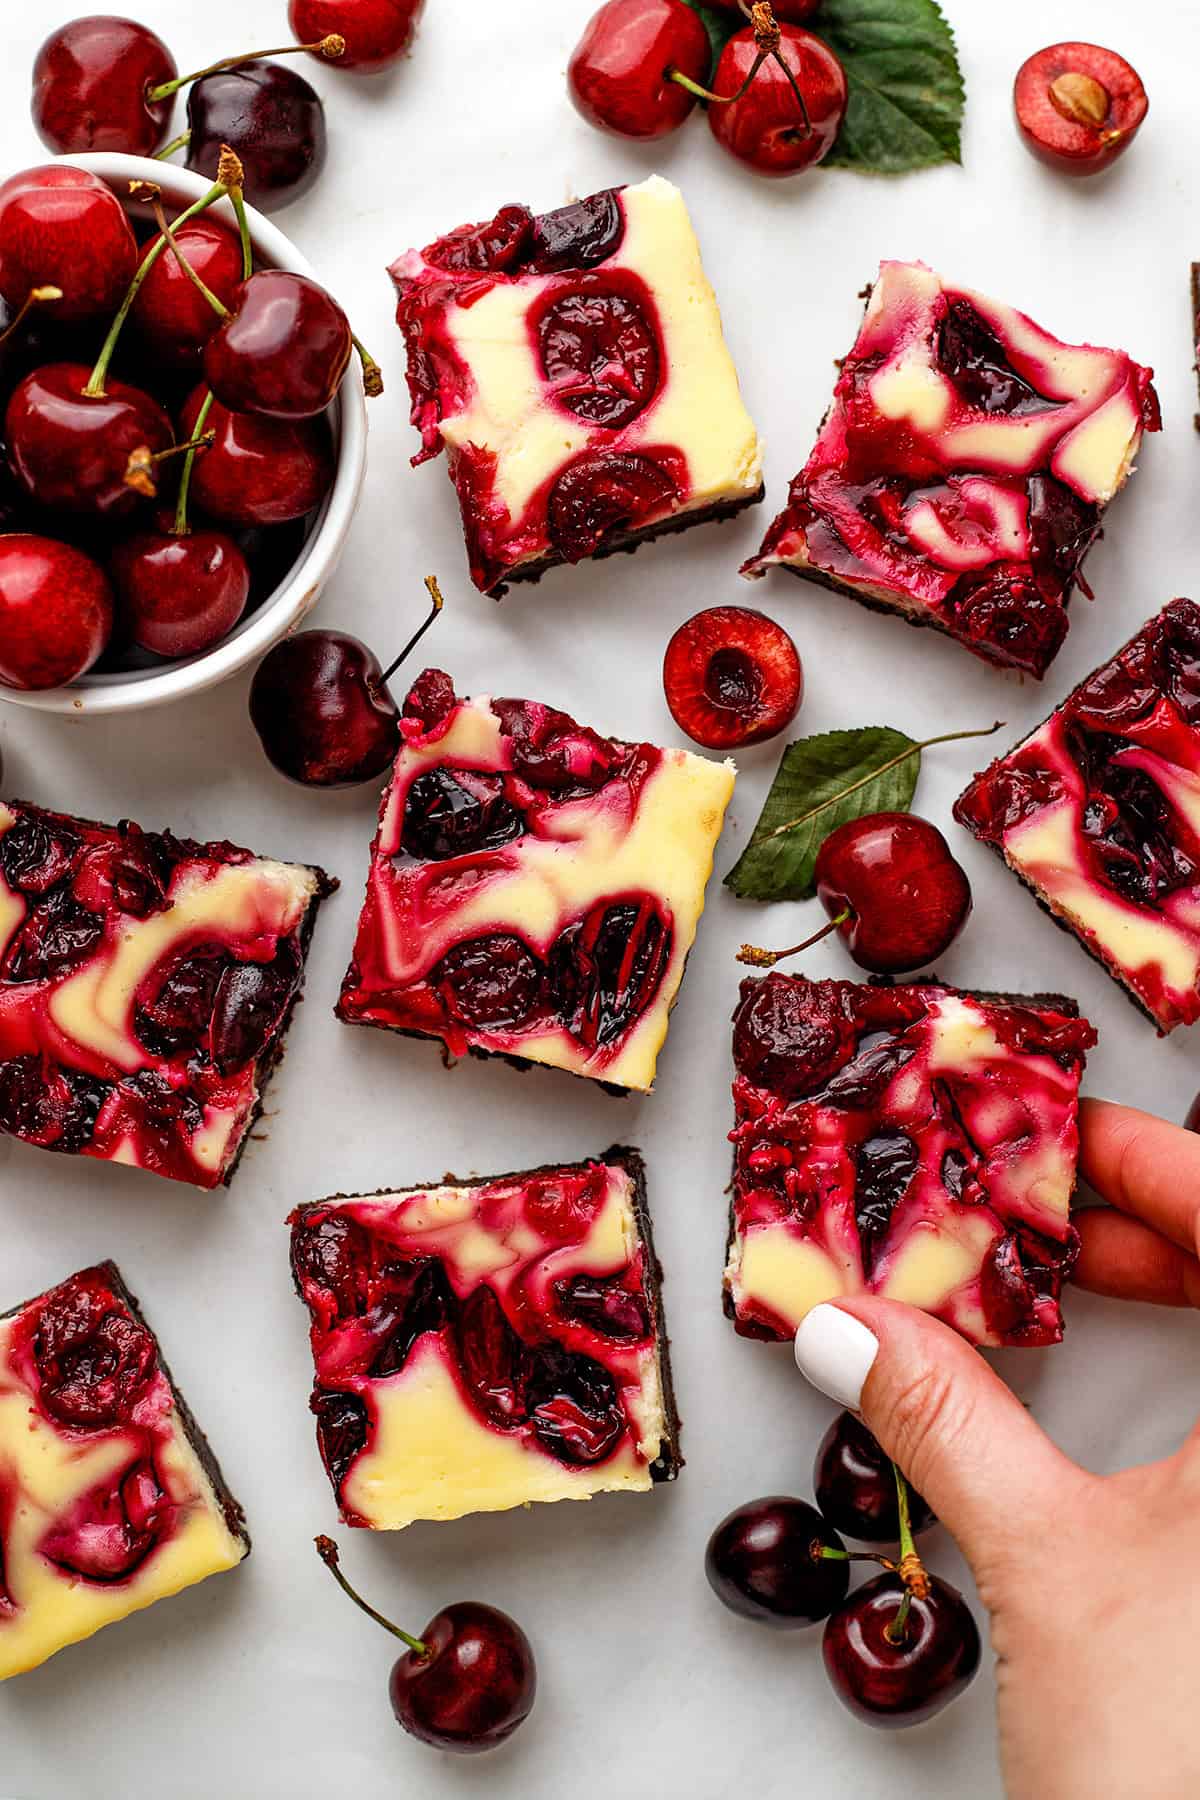
- Add the cherries and swirl: Dollop the cooled cherry filling over the top and drag a knife or skewer through the surface only.
- Bake and chill: Bake at 350°F (175°C) for 35 to 40 minutes, cool completely, then refrigerate for at least 4 hours.
FAQs
- Can I use canned cherry pie filling? You can, and you'll need about 1 cup. But the homemade version takes ten minutes and tastes dramatically better. Canned filling is sweeter, softer, and has a texture that goes gummy against the cheesecake.
- Why did my cherry swirl sink into the brownie? Almost always because the cherry filling was still warm, or it was too thin. Cook it until it coats the back of a spoon, then let it cool completely before it touches the cheesecake batter. Drop it in small spoonfuls and swirl only the top, without pressing down.
- Can I make these gluten free? Yes. The brownie layer uses only ¾ cup of flour, and a 1:1 gluten-free baking flour works well here. The cheesecake and cherry layers are already gluten free.
- My cheesecake layer cracked. What happened? Usually too much air beaten into the batter, or overbaking. Beat on low once the eggs go in, and pull the pan while the center still wobbles. A crack under the cherry swirl is largely invisible anyway.
- How do I know when they are done? The edges will look set and slightly puffed, and the center will still have a gentle wobble when you nudge the pan. It should move as one piece, not slosh. The cheesecake layer finishes setting during the chill.
- Why did my brownie layer seem underbaked? The brownie layer is meant to stay fudgy. Also, because it's covered with cheesecake, you can't rely on the usual toothpick test. The brownies will continue to set as they cool and chill in the refrigerator.
Cherry Cheesecake Brownies (with Homemade Cherry Pie Filling)
Ingredients
Homemade cherry pie filling
- 2 cups fresh sweet cherries (300g) pitted and halved
- ¼ cup granulated sugar (50g)
- 1 tablespoon lemon juice
- 1 tablespoon cornstarch
- 1 tablespoon water
Brownie layer
- ½ cup unsalted butter (1 stick / 113g)
- 4 oz chocolate chips (115g) or chopped chocolate
- ½ cup granulated sugar (100g)
- ¼ cup light brown sugar (50g) packed
- 2 large eggs room temperature
- ½ teaspoon vanilla extract
- ¾ cup all-purpose flour (95g)
- 3 tablespoon cocoa powder (18g) cocoa powder
- ¼ teaspoon salt
Cheesecake layer
- 12 oz cream cheese (340g) full-fat block, room temperature
- ⅓ cup granulated sugar (65g)
- 1 large egg room temperature
- 1 egg yolk room temperature
- ½ teaspoon vanilla extract
Instructions
Cherry filling
- Add the pitted cherries, sugar and lemon juice to a saucepan. Cook over medium heat for 5 to 6 minutes, stirring occasionally, until the cherries soften and release their juices.
- Combine the cornstarch and water in a small bowl, then stir into the cherry mixture. Simmer 1 to 2 minutes until thickened and glossy.
- Remove from the heat and cool completely before using.
Brownie layer
- Preheat the oven to 350°F / 180°C (160°C fan-forced). Line a 9x9-inch (23x23cm) baking pan with parchment paper, leaving overhang on two sides.
- Melt the chocolate and butter in a double boiler, stirring frequently until smooth. Cool to room temperature.
- Whisk the granulated and brown sugars together in a large bowl. Whisk in the eggs one at a time, then the vanilla and the cooled chocolate mixture.
- Add the flour, cocoa powder and salt. Fold gently with a rubber spatula just until no dry streaks remain. Do not overmix.
- Transfer to the prepared pan, spread evenly and smooth the top.
Cheesecake layer
- Beat the cream cheese on medium speed for 1 to 2 minutes until smooth. Add the sugar and beat until creamy, scraping down the sides and bottom of the bowl halfway through.
- Reduce to low speed. Add the whole egg and mix just until combined, then add the yolk and vanilla and mix until incorporated. Don't overmix.
- Spread gently over the brownie layer.
Assemble and bake
- Spoon the cooled cherry filling over the cheesecake layer in small dollops. Spread evenly with the back of a spoon. Don't press down.
- Using a knife or skewer, gently swirl only the top layer to create a pattern. Four or five passes maximum.
- Bake for 35 to 40 minutes, until the edges look set and the center gently wobbles when you move the pan. Don't overbake.
- Cool completely at room temperature, then refrigerate at least 4 hours for the cheesecake layer to firm up. For clean slices, use a sharp knife and wipe the blade with a damp paper towel between each cut.
Notes
- Cream cheese: Use full-fat brick cream cheese, not the spreadable kind sold in tubs. Tub cream cheese has added water and will not set properly.
- Almond extract: Cherries and almonds are a natural pair. Swap ¼ teaspoon of the vanilla in the cheesecake layer for almond extract if you like
- I recommend leaving some paper hanging on two sides of the baking pan. This will help you remove the cherry cheesecake brownies from the pan easily.
- Cook the cherry filling until it's thick and not runny. This keeps the cheesecake layer from becoming watery and helps the bars slice cleanly after chilling.
- Use room temperature ingredients. Let the cream cheese and eggs come to room temperature for the smooth batter.
- You can also microwave the chocolate and butter. Add chopped chocolate and cubed butter to a microwave-safe bowl. Microwave in 30-second intervals, stirring between each, until melted and smooth. Set aside to cool.
- Make sure not to overmix the cheesecake batter. Overmixing after adding eggs incorporates air that can cause the cheesecake to puff and crack as it cools.
- Spread the cheesecake layer gently so it doesn't mix into the brownie batter.
- Swirl the surface only. Drag the knife through the top ¼ inch. Digging deep drags cherry filling down into the brownie layer and muddies the pattern.
- Chill the full 4 hours. Overnight is even better. Trying to slice these warm gives you a delicious mess.
- For picture-perfect squares: Run a sharp knife under hot water, wipe it dry, press straight down for one cut, then wipe the blade with a damp paper towel between each cut.
- If you want to use a 9x13 pan: Double the brownie and cheesecake layers, and use 3 cups of cherries with 6 tablespoons of sugar for the filling. Bake time is closer to 45 to 50 minutes. Chill at least 5 hours.
- Special tools: Cherry pitter, 9x9-inch baking pan, parchment paper, electric mixer, double boiler or heatproof bowl.
Storage Tips
- Fridge: Store in an airtight container for up to 4 days, with parchment paper between stacked layers. Because of the cream cheese, these live in the fridge, not on the counter.
- Freezer: Freeze for up to 1 month. Wrap the chilled uncut slab in two layers of plastic wrap plus heavy-duty foil, or freeze individual squares in an airtight container with parchment between layers. Thaw overnight in the fridge.
Nutrition
Nutrition Disclaimer:
The nutritional information on this website is only an estimate and is provided for convenience and as a courtesy only. The accuracy of the nutritional information for any recipe on this site is not guaranteed. It should not be used as a substitute for a professional nutritionist's advice.
I hope you try these cherry cheesecake brownies while fresh cherries are still in season! Let me know in the comments what you think, if you're planning to make them, or if you have any questions. I'm always here to help! Julia
These were the prettiest brownies I’ve ever made! My kids loved them!
Can I sub canned cherry pie filling if cherries aren’t in season?
Hi Alicia! Yes, you can! Canned cherry pie filling should work well. Since it’s already quite sweet, I’d reduce some of the added sugar so the brownies don’t end up overly sweet.