
This post may contain affiliate links. Read my disclosure policy.
A classic French-style lemon tart with a crisp, buttery shortcrust shell and a silky filling made with fresh lemon juice, the zest of 4 lemons, eggs, and cream. Make it a day ahead for the cleanest slices, then top with fresh lemon, raspberries, and mint.
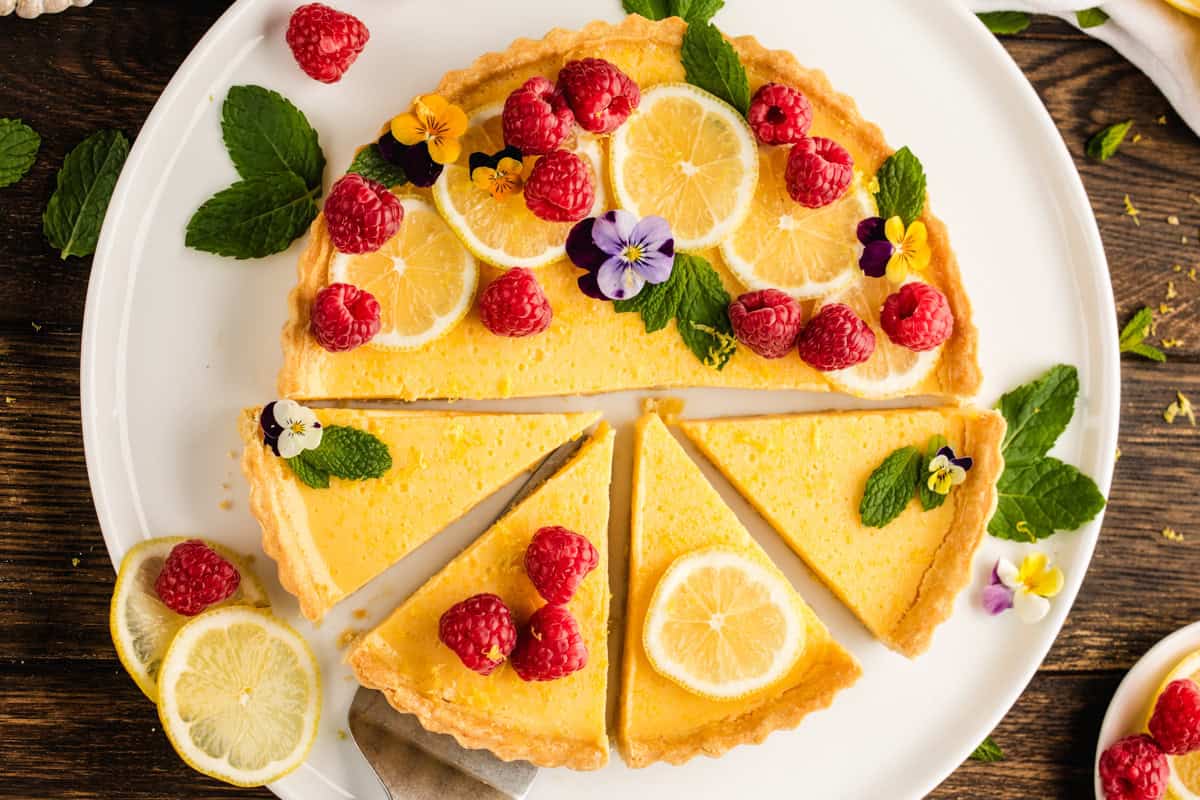

This Lemon Tart Will Become Your New Favorite Summer Dessert!
There are two kinds of lemon desserts in my kitchen. There are the everyday ones that are quick and simple, like my lemon sugar cookies, my lemon poppy seed bundt cake, or a slab of lemon brownies. And then there is this French Lemon Tart, which is also easy to make, but it's the one I bake when I want something that looks like it came out of a Paris pastry case and impresses my family and friends.
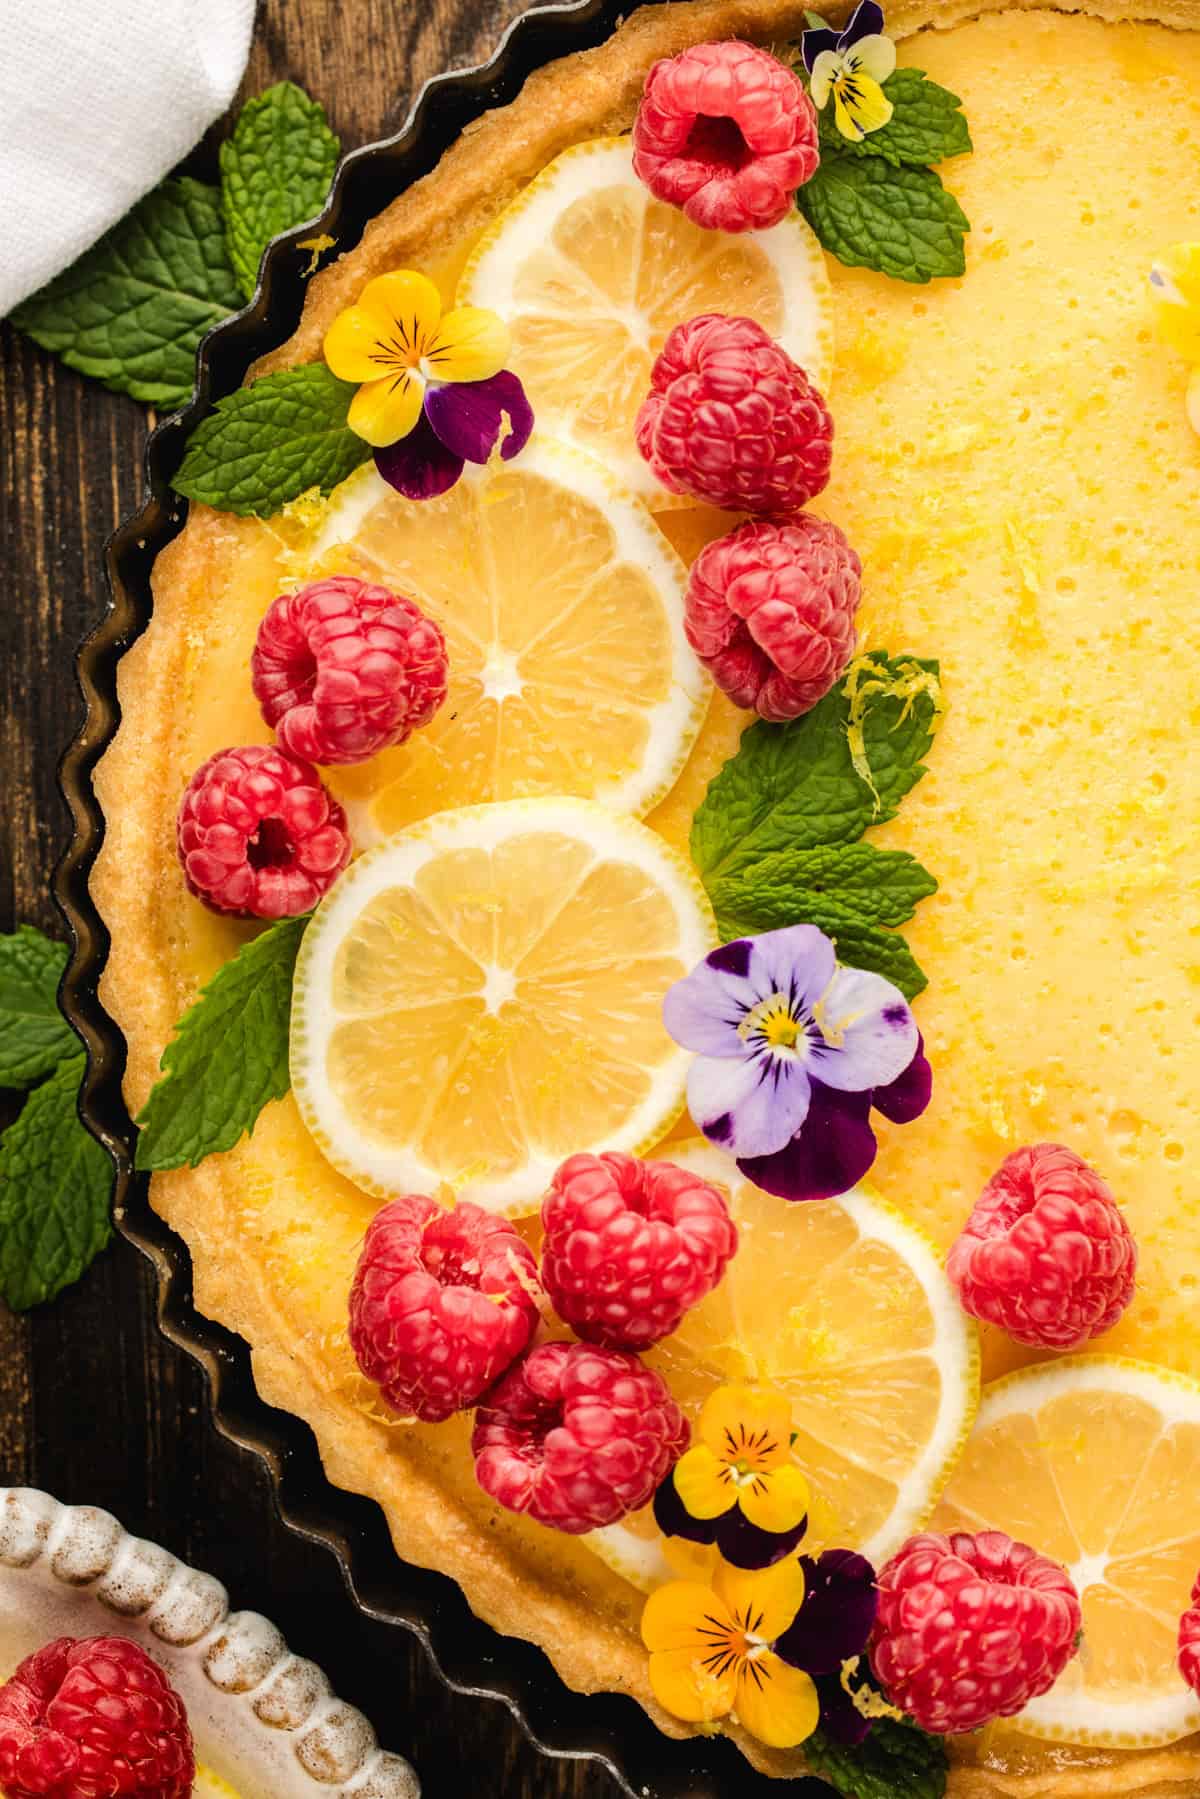
What Is a Classic French Lemon Tart?
A classic French Lemon Tart (Tarte au Citron) features a crisp, buttery pâte sucrée (sweet pastry crust) filled with a smooth, intensely lemony custard made with fresh lemon juice, zest, eggs, sugar, and butter. Unlike lemon meringue pie, the traditional French version is typically served without meringue, letting the bright, tart lemon filling take center stage.
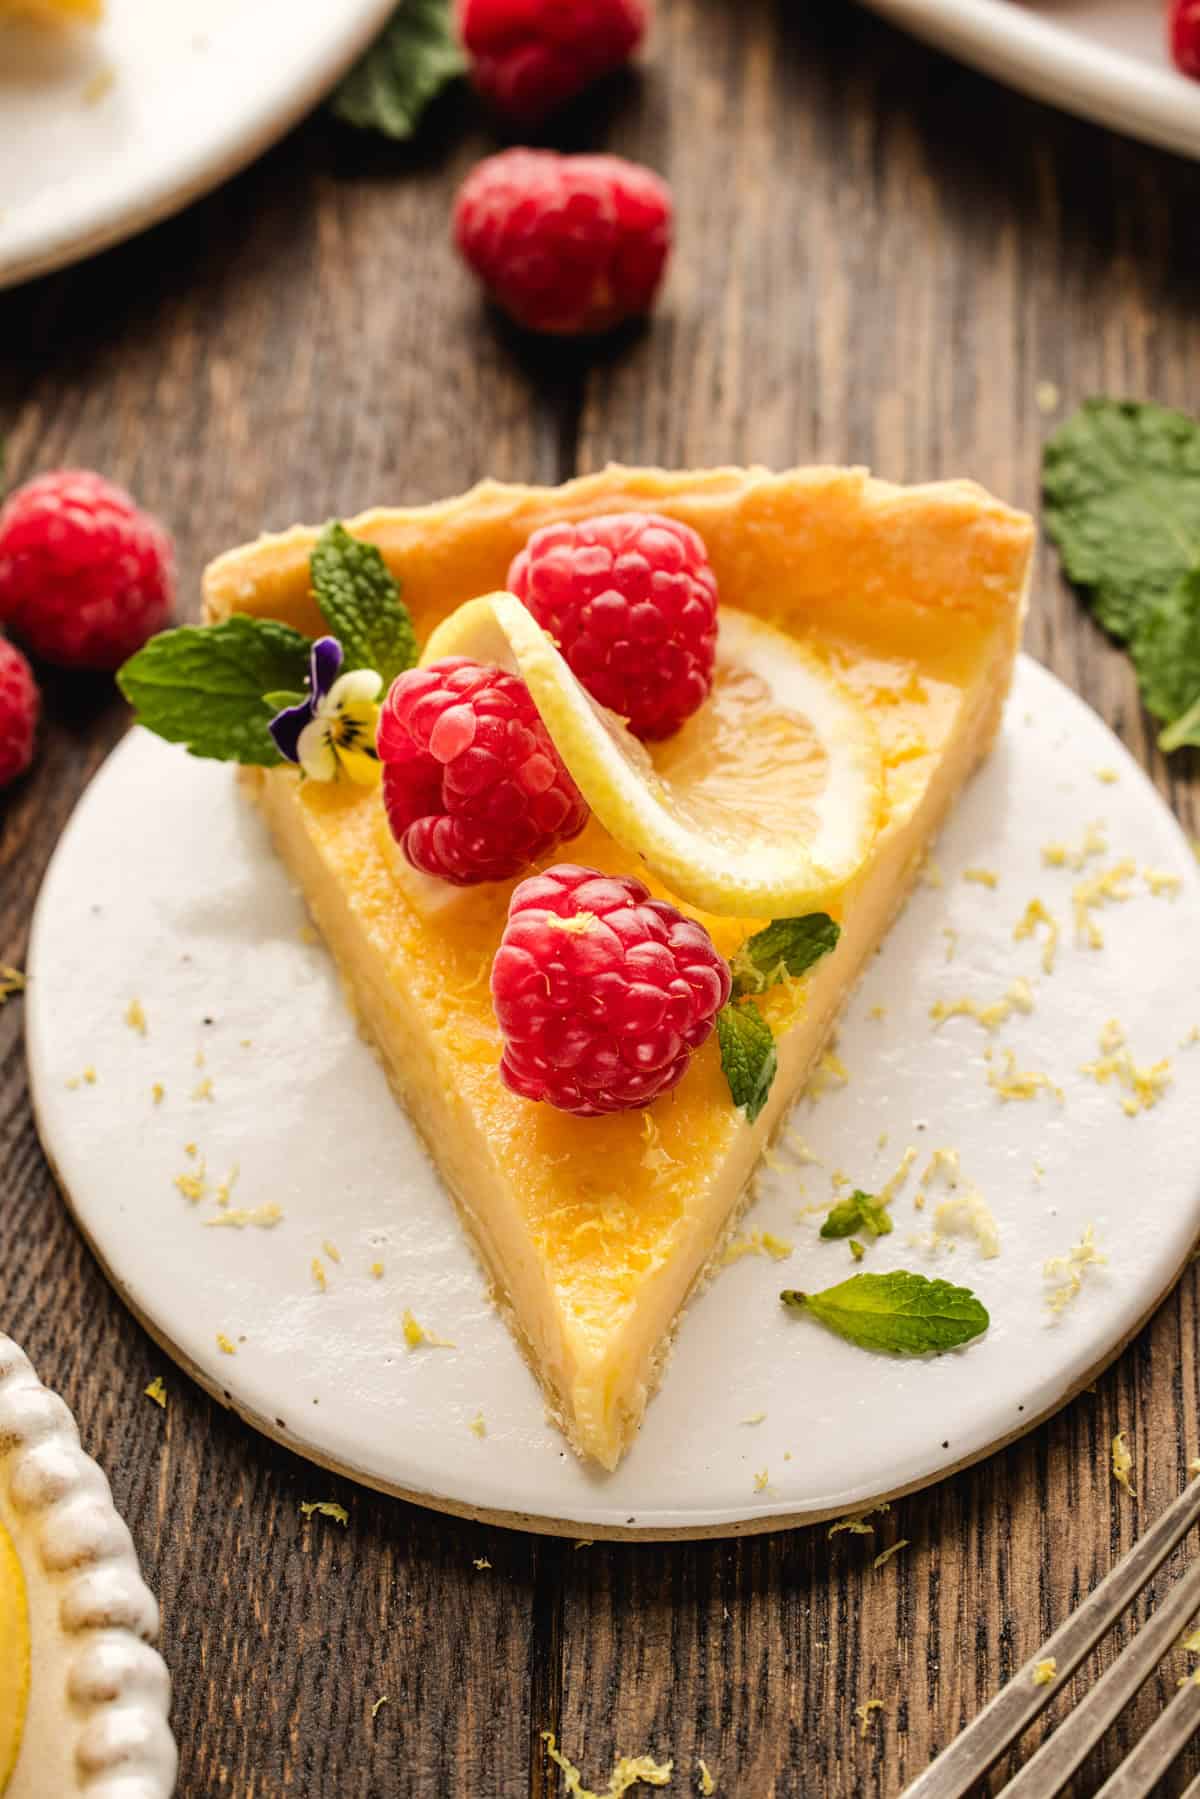
What Makes My Lemon Tart So Good
- Texture: Silky and just barely set, closer to a baked custard than a firm curd. The pastry underneath stays crisp because you blind bake it first, so every slice gives you that snap-then-cream contrast.
- Flavor: Sharply, unapologetically lemony. The zest of 4 lemons plus ⅔ cup of fresh juice means the tart tastes like fruit rather than sugar.
- Only five ingredients in the filling: Eggs, cream, sugar, fresh lemon juice, and lemon zest. No cornstarch, no gelatin, no curd to cook on the stove first.
- Baking: Two temperatures and one important rule. The shell is blind baked at 350°F (175°C), then the whole tart bakes at 325°F (165°C). Low and slow keeps the custard smooth instead of scrambled or cracked. Pull it while the center still wobbles.
- Time: Roughly 1 hour of hands-on prep including chilling, about 50 minutes of oven time, and then at least 2 hours in the refrigerator. Overnight is better. This is a make-ahead dessert by design, so plan it the day before your dinner, and you will thank yourself.
Grab These Ingredients
This recipe has 3 components: a buttery shortcrust pastry, a fresh lemon filling, and the decorations you add just before serving. Scroll to the recipe card for exact amounts.
1) Pastry Ingredients
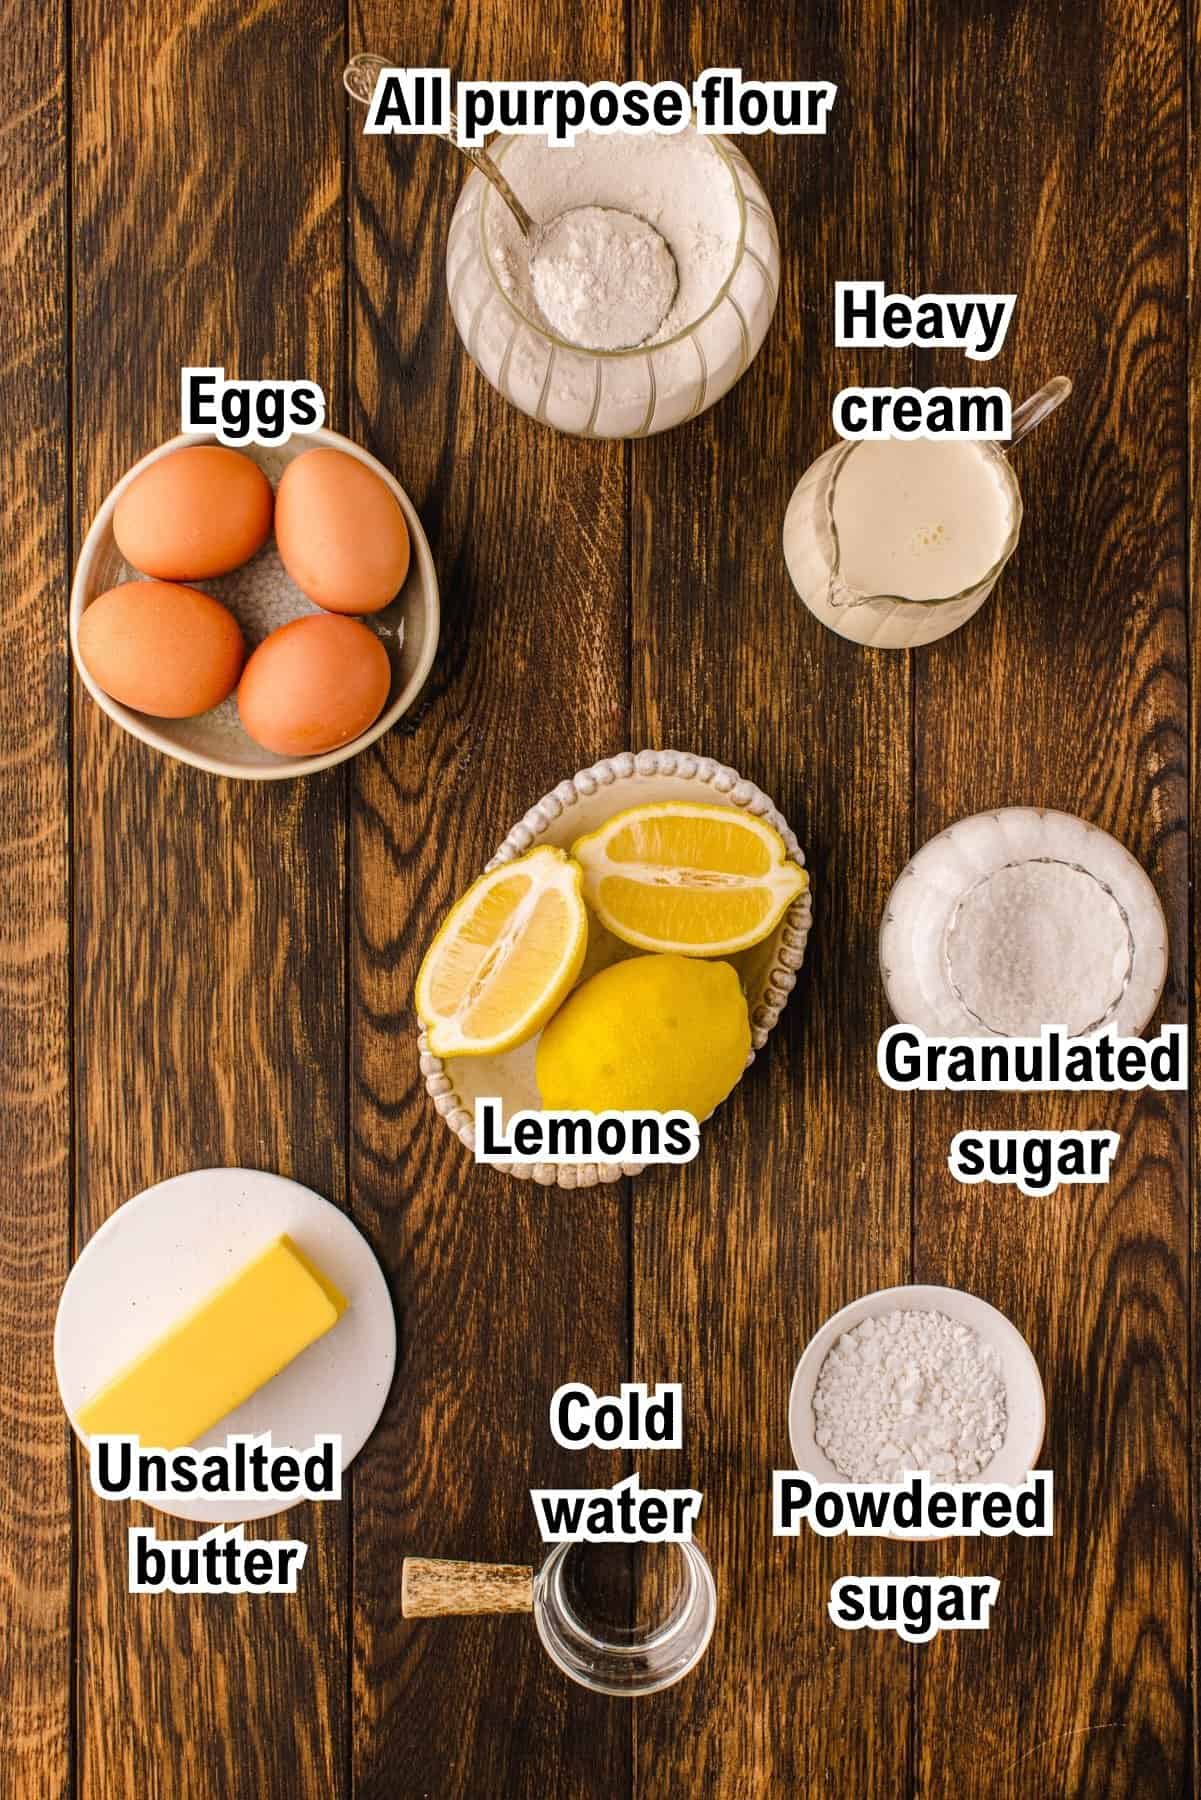
- All-purpose flour: The base of the crust. Measure by spooning the flour into the cup and leveling it off so you do not pack in too much.
- Cold unsalted butter, cubed: Straight from the fridge. I cut it into small cubes before I start so it stays cold while I rub it in.
- Powdered sugar: It dissolves into the dough more smoothly than granulated sugar and keeps the pastry tender.
- Egg yolk: Binds the dough and adds richness. Save the white for meringue if you're feeling ambitious and decide to make my pavlova or key lime pie.
- Cold water: Just 1 tablespoon. Add it slowly, and stop as soon as the dough comes together.
2) Lemon Filling Ingredients
- Large eggs: Whole eggs, at room temperature. They set the custard.
- Heavy cream: Softens the tang and gives the filling its silky texture. Do not swap in milk here, the tart will not set as richly.
- Granulated sugar: Balances all that lemon juice.
- Fresh lemon juice: Freshly squeezed only, please. Bottled juice tastes flat, and in a filling this simple you will taste the difference immediately.
- Lemon zest: From 4 lemons. Zest the lemons first, then juice them. It is much harder the other way around.
3) For Serving
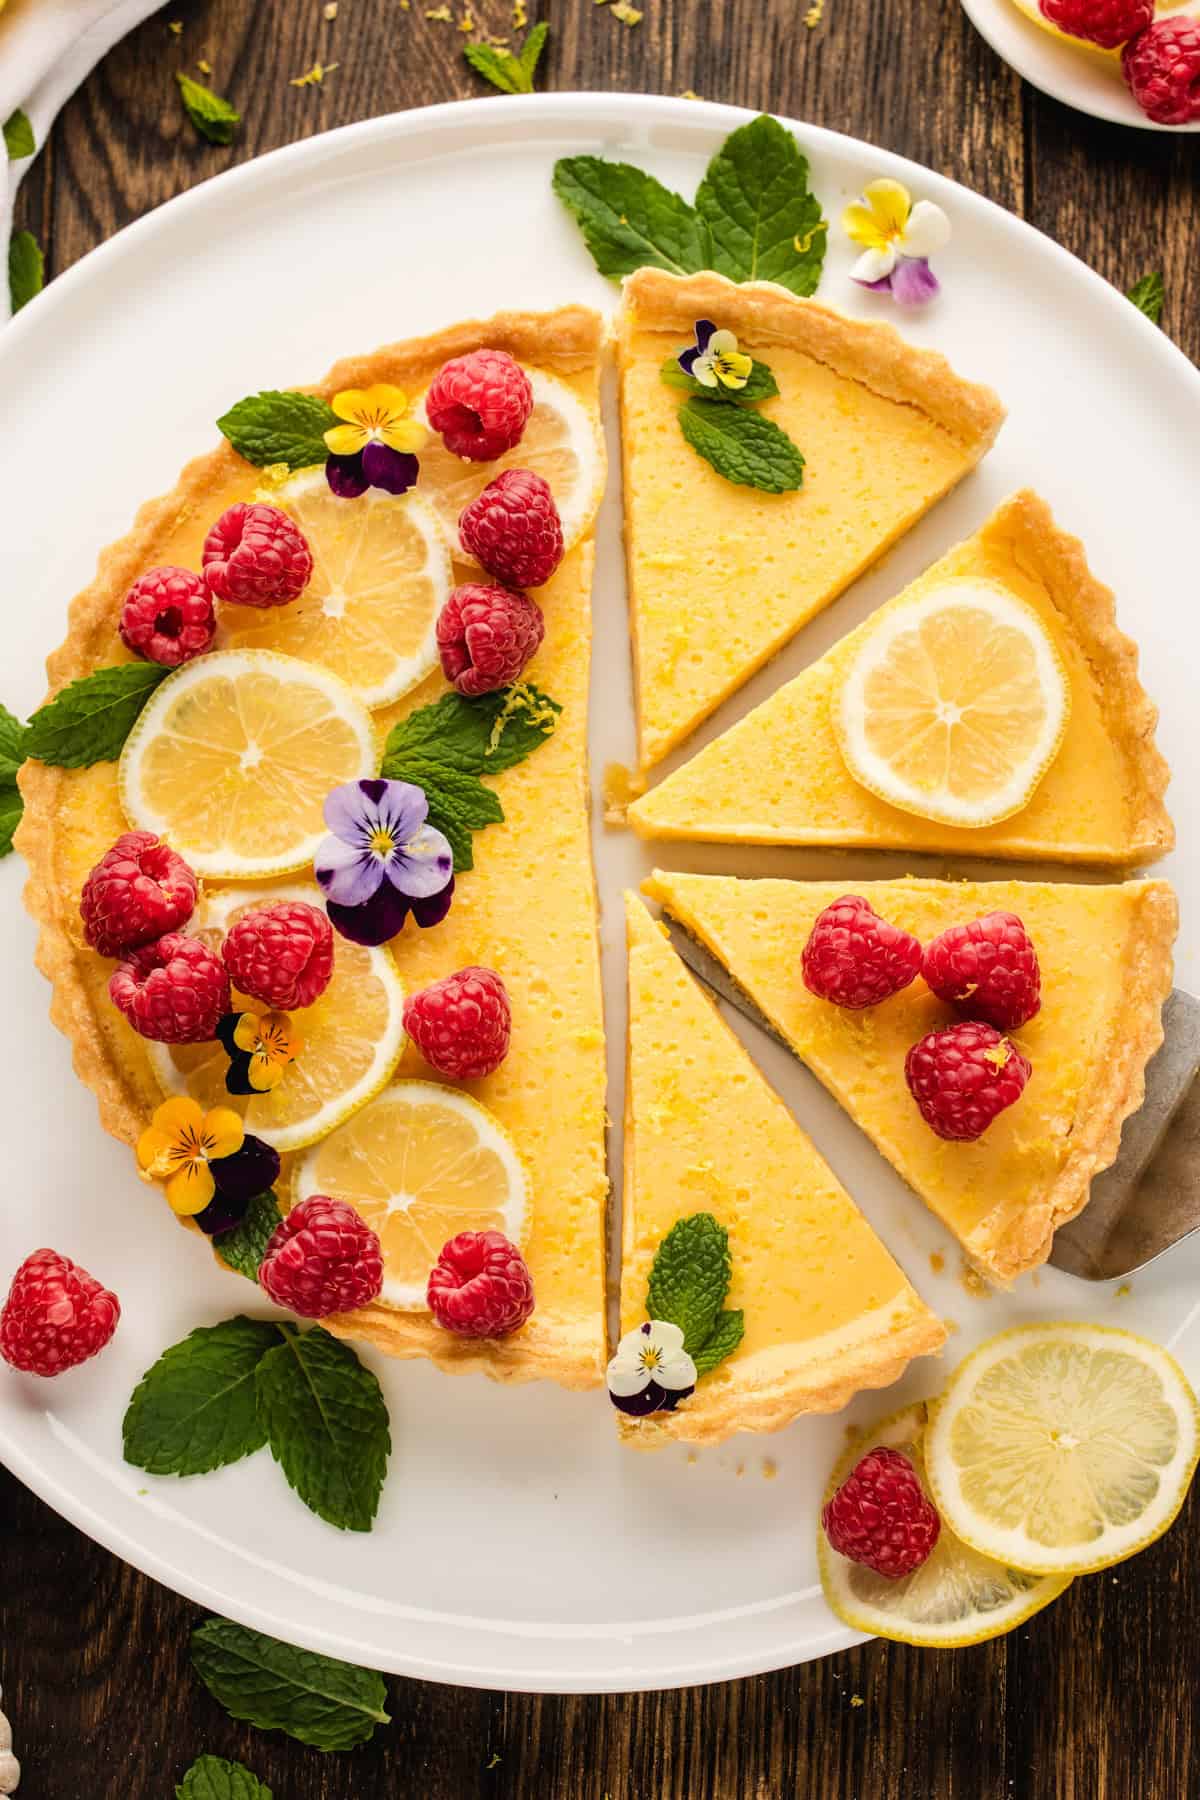
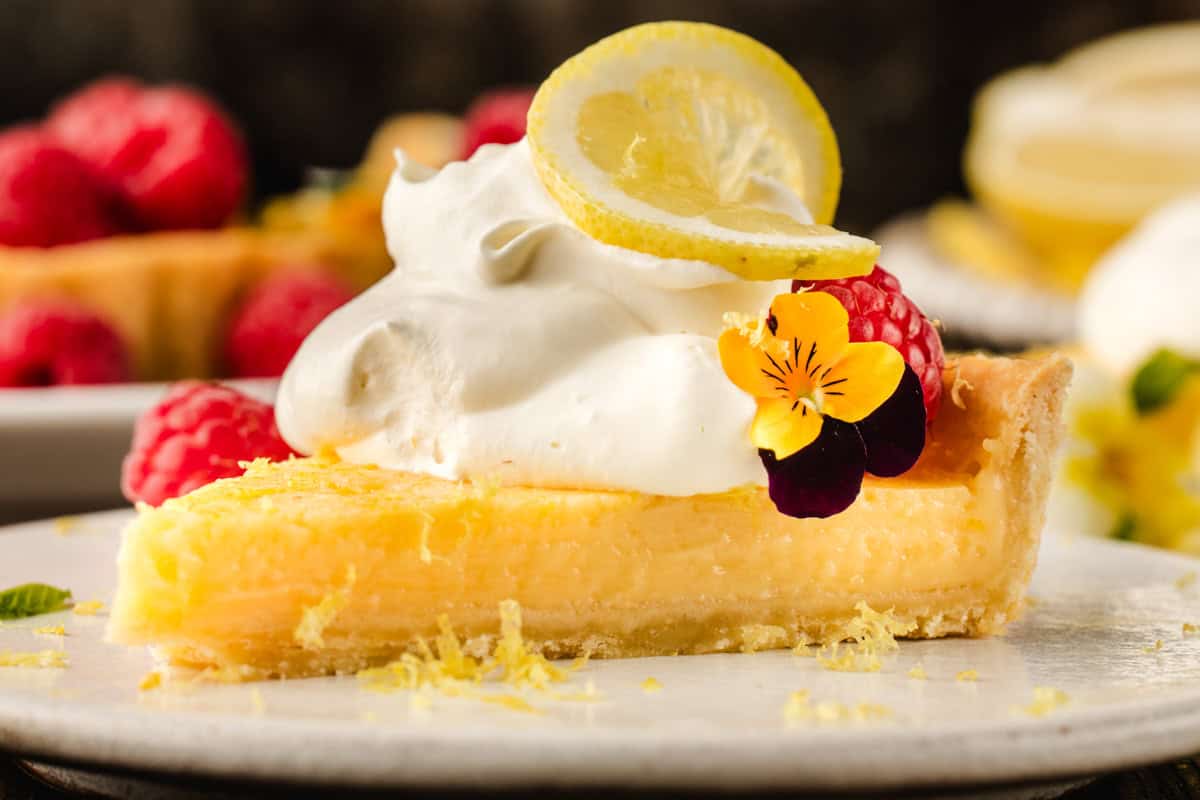
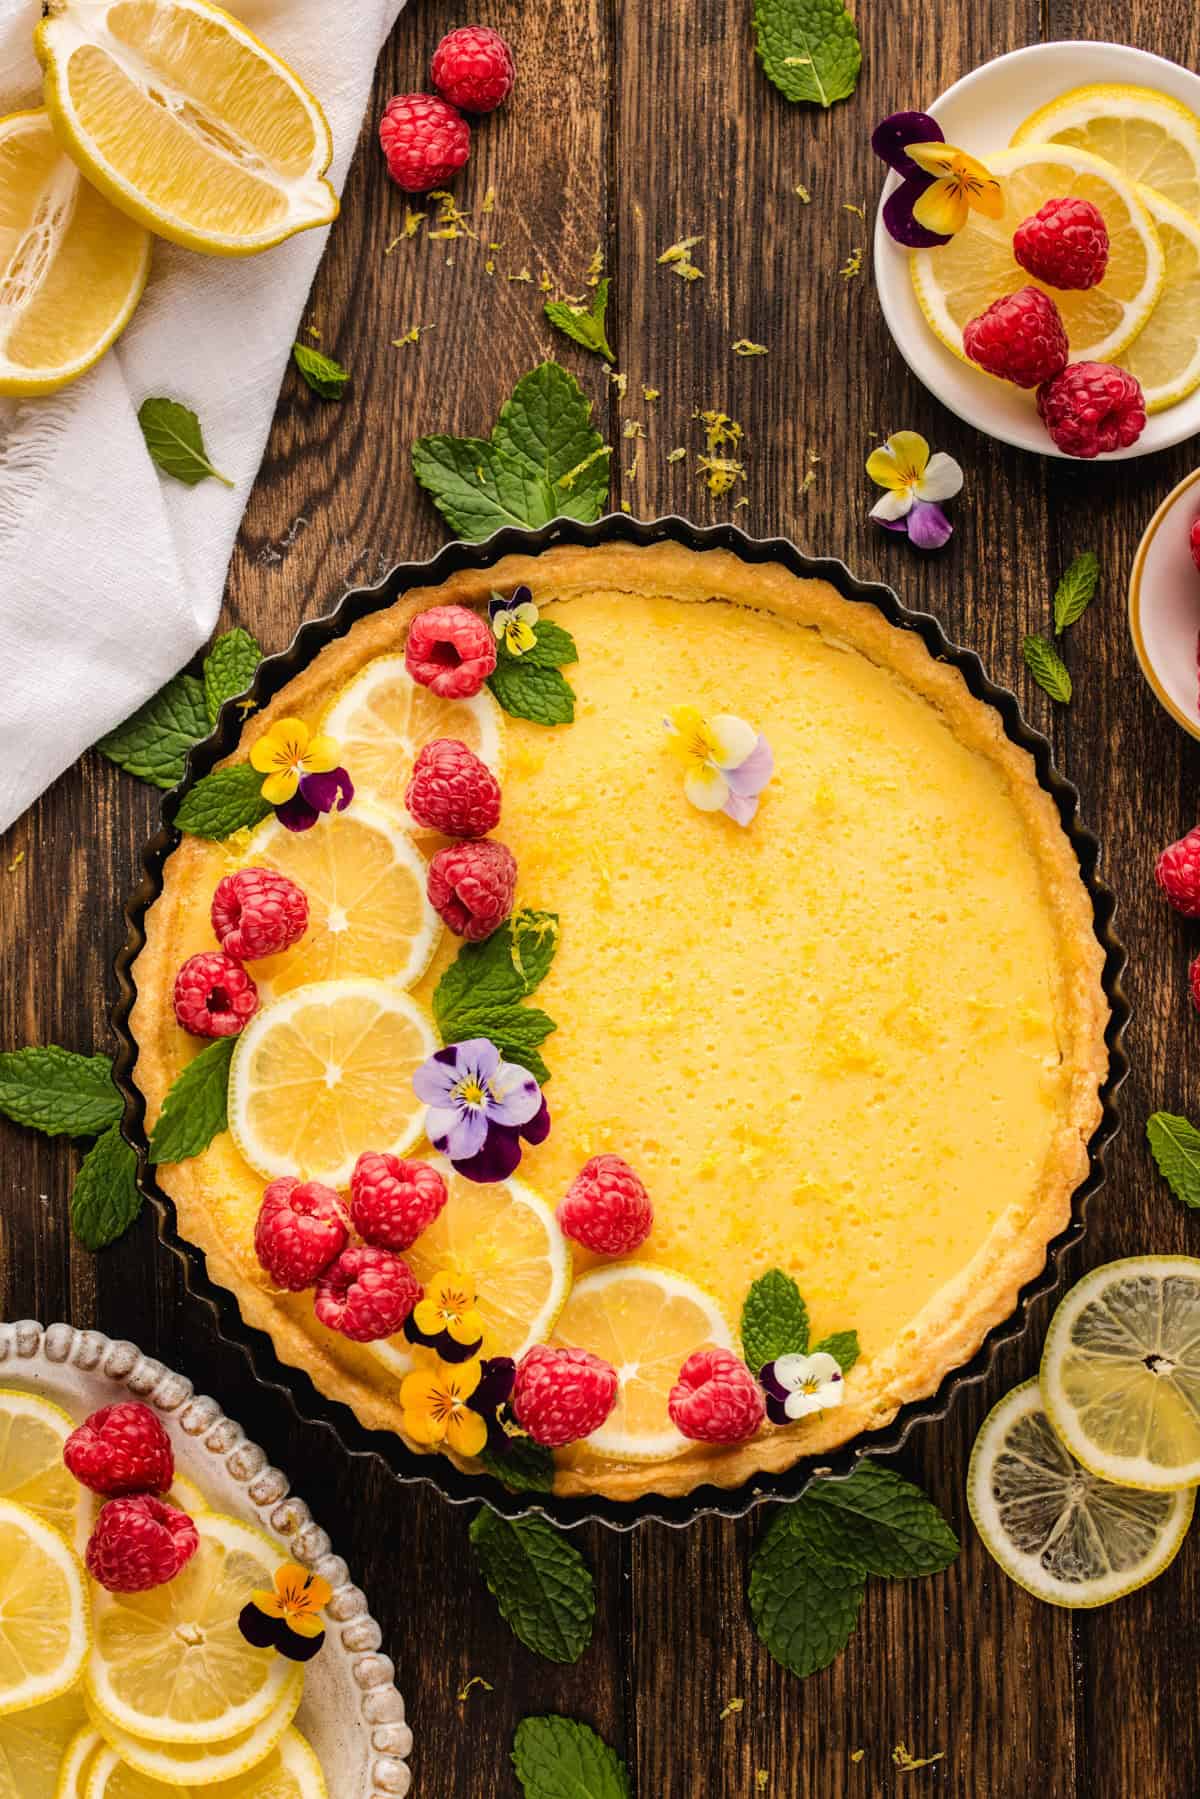
- Fresh lemon slices, raspberries, and mint: My favorite combination. The raspberries look beautiful against the pale yellow filling.
- Edible flowers: Optional, but they make the tart look like it came from a pastry shop.
- Whipped cream: I whip a little heavy cream to serve alongside. A scoop of vanilla ice cream is lovely too.
How to Make Lemon Tart (Step-by-Step)
This is a recipe overview. Scroll down for the complete instructions and ingredient amounts in the recipe card below.
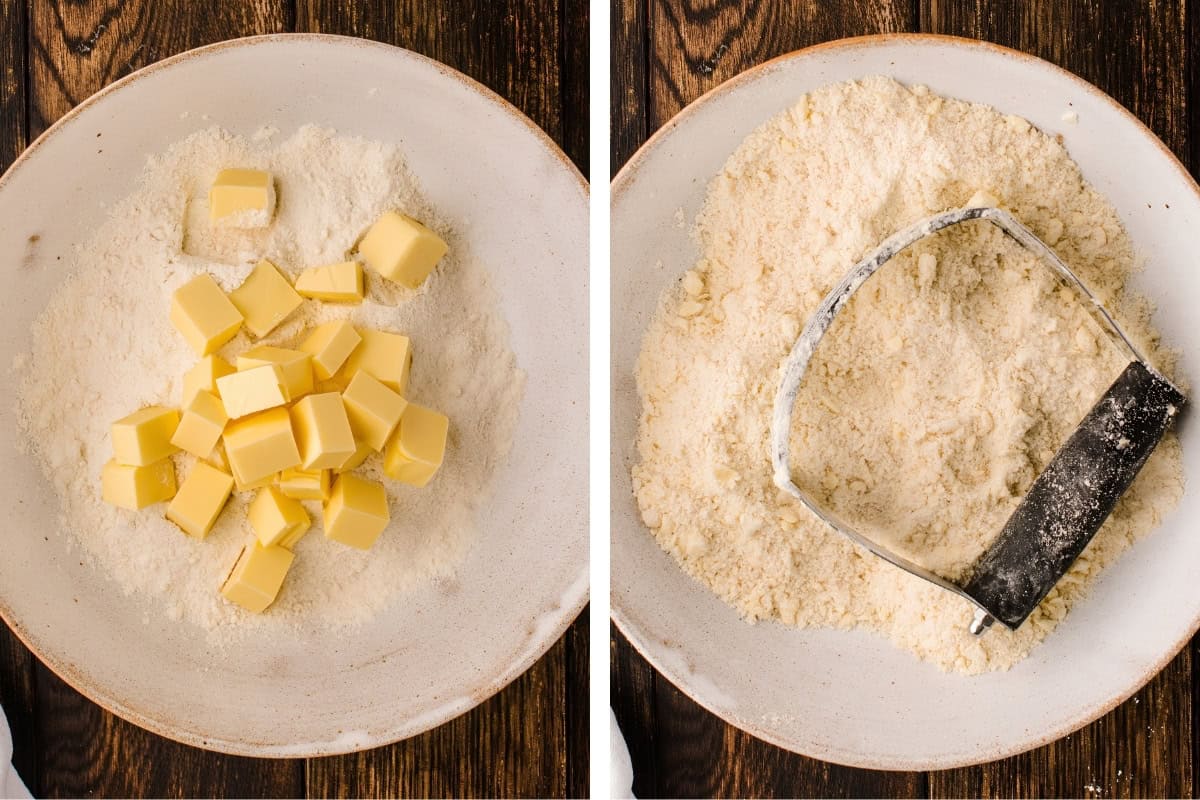
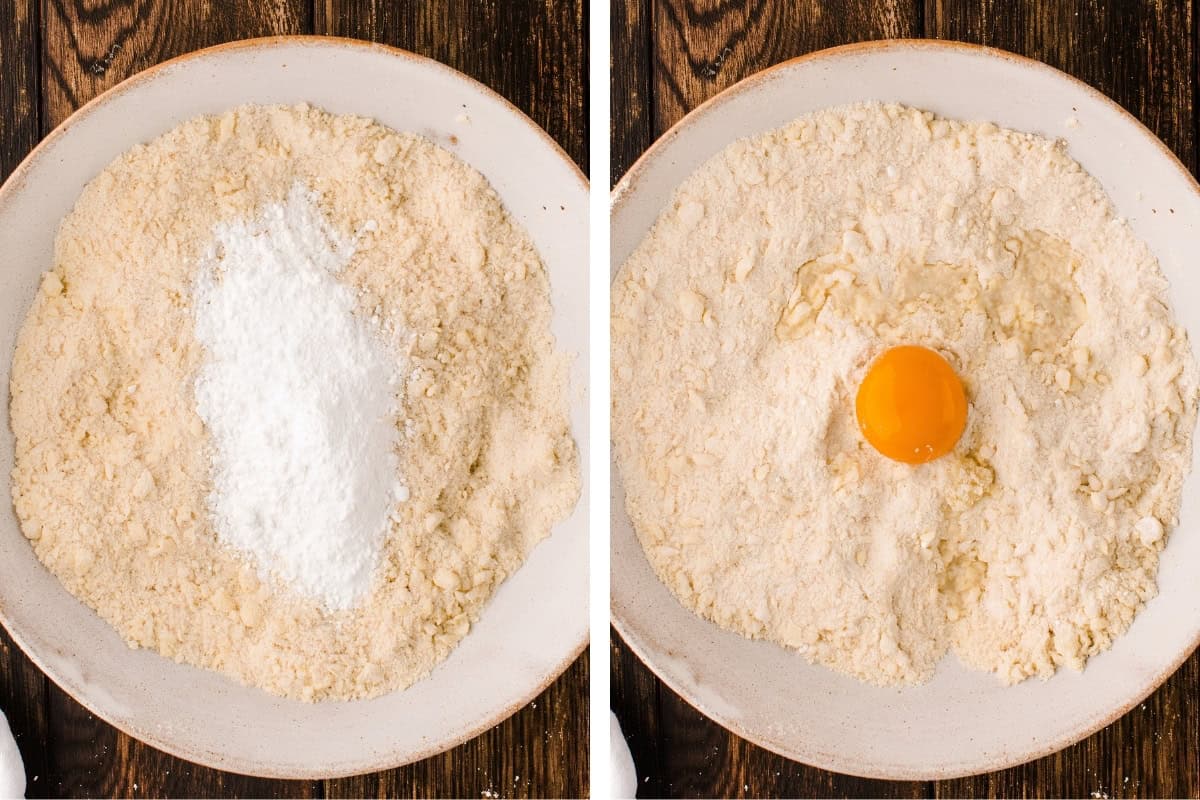
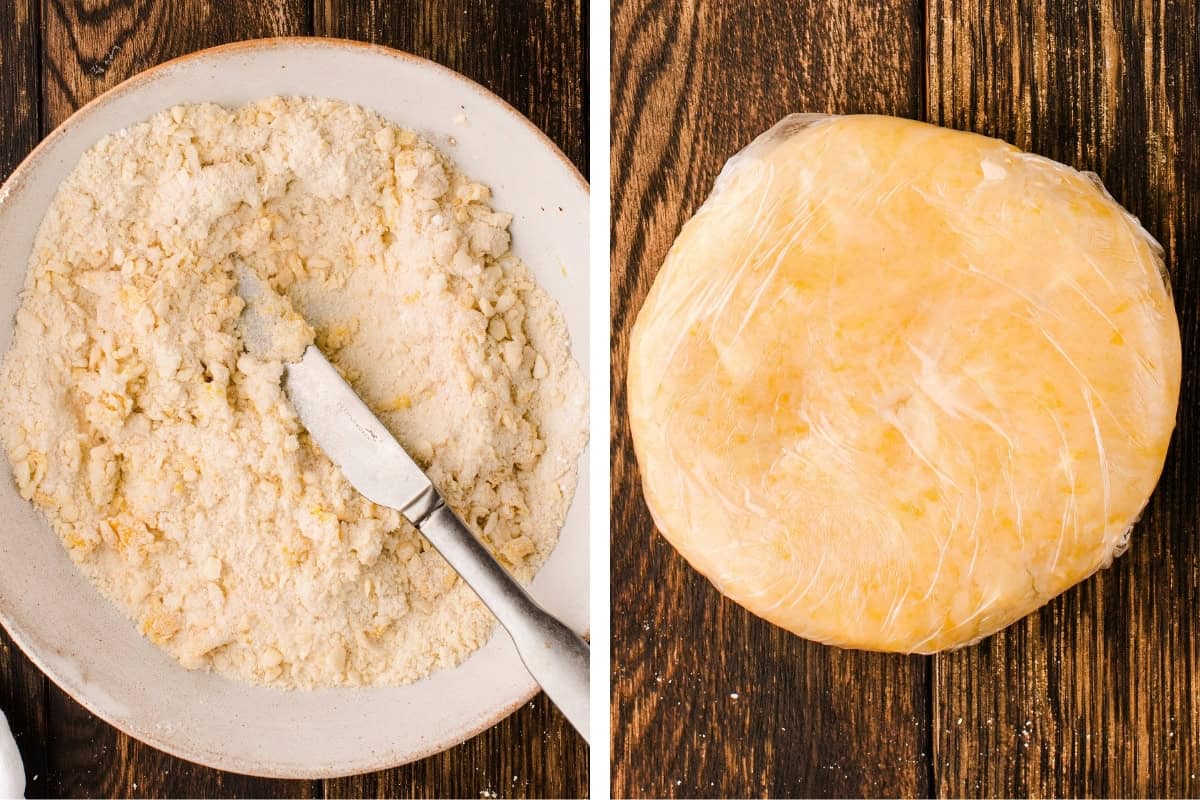
- Make the pastry: Rub the cold butter into the flour until it looks like fine crumbs, stir in the powdered sugar, then add the yolk and cold water. Knead briefly, flatten into a disk, wrap, and chill for 30 minutes.
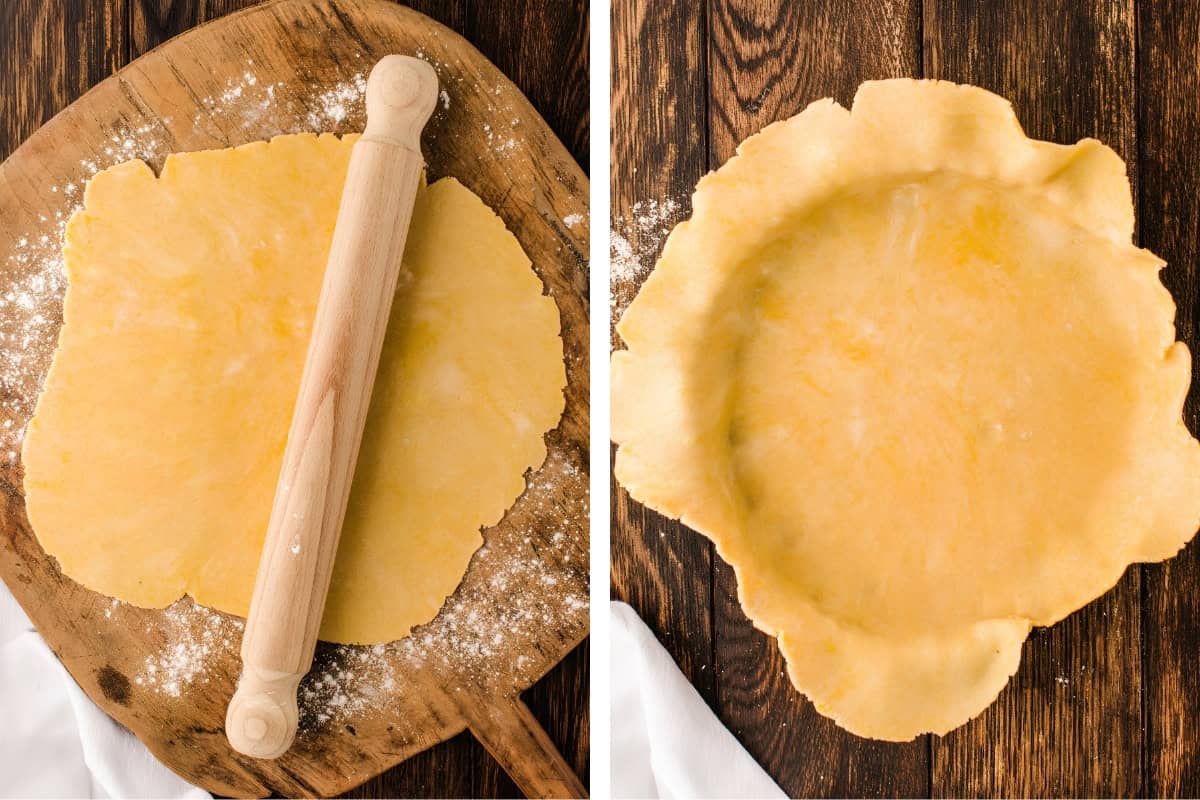
- Line the pan: Roll the dough into an 11-inch (28 cm) circle and press it into a 9-inch (23 cm) tart pan. Trim the overhang and chill for 20 minutes.
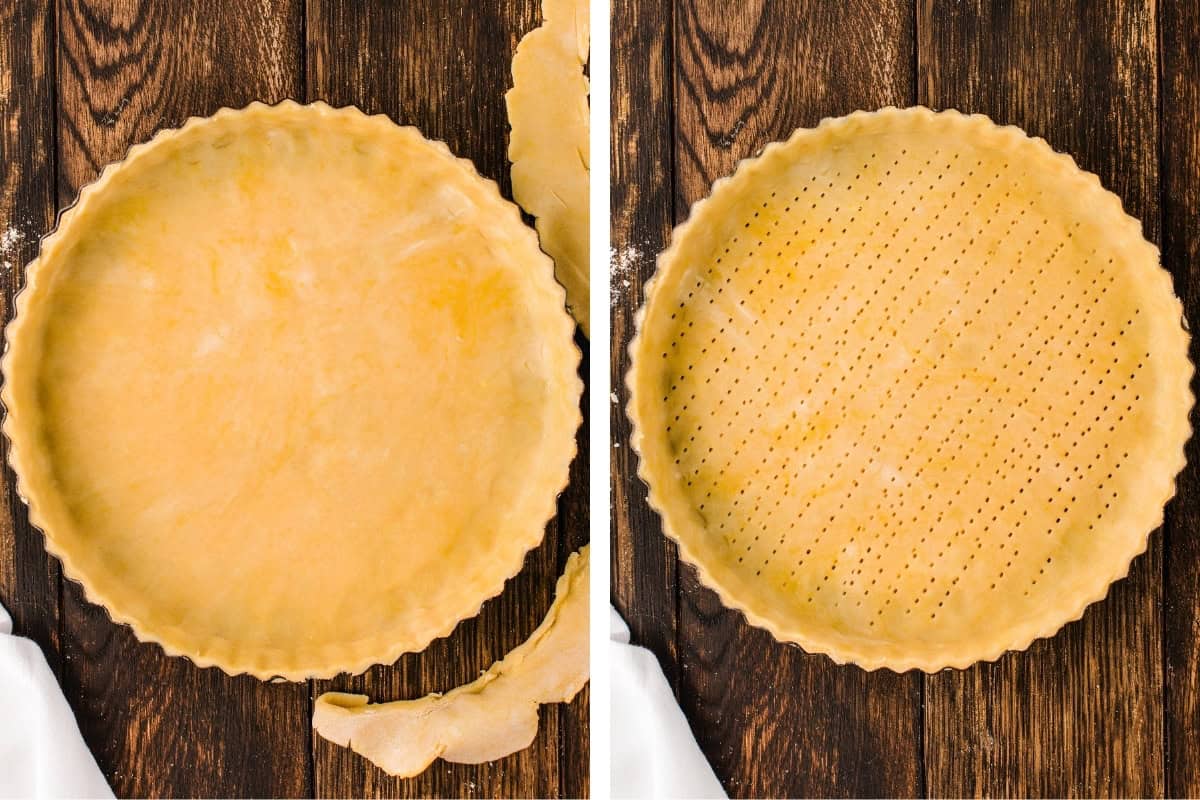
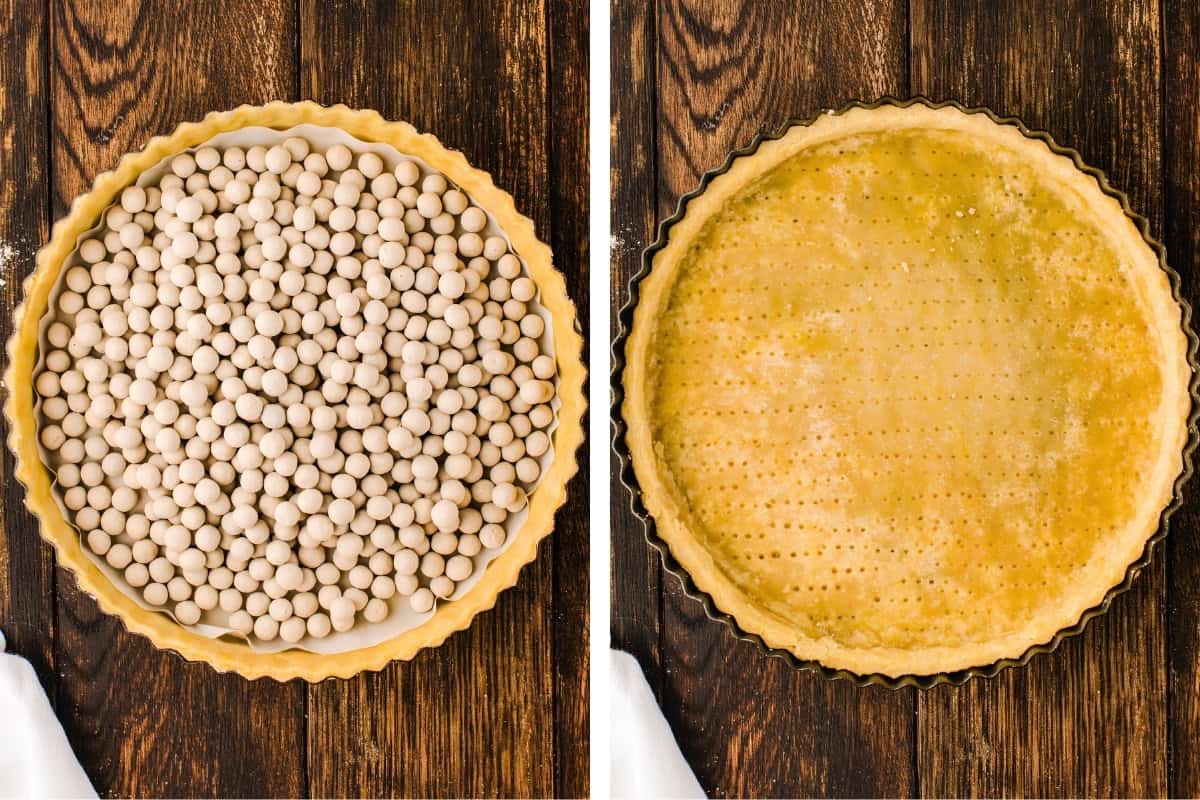
- Blind bake: Prick the base, line with parchment, and fill with baking weights. Bake 15 minutes at 350°F (175°C), remove the weights, and bake 10 to 12 minutes more until lightly golden.
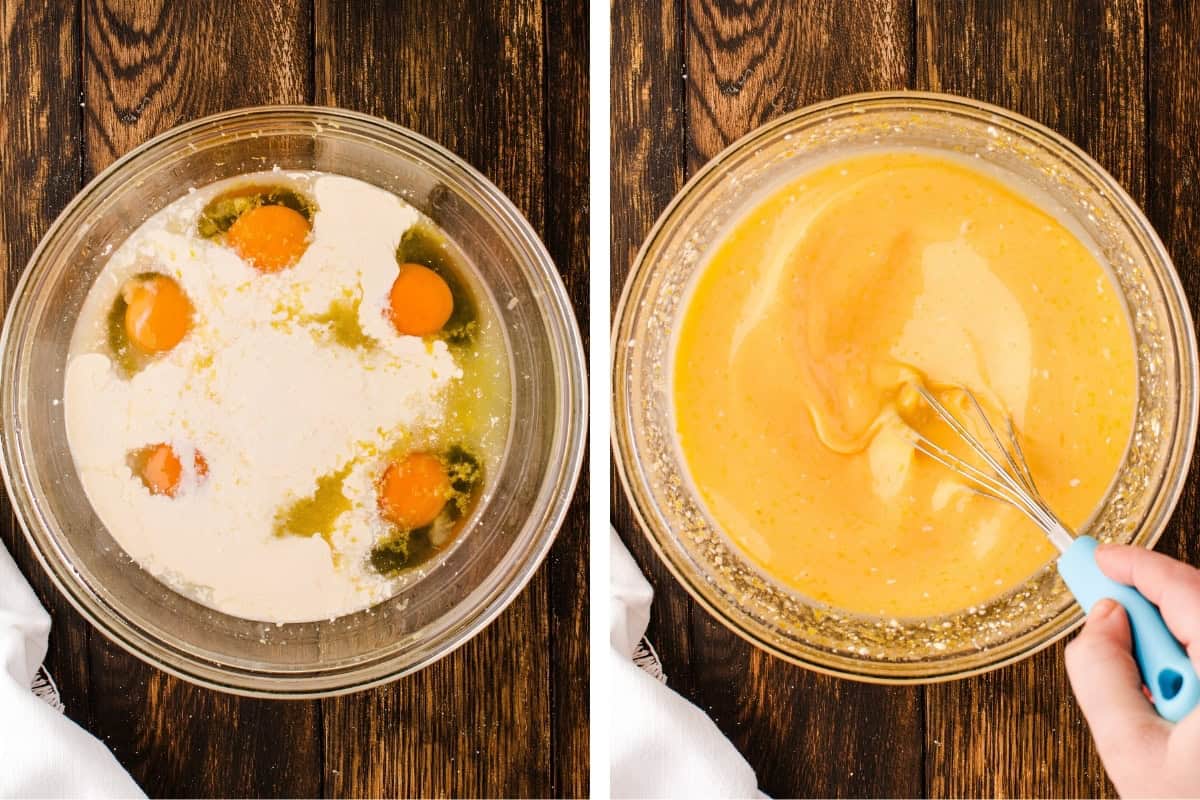
- Mix the filling: Whisk the eggs, sugar, lemon juice, zest, and cream until smooth. Strain it through a sieve for the smoothest finish.
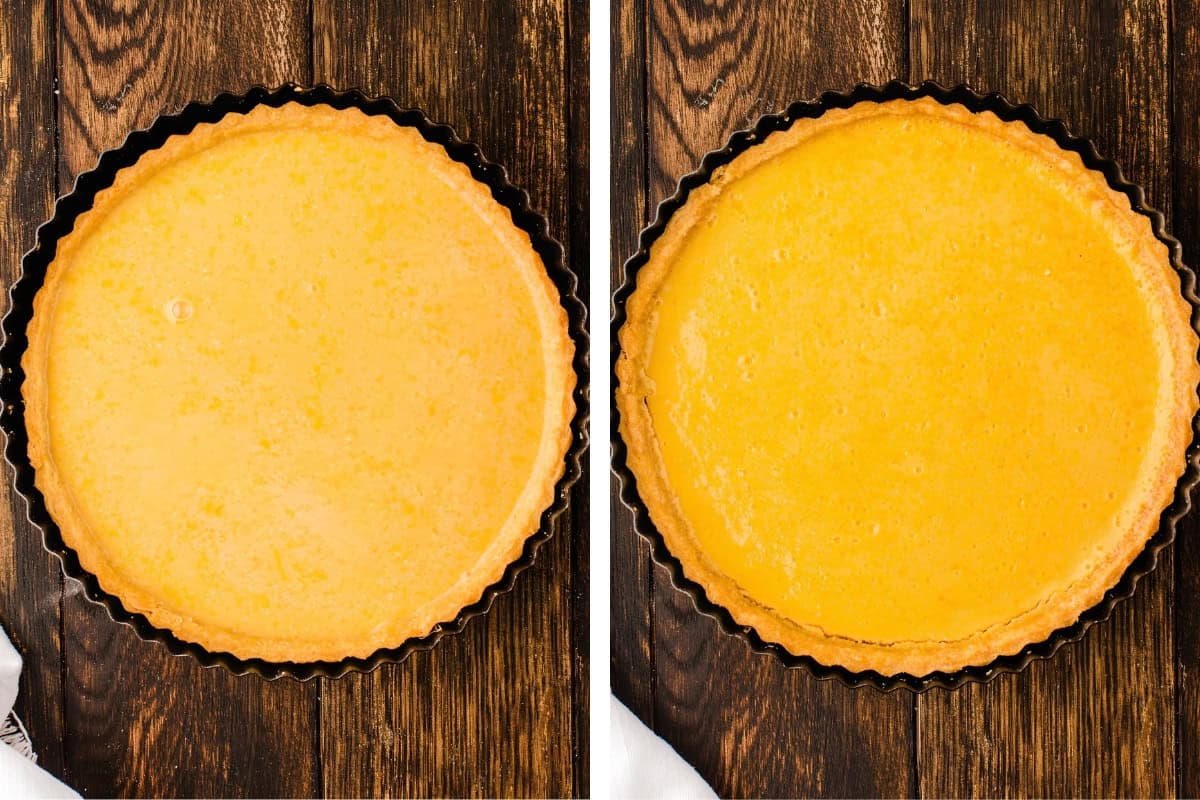
- Bake the tart: Lower the oven to 325°F (165°C), pour the filling into the shell on the oven rack, and bake 25 to 30 minutes until the edges are set and the center still wobbles slightly.
- Cool and chill: Cool completely at room temperature, then refrigerate at least 2 hours or overnight.
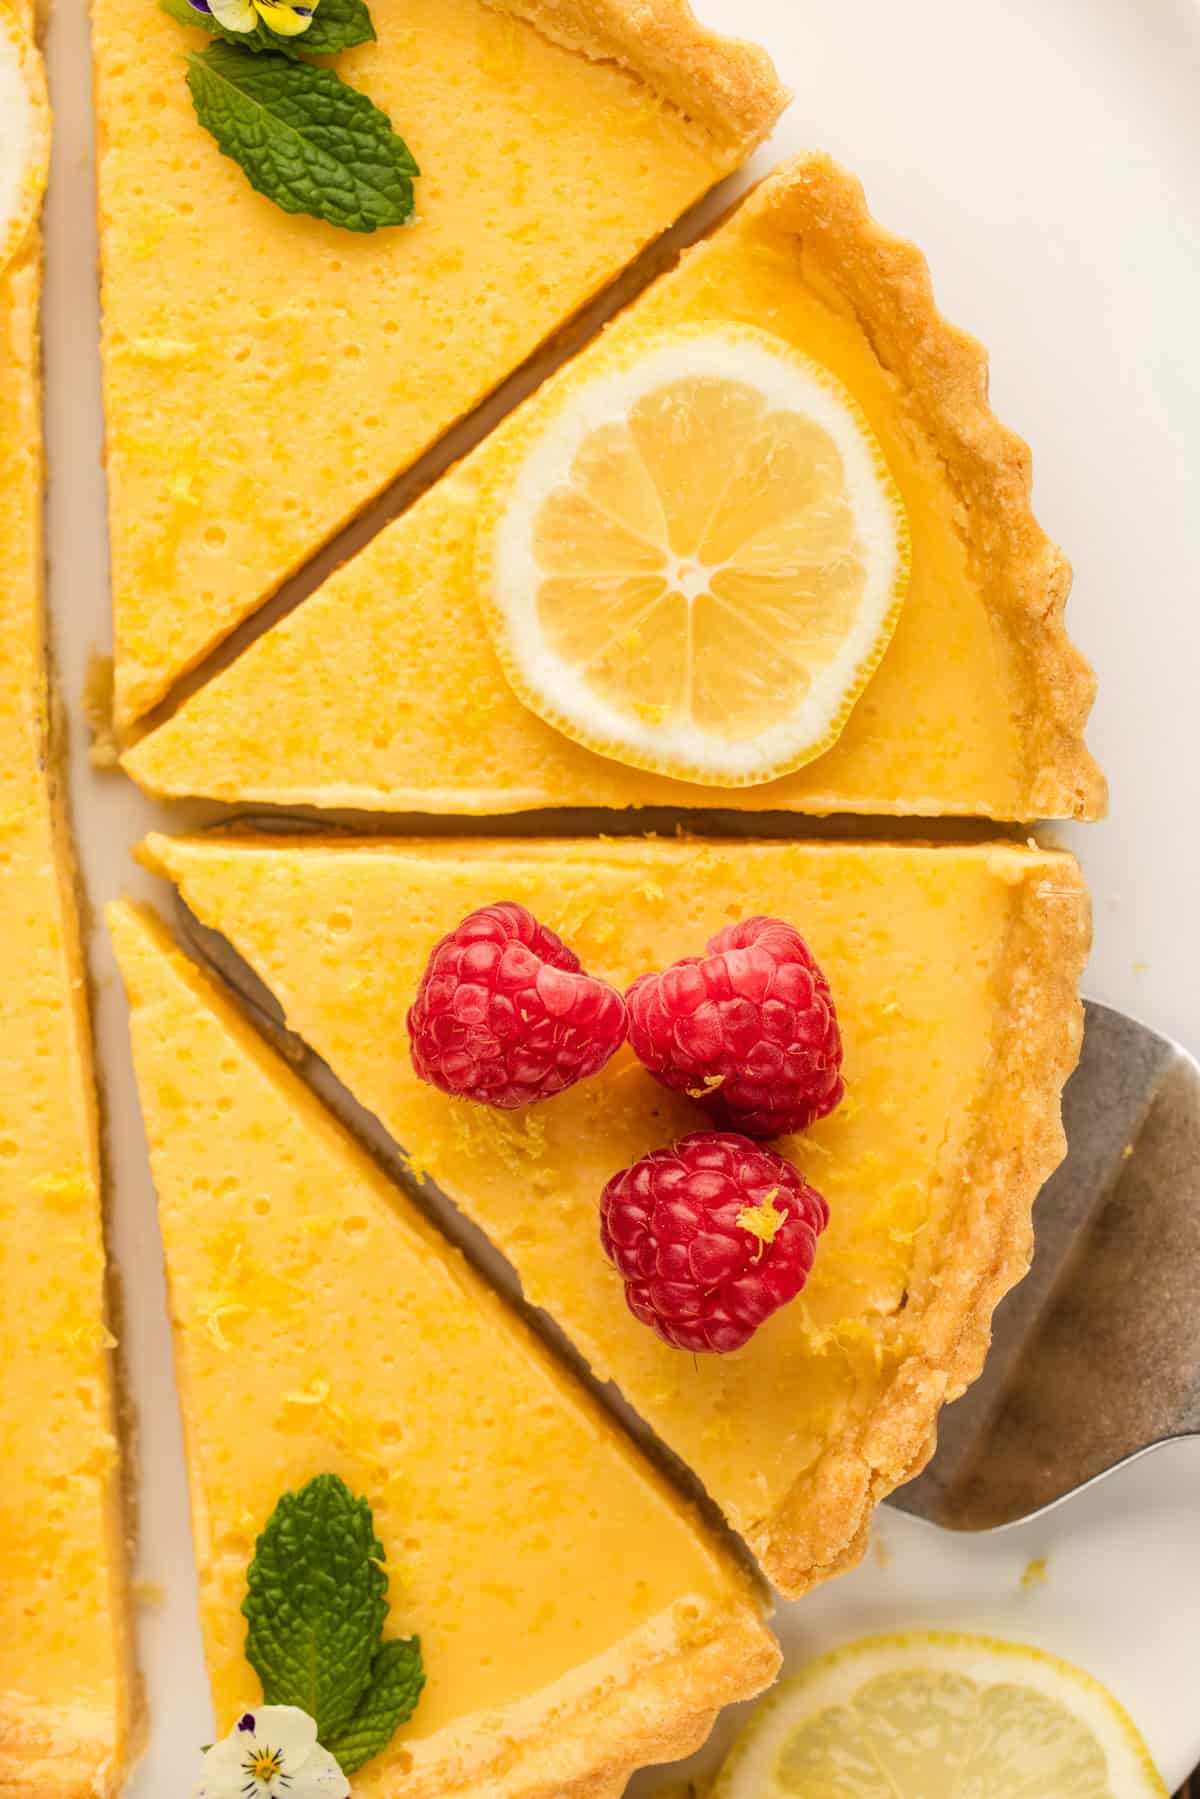
- Decorate and serve: Arrange lemon slices, raspberries, mint, and flowers on top, add whipped cream, and slice.
My Tips for the Best Lemon Tart
- Chilling the pastry before baking is important for preventing shrinkage.
- When making the filling, mix gently rather than whisking vigorously. Too much air in the mixture can create bubbles on the surface as it bakes, which affects the final appearance. Straining the filling is a simple extra step that gives a noticeably smoother finish.
- Fill the shell in the oven, not on the counter. Set the tart pan on the pulled-out oven rack, then pour. Carrying a full tart across the kitchen is how filling ends up on the floor.
- Stop short of the rim. Leave about half an inch of crust above the filling. Depending on how deep your pan is, you may not need every drop.
- Save the extra filling. Tart pans can vary in size and depth, so it is normal to have some filling left over. Fill the crust to just below the top edge rather than using all the mixture, as overfilling can lead to spills and uneven baking. Pour leftovers into ramekins and bake them on a second rack for little lemon custards. Nothing wasted.
- Bake the tart just until the center has a slight wobble and jiggles slightly when you nudge the pan. It will continue to set as it cools and chills. Overbaking can cause the filling to firm up too much and lose its smooth texture.
- Chill overnight for the cleanest slices. Two hours works, but overnight gives you those sharp bakery-style wedges. Wipe the knife between cuts.
- Make it ahead. The pastry disk keeps in the fridge for 2 days or the freezer for a month. The baked tart keeps, covered, in the fridge for 3 days. Add the fruit and mint just before serving so nothing weeps.
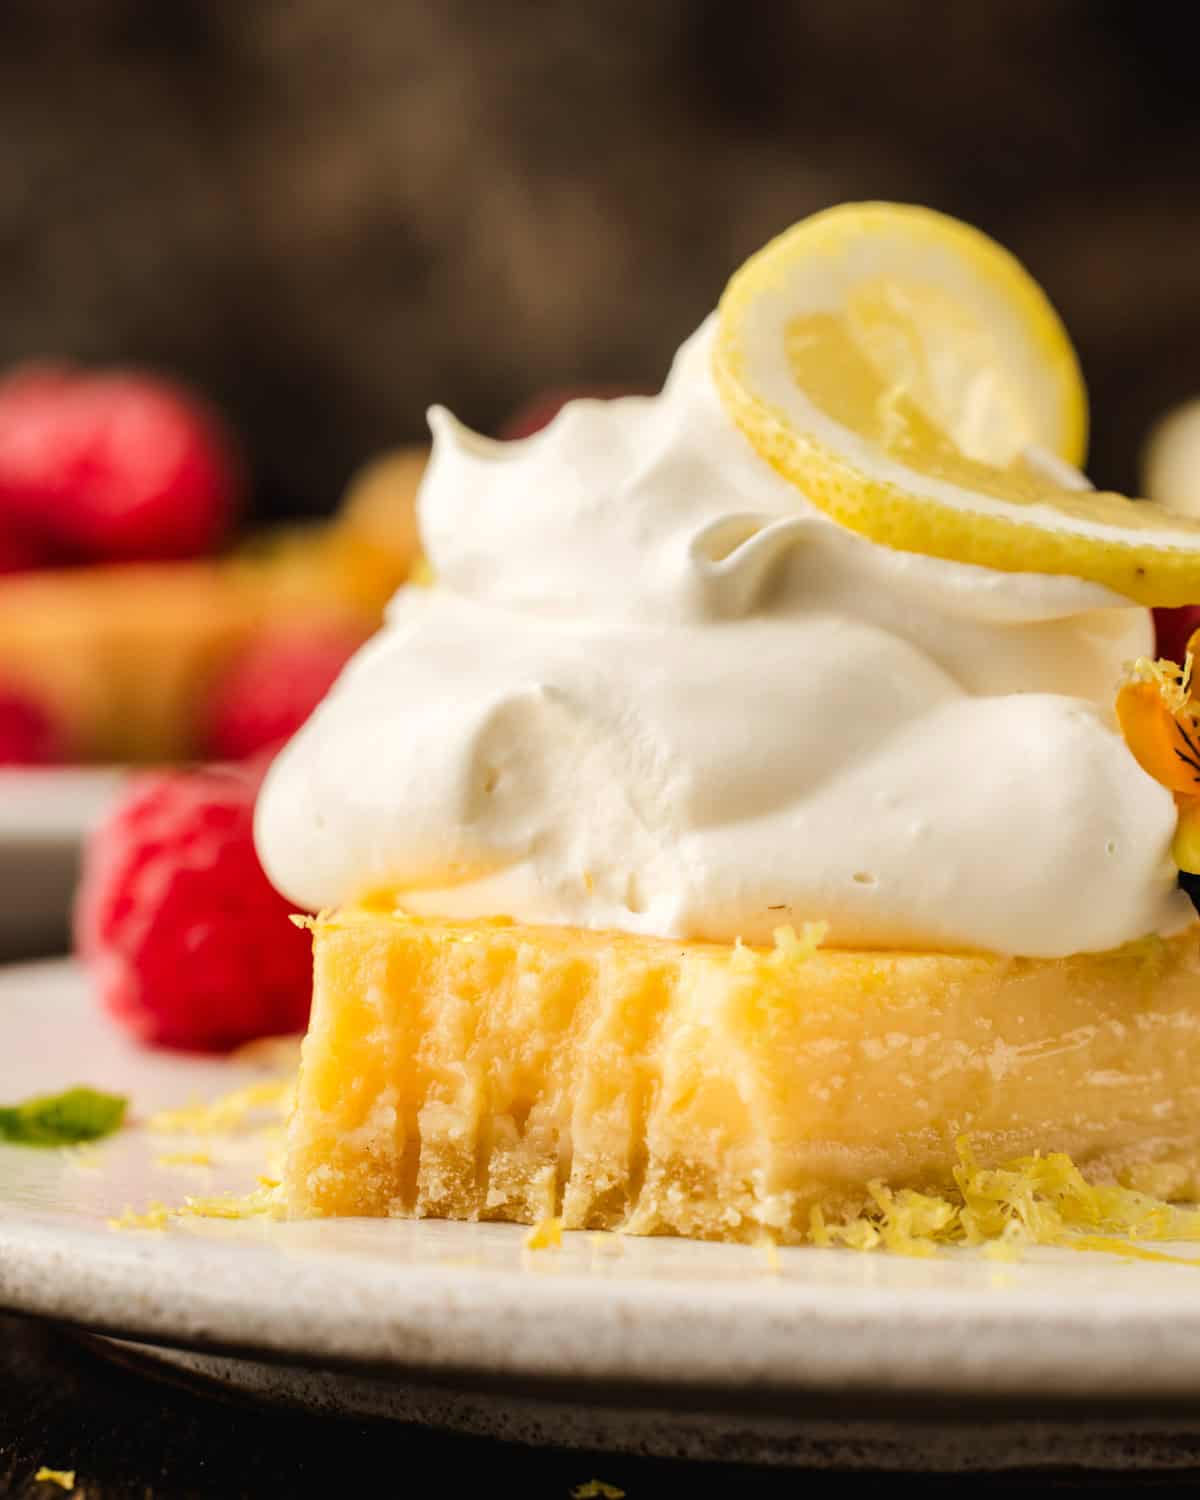
Why You Have to Blind Bake the Tart Shell
Here is the thing about a wet custard filling: it will soak straight into raw pastry and give you a pale, soggy bottom. Blind baking, also called par-baking, solves that by setting and drying the shell before the filling ever touches it.
The process is simple. Prick the base of the tart shell with a fork, line it with parchment, fill it with pie weights or dried beans, and bake at 350°F (175°C) for 15 minutes. Then lift out the weights and parchment and return the shell to the oven for another 10 to 12 minutes, until it is lightly golden and dry to the touch.
A note on shrinking edges. From-scratch pastry almost always pulls back a little during blind baking. That is completely normal and not a sign you did anything wrong. While the shell is still warm, gently press the edges back up the sides of the pan with the back of a spoon. They will hold.
Other Crust Options
The buttery shortcrust below in the recipe card is my favorite, but the lemon filling is flexible and works with a few alternatives.
- Press-in crust, no rolling pin required: If rolling out pastry is not your idea of fun, use the press-in crust method from my lemon meringue tartlets. Press it firmly into your 9-inch tart pan and blind-bake it as directed there before adding the lemon filling.
- Graham cracker crust: Yes, it works, and it makes the tart taste like a cross between a lemon tart and a citrus icebox pie. Use the graham cracker crust from my key lime pie recipe, pre-bake it at 350°F (175°C) for about 10 minutes, and pour the filling straight in. No pie weights needed.
- Store-bought pastry: No judgment here. A refrigerated shortcrust pastry sheet will get you a perfectly good tart. Line the pan, chill it for 20 minutes, and blind bake exactly as written below.


Classic French Lemon Tart (Tarte au Citron)
Ingredients
Pastry
- 1 ¼ cups all-purpose flour
- ½ cup unsalted butter cold and cubed
- ¼ cup powdered sugar
- 1 large egg yolk
- 1 tablespoon cold water
Lemon filling
- 5 large eggs
- 1 ¼ cups granulated sugar
- ⅔ cup fresh lemon juice about 4 to 5 lemons
- 4 lemons zest of 4 lemons
- ½ cup heavy cream
For serving
- fresh lemon slices
- fresh raspberries
- a few sprigs of fresh mint
- whipped cream
- edible flowers optional
Instructions
- Make the pastry. In a large bowl, rub the cold cubed butter into the flour with a pastry cutter or your fingertips until the mixture looks like fine crumbs. Stir in the powdered sugar. Add the egg yolk and cold water, then cut everything together with a knife until the dough just comes together. Keeping it in the bowl, briefly knead it into a smooth ball with your hands. Do not overwork it. Flatten into a disk, wrap, and chill for at least 30 minutes.
- Roll and line the pan. On a lightly floured surface, roll the chilled dough into a circle about 11 inches across. Drape it into a 9-inch tart pan and let it settle into the bottom and up the sides. Press it neatly into the corners with your fingers, leaving a slight overhang, then trim the overhang with a sharp knife. Refrigerate the lined shell for 20 minutes to firm up before baking.
- Blind bake the shell. Preheat the oven to 350°F (175°C). Prick the base all over with a fork, line it with parchment paper, and fill with pie weights. Bake for 15 minutes, then remove the weights and parchment and return the shell to the oven for 10 to 12 minutes, until lightly golden and dry to the touch. If the edges have shrunk slightly, gently press them back into place with the back of a spoon while the pastry is still warm.
- Make the filling. Whisk the eggs, sugar, lemon juice, lemon zest, and heavy cream together until smooth. Mix just until combined so you don't beat in air. For the smoothest finish, strain the filling through a fine mesh sieve before using.
- Reduce the oven temperature to 325°F (165°C).
- Fill and bake. Place the tart shell on the oven rack and carefully pour in the filling until it sits about ¼ inch (a couple of centimeters) below the top edge of the crust. Depending on the depth of your pan, you may not need all of it. Bake for 25 to 30 minutes, until the edges are set and the center still has a slight wobble when you gently shake the pan.
- Cool and chill. Let the tart cool completely at room temperature, then transfer it to the refrigerator and chill for at least 2 hours. Overnight gives you the cleanest slices.
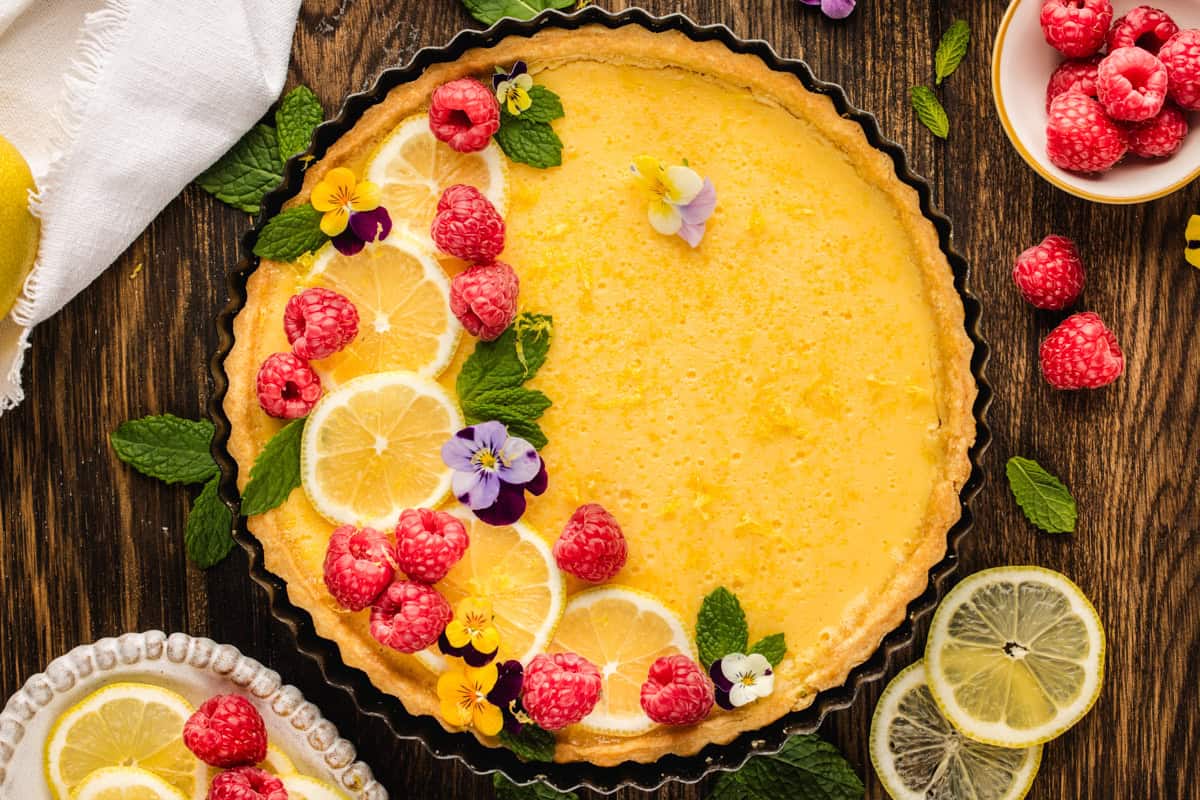
- Decorate and serve. Just before serving, arrange lemon slices, raspberries, mint sprigs, and edible flowers on top in a pattern you like. I whipped some heavy cream to serve alongside. Slice, serve, and enjoy.
Notes
- Fill the shell on the oven rack. Pull the rack out, set the tart pan on it, and pour the filling in there. Carrying a full tart across the kitchen is how filling ends up on the floor.
- Leftover filling. Depending on your pan, you may have filling left over. Do not throw it out. Pour it into ramekins and bake them on a second rack alongside the tart for individual lemon custards. Check them at about 20 minutes.
- Zest before you juice. Zest all 4 lemons first, then juice them. Trying to zest a squeezed lemon half is a small misery I would like you to avoid.
- Why strain the filling? Straining the filling catches the zest and any bits of chalazae from the eggs. If you want that glassy, professional-looking surface, don't skip it.
- How to tell it's done. Give the pan a light tap with your oven mitt. The outer edges should be set, and the very center should jiggle like loose gelatin. It will finish setting as it cools. An overbaked lemon tart cracks and turns grainy, so pull it a minute early rather than a minute late.
- Removing the tart from the pan. Most tart pans have a removable bottom. Set the pan on top of a can and let the outer ring fall away, then slide the tart, still on its metal base, onto a serving plate.
- For the cleanest slices, chill the lemon tart thoroughly and use a sharp knife dipped in hot water, wiping the blade between cuts.
- For the best texture, let slices sit at room temperature for about 20 minutes before serving to soften the filling slightly.
- Special tools: 9-inch tart pan with a removable bottom, pie weights or dried beans, fine mesh sieve, microplane zester.
Storage and Make Ahead Tips
- Fridge: Store the tart covered in the refrigerator for up to 3 days. I wait to decorate until serving, because the fresh berries and mint do not hold up as long as the tart does.
- Freezer: Freeze the baked, chilled, undecorated tart for up to 1 month. Wrap it in 2 layers of plastic wrap plus a layer of heavy-duty foil, then thaw overnight in the fridge.
- Freeze the pastry ahead: The wrapped dough disk keeps in the freezer for up to 1 month. Thaw it in the fridge overnight before rolling.
- Make-ahead: You can make the pastry dough up to 2 days ahead and keep it wrapped in the fridge, or freeze it for up to a month. The baked tart is best made a day in advance, so it has a long, cold rest.
Nutrition
Nutrition Disclaimer:
The nutritional information on this website is only an estimate and is provided for convenience and as a courtesy only. The accuracy of the nutritional information for any recipe on this site is not guaranteed. It should not be used as a substitute for a professional nutritionist's advice.
FAQs
- My pastry shrank down the sides. Did I do something wrong? No, this is completely normal for from-scratch pie dough. While the shell is still warm, gently press the edges back up with the back of a spoon. Chilling the lined shell for 20 minutes before baking helps a lot too.
- Do I need pie weights? They give you the most even shell, but dried beans or uncooked rice work just as well. Keep a jar of them labeled for baking and reuse them for years.
- Can I use bottled lemon juice? I really do not recommend it here. With so few ingredients, the flavor of the juice is the flavor of the tart. Fresh juice and fresh zest are what make it taste alive.
- My filling cracked on top. What happened? That is almost always an oven that runs hot or a tart that stayed in a few minutes too long. Pull it while the center still wobbles. A layer of berries covers any cosmetic cracks beautifully.
- Can I use store-bought pastry? Yes. A good all-butter shortcrust or sweet tart shell works fine when you are short on time. Blind bake it according to the package, then continue with the filling.
- What size pan do I need? A 9-inch tart pan with a removable bottom. A deeper pan will take more filling and a few extra minutes; a shallower one will leave you with extra for custards.
- Can I make this in a pie dish? Yes, though slicing neatly is harder without removable sides.
- Can I make this in mini tart pans? You can, and the bake time drops to roughly 15 to 18 minutes. If mini is the direction you want to go, my lemon meringue tartlets are already sized and tested for exactly that.


Hello,
I adore lemon tarts and am looking forward to trying this one. Unfortunately my partner cannot tolerate pastry, could a biscuit crumb be used instead or will the custard be too runny when added? I try to make my cooking inclusive so people do not have to leave behind the bits they can't eat.
Yes, a biscuit crumb crust should work nicely here! I’d make sure the crust is firmly packed and well chilled before adding the lemon filling. Graham crackers or digestive biscuits would both be good choices. 🙂
I would not recommend using the Key Lime Pie graham cracker crust for this recipe. I only used the graham crackers as I did not have a tart pan. During the baking process, the crust ended up as part of the filling. Hopefully it tastes better than it looks. I tried to upload a photo but couldn’t.
Being English I am not sure what a Graham cracker is, I was thinking of digestives crumbled with melted butter, left to set and then add the custard.
Yes, digestive biscuits would be a great substitute, Victoria! Graham crackers are a lightly sweet American biscuit/cracker, and digestives are probably the closest UK equivalent. Crumbled digestives with melted butter should work very well for the crust.
Thanks for sharing this, Roxanne! A graham cracker crust is much more delicate than the tart crust in this recipe, so it can definitely behave differently once the filling is added and baked. I hope it still tasted delicious even if it didn’t look quite as planned! 🙂