
This post may contain affiliate links. Read my disclosure policy.
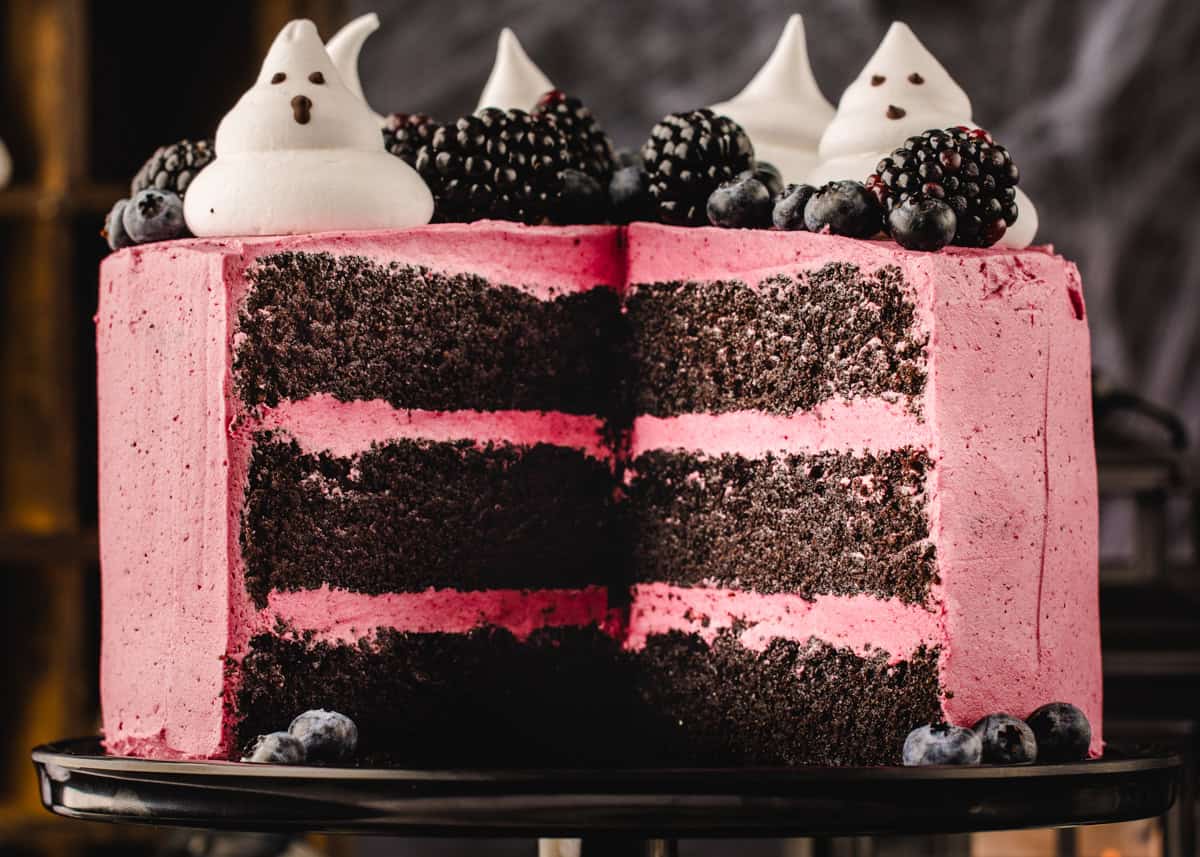
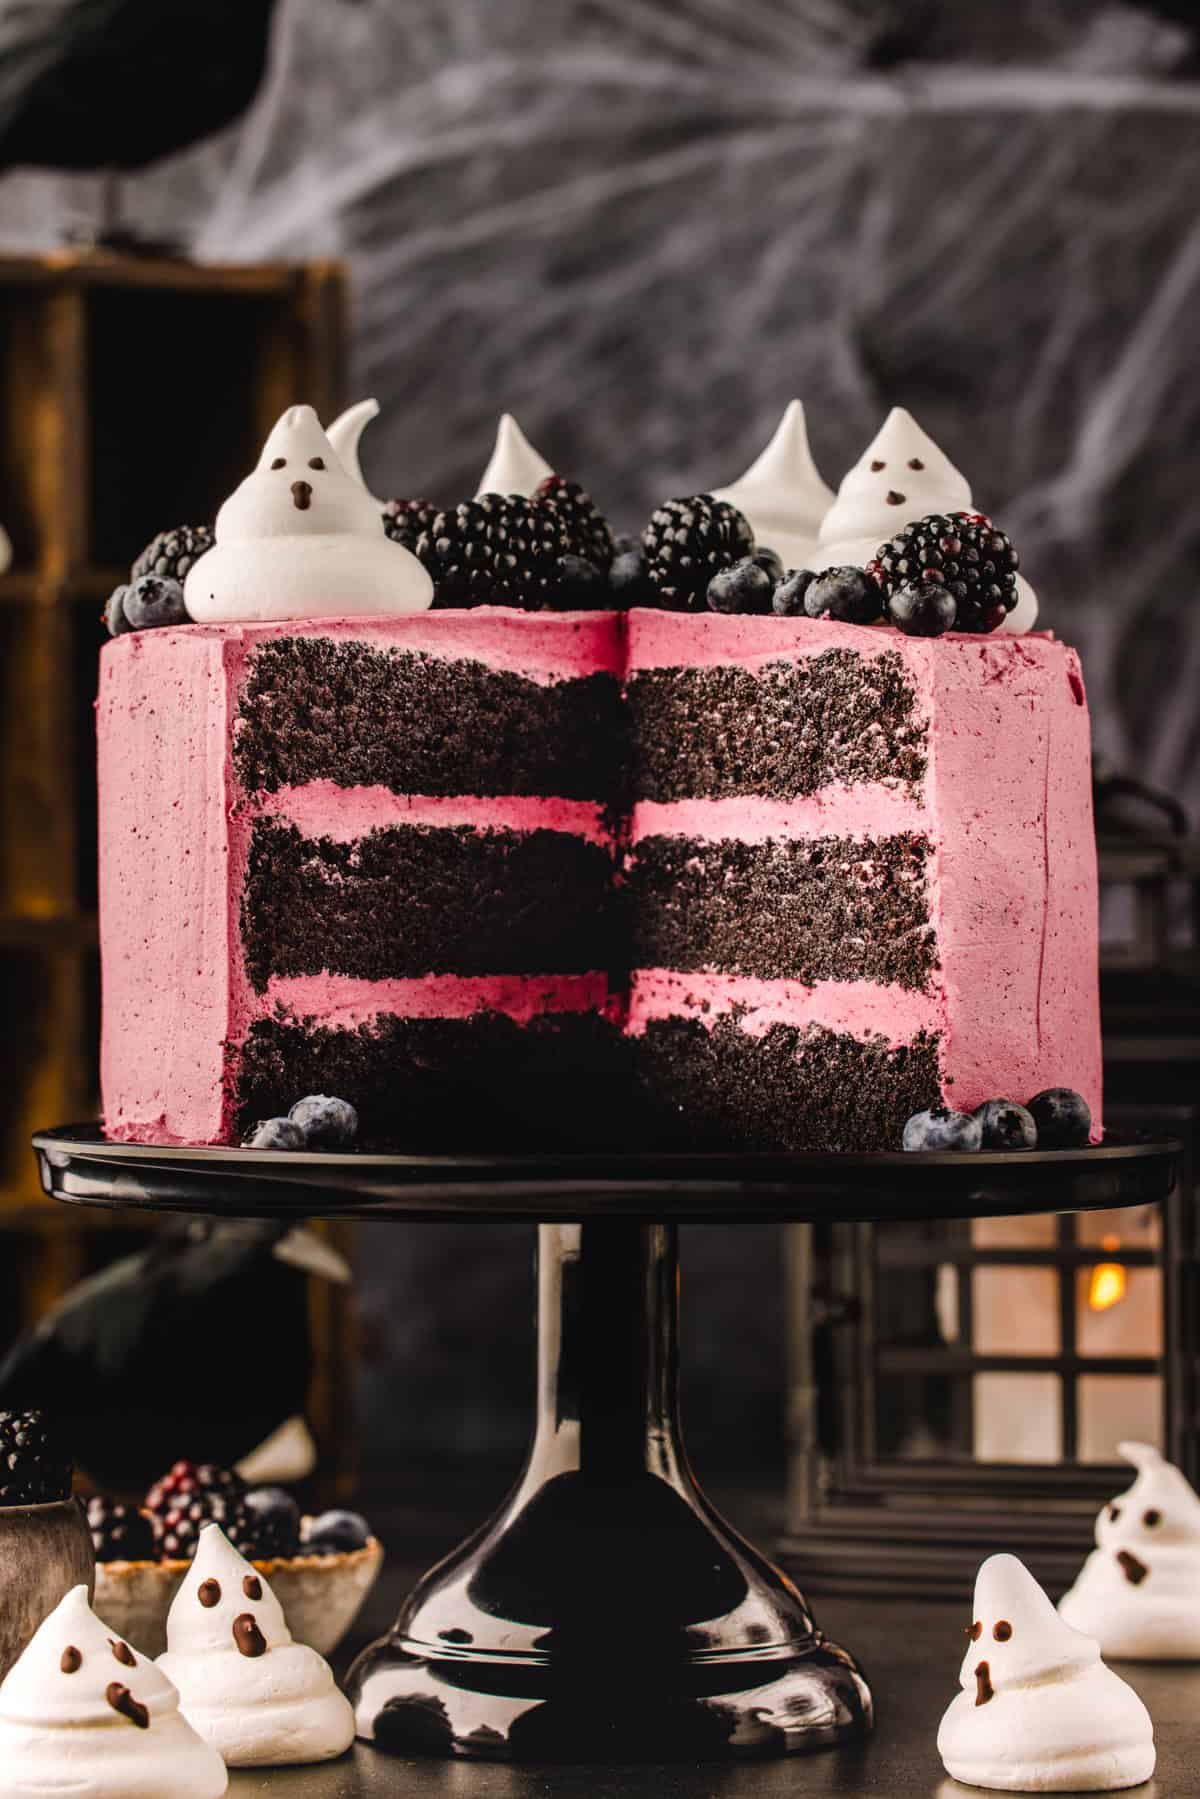
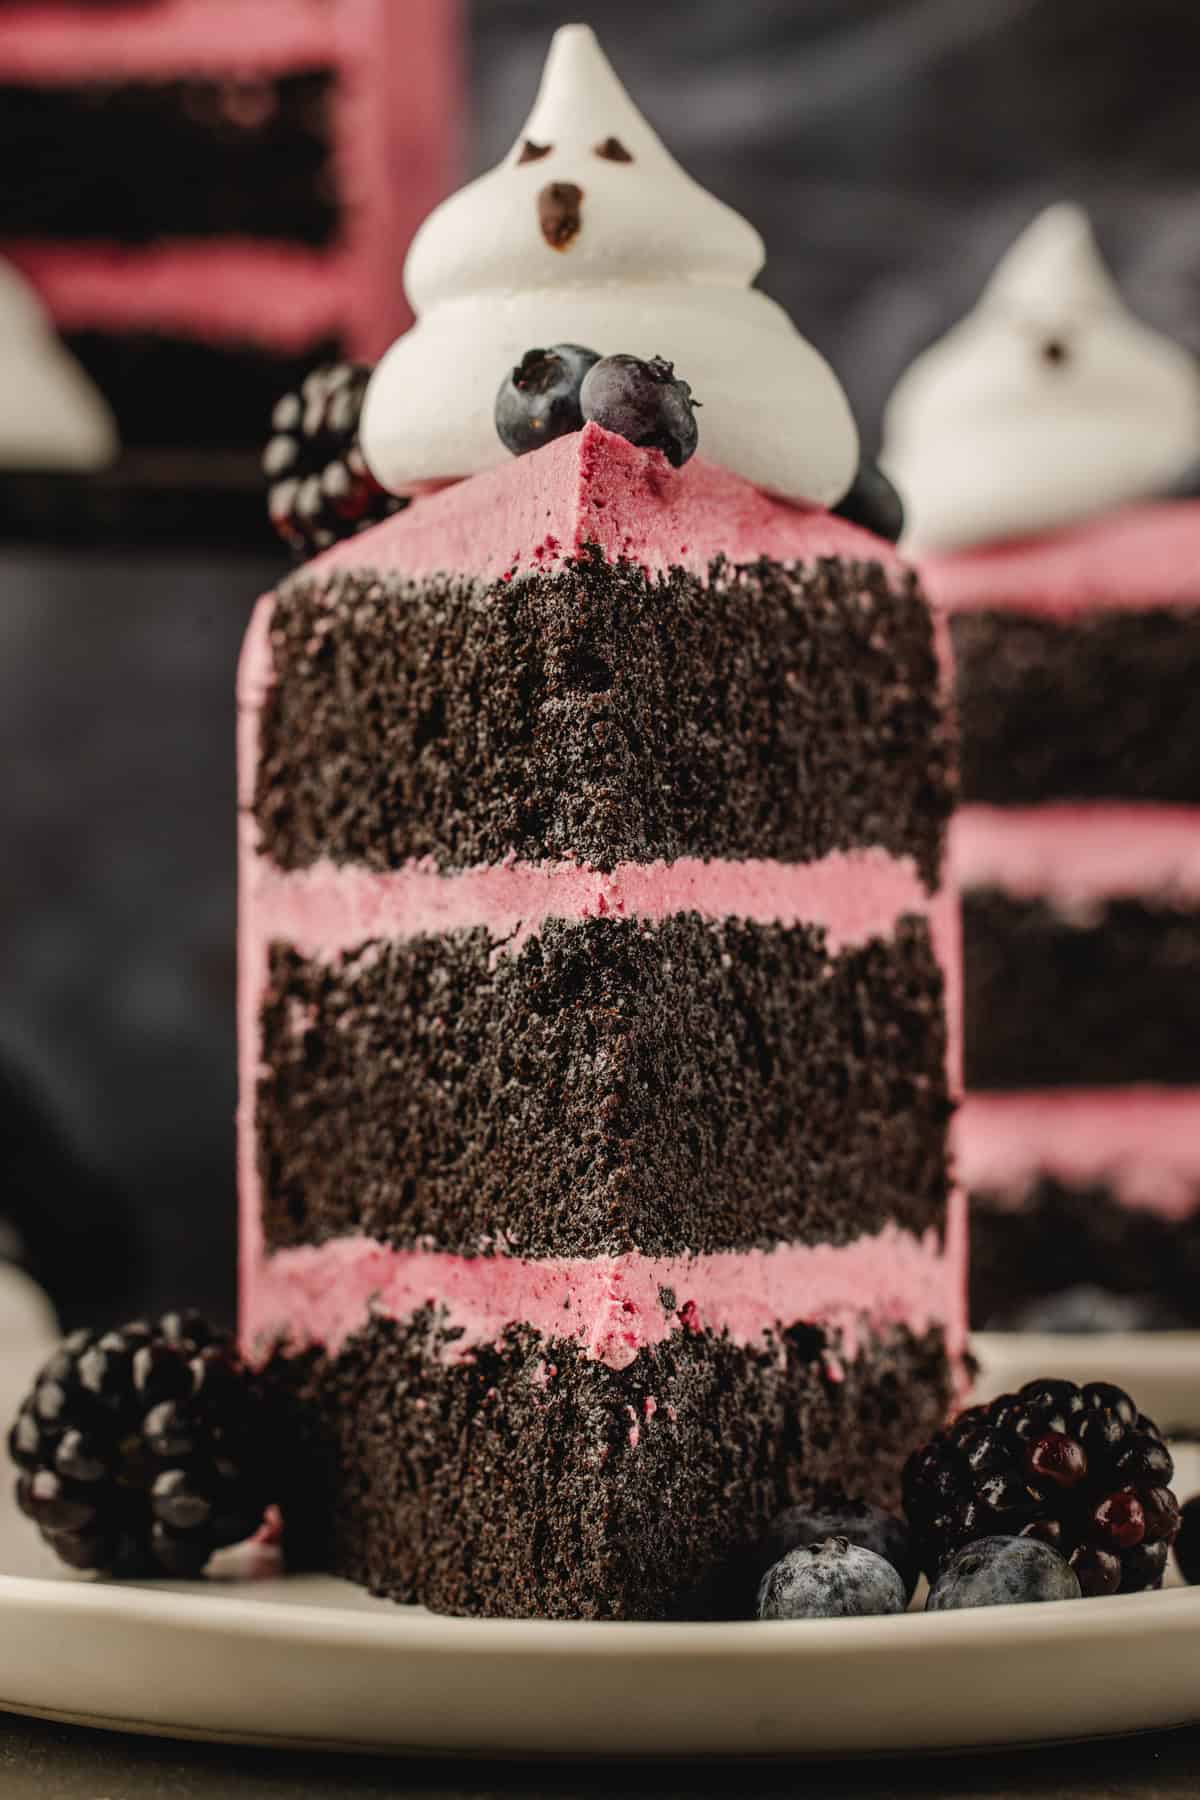
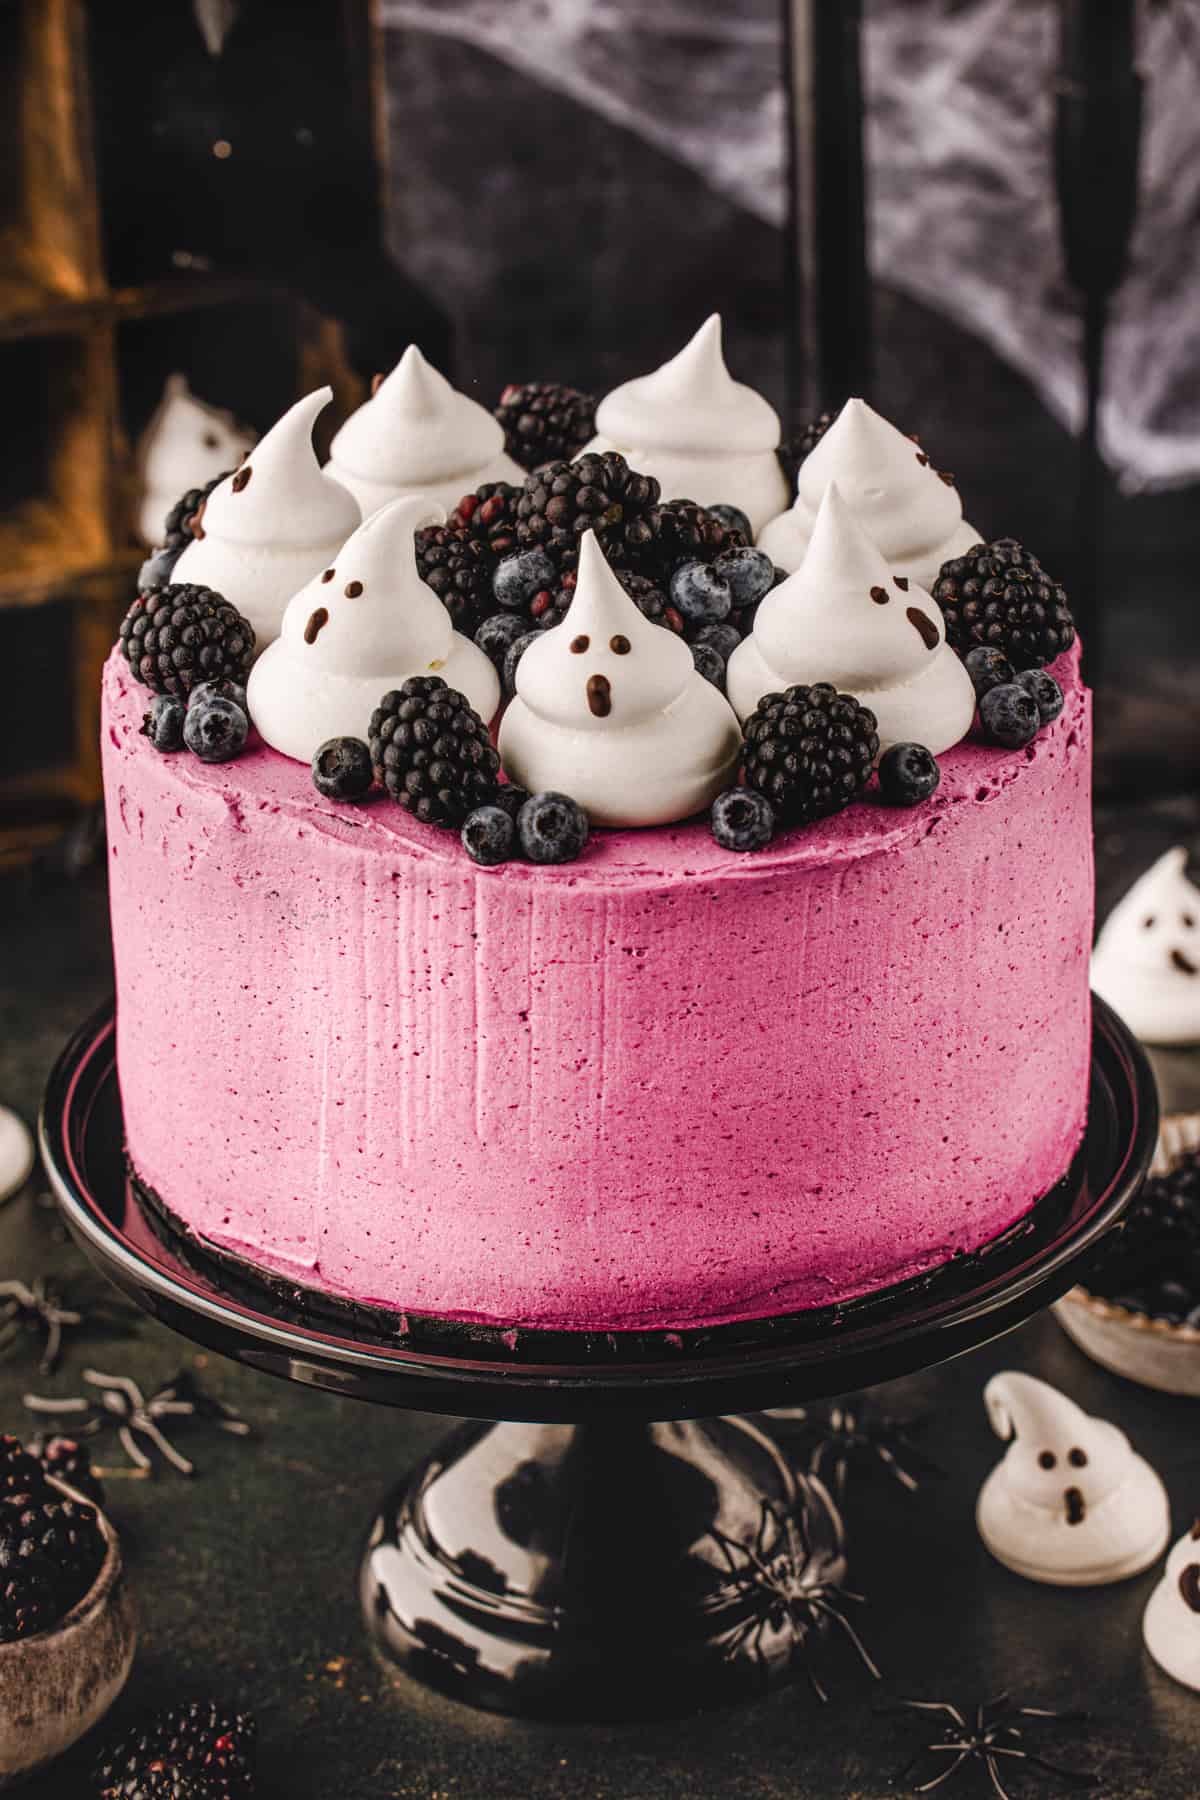
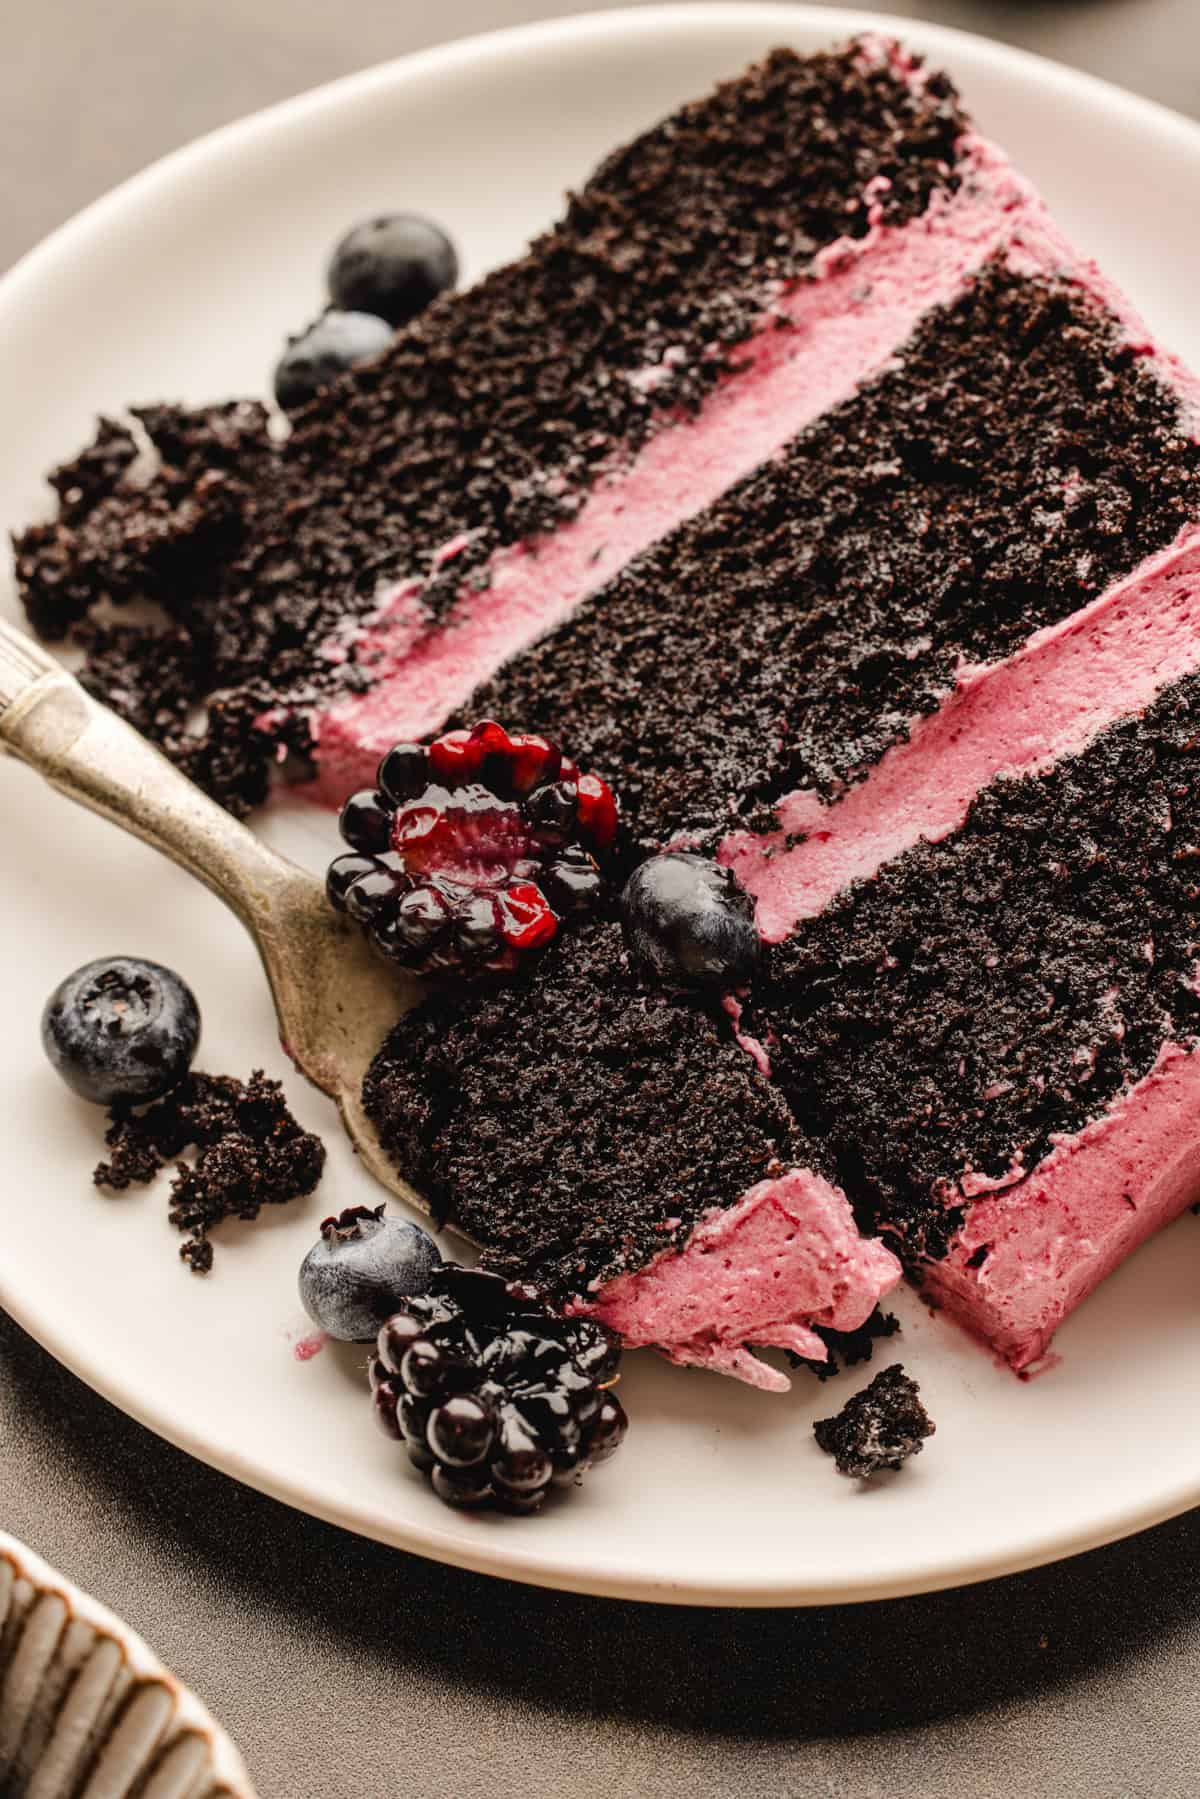
This Halloween cake has three dark chocolate layers made with black cocoa, a naturally purple blackberry buttercream, fresh berries, and homemade meringue ghosts with chocolate faces. No food coloring, and every part can be made ahead.
Spooky Halloween Cake with Meringue Ghosts
October baking in my kitchen is usually orange. So far this fall, I've made a pumpkin-shaped cake from two Bundt cakes, a pan of pumpkin pie brownies, no-bake pumpkin tiramisu, and a batch of baked pumpkin donuts with maple glaze. By mid-month, I craved a Halloween dessert with zero pumpkin and no hint of orange. Something dark, a little dramatic, and fun to decorate.
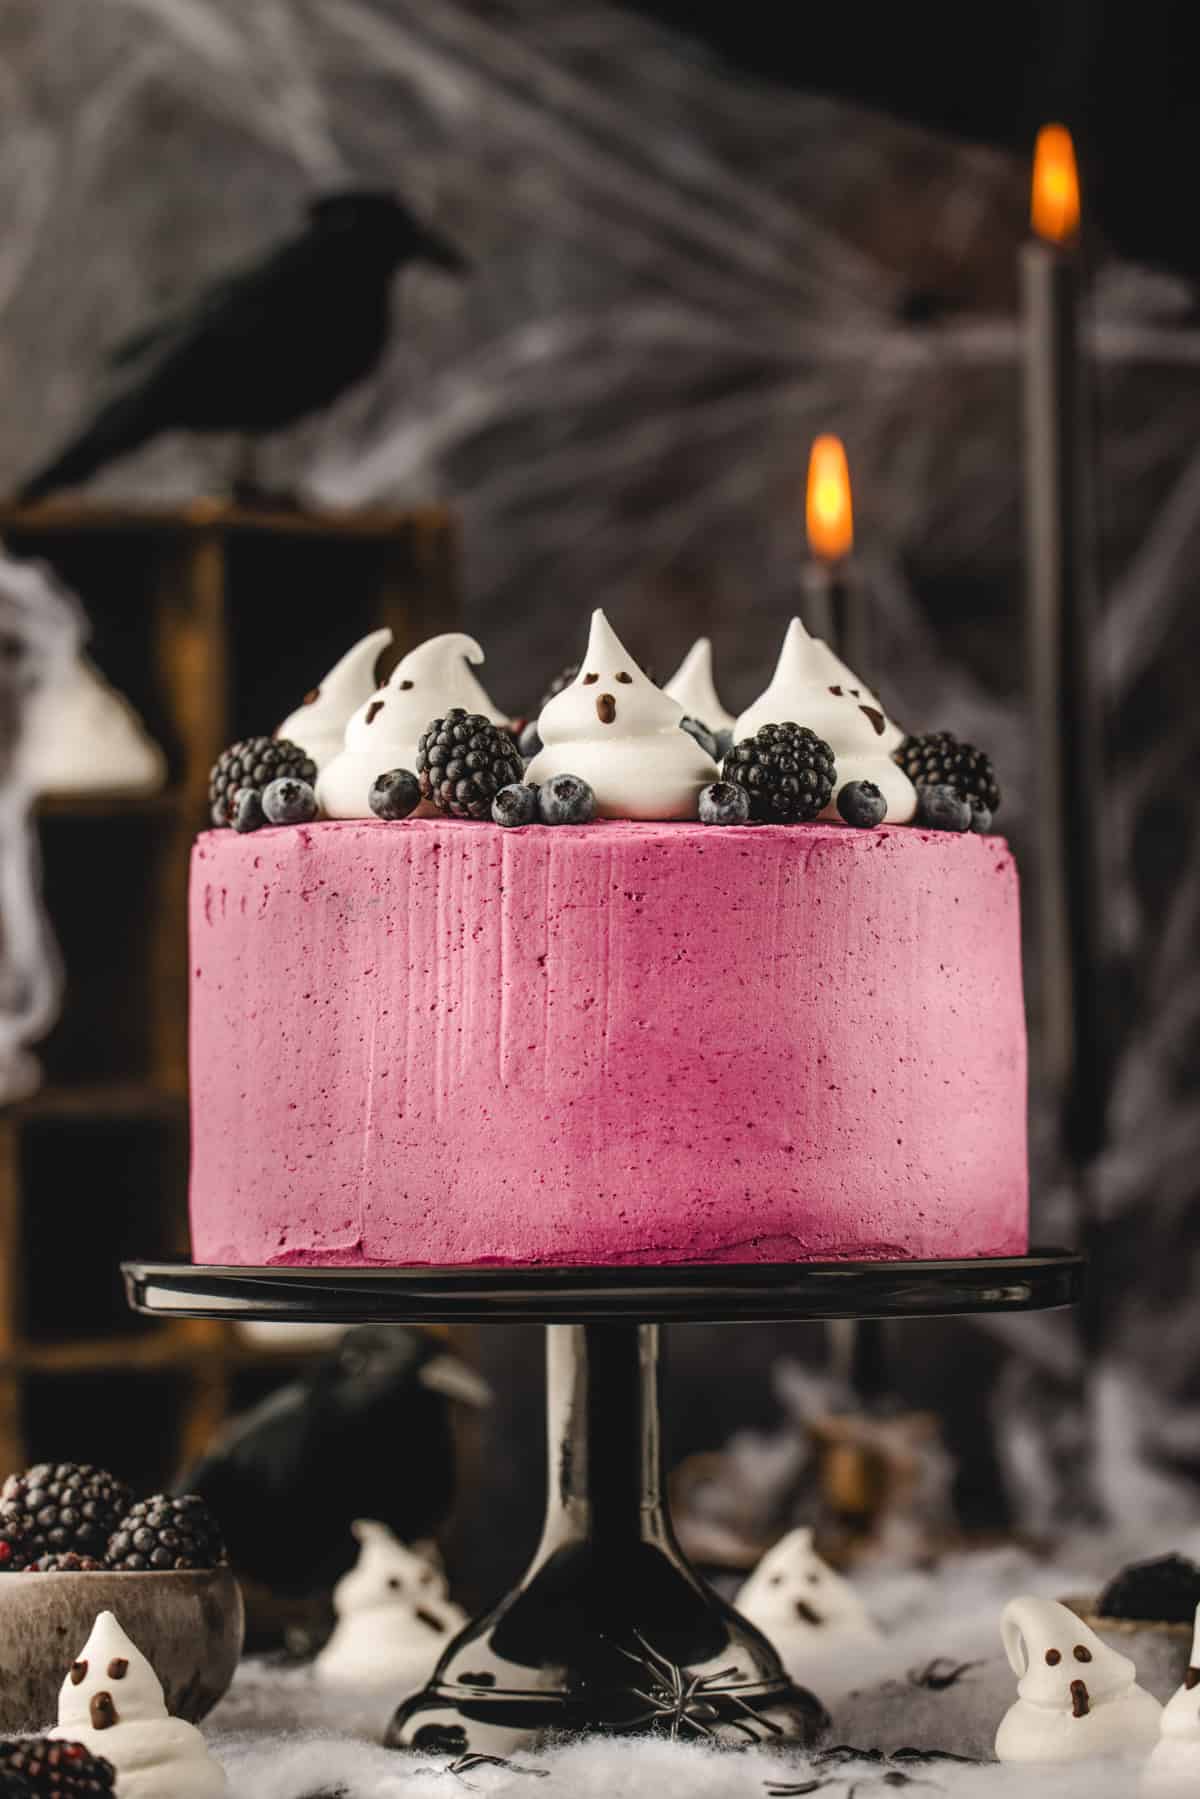
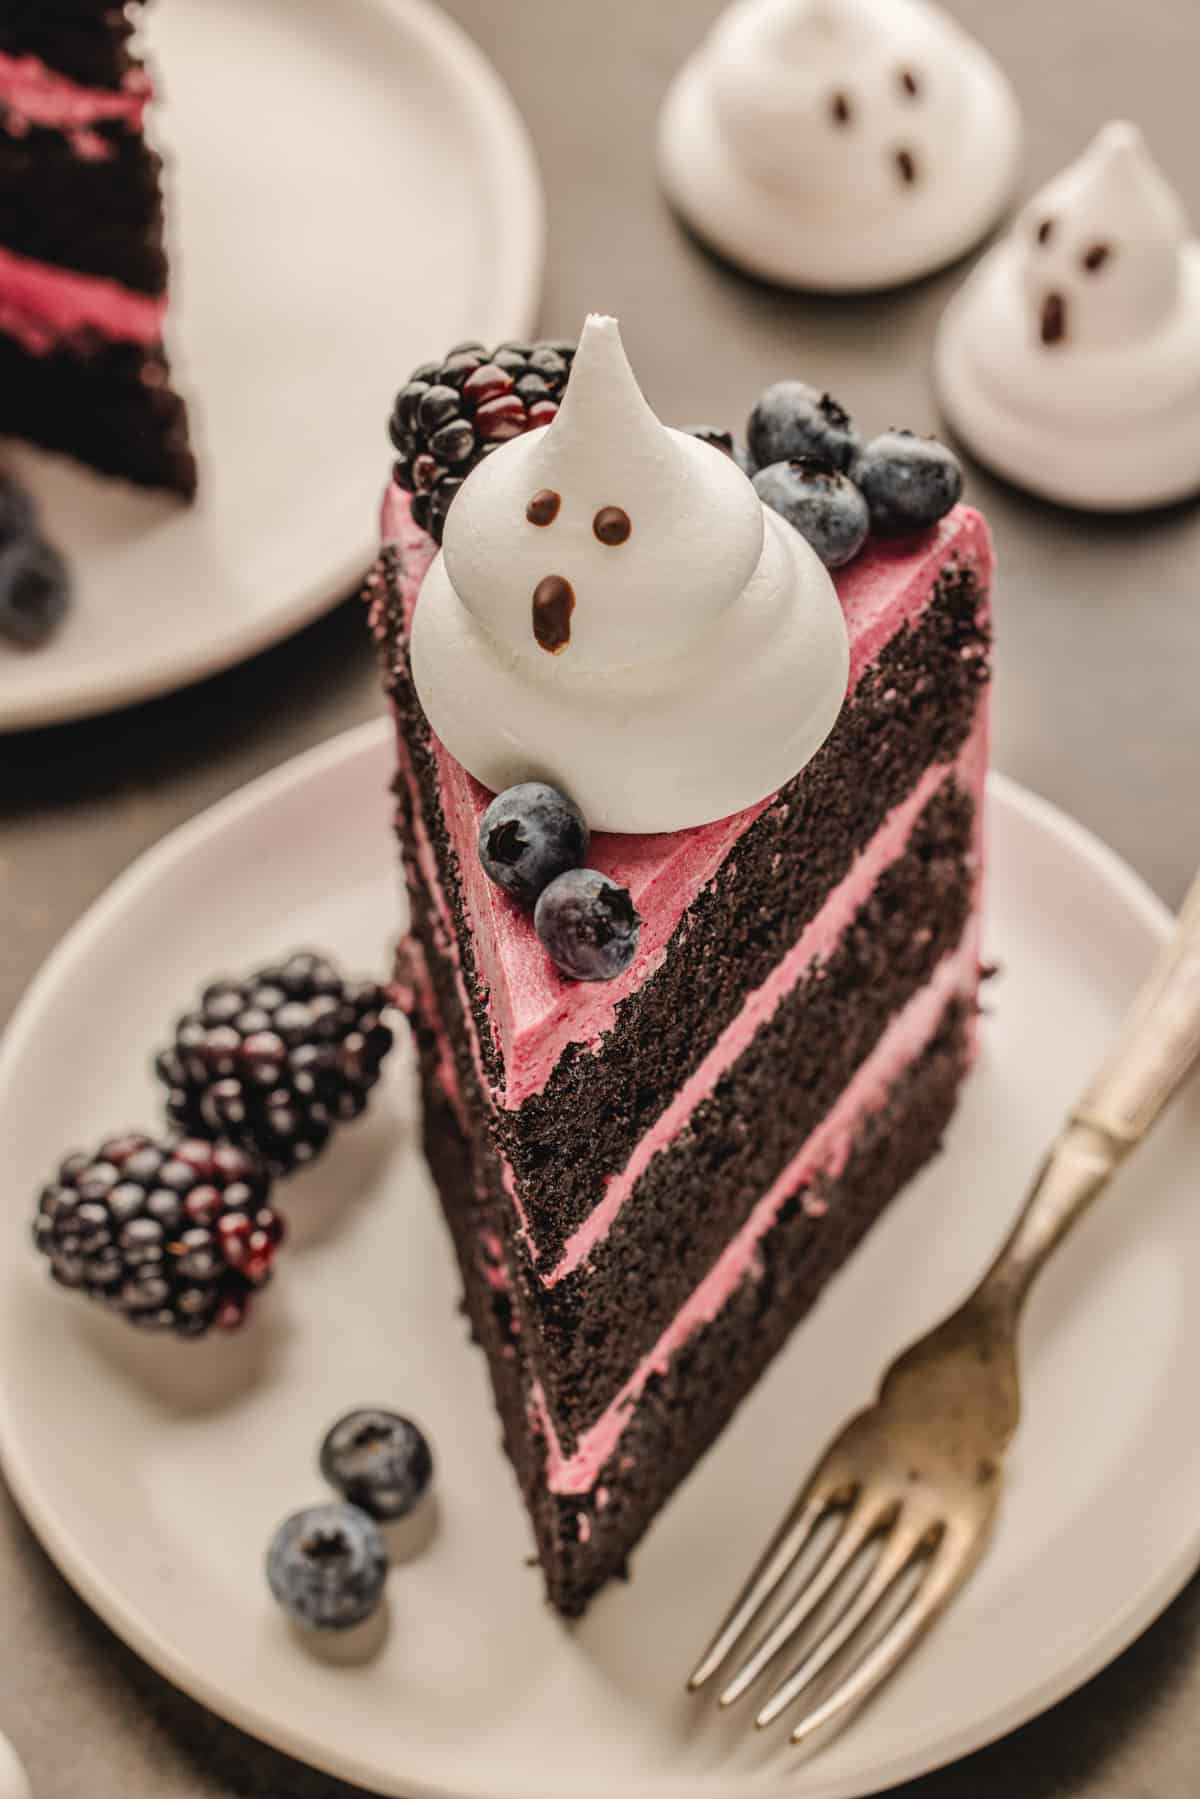
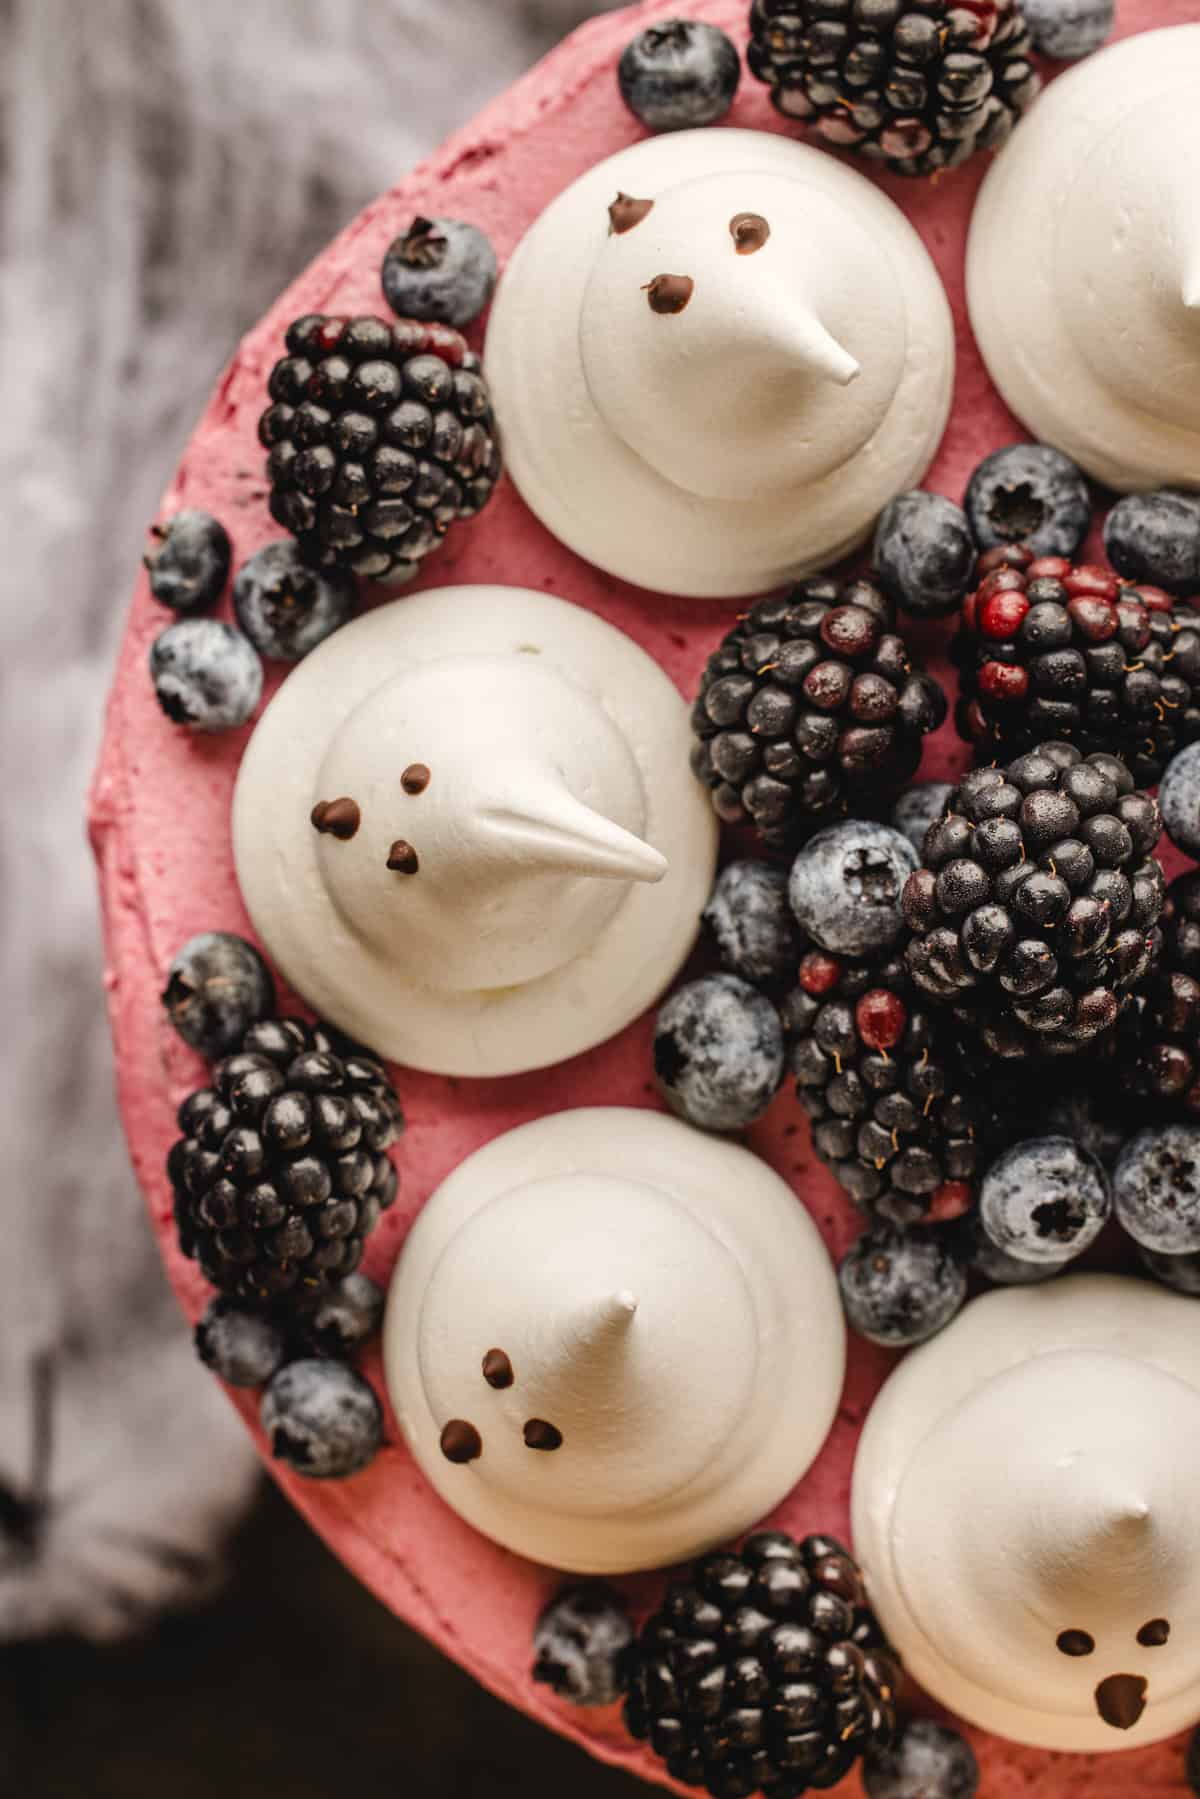
So, I baked this spooky Halloween layer cake! The layers are almost black, thanks to a mix of dark cocoa and black cocoa powder. The frosting is deep purple, made from a homemade blackberry reduction. I topped it with blackberries, blueberries, and little meringue ghosts with chocolate faces.
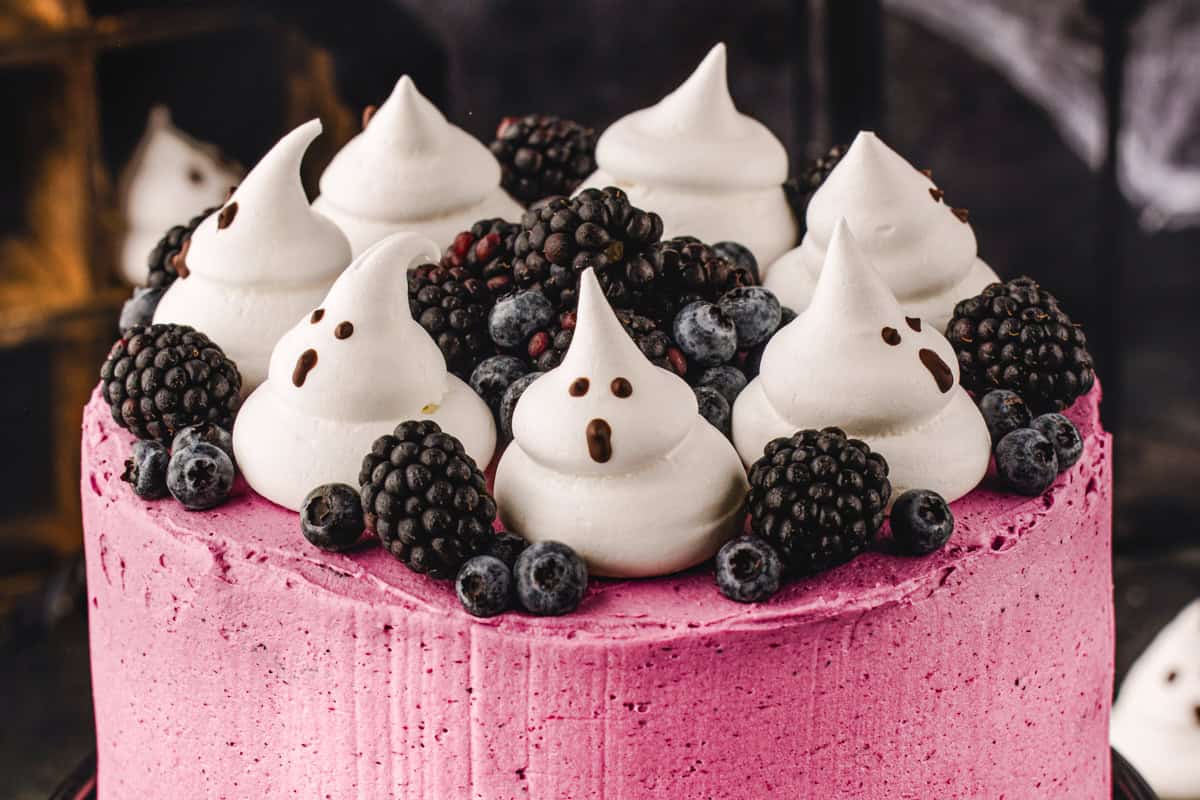
I have not used any artificial dyes or food coloring. The purple color comes directly from blackberries. I cook down frozen blackberries, strain out the seeds, and simmer the purée until it thickens like jam. The buttercream tastes like real berries, and that tart edge keeps all the chocolate from feeling heavy. The cake layers are black because I use black cocoa.
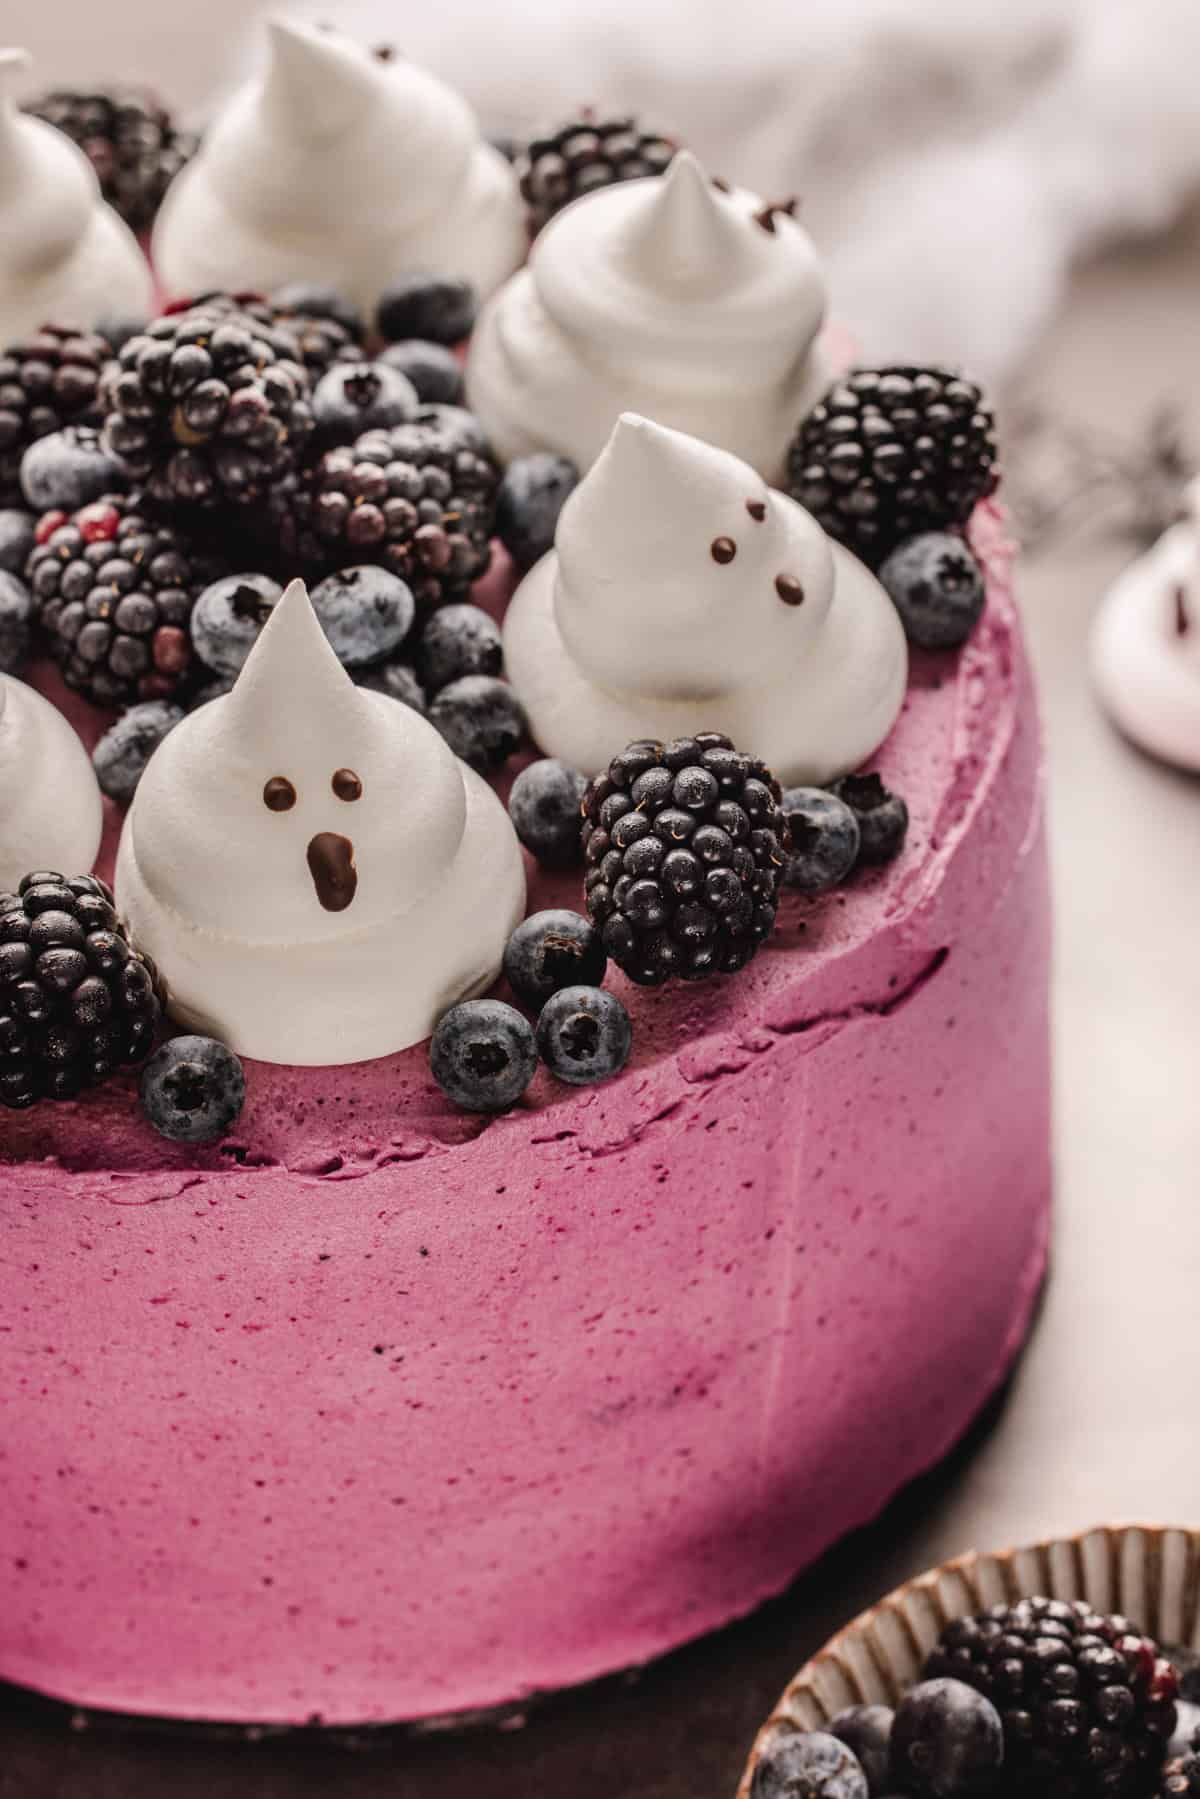
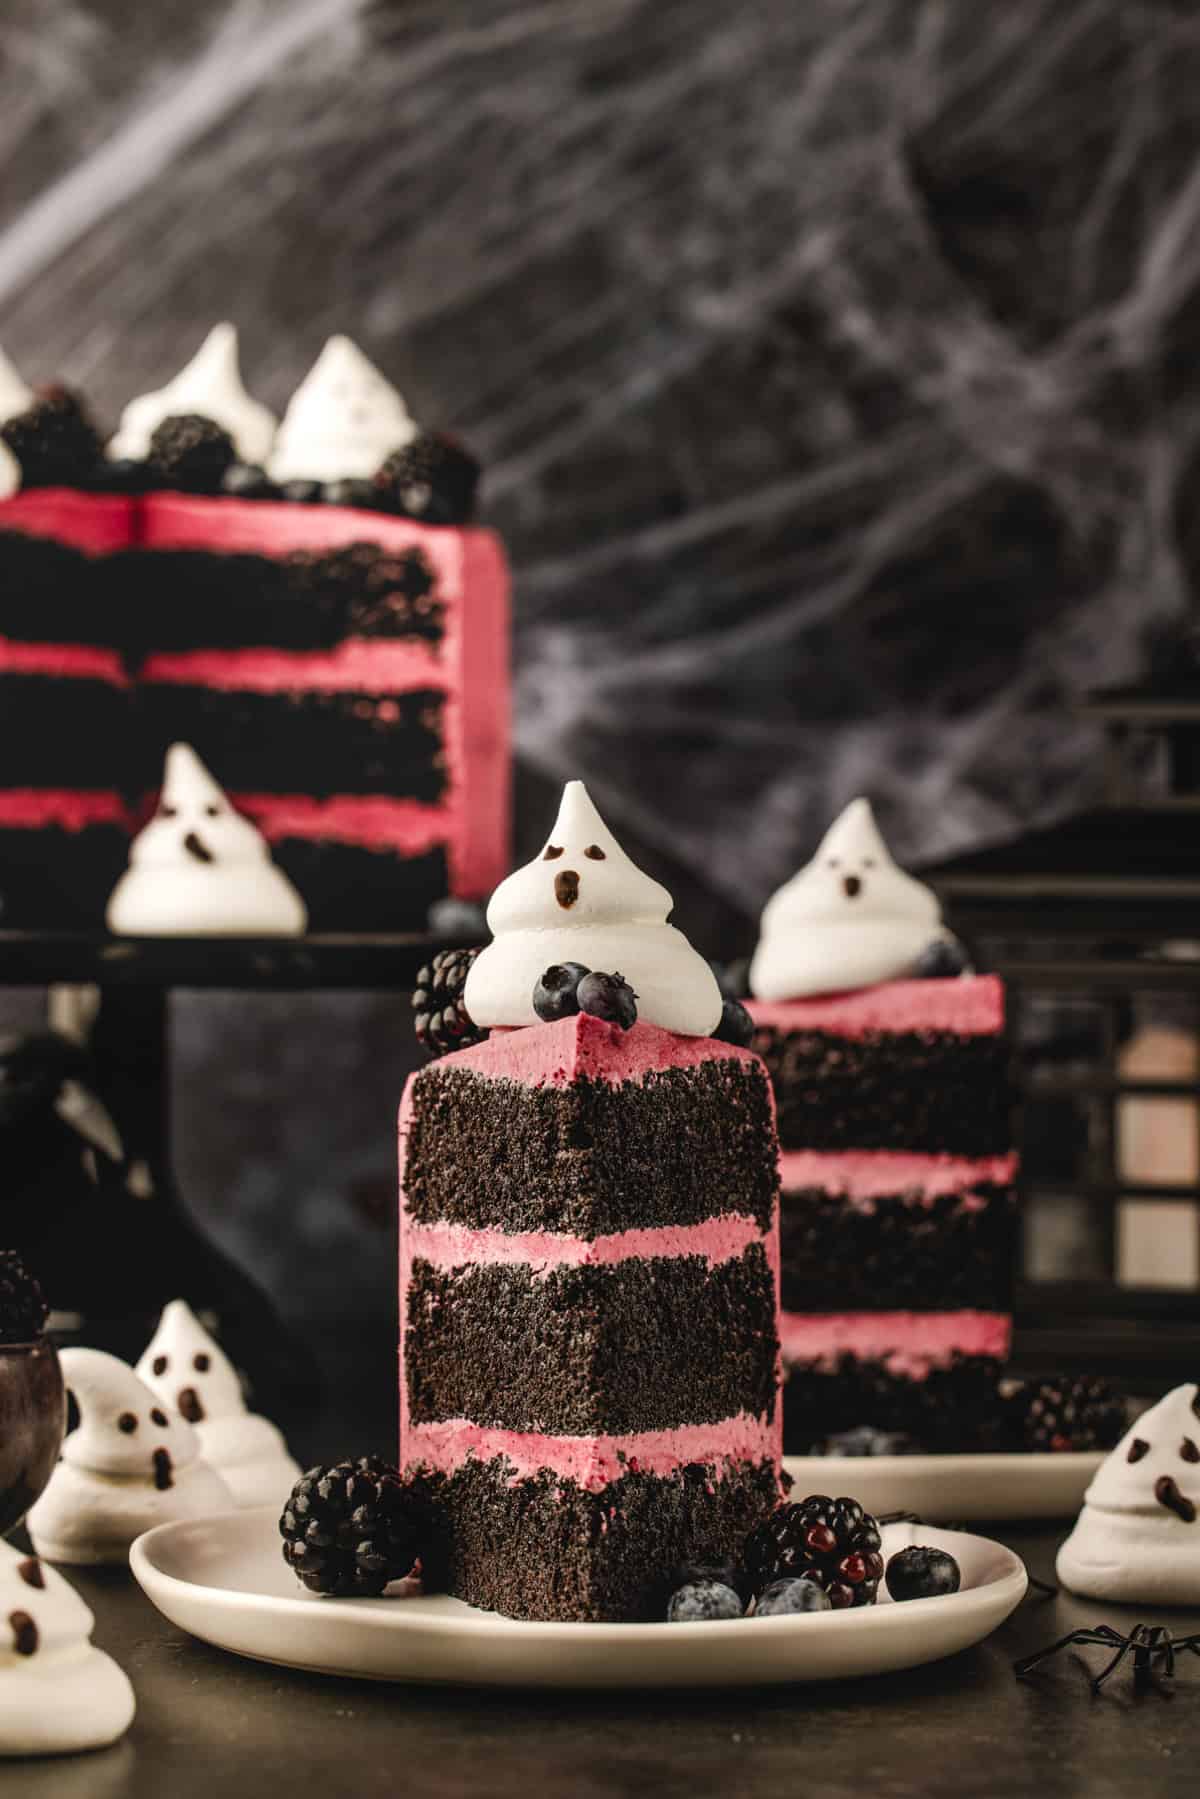
The ghosts are my favorite part. They're a simple meringue. I pipe them, bake them low and slow, then draw on eyes and mouths with melted chocolate. Each ghost gets its own personality, and kids love helping with the faces. Some come out sweet, some come out a little worried, and every single one gets eaten.
Tell Me More About This Halloween Ghost Cake
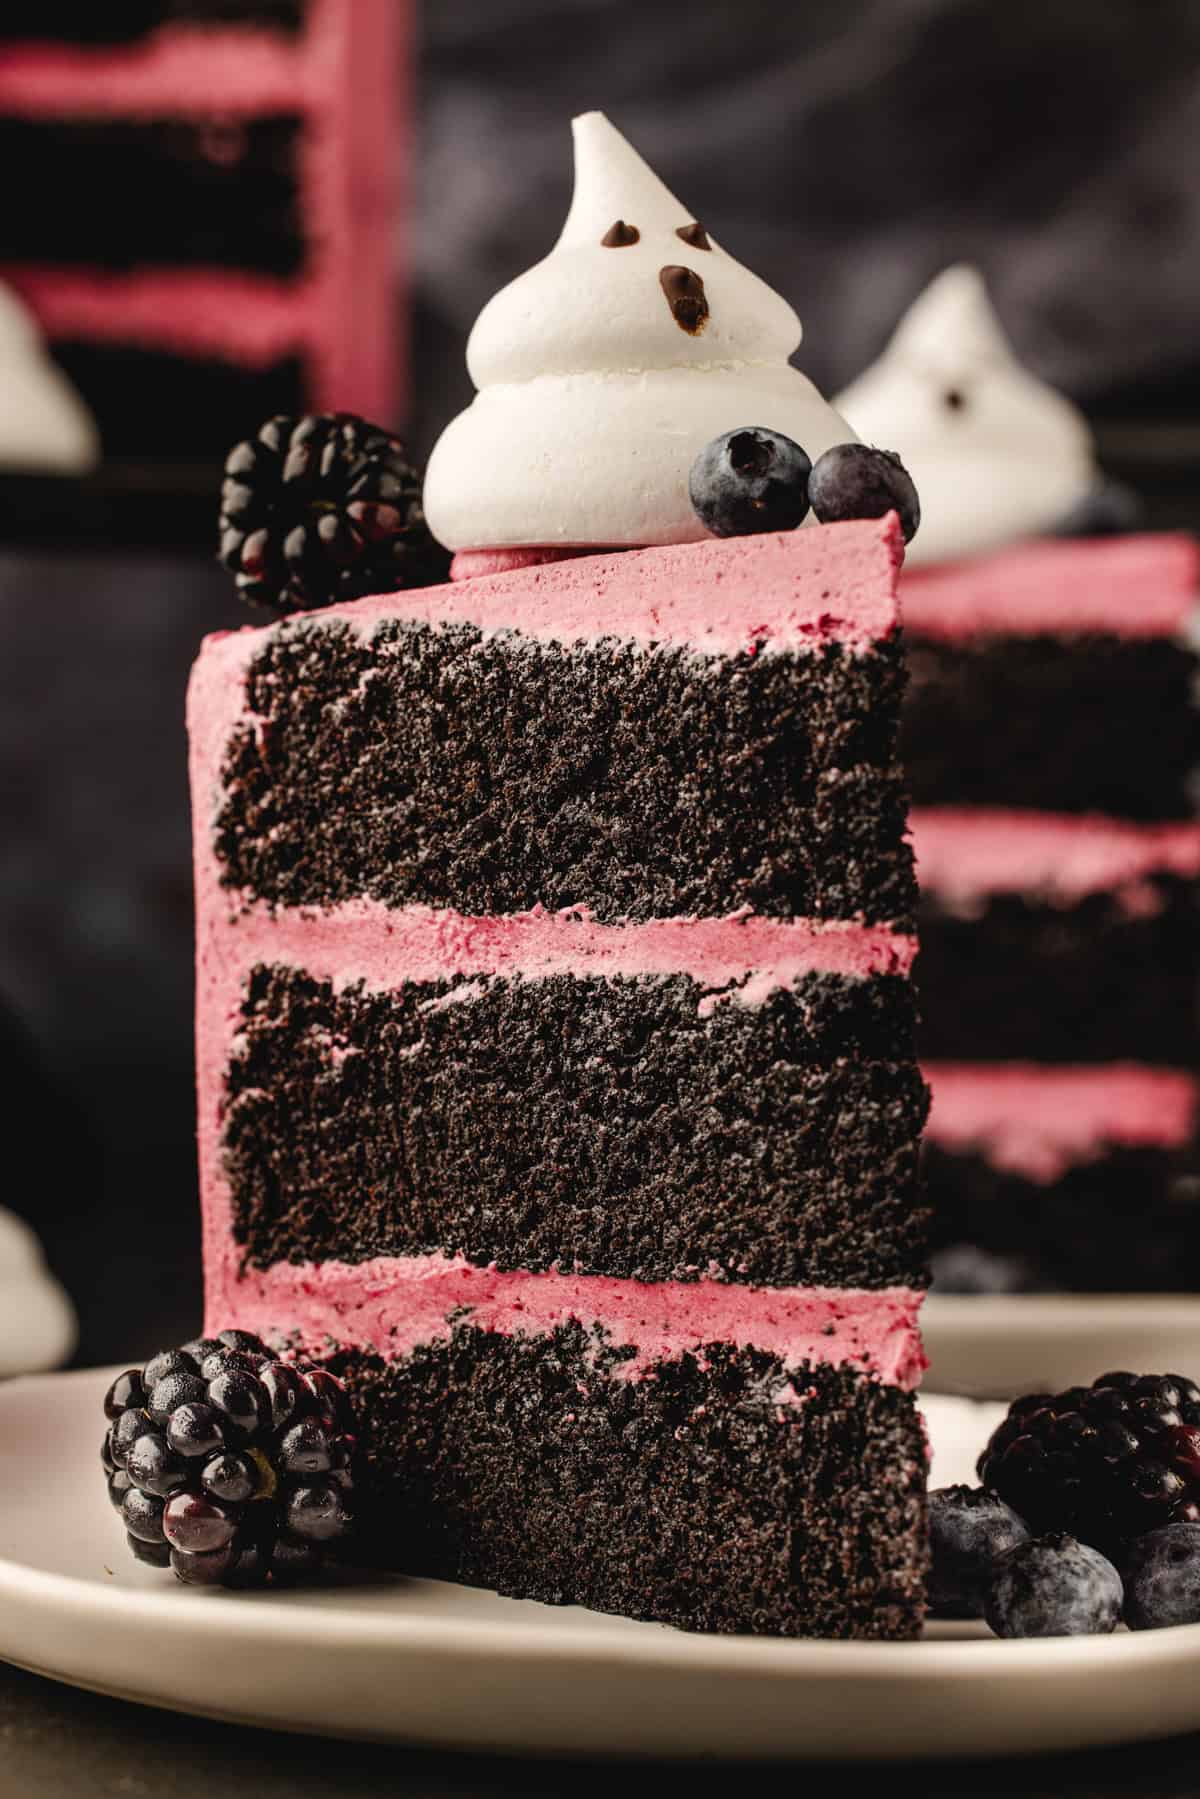
- The darkest chocolate cake (black-colored cake layers without food dye): I used a mix of dark cocoa and black cocoa powder in the cake layers. Black cocoa gives the cake its dramatic color, while the dark cocoa keeps the chocolate flavor rich and balanced. If you love a deep chocolate cake, you'll also like my three-layer German chocolate cake.
- Purple frosting from real berries: No gel coloring. The buttercream gets its color and tangy flavor from a thick, seedless blackberry reduction. It tastes like blackberry jam folded into fluffy vanilla buttercream.
- Moist, tender layers: Sour cream, oil, and hot coffee keep this cake soft for days. The coffee won't make it taste like coffee. It simply makes the chocolate taste more chocolatey, the same way it does in my Black Forest cheesecake.
- Ghosts you can make ahead: The meringue ghosts are made the same way as my classic pavlova, just piped small. Store them in an airtight container for up to a week before decorating.
- Perfect for parties: This cake serves 16, so it's great for a Halloween party, a fall birthday, or a spooky movie night. Pair it with a plate of classic fantasy fudge for a full Halloween dessert table.
Key Ingredients
- Black cocoa: Black cocoa is highly alkalized. It has a very dark color and a flavor similar to an Oreo cookie. I combine it with regular dark cocoa to keep the cake richly chocolatey while still getting strikingly dark layers. Black cocoa is heavily Dutch-processed and gives the cake its deep, almost black color. If you can't find it, use 1 cup of Dutch-process or dark cocoa in total. The cake will be dark brown instead of black.
- Flour: Measure the flour by spooning it into the measuring cup and leveling the top. Scooping directly from the bag can pack too much flour into the cup and make the cake heavier.
- Coffee: The coffee makes the chocolate flavor stronger, but the finished cake does not taste strongly of coffee. You can use plain hot water instead, although the chocolate flavor will be slightly less pronounced.
- Blackberries: I recommend frozen blackberries for the reduction because you'll cook and blend them anyway. Save the best-looking fresh berries for decorating.
- Egg whites: I whip 3 room-temperature egg whites with ¼ teaspoon of cream of tartar for the ghosts. Cream of tartar keeps the meringue stable. You can use carton egg whites for the ghosts if the package says they are suitable for whipping. Use the equivalent of three large egg whites.
- Refer to the Halloween ghost cake recipe card below for the exact ingredient amounts and recipe instructions.
Tips for the Chocolate Cake Layers
- Break up the cocoa lumps. Cocoa powder clumps easily. Whisk the dry ingredients well before the wet ones go in.
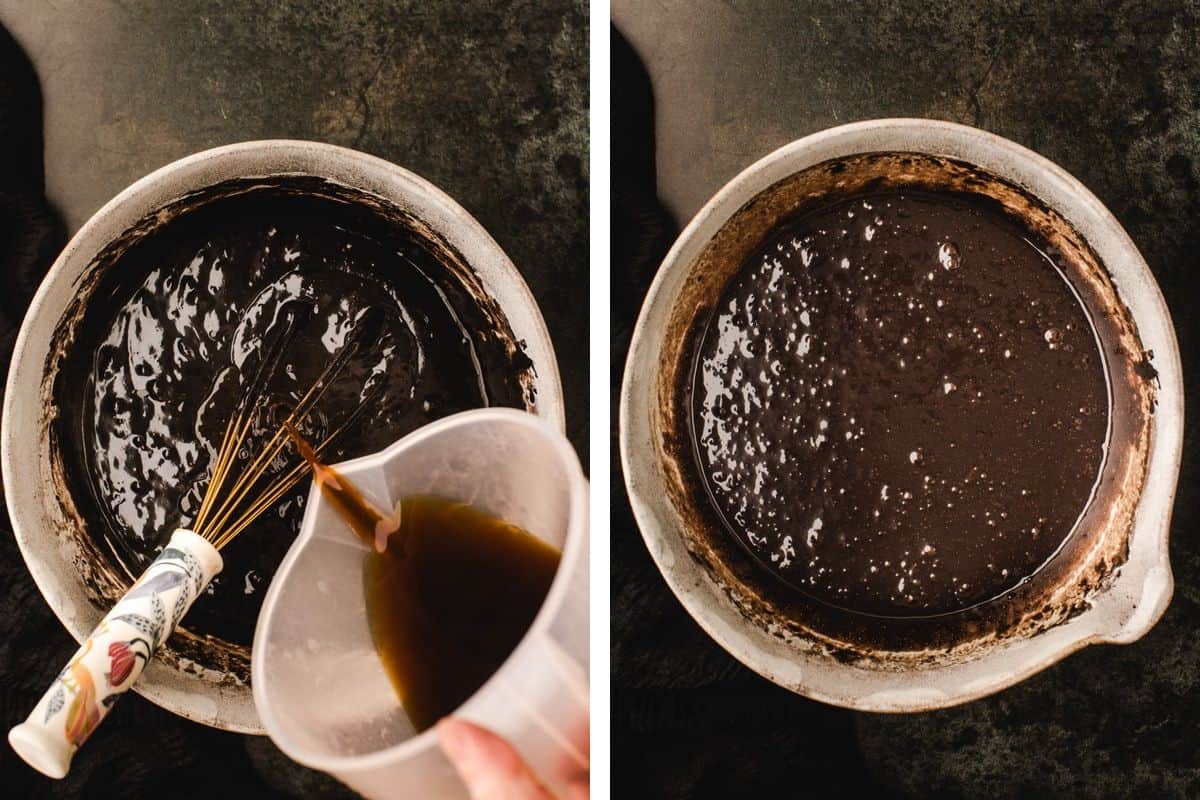
- Expect a thin batter: The cake batter is supposed to be quite thin after you add the coffee. Don't worry, this is normal!
- Don't overmix: Mix only until everything is combined. Mixing too long can make the layers less tender.
- Divide the batter evenly: Try to split the batter as evenly as possible so the layers bake at the same rate. If you don't have a kitchen scale, measure the batter into the pans with the same cup or ladle.
- Chill the layers before stacking. Cold cake layers are firmer, easier to trim, and shed fewer crumbs.
Tips for the Blackberry Buttercream
- Cool the reduction completely: The reduction must be thick and completely cold before you add it to the buttercream. A warm or runny reduction can melt the butter and make the frosting difficult to work with.
- Add the reduction a little at a time: Blackberry color varies naturally, so add the reduction gradually. Judge the buttercream by both its color and its consistency (how thick or soft it is).
- Expect a soft purple color: The frosting will usually be a soft mauve or purple rather than a vivid, bright purple.
- Fix soft frosting with the fridge: If the buttercream gets soft after adding the reduction, refrigerate it for 10 to 15 minutes. Then mix it briefly on low speed. I don't recommend adding a lot of extra powdered sugar, because it can make the frosting overly sweet.
- Pipe a buttercream dam. Even though the filling is the same buttercream, a thicker ring around the edge keeps the layers steady and the sides straight.
Tips for the Meringue Ghosts
- Start with a grease-free bowl: Make sure the bowl and whisk are completely free of grease. Even a small amount of fat or egg yolk can stop the whites from whipping properly. I like to wipe everything with a kitchen towel soaked in lemon juice, so I know there are no traces of grease.
- Do the finger test. Rub a bit of meringue between two fingers. If it feels grainy, keep whisking until it's smooth.
- Give the ghosts time. At 200°F (95°C), the meringue dries out more than it bakes. If the ghosts feel sticky or don't lift off the parchment, they need more time.
- Know what "done" looks like: The ghosts should be dry and crisp on the outside with a soft, marshmallowy center. Larger ghosts may need the full baking time and a longer rest in the switched-off oven.
- Be gentle with the faces: Use very light pressure when adding the faces. The shells are delicate and can crack if you handle them too firmly.
- Add the ghosts last: Place the ghosts on the cake shortly before serving. Moisture from the buttercream and fresh fruit will slowly soften the bottoms of the meringues.
Serving Ideas
- Halloween dessert table: Serve it alongside my Mint Chocolate Brownies (that green layer is perfect for Halloween), Baked Pumpkin Donuts with Maple Glaze, and a plate of Pumpkin Chocolate Chip Muffins.
- After a cozy Halloween dinner: It's a fun finale after a big pot of Chicken Pot Pie Soup or my 30-minute Homemade Hamburger Helper, which kids love.
- With extra meringue: Love the ghosts? My Summer Berry Pavlova uses the same meringue basics, just in one big nest.
- Let the chilled cake sit at room temperature for about 30 minutes before slicing. The buttercream softens and the chocolate flavor comes through. I use a long, sharp knife and wipe it clean between cuts for neat slices. Give every slice its own ghost.
Variations
- Two-layer cake: Use two 9-inch (23 cm) pans and bake for 35 to 40 minutes. You'll have extra buttercream for decorating.
- Halloween cupcakes: Fill lined muffin cups two-thirds full and bake at 350°F (175°C) for 18 to 22 minutes. Pipe the buttercream on top and add a small ghost to each one. You'll get about 30 cupcakes.
- Sheet cake: Bake in a 9x13-inch (23x33 cm) pan for 40 to 45 minutes. Frost the top and scatter the ghosts across it.
- Raspberry buttercream: Swap the blackberries for frozen raspberries. The frosting turns a bright pink-red instead of purple.
- Chocolate drip: Pour a thin chocolate ganache over the edge of the chilled cake before you add the berries and ghosts.
- Skip the ghosts: Top the cake with extra berries, chocolate shavings, or black and purple sprinkles.
Halloween Ghost Cake (Dark Chocolate Blackberry Layer Cake)
Ingredients
For the meringue ghosts
- 3 large egg whites at room temperature
- ¼ teaspoon cream of tartar
- ¾ cup sugar superfine
- 1 ounce semisweet chocolate or dark chocolate melted
For the dark chocolate cake
- 3 cups all-purpose flour
- 3 cups granulated sugar
- ⅔ cup unsweetened cocoa powder
- ⅓ cup black cocoa powder
- 1 tablespoon baking soda
- 1½ teaspoons baking powder
- 1 teaspoon salt
- 4 large eggs at room temperature
- 1 cup full-fat sour cream at room temperature
- ½ cup vegetable oil
- 2 teaspoons vanilla extract
- 1 cup hot coffee freshly brewed
For the blackberry reduction
- 3 cups frozen blackberries
- 2 tablespoons granulated sugar
For the blackberry buttercream
- 2 cups unsalted butter softened
- 6 cups powdered sugar
- 2 teaspoons vanilla extract
- ½ teaspoon salt
- ⅓ cup blackberry reduction plus more as needed
- 1 to 2 tablespoons heavy cream if needed
For decorating
- fresh blackberries
- fresh blueberries
- meringue ghosts
Instructions
Make the meringue ghosts
- Preheat the oven to 200°F (95°C). Line two baking sheets with parchment paper.
- Place the egg whites in a clean, grease-free mixing bowl. Using the whisk attachment, beat on medium speed until the whites are foamy.
- Add the cream of tartar and continue whisking until soft peaks form. When the whisk is lifted, the meringue should form a peak that gently folds over at the tip.
- Increase the mixer to medium-high speed. Add the superfine sugar gradually, about one tablespoon at a time, allowing it to mix in thoroughly before adding the next spoonful.
- Continue whisking until the meringue is thick, glossy, and holds stiff peaks. Rub a small amount between two fingers. It should feel smooth rather than grainy.
- Transfer the meringue to a piping bag fitted with a large plain round tip. Pipe a wide base onto the prepared baking sheet, lift the bag slightly, and pipe a smaller section above it. Ease the pressure and lift the bag upward to create a pointed top.
- Bake for 75 to 90 minutes, until the ghosts feel dry and lift cleanly from the parchment. Turn off the oven, prop the door slightly open, and leave the meringues inside for at least 30 minutes. Transfer them to a wire rack and let them cool completely.
- Once the ghosts are completely cool, melt the chocolate in a small microwave-safe bowl in short intervals, stirring after each one. Use a clean toothpick, a fine food-safe paintbrush, or the tip of a small piping bag to add eyes and mouths. Let the chocolate set completely before handling or storing the ghosts.
Make the cake layers
- Increase the oven temperature to 350°F (175°C). Grease three 8-inch round cake pans and line the bottoms with parchment paper.
- In a large mixing bowl, whisk together the flour, granulated sugar, dark cocoa powder, black cocoa powder, baking soda, baking powder, and salt. Break up any lumps of cocoa powder before adding the wet ingredients.
- Add the eggs, sour cream, vegetable oil, and vanilla extract. Mix on low speed until mostly combined, stopping to scrape the bottom and sides of the bowl.
- With the mixer running on low speed, slowly pour in the hot coffee. Continue mixing just until the batter is smooth and evenly combined. The batter will be thin.
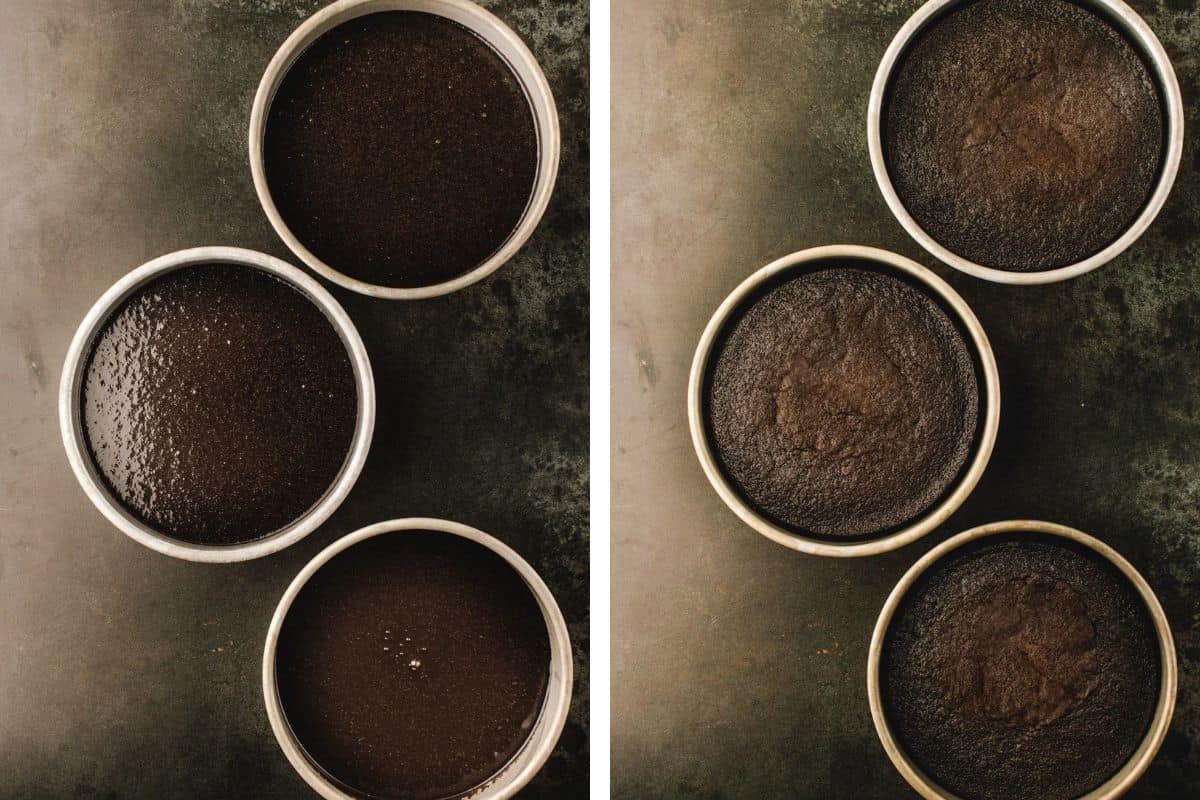
- Divide the batter evenly among the prepared cake pans. Gently tap the pans on the counter to release any large air bubbles.
- Bake for 30 to 35 minutes, or until the centers spring back when lightly touched and a toothpick inserted into the center comes out clean or with a few moist crumbs.
- Let the cakes cool in their pans for 10 to 15 minutes. Carefully turn them out onto wire racks, remove the parchment paper, and let them cool completely. For easier assembly, wrap and refrigerate the cooled layers until chilled.
Make the blackberry reduction
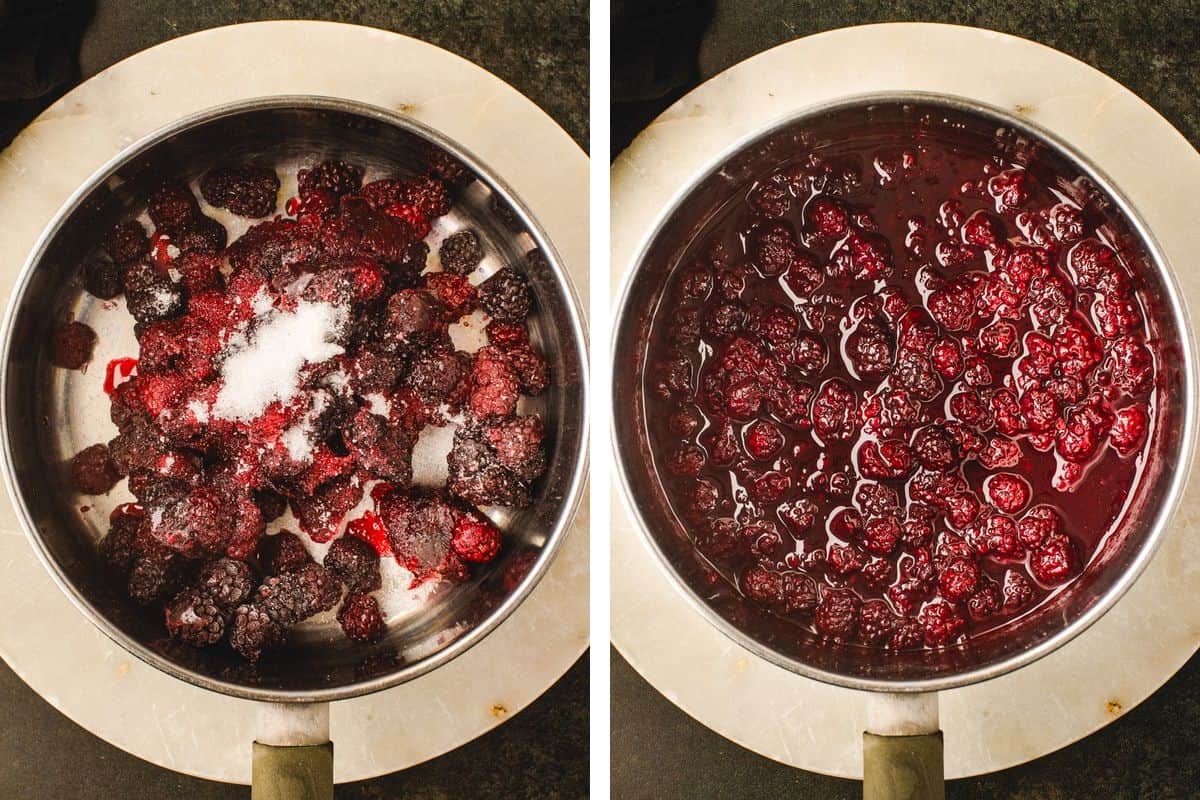
- Place the frozen blackberries and granulated sugar in a medium saucepan. Cook over medium-low heat, stirring occasionally, until the berries have thawed, softened, and released their juices.
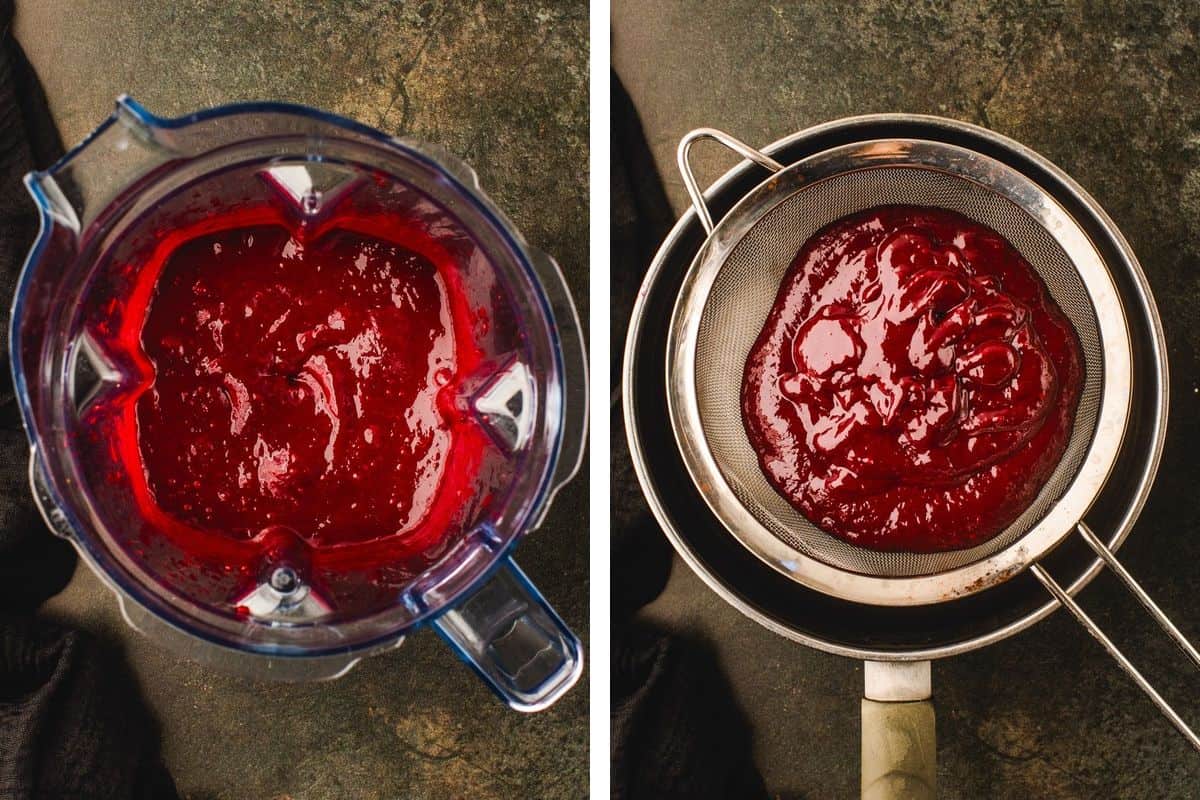
- Blend the mixture until smooth.
- Press the purée through a fine-mesh sieve to remove the seeds. Scrape the underside of the sieve to collect all of the smooth purée.
- Return the strained purée to the saucepan. Simmer gently, stirring frequently, until it has reduced to about ½ cup and has a thick, jam-like consistency.
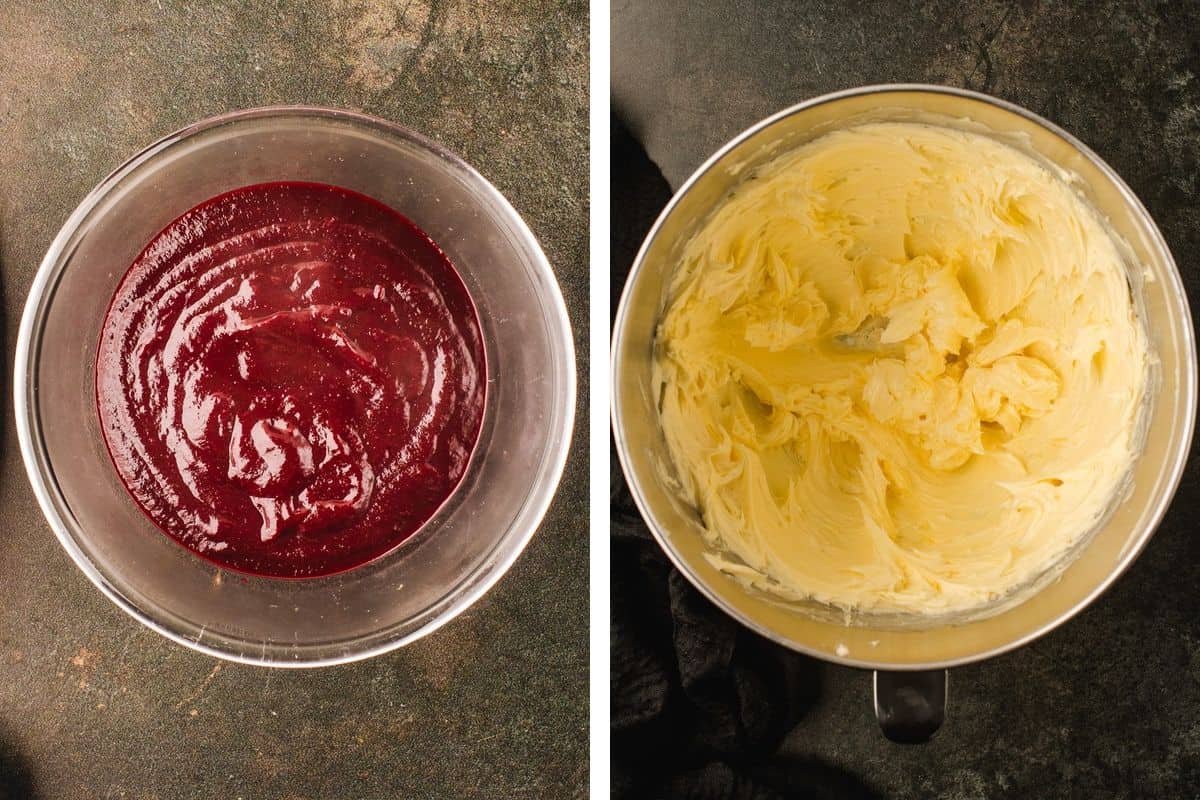
- Transfer the reduction to a bowl and let it cool completely. Do not add warm reduction to the buttercream.
Make the blackberry buttercream
- Place the softened butter in the bowl of a stand mixer fitted with the paddle attachment. Beat on medium-high speed for 4 to 5 minutes, until pale, creamy, and increased in volume.
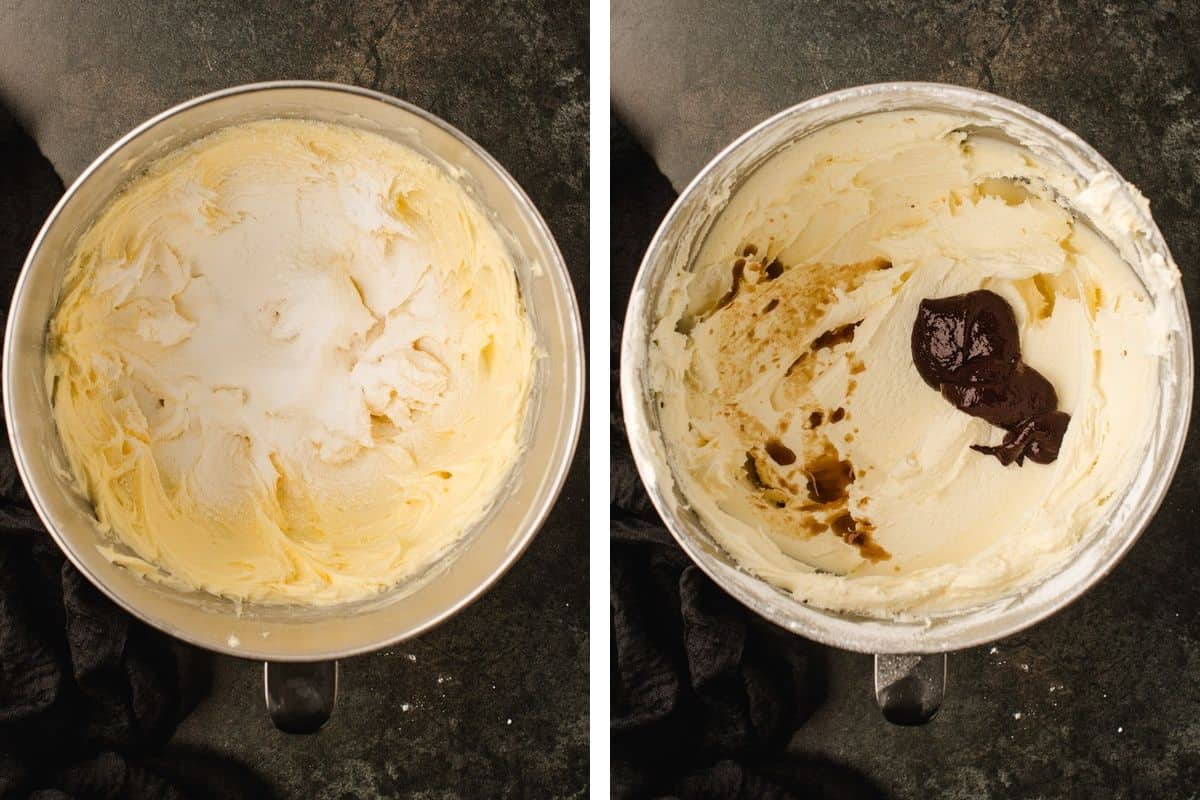
- Add the powdered sugar gradually, mixing on low speed after each addition. Stop and scrape the bowl as needed.
- Add the vanilla and salt. Beat on medium speed until the buttercream is smooth and fluffy.
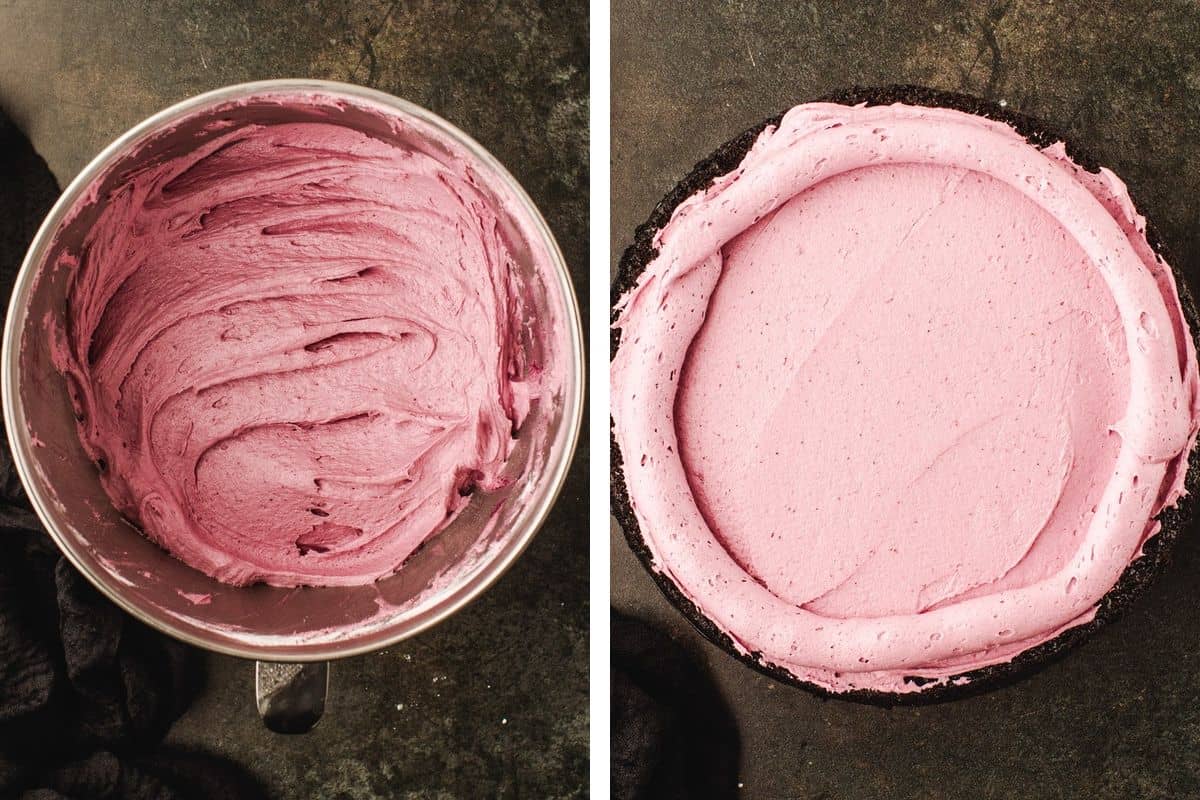
- Add the measured blackberry reduction one spoonful at a time, mixing well after each addition. Check the color and consistency. Add a little more reduction for a deeper purple color, but stop if the buttercream begins to soften too much.
- If the buttercream is too firm for spreading, add the heavy cream a teaspoon at a time. The blackberry reduction may provide enough moisture that no cream is needed.
- Finish by mixing the buttercream on the lowest speed for 2 to 3 minutes. This removes large air bubbles and makes the frosting easier to smooth.
Assemble and decorate the cake
- If needed, use a serrated knife or cake leveler to trim any domed tops from the chilled cake layers.
- Place the first cake layer on a cake board or serving stand. Add a small amount of buttercream to a piping bag and snip off the end. Pipe a thick buttercream dam around the edge of the layer, then spread a generous, even layer of buttercream inside it. The dam helps stabilize the layers.
- Add the second cake layer and repeat with another dam and layer of buttercream. Place the final cake layer on top, flattest side facing up.
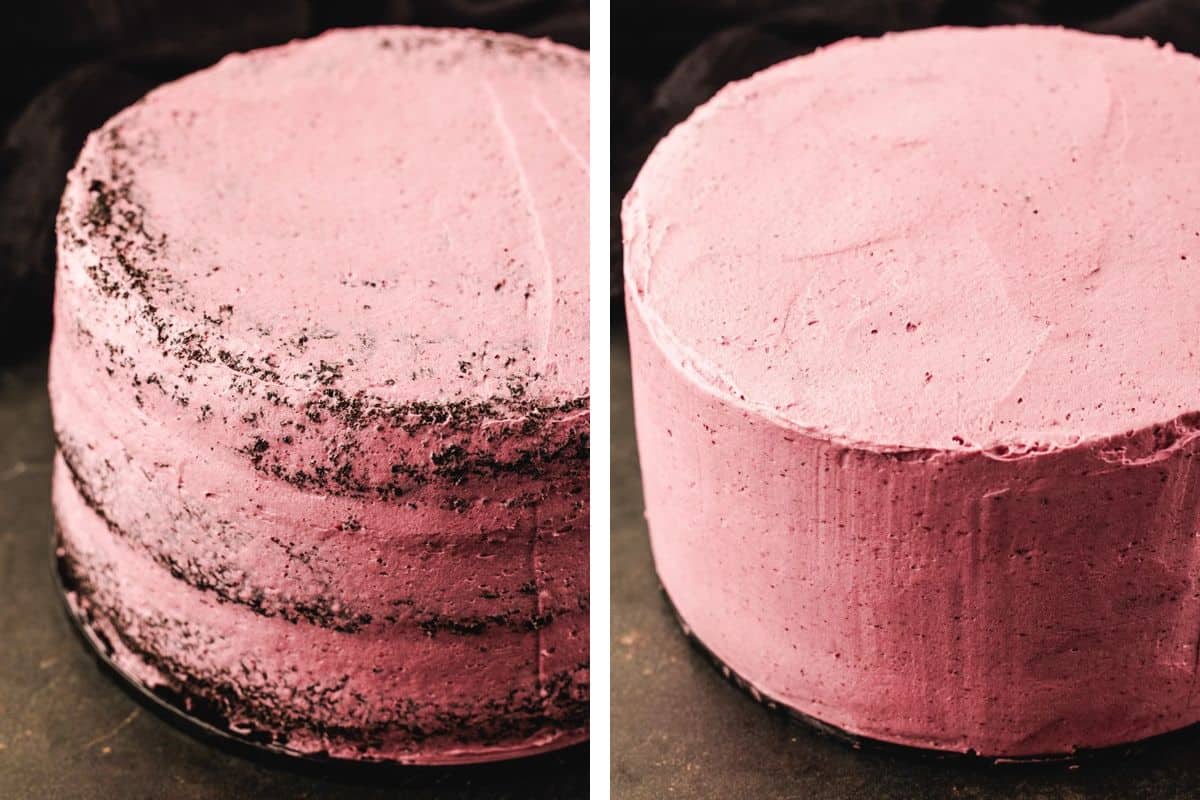
- Apply a thin crumb coat of buttercream over the top and sides of the cake. Refrigerate for 20 to 30 minutes, or until the crumb coat feels firm.
- Cover the chilled cake with the remaining blackberry buttercream. Smooth the top and sides with an offset spatula and cake scraper. Chill the finished cake until the frosting is firm.
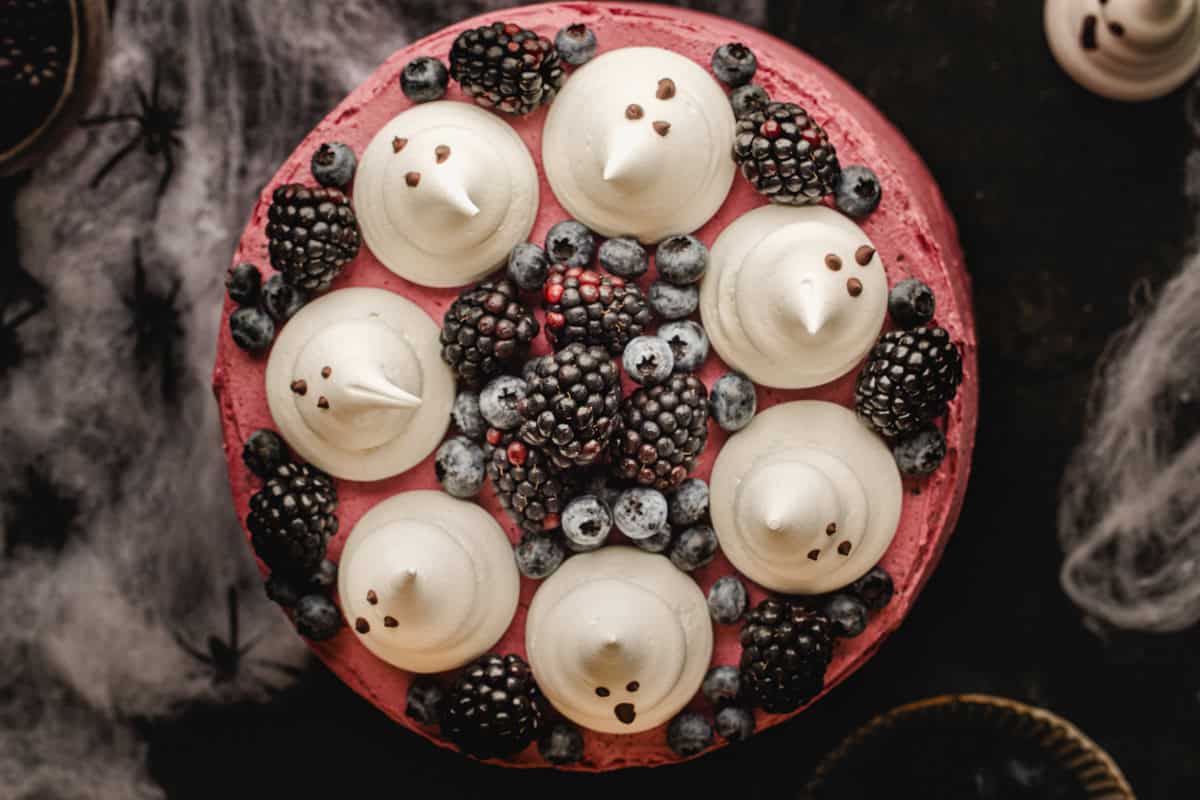
- Shortly before serving, arrange fresh blackberries and blueberries over the top of the cake. Nestle the meringue ghosts among the fruit.
Notes
- I provide step-by-step photos below this recipe card if you need a visual guide.
- Black cocoa: Look for it online or in specialty baking stores. It's the same cocoa that gives Oreo cookies their color. Since black cocoa has very little fat, I always pair it with dark cocoa so the cake stays moist and flavorful. If you can't find it, use 1 cup of Dutch-process or dark cocoa in total. The layers will be dark brown instead of black.
- Coffee: Decaf coffee or hot water both work.
- Superfine sugar: Pulse granulated sugar in a food processor for 30 to 60 seconds to make your own.
- Room-temperature ingredients: Set out the eggs, egg whites, and sour cream about 1 hour ahead so the batter mixes smoothly.
- Meringue and humidity: Meringue softens in damp air and in the fridge. Store the ghosts in an airtight container at room temperature and add them to the cake shortly before serving. See more tips for perfect meringue ghosts here.
- The buttercream ring: There isn't a separate filling to hold in, but the thick piped ring around each layer helps keep the cake level and stable. See more buttercream tips here.
- Leftover Reduction: Spoon any extra blackberry reduction over yogurt or oatmeal, or over ice cream.
- Variations. This recipe is surprisingly flexible. See my suggested variations here.
- Special Tools: Three 8-inch (20 cm) Round Cake Pans | Stand Mixer | Piping Bags | Large Round Piping Tip | Blender | Fine-Mesh Sieve | Offset Spatula | Cake Scraper | Cake Board or Stand | Serrated Knife or Cake Leveler
Storage and Make-Ahead Tips
- Make ahead: Bake the meringue ghosts up to 1 week ahead and store airtight at room temperature. Make the reduction up to 5 days ahead and refrigerate it. Refrigerate the blackberry reduction for up to 5 days. Bake the cake layers up to 2 days ahead, wrap them tightly, and refrigerate. The buttercream keeps in the fridge for up to 1 week. Bring it to room temperature and re-whip before using.
- Storage: Remove the ghosts, cover the cake, and refrigerate for up to 4 days. Let slices sit out for about 30 minutes before serving.
- Meringue ghosts: For the best texture, remove the ghosts before refrigerating leftover cake. Store them separately in an airtight container at room temperature. Do not refrigerate the meringues, because they will absorb moisture and become sticky.
- Blackberry reduction: Refrigerate it in an airtight container for up to 5 days.
- Unfrosted cake layers: Wrap them tightly and store them at room temperature for 1 day. Or, freeze them for up to 2 months.
- Freezing: Freeze unfrosted cake layers, wrapped in plastic wrap and foil, for up to 2 months. Thaw overnight in the fridge. Do not freeze the ghosts.
- Serving leftovers: Let individual slices stand at room temperature for 20 to 30 minutes before serving so the cake and buttercream can soften.
Nutrition
Nutrition Disclaimer:
The nutritional information on this website is only an estimate and is provided for convenience and as a courtesy only. The accuracy of the nutritional information for any recipe on this site is not guaranteed. It should not be used as a substitute for a professional nutritionist's advice.
How to Make Halloween Cake (Step-by-Step Tips)
This is a recipe overview. Scroll up for complete instructions and ingredient amounts in the Halloween ghost cake recipe card above.
- Make the meringue ghosts: Whip the egg whites and cream of tartar to soft peaks, then slowly add the superfine sugar until the meringue is thick and glossy. Pipe tall ghost shapes onto parchment and bake low and slow at 200°F (95°C). Let them dry in the oven, then paint on faces with melted chocolate.
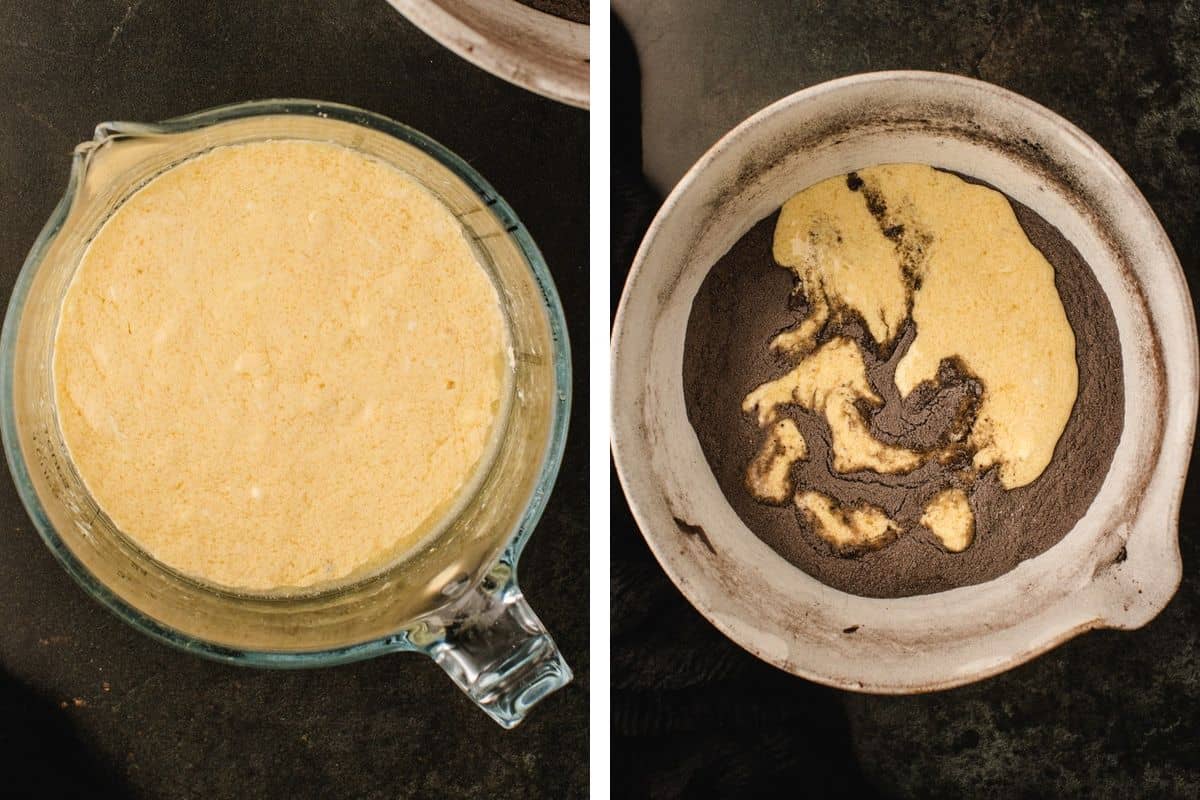
- Make the cake batter: Whisk the dry ingredients, then add the eggs, sour cream, oil, and vanilla. Stream in the hot coffee and mix just until smooth.
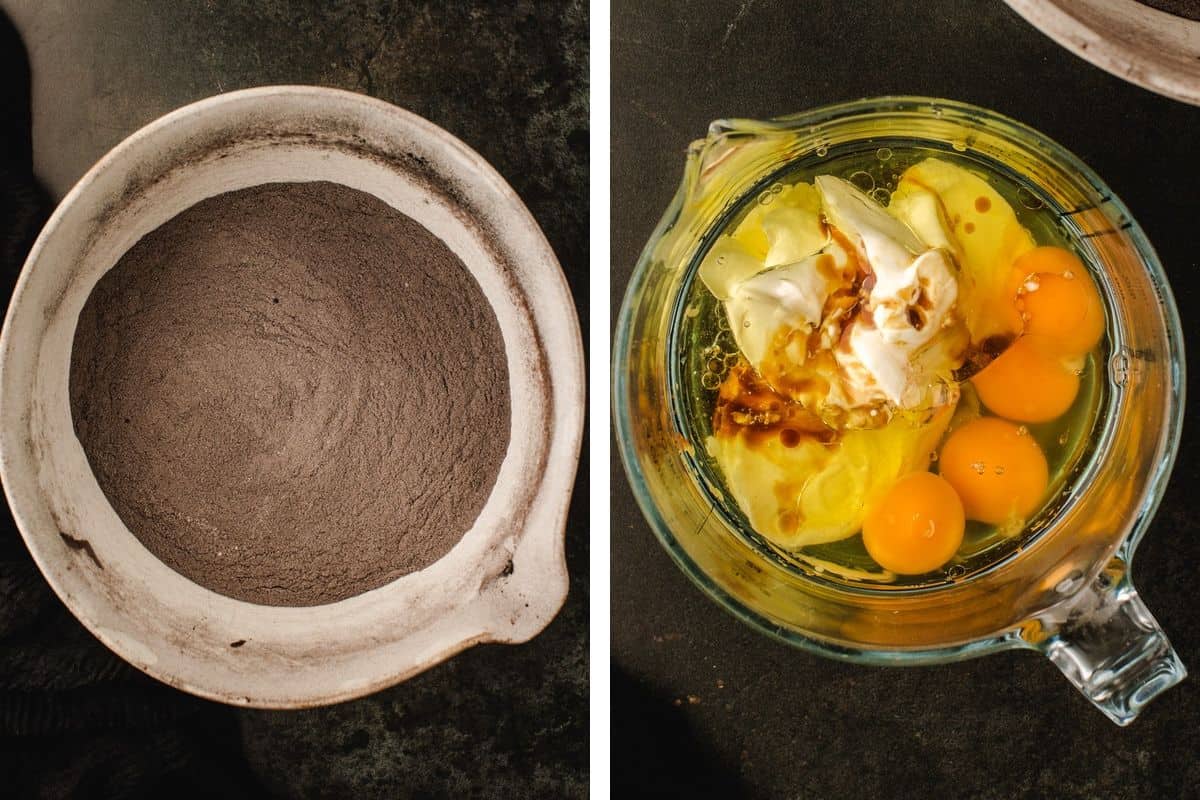
- Bake the layers: Divide the batter among three 8-inch pans and bake at 350°F (175°C) for 30 to 35 minutes. Cool completely and chill.
- Make the blackberry reduction: Simmer the blackberries with sugar, blend, strain out the seeds, and cook the purée down until thick and jammy. Let it cool completely.
- Make the buttercream: Beat the butter until pale and fluffy, add the powdered sugar, vanilla, and salt, then mix in the blackberry reduction a spoonful at a time.
- Stack and frost: Level the chilled layers, then stack them with buttercream in between. Add a thin crumb coat, chill, then cover with the rest of the frosting.
- Decorate: Right before serving, pile fresh blackberries and blueberries on top and tuck the meringue ghosts in between.

Submit your question or provide a review of the recipe + star rating RIGHT HERE.