
This post may contain affiliate links. Read my disclosure policy.
This is my time tested recipe for how to make crepes in a regular skillet, from scratch, at home. Step-by-step photos and instructions on everything about crepes: how to make crepe batter, how to flip crepes, how to make sure they don't stick to the pan, etc. Easy crepe recipe for French-style crepes!
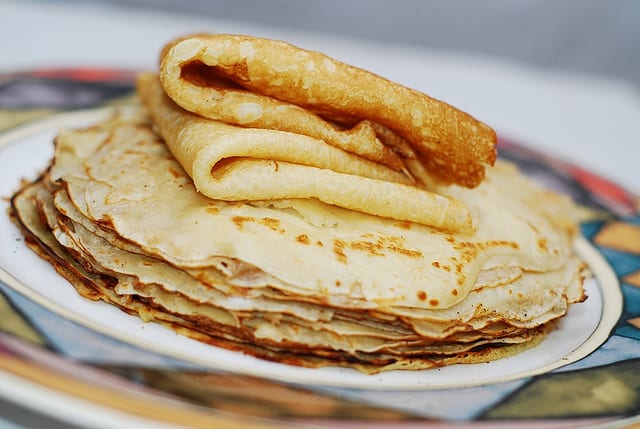
Because I make the crepes so often at home, I became somewhat of an expert in my family on how to make crepes, and mind you, being an expert in crepes does not amount to many privileges here, except for the privilege of making lots of crepe batter and practicing flipping them (the crepes) on a frying pan. I literally could flip them with my eyes closed. The easy crepe recipe I have below is for classic French style crepes: thin, slightly sweet, perfect for all kinds of delicious crepe fillings!
Crepes and I go back together long ways. You see, I grew up eating crepes on a weekly basis: my mom would usually cook them during the weekend, and my sister and I would eat them for breakfast, almost always with home-made sour cherry preserves. The sour cherry preserves were prepared by our parents during summer, with cherries from huge sour cherry trees in our garden. My sister and I would pit the cherries.
And, yes, the crepe batter recipe and the process of making crepes are so easy. In fact, the only "hard" part is using the right frying pan and a little bit of practice to flip the crepes. If you never made crepes, I highly recommend using non-stick pan, which will virtually guarantee that crepes won't stick to the pan. I personally like to use stainless steel skillet, as it results in a much better crepe texture, but using stainless steel will require some practice (as far as how hot you need to get that pan to make sure crepes won't stick). With non-stick, it's easier.
The below crepe batter recipe and tutorial describe how to make crepe batter from scratch, without lumps, how to get just the right batter thickness. For crepes, the less thick the batter is, the better. If the batter is not thick enough, though, you will end up with crepes that will be very hard to flip to the other side - they will be too thin. So, it's a fine balance: just how thick the crepe batter should be. Below I provide precise measurements that I use for my easy crepe recipe that always result in amazing crepes that are slightly sweet, soft, easy to flip and easily moldable in various shapes (pockets, tubes, etc., more recipes to come!). One of my most favorite ways to serve crepes as a dessert is crepes with agave-ricotta cheese filling, topped with pears roasted in honey.
Ingredients you'll need for this easy crepe batter recipe:
2 cups milk
1 ⅓ cup flour
1 egg
1 tablespoon vegetable oil
½ teaspoon baking powder
2 tablespoons sugar
How to make crepes:
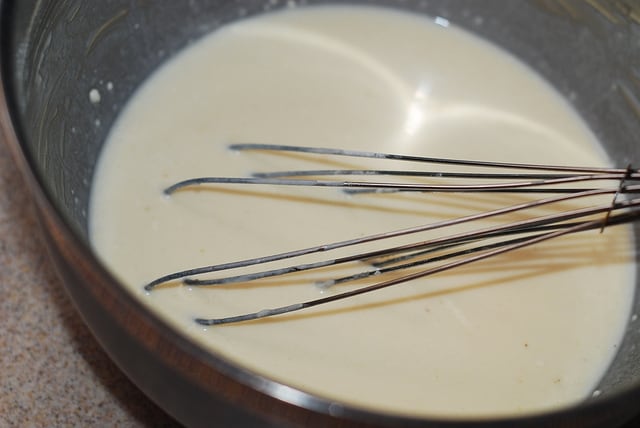
First, make the crepe batter:
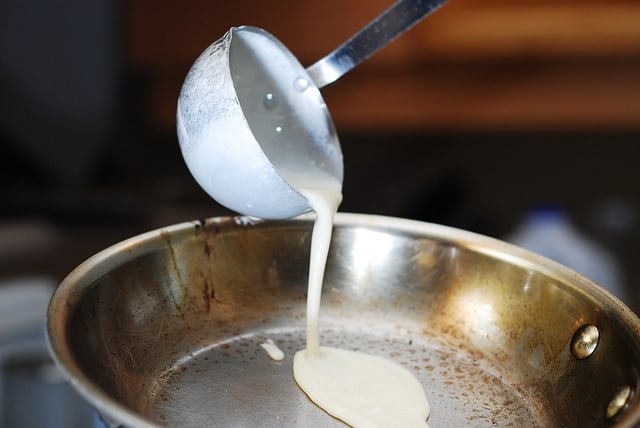
Pour crepe batter onto the heated and greased frying skillet (grease the skillet only once, for the first crepe)
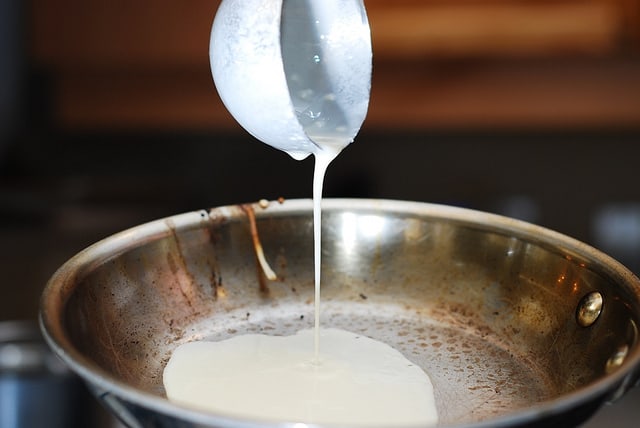
That's what it looks like when you pour the crepe batter onto the heated and greased stainless steel skillet
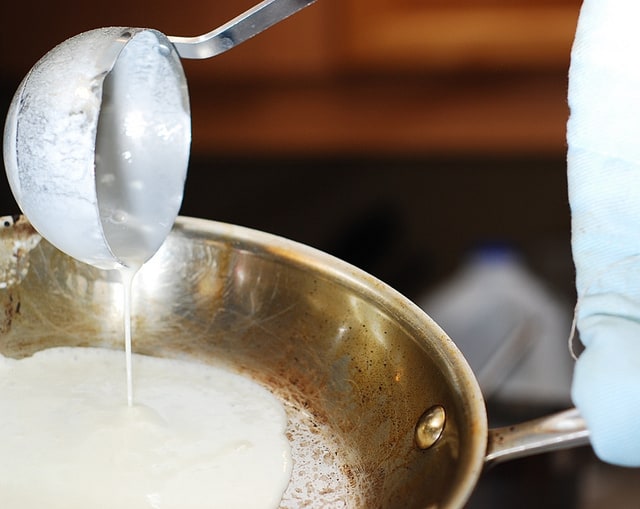
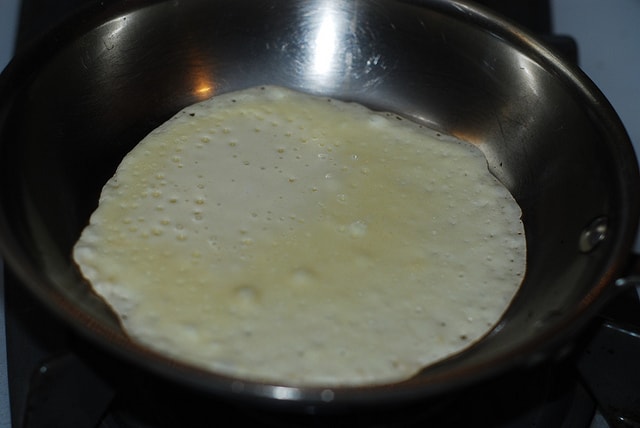
Cook a crepe on one side until the liquid crepe batter becomes more solid:
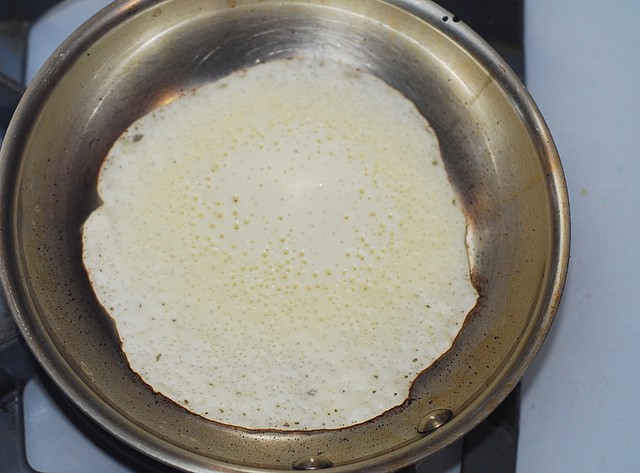
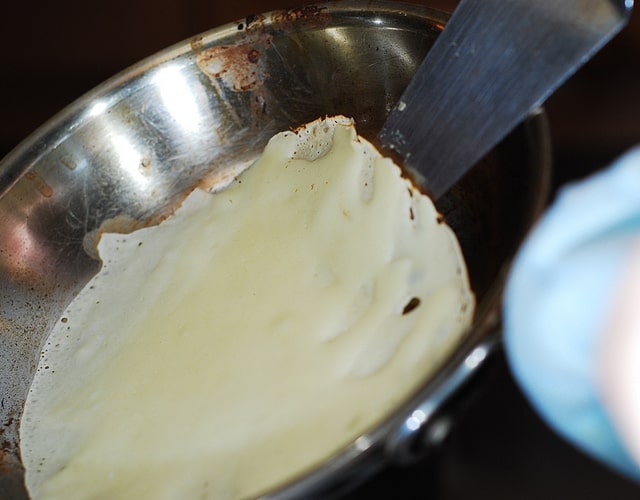
Here, you're cooking a crepe on one side until the crepe becomes more solid. Here is the crepe almost ready to be flipped over:
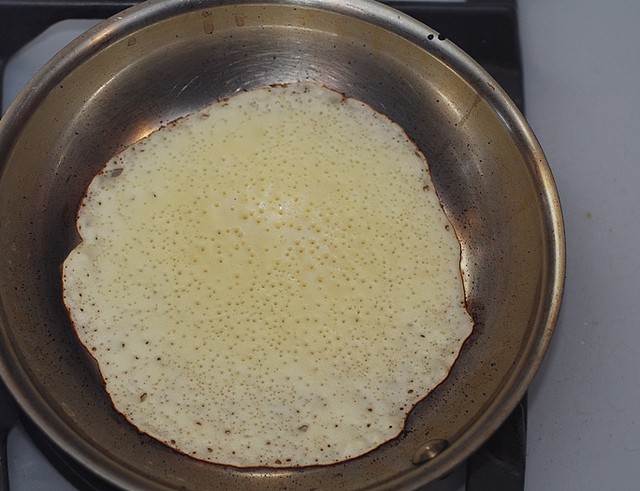
All liquid crepe batter is gone, now you have just a nice bubbled side of the crepe:
Now it's time to flip the crepe to the other side, using the metal spatula:
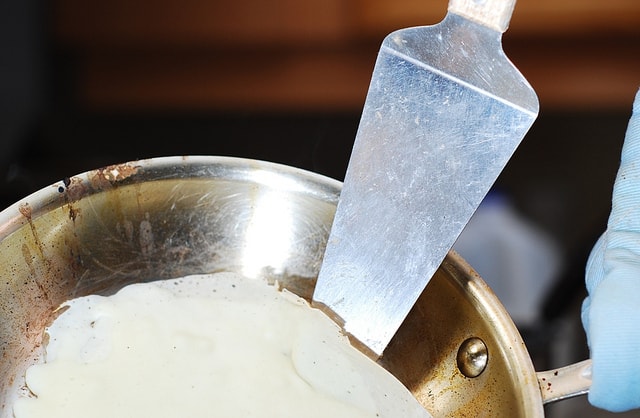
Gently pick up the crepe around its circumference, using the metal spatula:
And ... flip it!
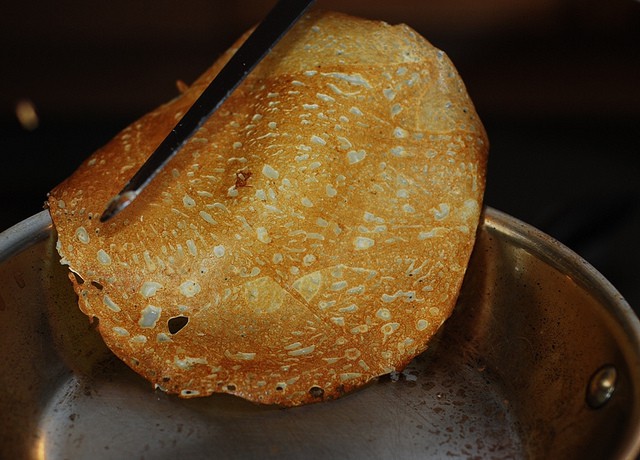
Crepe successfully flipped to the other side:
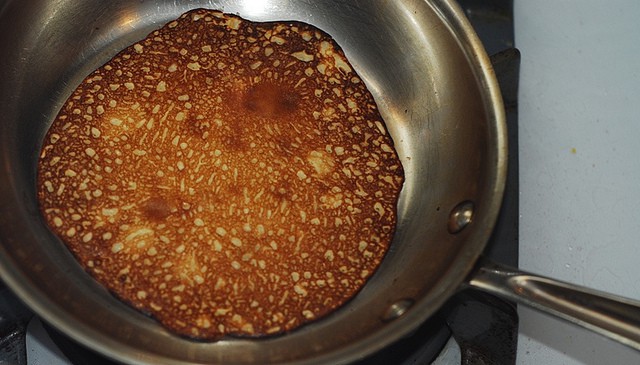
Crepe is cooking on the other side
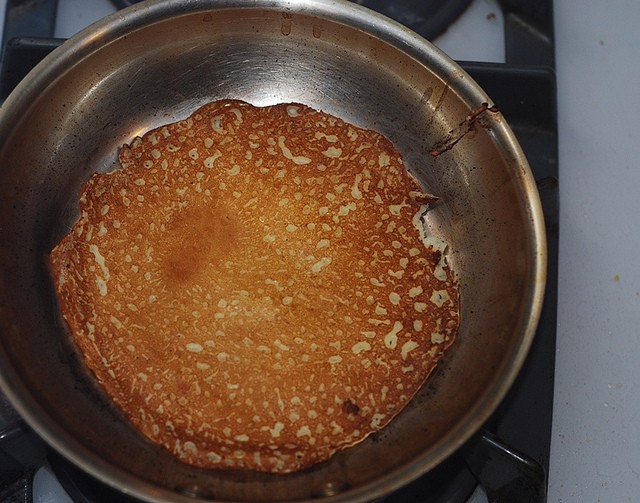
Pick up the sides of the crepe around its circumference to check for doneness
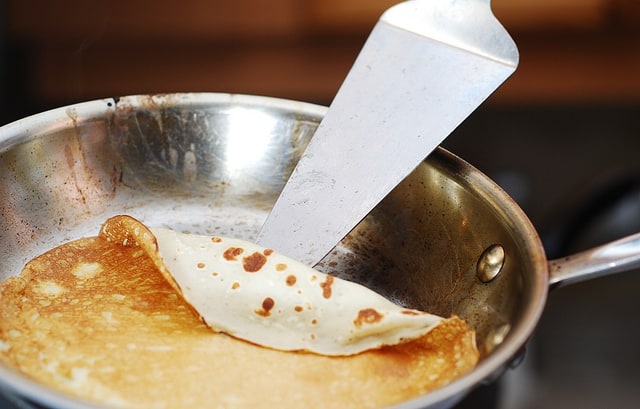
Pick up the whole crepe and transfer it onto the plate
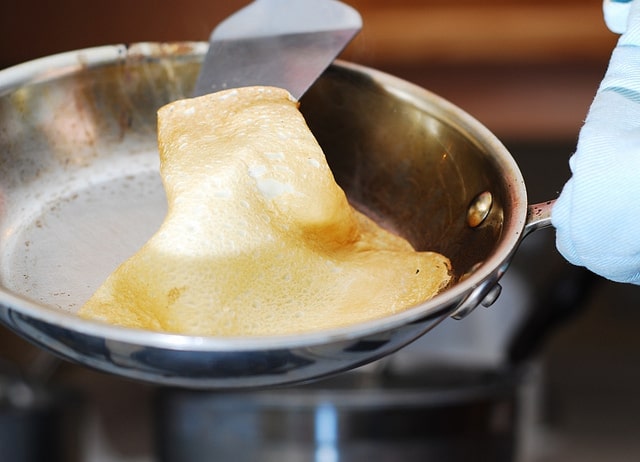
Enjoy the crepes! So, yes, making crepes in a stainless steel skillet is definitely possible! I've been doing it for years. It just takes practice. Of course, if you're new to making crepes, it's probably easier to stick to non-stick skillets. 🙂 I really hope you find this easy recipe and my instructions for how to make crepes useful!
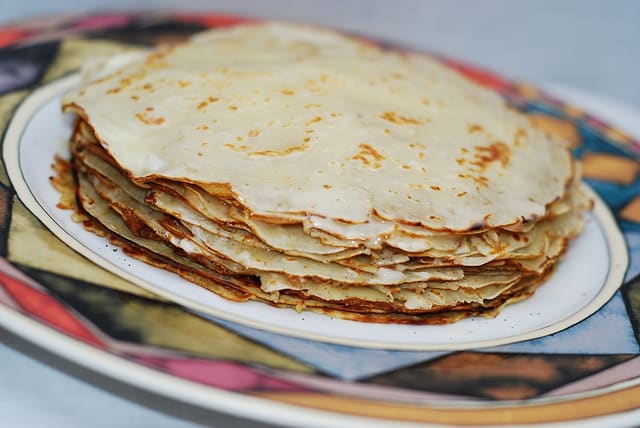
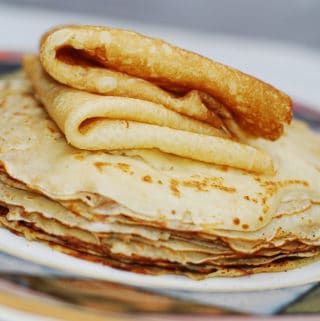
How to make crepes in a regular skillet
Ingredients
- 2 cups milk
- 1 ⅓ cup flour
- 1 egg
- 1 tablespoon vegetable oil
- ½ teaspoon baking powder
- 2 tablespoons sugar
Instructions
- Mix all the ingredients for crepe batter in a large bowl and whisk the mixture until lumps dissolve.
- Heat frying pan until very hot (on high heat on stove top), spray it with oil spray and, using a soup ladle, pour small amount of batter into the frying pan as you roll the pan from side to side just enough to cover the bottom of the pan evenly with a thin layer of crepe batter. Depending on the size of your soup ladle, you could use a whole ladle-ful, or less. It also depends on the diameter of your skillet. The key is to cover the bottom of the pan with just a slightly thick layer of batter, don’t coat it too thickly, do it slowly.
- Let this thin layer of crepe batter cook for 1, 2 or 3 minutes, depending on your pan. The subsequent crepes will require much less time to cook than the first crepe, as the pan heats up even more with each crepe.
- After cooking the crepe batter on one side for 1 to 3 minutes, flip the crepe to the other side, using the metal spatula, and let it cook for another minute on the other side. This way, you cook each crepe 1-2 minutes on each side.
- To flip the crepe, use the metal spatula and pick up the sides of the crepe around its circumference, gradually reaching towards the center of the crepe from all sides, until the crepe separates from the pan.
- How to know when it’s time to flip the crepe? When you first pour the crepe batter, it will be wet in the frying pan but gradually bubbles will be forming and the crepe batter will start to get dry. When it’s all bubbles on top and no liquid crepe batter – it’s time to flip! You can see it on my photos above.
- Your subsequent crepes might require much less time to cook, and the more of them you have to make, the faster you will have to flip the crepes, because the frying pan will get more and more heated up. When you cook crepes, your stainless steel skillet is always on high heat. This will minimize sticking. If you use non-stick, you can keep it on medium heat.
- As each crepe gets done, transfer it to the plate and add each new crepe on top of previous crepe in the stack. Sometimes I like to brush each crepe with softened butter and then top it with the next one. It tastes really good, and also helps crepes not stick to one another.
Nutrition
Nutrition Disclaimer:
The nutritional information on this website is only an estimate and is provided for convenience and as a courtesy only. The accuracy of the nutritional information for any recipe on this site is not guaranteed. It should not be used as a substitute for a professional nutritionist’s advice.

Tried these today. They were very easy and taste great. Earlier in the week I had made a blueberry sauce out of some berries I frozen back in may. I poured the sauce over the crepes. Perfect match. My husband could not stop eating them.
Thanks for the recipe.
Making a homemade blueberry sauce and serving them with these crepes have been a long-time dream of mine. Want to make it and post the results too, on this site!
Can I use water instead of milk?
I haven't tried them with water. I suppose it should work, even though the flavor will be a little bit different.
Hi Julia,
I made the crepes this morning it was super simple and absolutely delicious! My boyfriend the chef had no complaints! Thanks for sharing!
Tien, thank you for stopping by! I am so happy you enjoyed these crepes! 🙂
Easy yet-very delicious tried it at work and they all love them,, the kids I mean. Thank you so much for sharing your recipes.
Thank you for your kind words! So glad everybody around you liked these crepes! 🙂
These were so easy! I felt like a domestic goddess this morning. Worked like a charm in my nonstick skillet on med/high heat. I used a mini spatula to make sure the edges were loose before flipping the whole thing. They turned out thin and chewy with slightly crisp edges. Lovely. And the stack of them looks so pretty. I hope they freeze well - as delish as they are, my husband and I should probably not consume the whole stack in one sitting!
Hi Julie! So glad you liked the recipe! I also use spatula to make sure the edges are loose before flipping the crepes. These freeze beautifully, by the way, when tightly wrapped! 🙂
Julia, these sound great! How many crepes does it make?
This makes 12 crepes.
Great recipe and terrific thread of comments, particularly the tips and variations. Thanks for sharing, Julia!
Hi
Here some "tricks" from the danish kitchen..... Use half milk and half beer, vanilia, 2-3 tablespoons of yoghurt (can be plain, strawberry and/or vanilia). Fry them in pork fat.... Leftover from when you fry bacon. Soooo good. Eat them with sugar, jam, icecream or best of all..... Nutella topped with sliced bananas and coconut.
Enjoy
Jannie, this sounds so interesting - I got to try these! Do these come out thin like crepes or thick like pancakes?
Thanks I will be trying this tomorrow with confidence
Thanks for stopping by, Crystal! Let me know how they turn out.
I, also, make my crepes this way. I only have stainless pans...all-clad. I find if I wait until the very last moment, right before I put in the batter, to spray my pan, the pan is very easy to clean up. i.e. There is no sticky, gummy, pain in the neck spray gunk left on my pan. If your pan is heated up properly, then you add your oil, it will function like a non stick pan every time. I, too, make crepes weekly. I am going to try out this recipe next. Another helpful hint I discovered: if you whisk the milk and flour smooth before adding the eggs you won't have lumps at all. If you add the eggs at the same time, I find it takes more work to get it smooth
I too use All-Clad - the pan on the photos is All-Clad stainless steel pan. 🙂 One of the best, if not the best stainless steel pan out there. I've used the same set of All-Clad pots and pans and skillets for almost 10 years now. I also add oil spray only after the pan is very hot, right before I am ready to add the first ladle of crepe batter. Interesting tip about whisking the milk and flour first before adding eggs - have to try that. I also discovered that if I let the batter sit on the counter for 15-20 minutes and then whisk it again - it is super smooth and more of room temperature which results in better and easier-to-make crepes. 🙂
Made these crepes today, they are the BEST crepe recipe I've ever used!! Thank you so much, I will be making these again and again!
Hope, thank you for stopping by and leaving such a nice comment! 🙂 I am glad the crepes turned out well for you! I am making these again and again myself, too! 🙂 They are addicting!
I have loved crepes since I was a kid. Now my kids love them. I have been making crepes for years. I use 1 cup of flour, 1 cup of milk and 1 egg. no oil , BP, or sugar.
I triple it when I make it, my boys can eat at least 8 each. Looks like I use the same pan as you do. I use a pat of butter for the first one to get it going, then with each one just a tiny bit of butter. medium low heat. perfect crepes every time.
Hi Beth! Thanks for stopping by! 🙂 Interesting - I need to try mine without oil. I did make mine without baking powder too, I think the baking powder makes these little holes in crepes. I once accidentally used baking soda - the holes were huge, and the crepes looked super cute, but I thought I could taste the baking soda because I put at least 1/2 teaspoon of it in the crepe batter. About using oil/butter to grease the pan just once - I do the same - I usually just spray the very hot pan with non-stick spray once for the first crepe, and then the pan gets just hot enough to handle the rest of the crepes without using non-stick spray or butter.
Can I add Vanilla extract to give it a different flavor or would that mess up the recipe? Thank you.
Veronica, adding vanilla will not mess up the recipe, it will improve it! 🙂 In fact, I even have vanilla crepes recipe posted - here. Vanilla crepes are very tasty and very popular! 🙂