This is my time tested recipe for how to make crepes in a regular skillet, from scratch, at home. Step-by-step photos and instructions on everything about crepes: how to make crepe batter, how to flip crepes, how to make sure they don't stick to the pan, etc. Easy crepe recipe for French-style crepes!
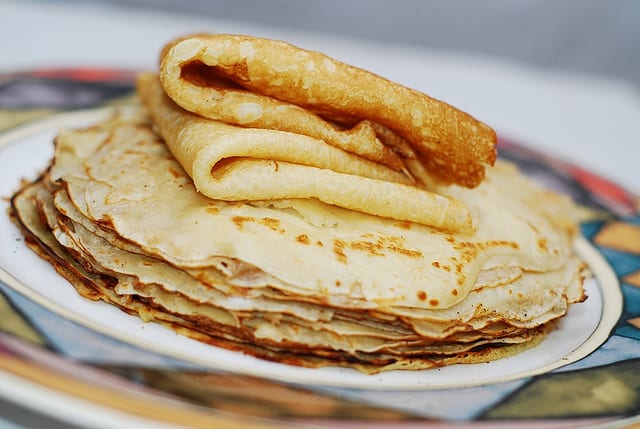
Because I make the crepes so often at home, I became somewhat of an expert in my family on how to make crepes, and mind you, being an expert in crepes does not amount to many privileges here, except for the privilege of making lots of crepe batter and practicing flipping them (the crepes) on a frying pan. I literally could flip them with my eyes closed. The easy crepe recipe I have below is for classic French style crepes: thin, slightly sweet, perfect for all kinds of delicious crepe fillings!
Crepes and I go back together long ways. You see, I grew up eating crepes on a weekly basis: my mom would usually cook them during the weekend, and my sister and I would eat them for breakfast, almost always with home-made sour cherry preserves. The sour cherry preserves were prepared by our parents during summer, with cherries from huge sour cherry trees in our garden. My sister and I would pit the cherries.
And, yes, the crepe batter recipe and the process of making crepes are so easy. In fact, the only "hard" part is using the right frying pan and a little bit of practice to flip the crepes. If you never made crepes, I highly recommend using non-stick pan, which will virtually guarantee that crepes won't stick to the pan. I personally like to use stainless steel skillet, as it results in a much better crepe texture, but using stainless steel will require some practice (as far as how hot you need to get that pan to make sure crepes won't stick). With non-stick, it's easier.
The below crepe batter recipe and tutorial describe how to make crepe batter from scratch, without lumps, how to get just the right batter thickness. For crepes, the less thick the batter is, the better. If the batter is not thick enough, though, you will end up with crepes that will be very hard to flip to the other side - they will be too thin. So, it's a fine balance: just how thick the crepe batter should be. Below I provide precise measurements that I use for my easy crepe recipe that always result in amazing crepes that are slightly sweet, soft, easy to flip and easily moldable in various shapes (pockets, tubes, etc., more recipes to come!). One of my most favorite ways to serve crepes as a dessert is crepes with agave-ricotta cheese filling, topped with pears roasted in honey.
Ingredients you'll need for this easy crepe batter recipe:
2 cups milk
1 ⅓ cup flour
1 egg
1 tablespoon vegetable oil
½ teaspoon baking powder
2 tablespoons sugar
How to make crepes:
First, make the crepe batter:
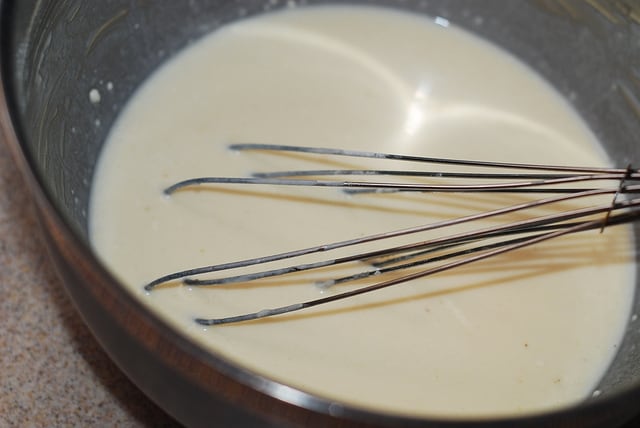
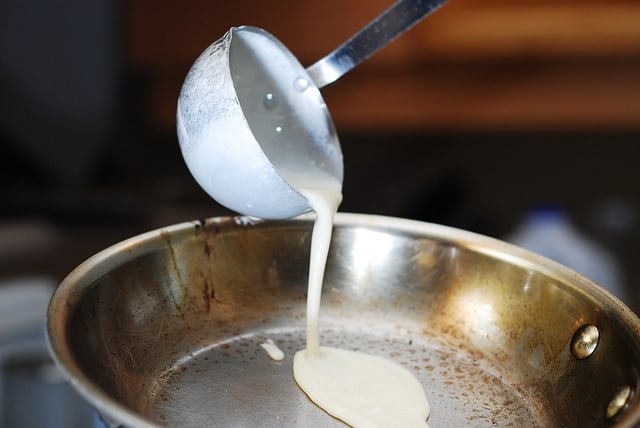
Pour crepe batter onto the heated and greased frying skillet (grease the skillet only once, for the first crepe)
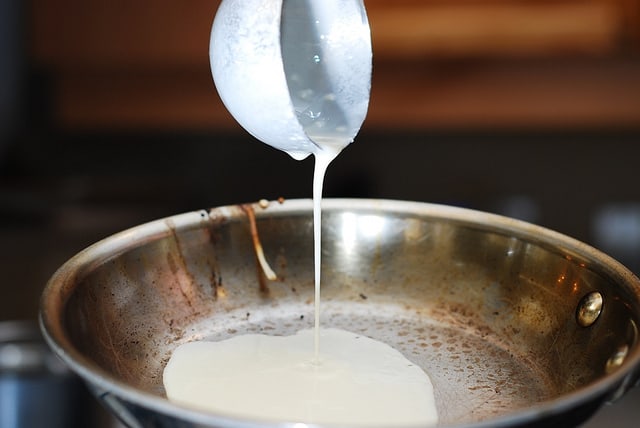
That's what it looks like when you pour the crepe batter onto the heated and greased stainless steel skillet
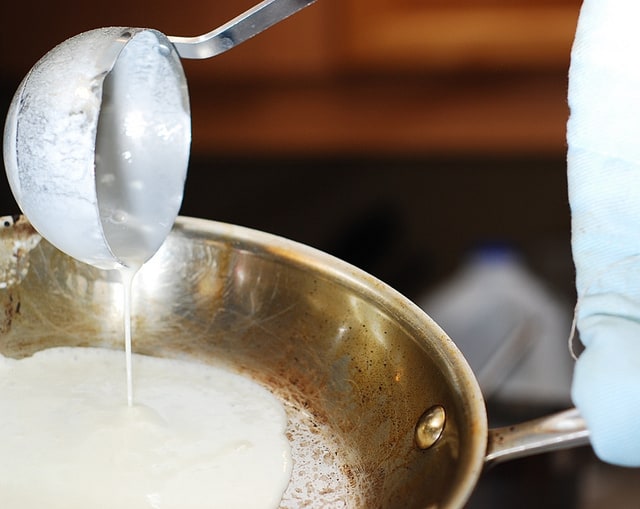
Cook a crepe on one side until the liquid crepe batter becomes more solid:
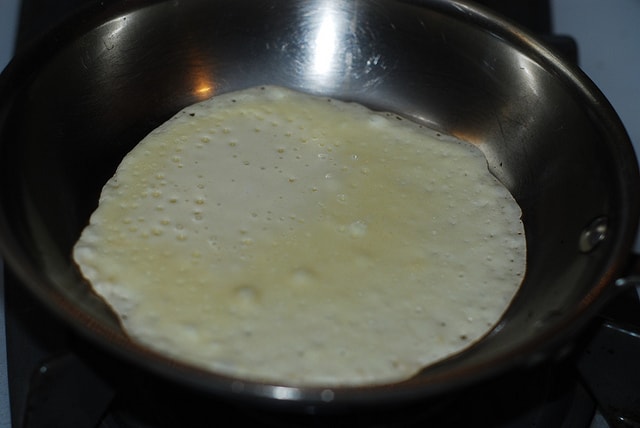
Here, you're cooking a crepe on one side until the crepe becomes more solid. Here is the crepe almost ready to be flipped over:
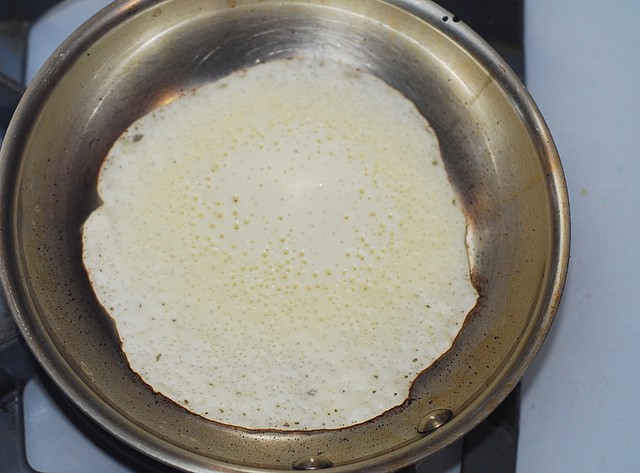
All liquid crepe batter is gone, now you have just a nice bubbled side of the crepe:
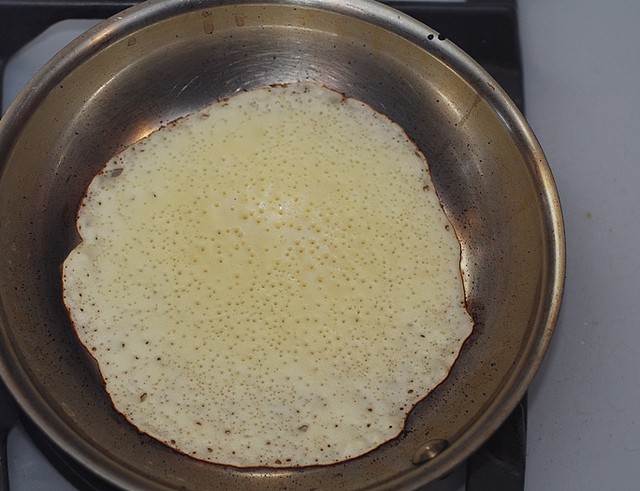
Now it's time to flip the crepe to the other side, using the metal spatula:
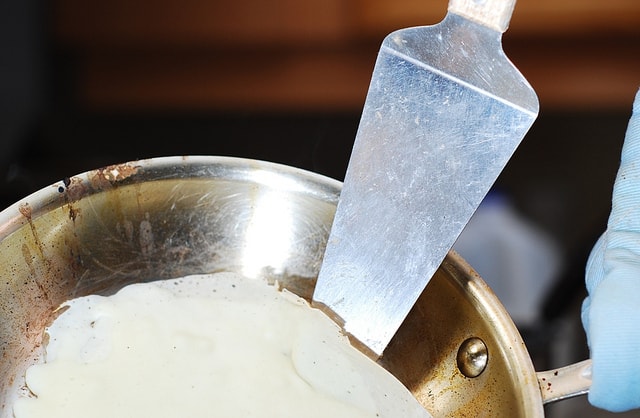
Gently pick up the crepe around its circumference, using the metal spatula:
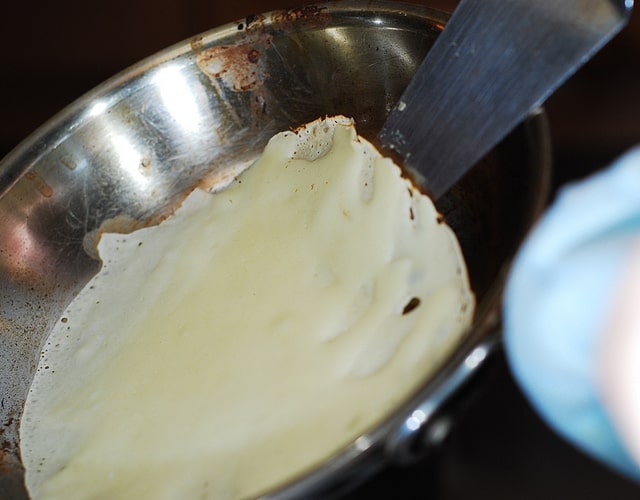
And ... flip it!
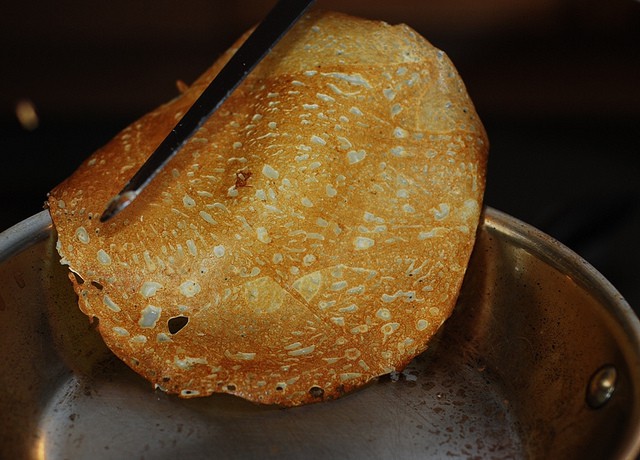
Crepe successfully flipped to the other side:
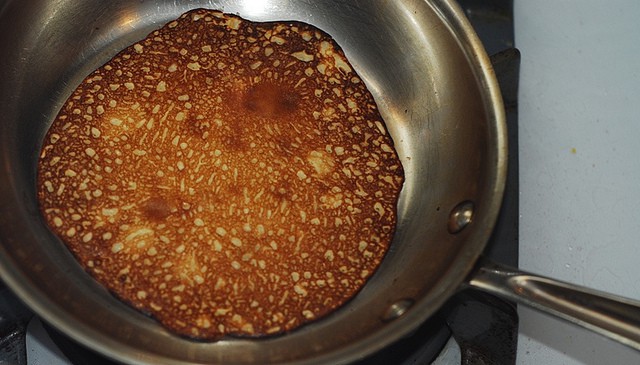
Crepe is cooking on the other side
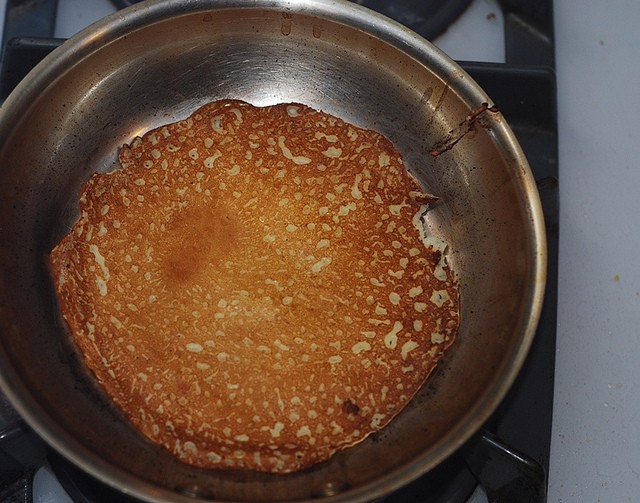
Pick up the sides of the crepe around its circumference to check for doneness
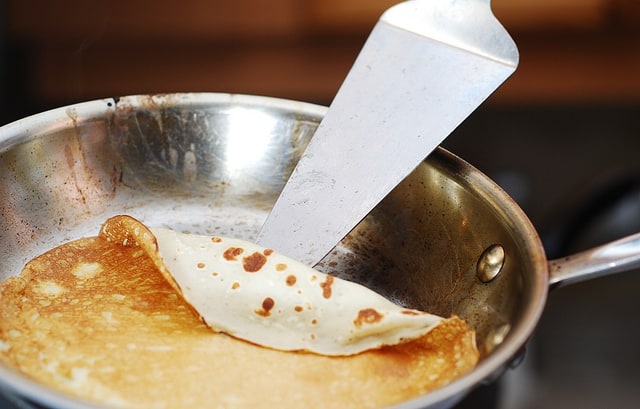
Pick up the whole crepe and transfer it onto the plate
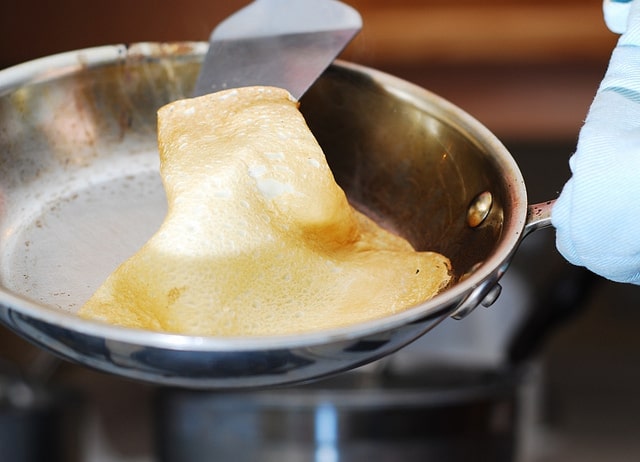
Enjoy the crepes! So, yes, making crepes in a stainless steel skillet is definitely possible! I've been doing it for years. It just takes practice. Of course, if you're new to making crepes, it's probably easier to stick to non-stick skillets. 🙂 I really hope you find this easy recipe and my instructions for how to make crepes useful!
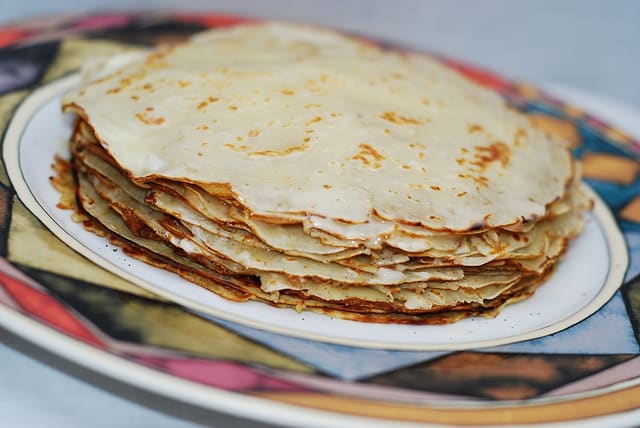
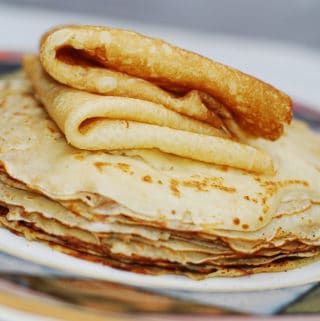
How to make crepes in a regular skillet
Ingredients
- 2 cups milk
- 1 ⅓ cup flour
- 1 egg
- 1 tablespoon vegetable oil
- ½ teaspoon baking powder
- 2 tablespoons sugar
Instructions
- Mix all the ingredients for crepe batter in a large bowl and whisk the mixture until lumps dissolve.
- Heat frying pan until very hot (on high heat on stove top), spray it with oil spray and, using a soup ladle, pour small amount of batter into the frying pan as you roll the pan from side to side just enough to cover the bottom of the pan evenly with a thin layer of crepe batter. Depending on the size of your soup ladle, you could use a whole ladle-ful, or less. It also depends on the diameter of your skillet. The key is to cover the bottom of the pan with just a slightly thick layer of batter, don’t coat it too thickly, do it slowly.
- Let this thin layer of crepe batter cook for 1, 2 or 3 minutes, depending on your pan. The subsequent crepes will require much less time to cook than the first crepe, as the pan heats up even more with each crepe.
- After cooking the crepe batter on one side for 1 to 3 minutes, flip the crepe to the other side, using the metal spatula, and let it cook for another minute on the other side. This way, you cook each crepe 1-2 minutes on each side.
- To flip the crepe, use the metal spatula and pick up the sides of the crepe around its circumference, gradually reaching towards the center of the crepe from all sides, until the crepe separates from the pan.
- How to know when it’s time to flip the crepe? When you first pour the crepe batter, it will be wet in the frying pan but gradually bubbles will be forming and the crepe batter will start to get dry. When it’s all bubbles on top and no liquid crepe batter – it’s time to flip! You can see it on my photos above.
- Your subsequent crepes might require much less time to cook, and the more of them you have to make, the faster you will have to flip the crepes, because the frying pan will get more and more heated up. When you cook crepes, your stainless steel skillet is always on high heat. This will minimize sticking. If you use non-stick, you can keep it on medium heat.
- As each crepe gets done, transfer it to the plate and add each new crepe on top of previous crepe in the stack. Sometimes I like to brush each crepe with softened butter and then top it with the next one. It tastes really good, and also helps crepes not stick to one another.
Nutrition
Nutrition Disclaimer:
The nutritional information on this website is only an estimate and is provided for convenience and as a courtesy only. The accuracy of the nutritional information for any recipe on this site is not guaranteed. It should not be used as a substitute for a professional nutritionist’s advice.

I would like to make seafood crepes. Do you have a favorite recipe to share?
Thank you
Dee, unfortunately, I don't. Not yet, at least. 🙂
Excellent instructions. Made crepes perfectly the first time using them. So easy and tasty! Thank you. I always loved getting Swedish Pancakes at IHOP, so now we can do this at home.
We got darker and lighter crepes, and all tasted delicious. We put butter on them and folded them as shown. We had warm cherries in cherry sauce, very yummy. Will use warmed jam next time and make the lingonberry butter too. We used our regular non stick pan having greased it with some coconut oil. Had a little coconut oil on paper towel to add a little additional greasing of add'l crepes, if needed.
Thank you for sharing the feedback about using a non-stick pan and coconut oil - helpful to me and other readers! 🙂 I love serving crepes with cherries or with jam, too - so yummy!
Lauree, thank you for such a wonderful comment - glad you found this recipe and that the crepes turned out well! 🙂
Wondering if the sugar can just be left out? We made these as savory crepes, with Swiss cheese, spinach, and pesto.
Yes, you can totally omit the sugar without any loss of flavor. Season it with salt to taste, if you like. Love that you served these with pesto - sounds so good! 🙂
That crepe is burned, period. IMO, baking powder is also not needed; sugar only for dessert crepes, not savory.
I made it it was awesome thanks for the tips
You're welcome! Glad you found the recipe helpful! 🙂
Crepes look way too brown. They should just barely cook on each side. Personally I don’t use sugar in savory crepes. Just my preference. Thanks for your recipes.
Kay, thank you for the feedback! Yes, the crepes can be lighter in color - it depends on how long you cook them.
Love this recipe! Such helpful tips - thank you!
You're welcome! Enjoy!
With the stainless steel pan, do you keep the gas burner on high using a restaurant range ? High is 24,000 btu.
I am not familiar with these terms. I have a regular stove.
Delicious! Made them with one of your creamy fillings, ricotta and pears. So good! Thanks!
So glad you liked them! The ricotta cheese filling is always so delicious!
Very good recipe! Husband and kids ate all of them!
Thanks for posting!
I am so happy to hear it!