
This post may contain affiliate links. Read my disclosure policy.
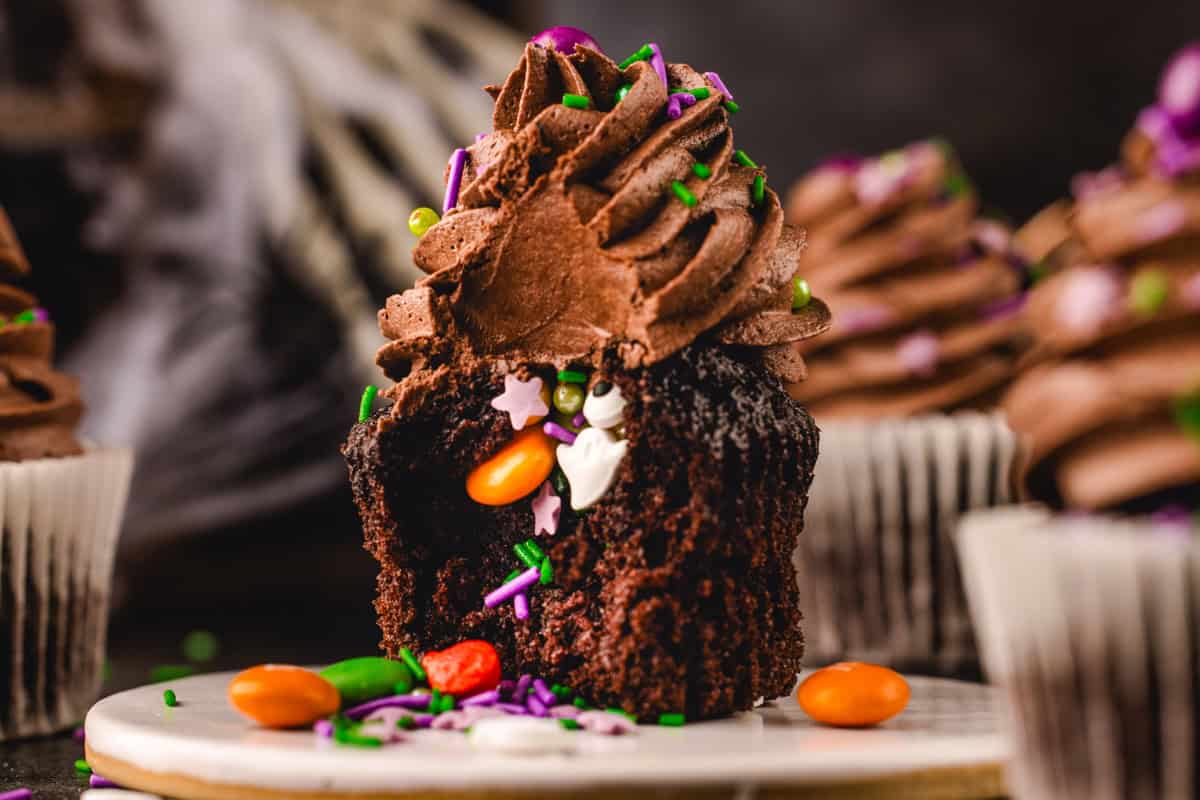
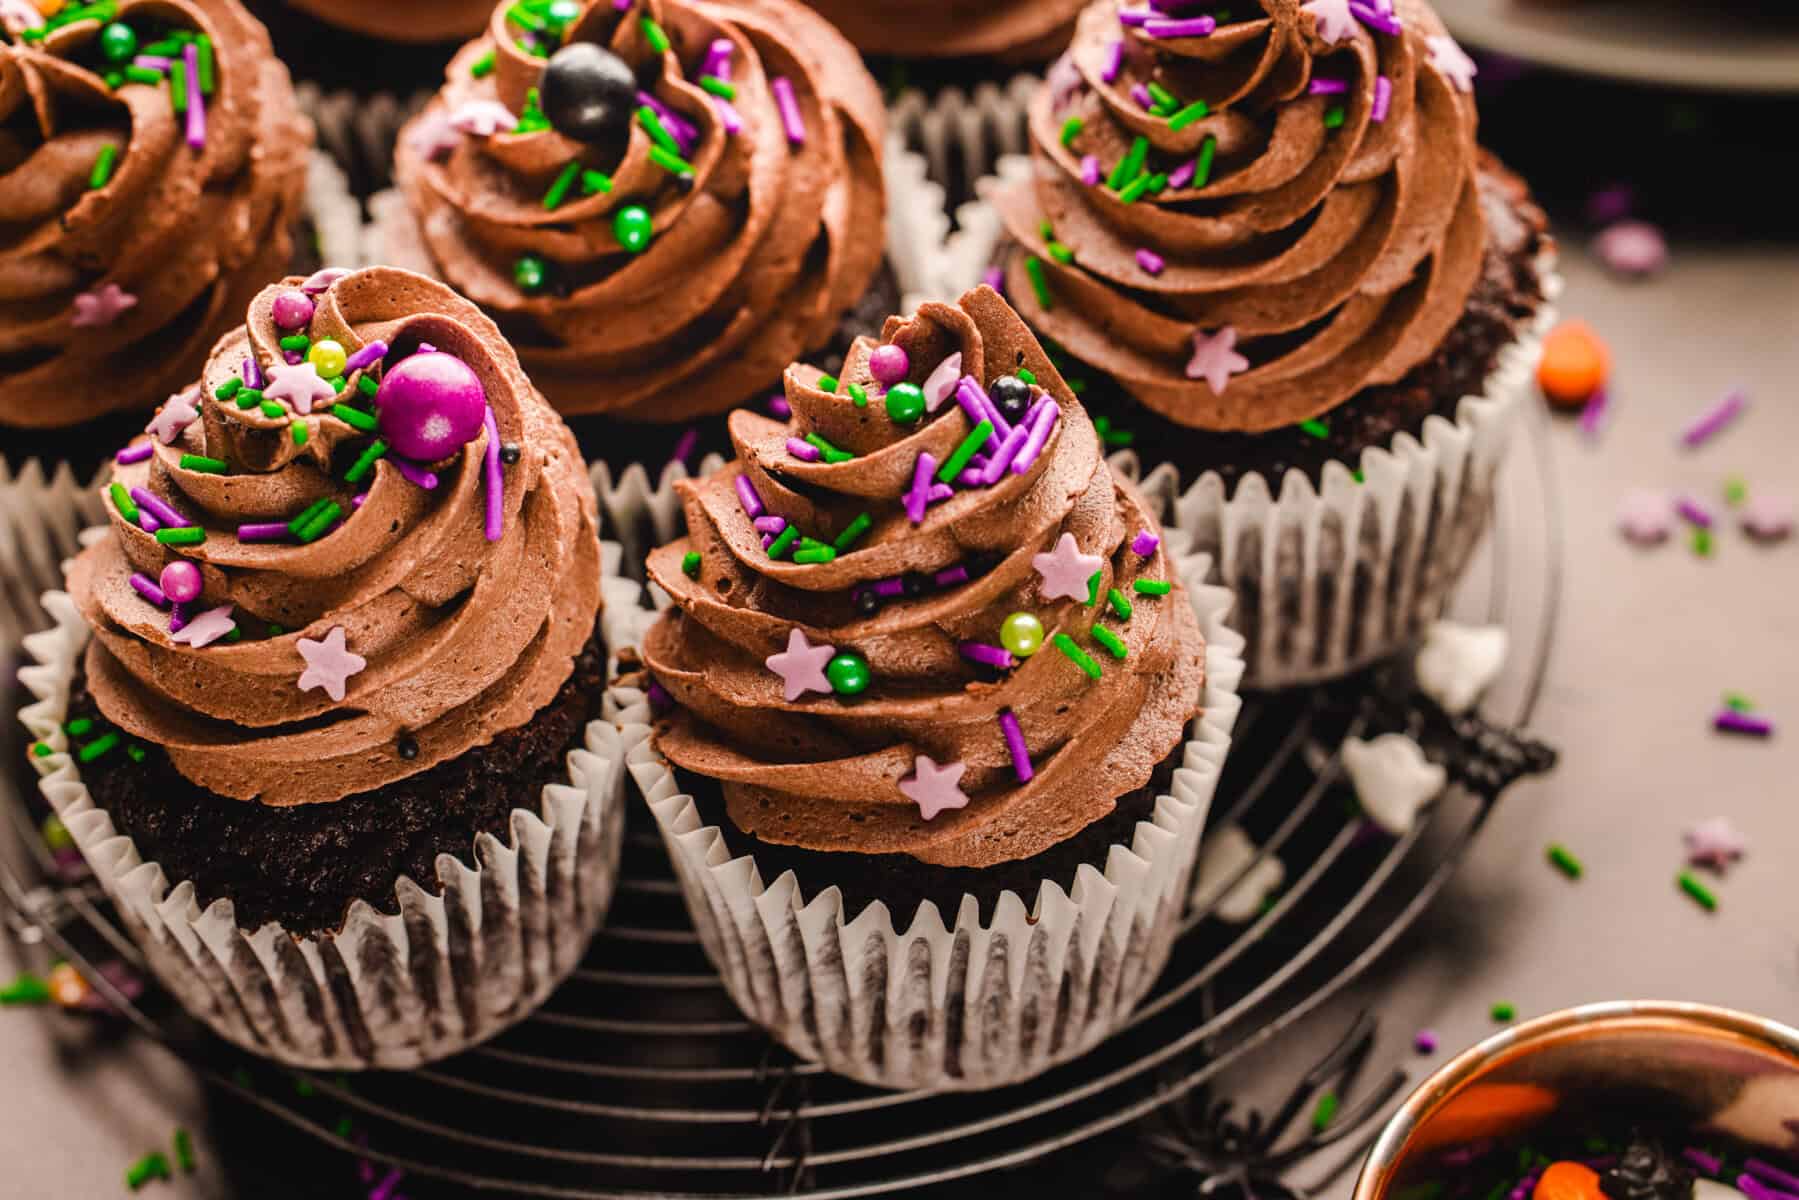
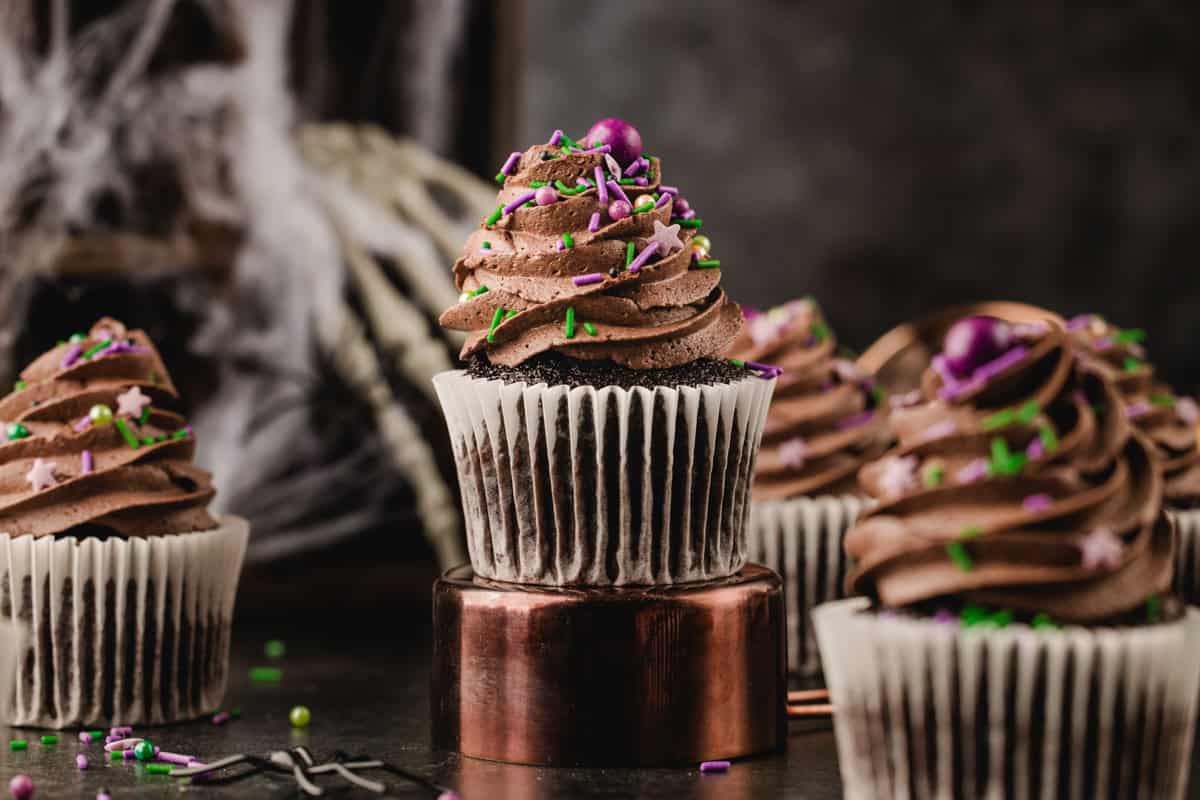
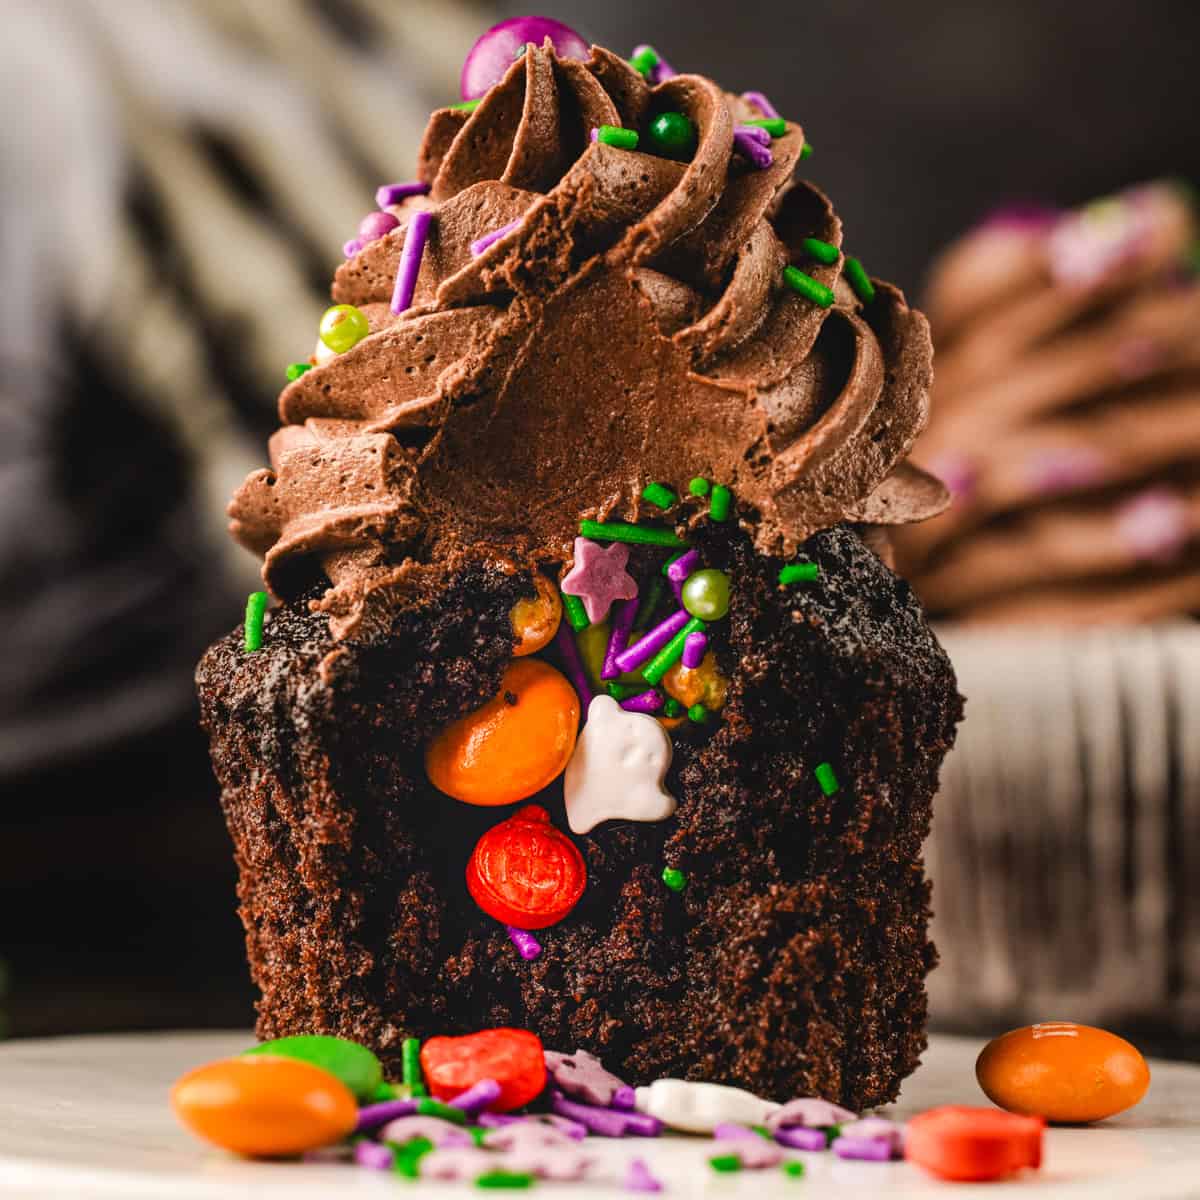
These Halloween cupcakes are soft, moist chocolate cupcakes with a hidden pocket of Halloween M&M's and sprinkles tucked inside, topped with a tall swirl of fluffy chocolate buttercream. Bite in, and the candy spills right out.
The Best Halloween Cupcakes for Parties (with a Candy Surprise!)
Halloween is my favorite excuse to play with candy in the kitchen. These cupcakes are loud, colorful, and a little silly, in the best way. They are an easy, fun Halloween party dessert for kids and grown-ups alike.
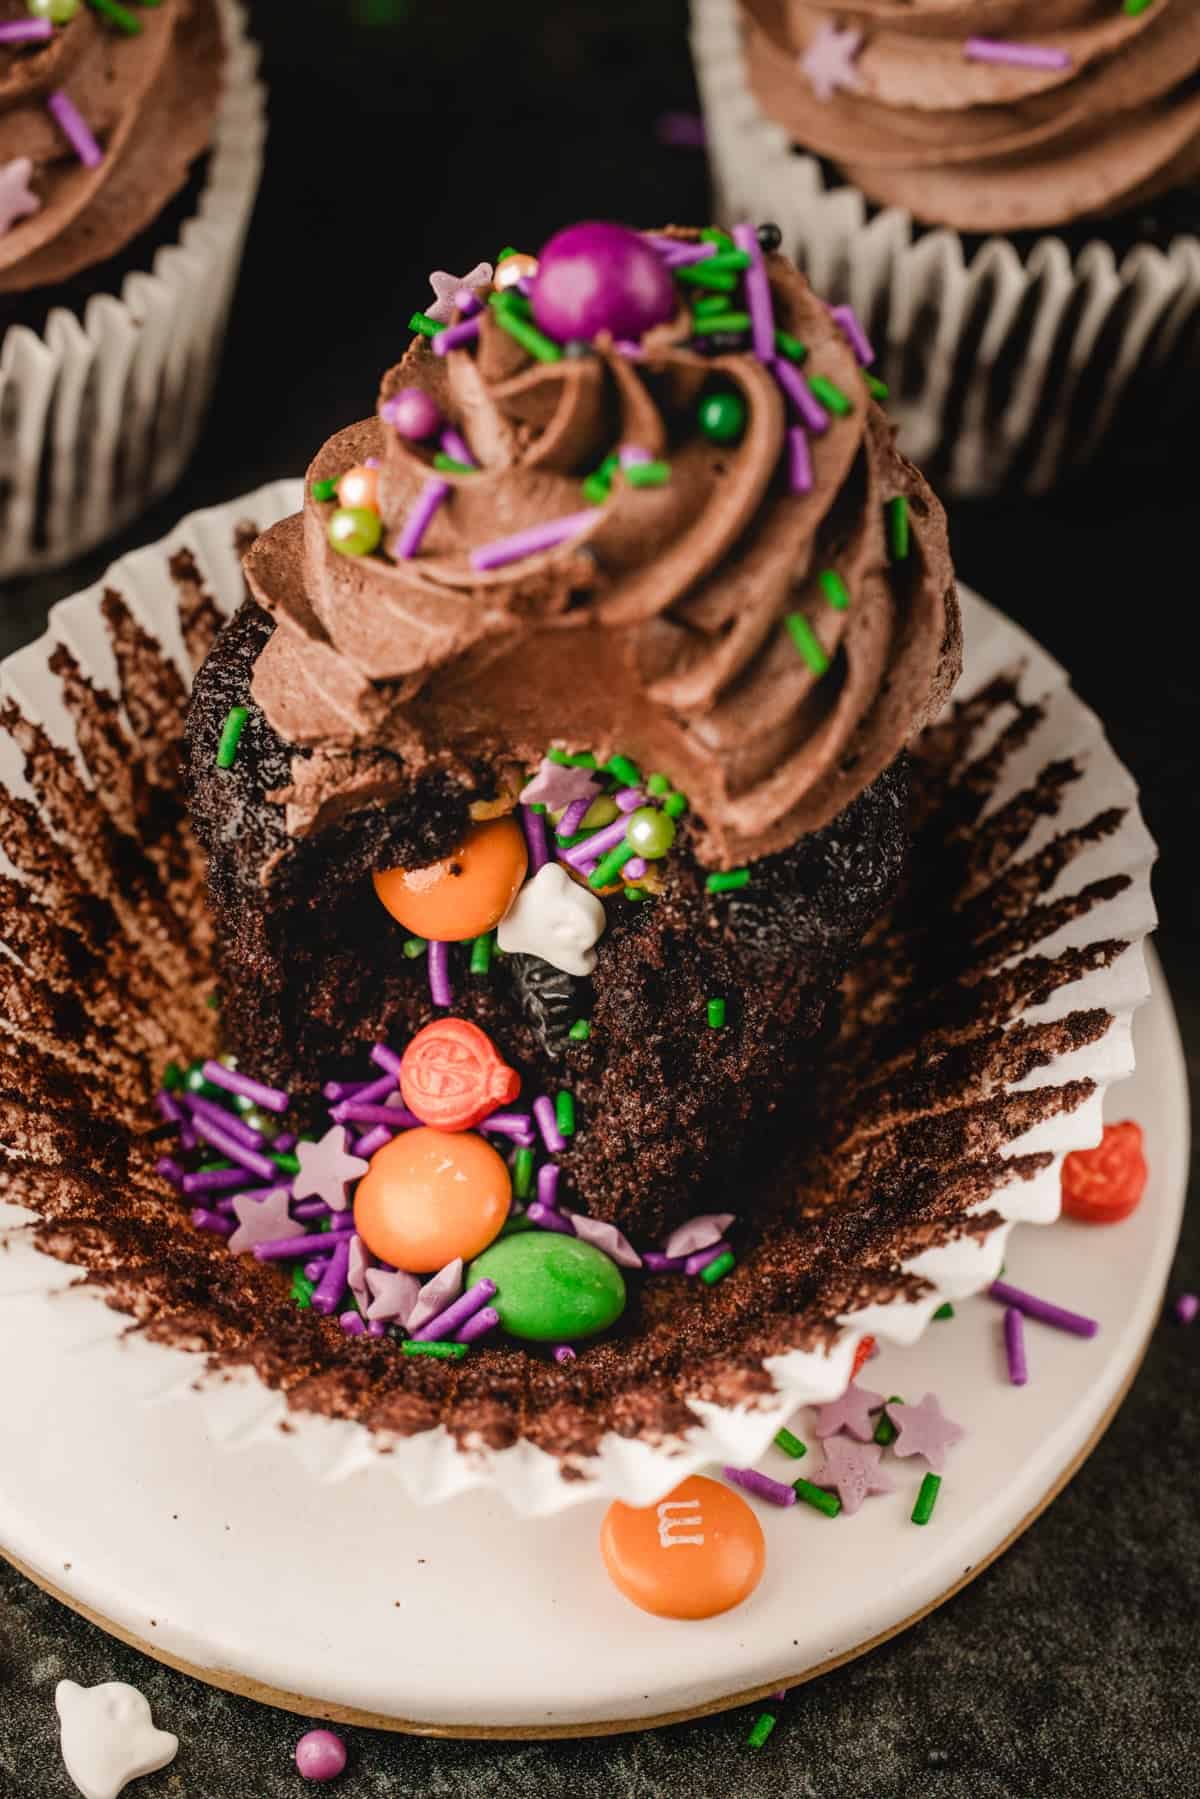
I call them piñata cupcakes because of what happens when you cut one open. I bake a batch of chocolate cupcakes, cut a small hole in the center of each one, and pack it with Halloween M&M's and sprinkles. I put a little cake cap back on top, and the buttercream hides everything. Nobody knows the candy is there until the first bite. Take a bite, and the candy spills right out.
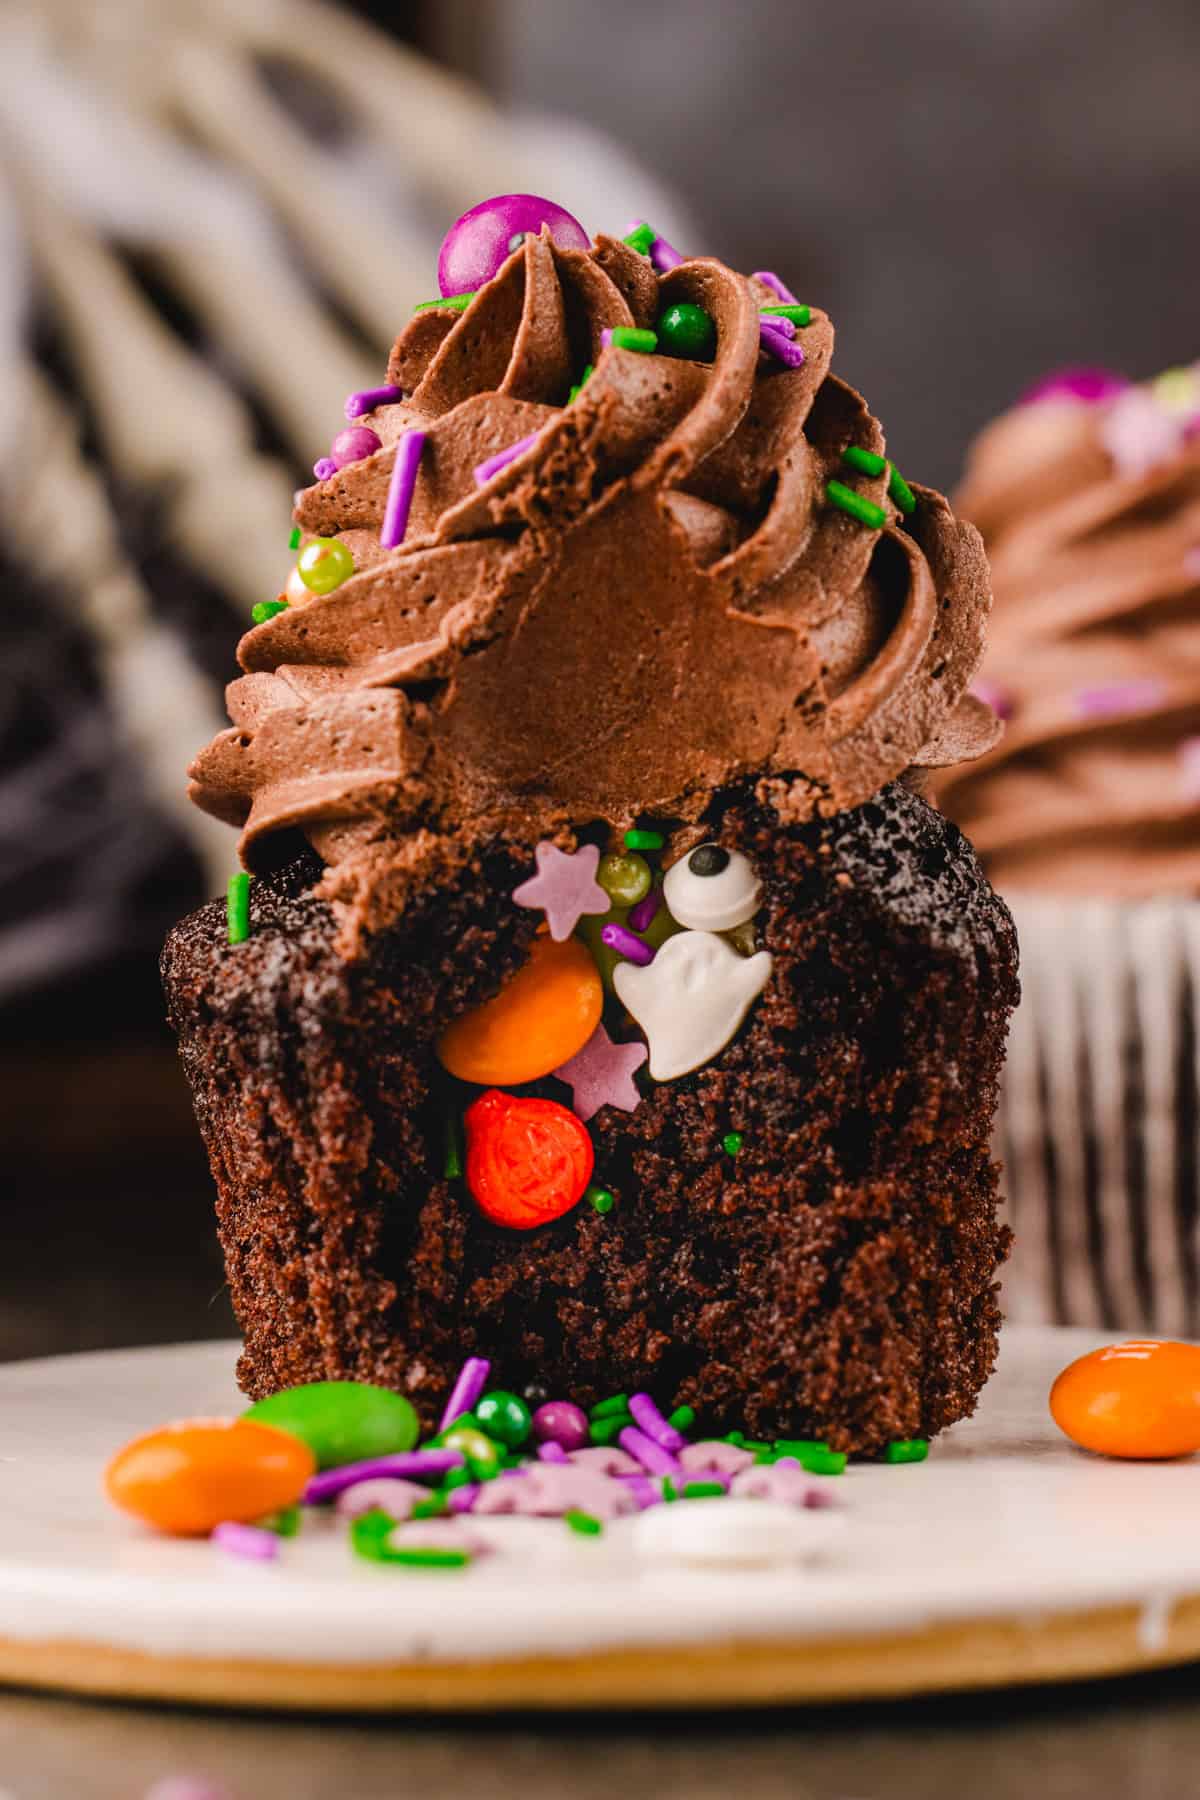
The chocolate cupcake itself is tender and rich. I use oil, sour cream, and an extra egg yolk, so the crumb stays moist for days. Dutch-process cocoa gives it a deep, dark chocolate flavor. If you love a good chocolate cake, you'll also enjoy my glazed chocolate loaf cake and my three-layer German chocolate cake with coconut-pecan filling.
These Halloween cupcakes are perfect for Halloween parties, class treats, and trick-or-treat night. Set them out next to a pan of my Halloween cookies, a plate of classic fantasy fudge, or even bake a Halloween Ghost Cake, and you have a full Halloween dessert table.
Key Ingredients & Why They Matter
- Room-temperature ingredients make a difference here. Take the egg, sour cream, and milk out of the refrigerator ahead of time if you can. They will combine more easily and give you a smoother batter.
- Extra egg yolk adds richness and helps give the cupcakes a tender, moist crumb.
- Dutch-process cocoa gives these cupcakes a deeper chocolate color and a smoother, less acidic chocolate flavor than natural cocoa.
- Flour (measured correctly): When measuring flour, spoon it into the measuring cup and level the top. Don't scoop directly from the bag. Too much flour is one of the easiest ways to end up with dry cupcakes.
- I encourage you to read my tips below to get these Halloween cupcakes right the first time, or you can jump to the recipe card (with precise ingredient amounts and step-by-step directions) and come back to the tips later!
Which Candy to Use for the Piñata Filling?
I used Halloween M&M's mixed with Halloween sprinkles. They're small, colorful, and they don't melt into the cake. The candy shell keeps them crunchy, which is part of the fun.
Other great options are mini M&M's, Reese's Pieces, sixlets, or small jelly beans. Skip anything sticky or large, like gummy candy or full-size chocolate pieces. They won't fit well in the center and can make the cupcakes soggy.
One tip I learned while testing: I mix the candy and sprinkles together in a small bowl first. This makes it so much easier to spoon the filling into each cupcake, and every cupcake gets a little of both.
Decorating Tips
- Pick bright Halloween colors: Halloween candy colors like orange, green, purple, and white stand out especially well against the dark chocolate frosting.
- Halloween M&M's and sprinkles. I mixed orange, purple, and black candies with Halloween sprinkles for the filling. Reese's Pieces, mini chocolate chips, or chopped candy bars from your trick-or-treat stash all work.
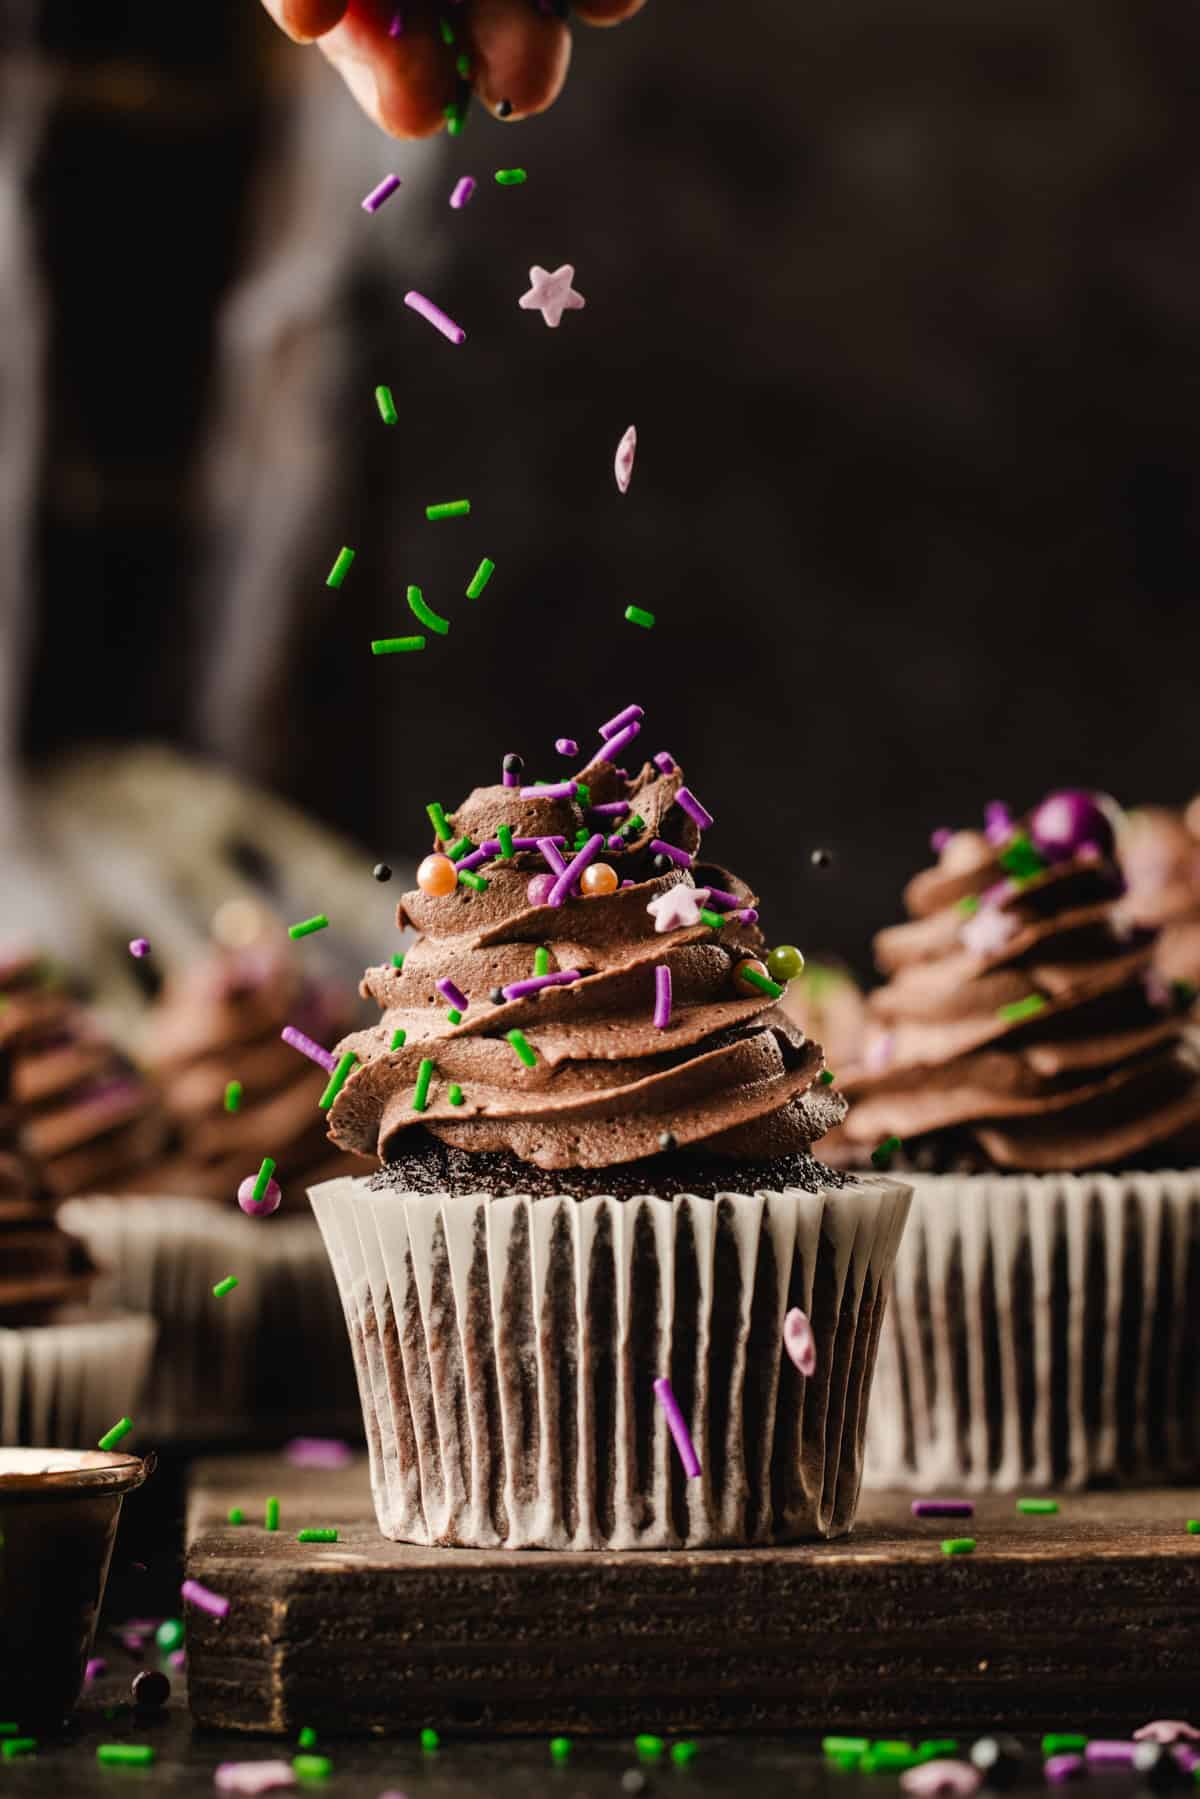
- Best Toppings for Halloween Cupcakes. I like to top these with extra Halloween M&M's, a generous pinch of Halloween sprinkles, and a few candy eyes. You can also use crushed Oreos (for "dirt"), candy corn, gummy worms, mini pretzels, or chocolate shavings. For a creepy look, add a drizzle of orange or green candy melts.
Tips for Mixing & Baking the Halloween Cupcakes
- Don't overmix the batter: The batter doesn't need a long mixing time. Once you add the wet ingredients to the dry ingredients, whisk only until the flour and cocoa have disappeared. If you keep mixing after this point, the cupcakes can turn out less tender.
- Divide the batter evenly: Try to divide the batter evenly between all 12 liners so the cupcakes bake at the same rate. I use an ice cream or cookie scoop, which makes this especially easy.
- Fill the liners two-thirds full. I use a large cookie scoop so every cupcake bakes evenly and finishes at the same time.
- Start checking early: Start checking the cupcakes at around 17 minutes. Chocolate cake can be hard to judge by looks alone. A toothpick should come out clean or with a few moist crumbs, but there shouldn't be any wet batter on it.
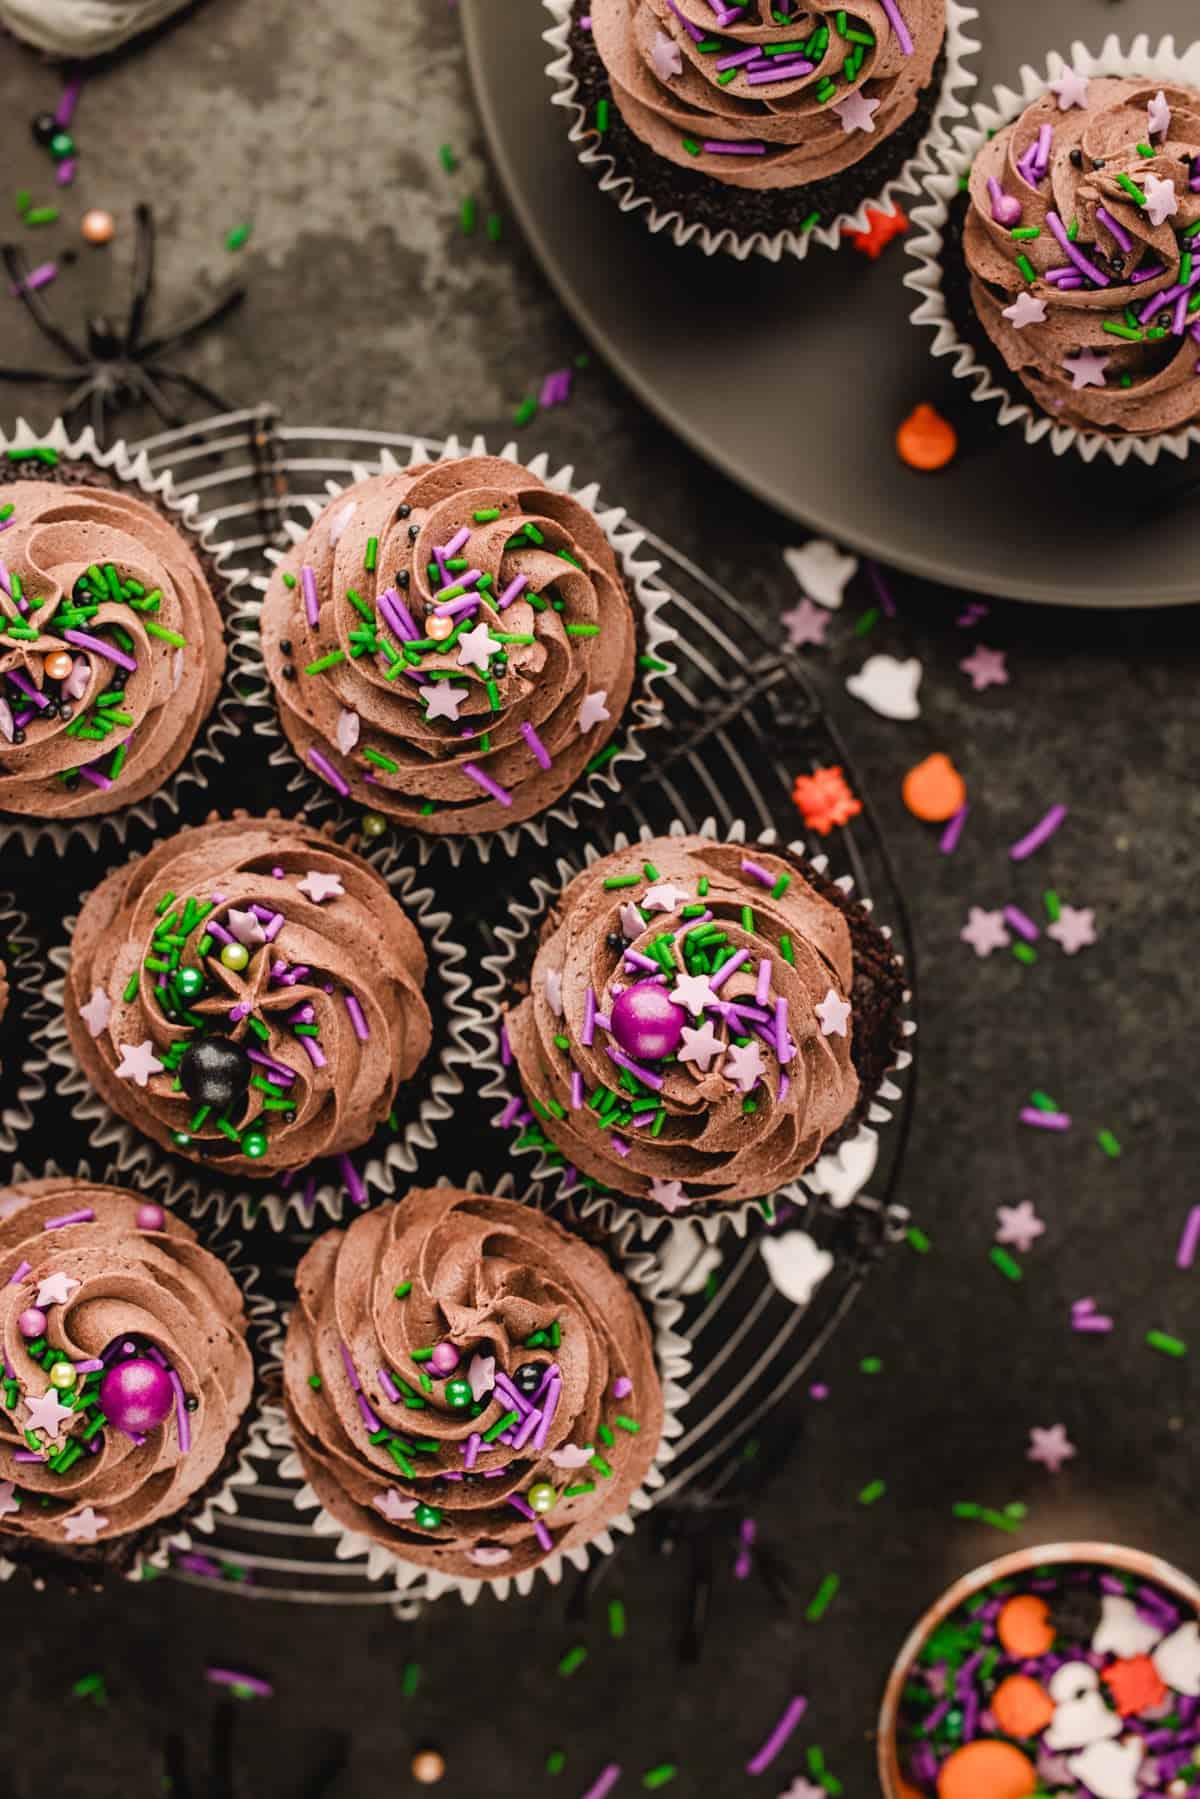
How to Core & Fill the Halloween Piñata Cupcakes
- Let them cool completely first: Do not core the cupcakes while they are still warm. The crumb is much more delicate before it has completely cooled, and it can tear when you remove the center.
- Use a large piping tip as a corer: A large piping tip makes a surprisingly good cupcake corer. Press the wide end into the middle of the cupcake, twist gently, and lift it out. You can also use a small knife to cut a neat circle from the center.
- Don't cut all the way to the bottom: Leave enough cake underneath to hold the candy filling securely inside the cupcake. Stop about ½ inch from the base. If you cut too deep, the candy will fall out the bottom.
- Choose the right candy: Small candy-coated chocolates work especially well for the piñata center. I recommend a mix of different Halloween colors for the best effect when you cut the cupcake open.
- Go heavy on candy, light on sprinkles: You can mix in Halloween sprinkles too, but use plenty of candy so there is something substantial inside the cupcake. Don't fill it with only sprinkles.
- Fill close to serving time. Some colored candies and sprinkles can bleed into the cake after a day or two. Filling the same day keeps the colors bright.
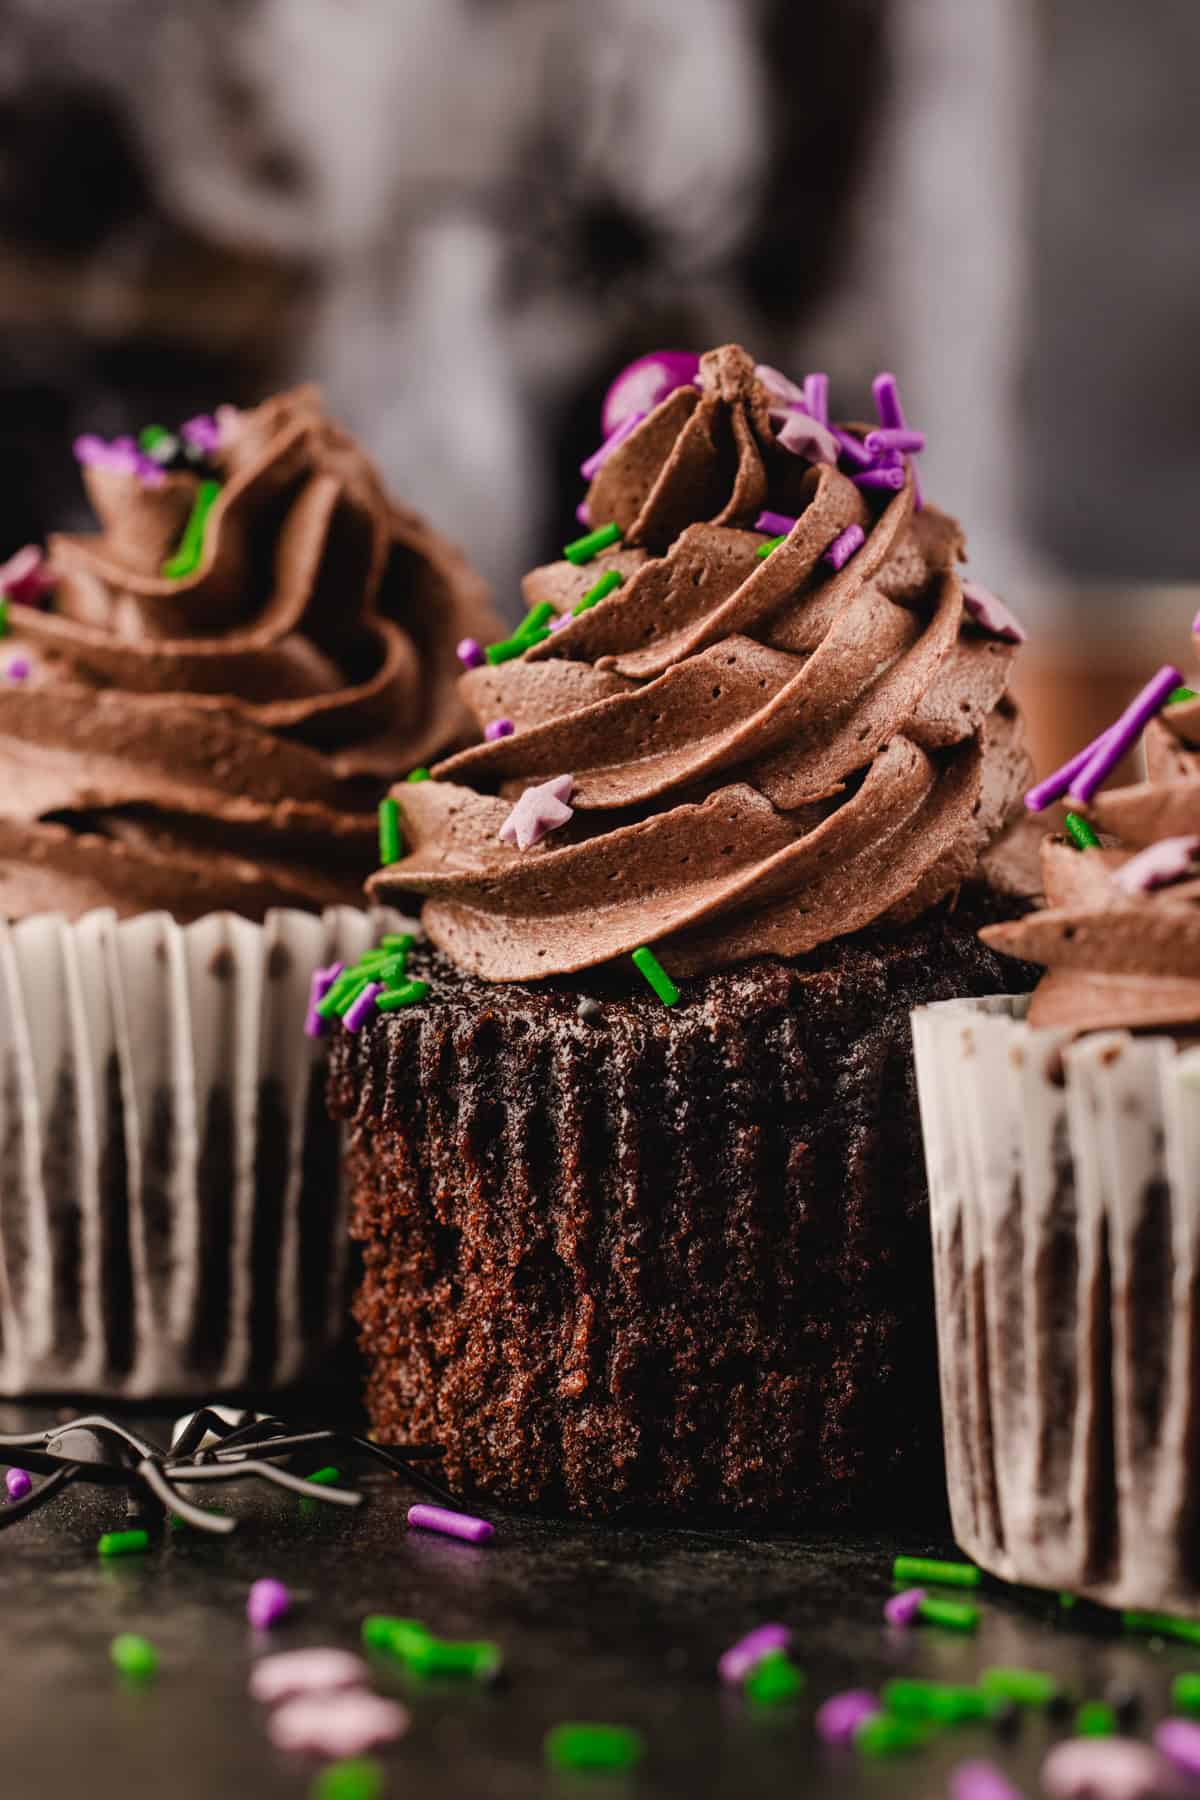
Tips for the Chocolate Buttercream
- Soften the butter (but not too much): The butter should be soft enough to beat easily, but it should not look greasy or partly melted. If your kitchen is warm, softened butter may need less time at room temperature than you expect.
- Sift the powdered sugar and cocoa: Sifting both the powdered sugar and cocoa is worth it for this frosting. Cocoa especially tends to form stubborn little lumps that are hard to get rid of once they're mixed into buttercream.
- Add the milk slowly: Add the milk a little at a time instead of pouring it all in at once. The exact amount you need depends on the cocoa, the temperature of the butter, and the humidity. You want the frosting soft enough to pipe easily but firm enough to hold a tall swirl.
- Fix the texture if needed: If the buttercream is too stiff, beat in another teaspoon or two of milk. If it gets too soft, add a little more sifted powdered sugar or chill it briefly before piping.
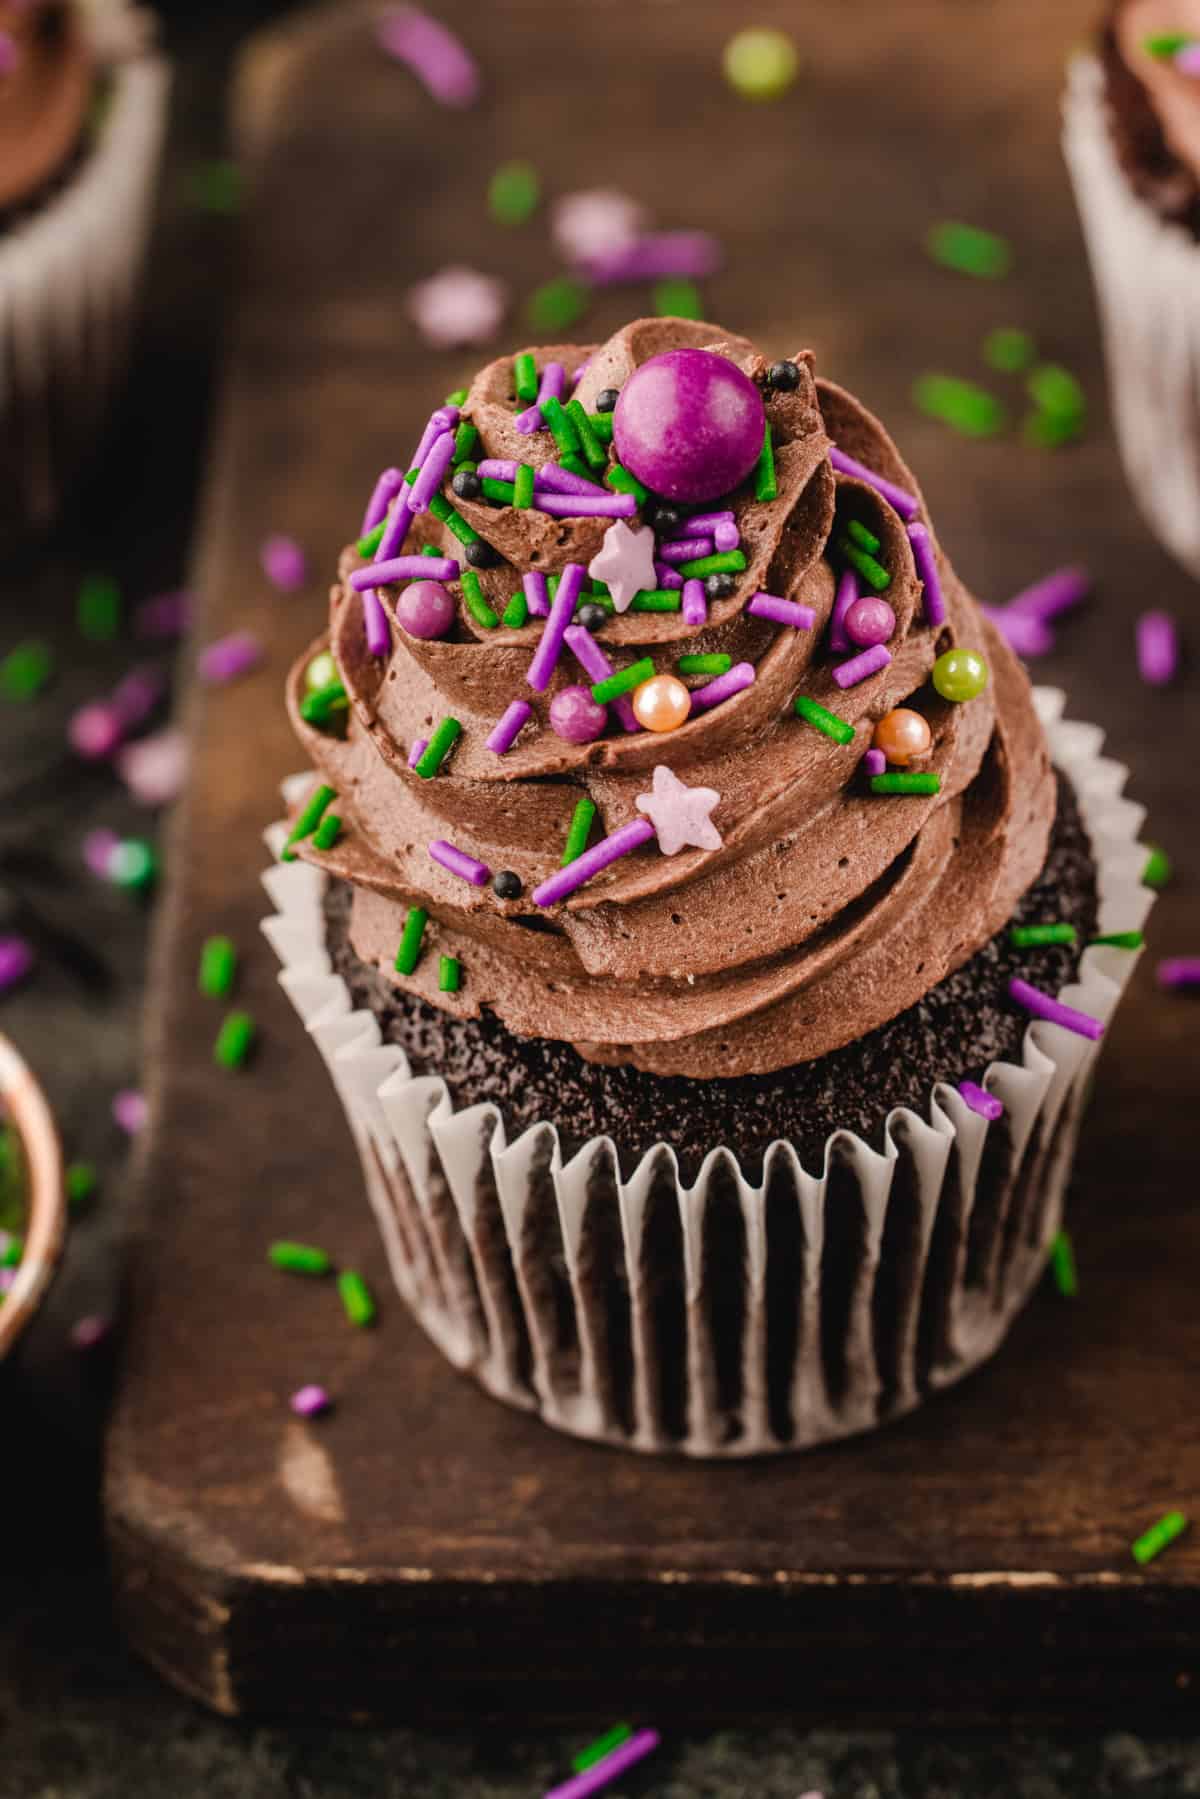
If you make my Halloween Cupcakes, have questions, or just want to say hi, I would love to hear from you in the comments below. Julia.🧡💜🖤
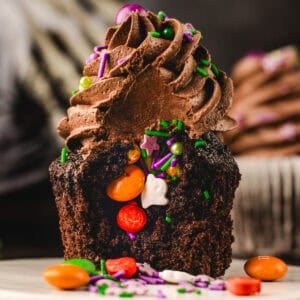
Halloween Piñata Cupcakes (Surprise Inside!)
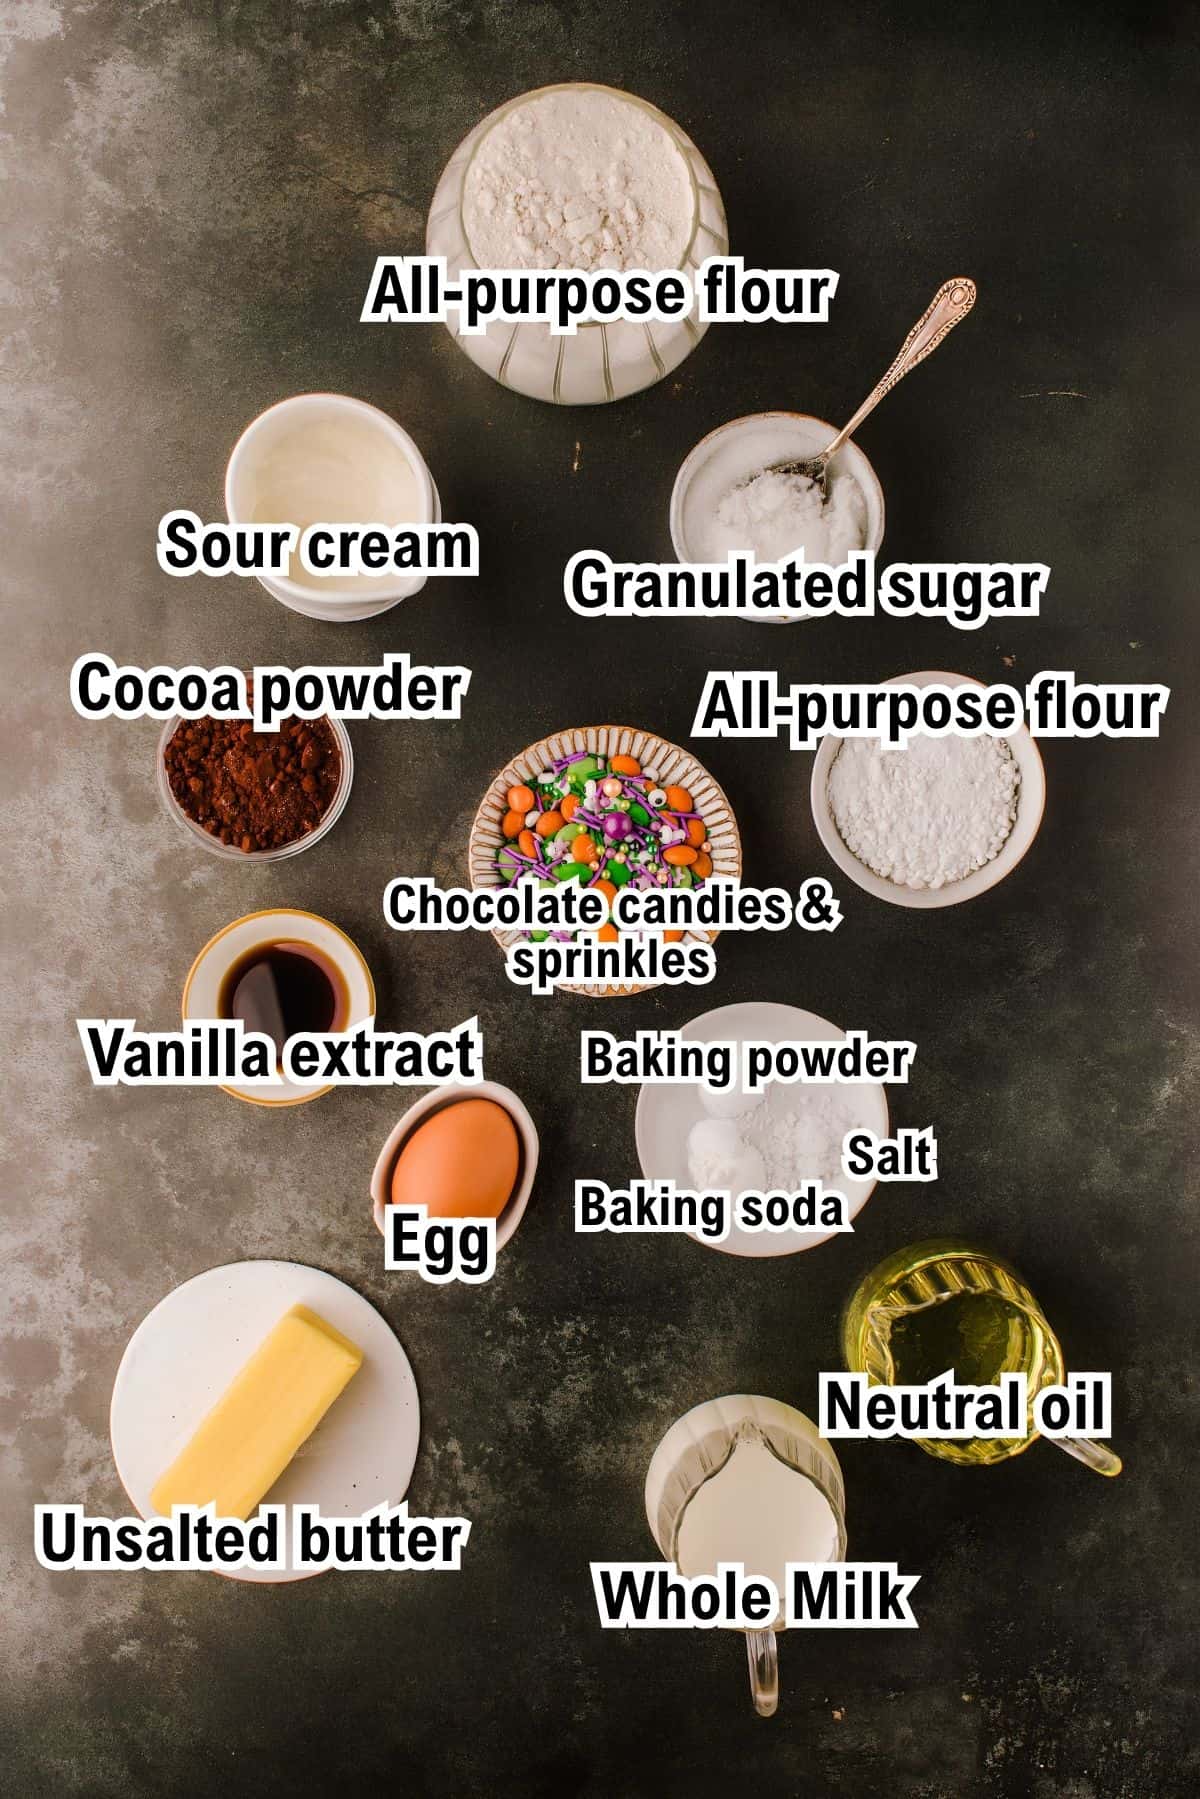
Ingredients
For the Chocolate Cupcakes:
- ¾ cup granulated sugar
- ⅓ cup neutral oil like canolia oil or vegetable oil
- 1 large egg
- 1 large egg yolk
- 1 teaspoon vanilla extract
- ⅓ cup sour cream room temperature
- ½ cup whole milk room temperature
- 1 cup all-purpose flour
- ⅓ cup cocoa powder Dutch-process
- ½ teaspoon baking powder
- ½ teaspoon baking soda
- ¼ teaspoon salt
For the Piñata Filling:
- 1 cup Halloween M&M's or similar small candy-coated chocolates mixed with Halloween sprinkles
For the Chocolate Buttercream:
- ¾ cup unsalted butter softened
- 3 cups powdered sugar sifted
- 1 cup cocoa powder Dutch-process, sifted
- 2 teaspoons vanilla extract
- ¼ teaspoon salt
- ¼ to ⅓ cup whole milk as needed
To Decorate:
- Halloween M&M's or similar candy-coated chocolates
- Halloween sprinkles
- Candy eyes optional
Instructions
- Preheat the oven to 350°F (175°C). Line a 12-cup muffin pan with cupcake liners.
- Make the batter: Add the sugar, oil, egg, egg yolk, and vanilla to a large bowl or measuring jug and whisk until well combined.
- Add the sour cream and milk and whisk again until smooth and evenly combined. Set aside.
- In a large mixing bowl, whisk together the flour, cocoa powder, baking powder, baking soda, and salt, breaking up any lumps of cocoa as you whisk.
- Pour the wet ingredients into the dry ingredients. Whisk gently just until the batter is smooth. Do not overmix.
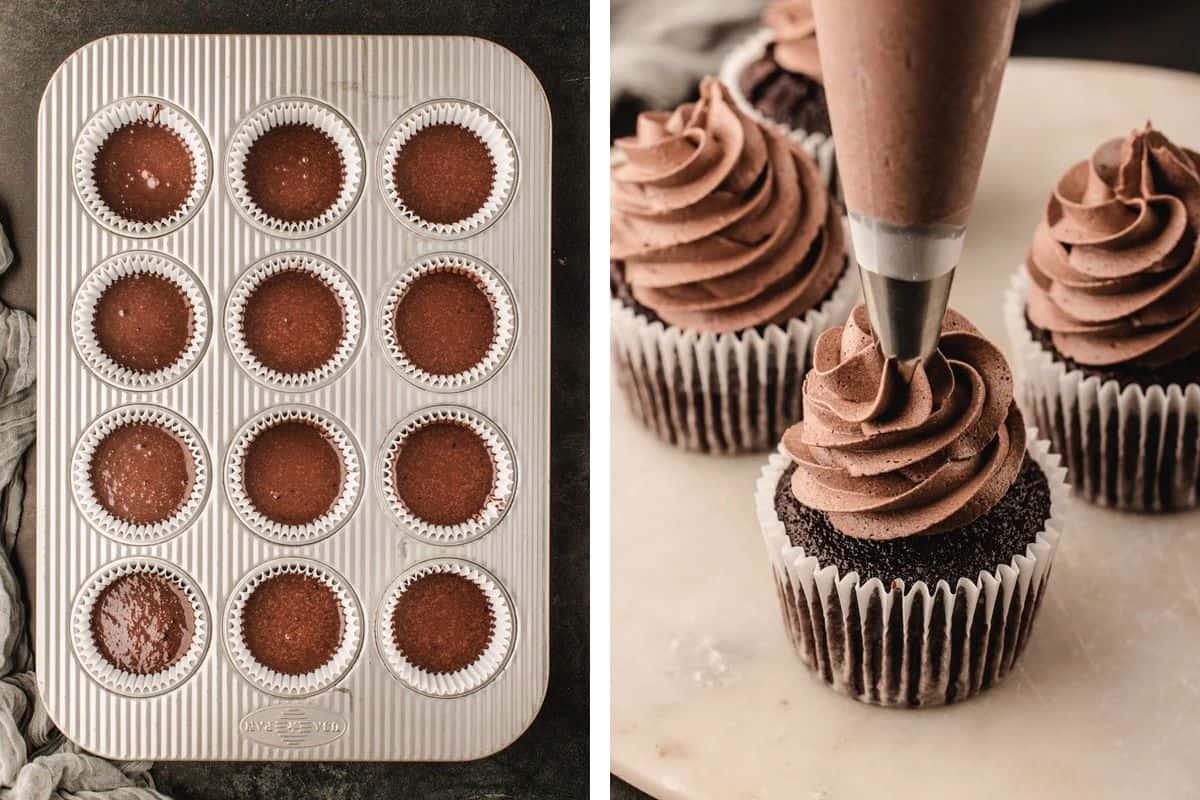
- Divide the batter evenly between the cupcake liners, filling each about two-thirds full.
- Bake: Bake for 17 to 20 minutes, or until the cupcakes have risen and a toothpick inserted into the center comes out clean or with a few moist crumbs.
- Cool the cupcakes in the pan for about 5 minutes, then transfer them to a wire rack to cool completely before filling and frosting.
- Fill the cupcakes: Use the wide end of a piping tip, a cupcake corer, or a small sharp knife to remove a section from the center of each cupcake. Be careful not to cut all the way through to the bottom.
- Fill each cavity with the candy and sprinkle mixture. Trim a little cake from the underside of each piece you removed, then press the remaining cake on top to cap the candy center. Set aside while you make the buttercream.
- Make the buttercream: Beat the softened butter in a stand mixer fitted with the paddle attachment (or with an electric hand mixer) for 2 to 3 minutes, until pale, smooth, and creamy.
- Gradually add the sifted powdered sugar on low speed so it doesn't fly out of the bowl. Once incorporated, increase the speed and beat until smooth.
- Add the sifted cocoa powder and mix on low speed until incorporated.
- Add the vanilla, salt, and about half of the milk. Beat until smooth, then add the remaining milk a little at a time until the buttercream reaches a soft, fluffy piping consistency.
- Beat for another 2 to 3 minutes until light and fluffy.
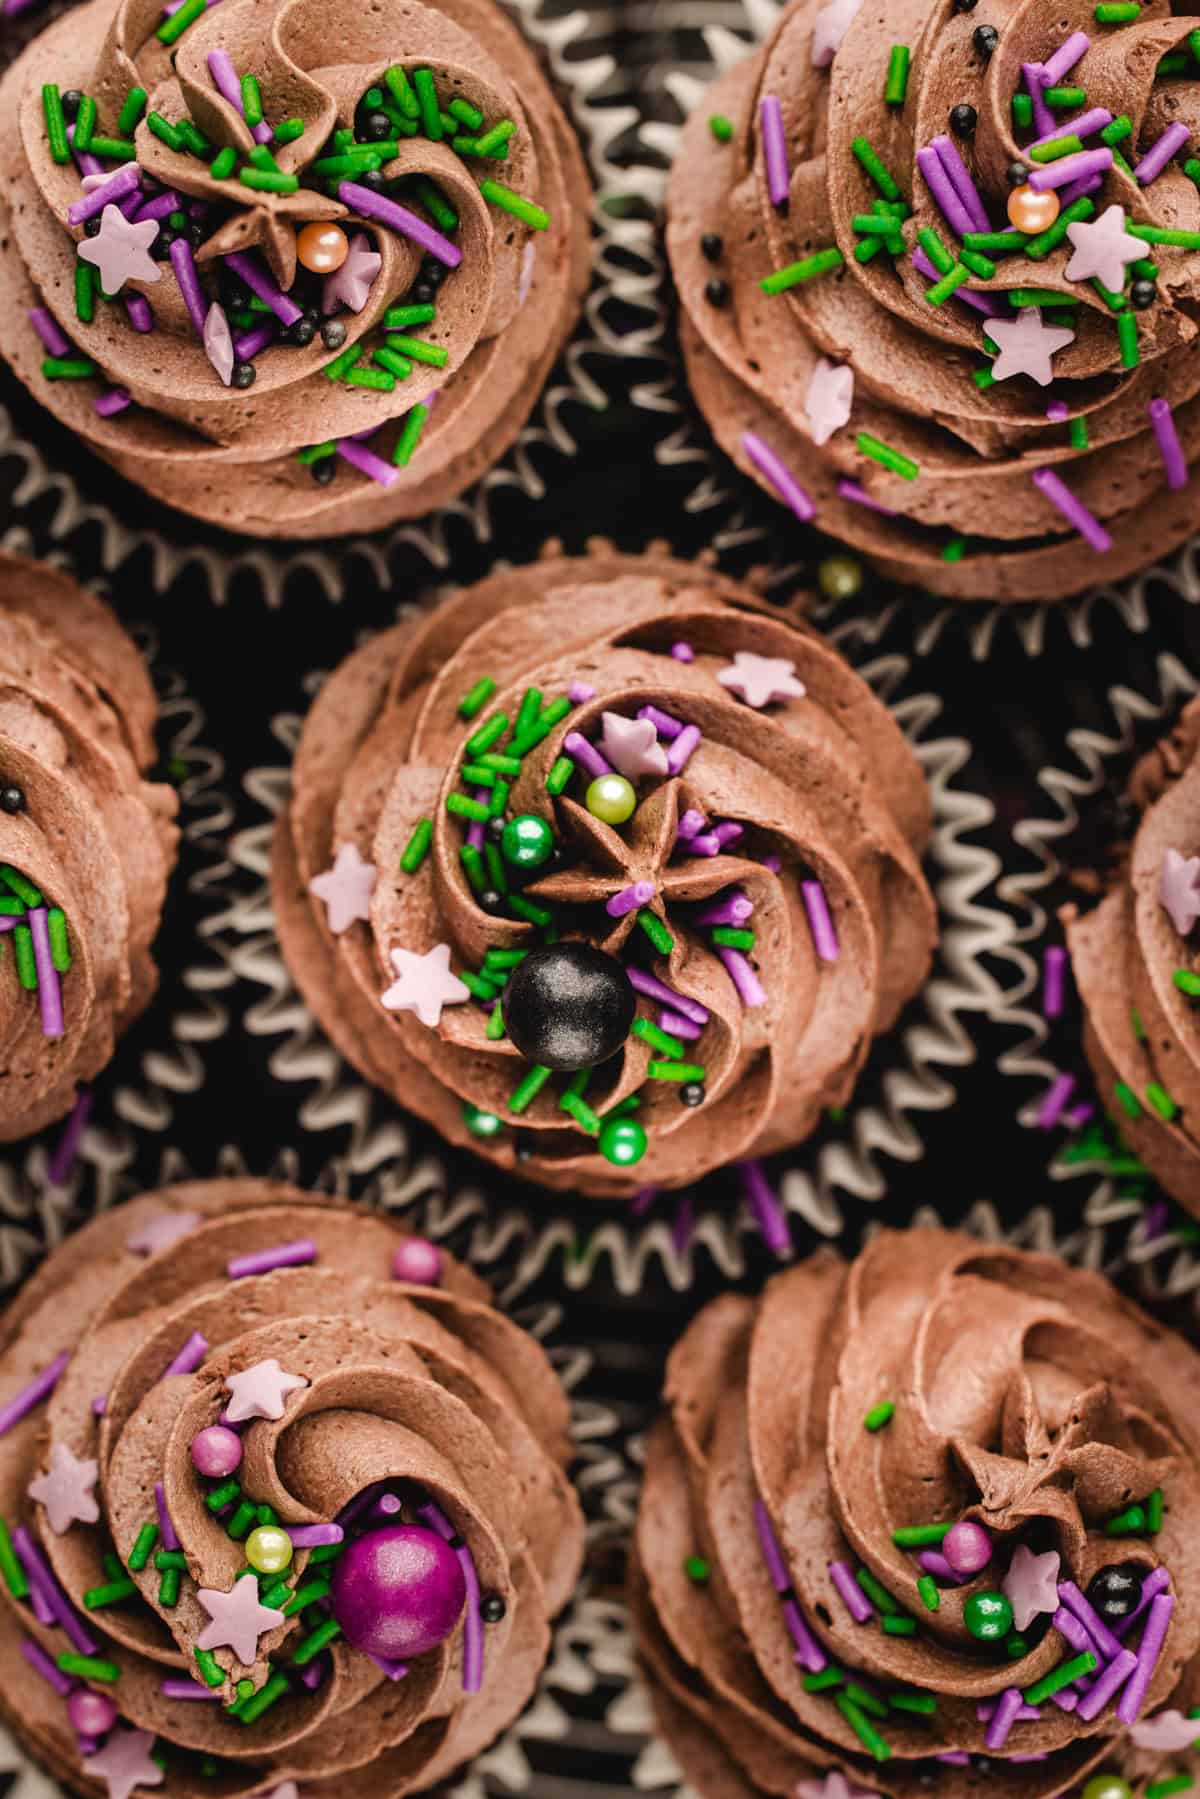
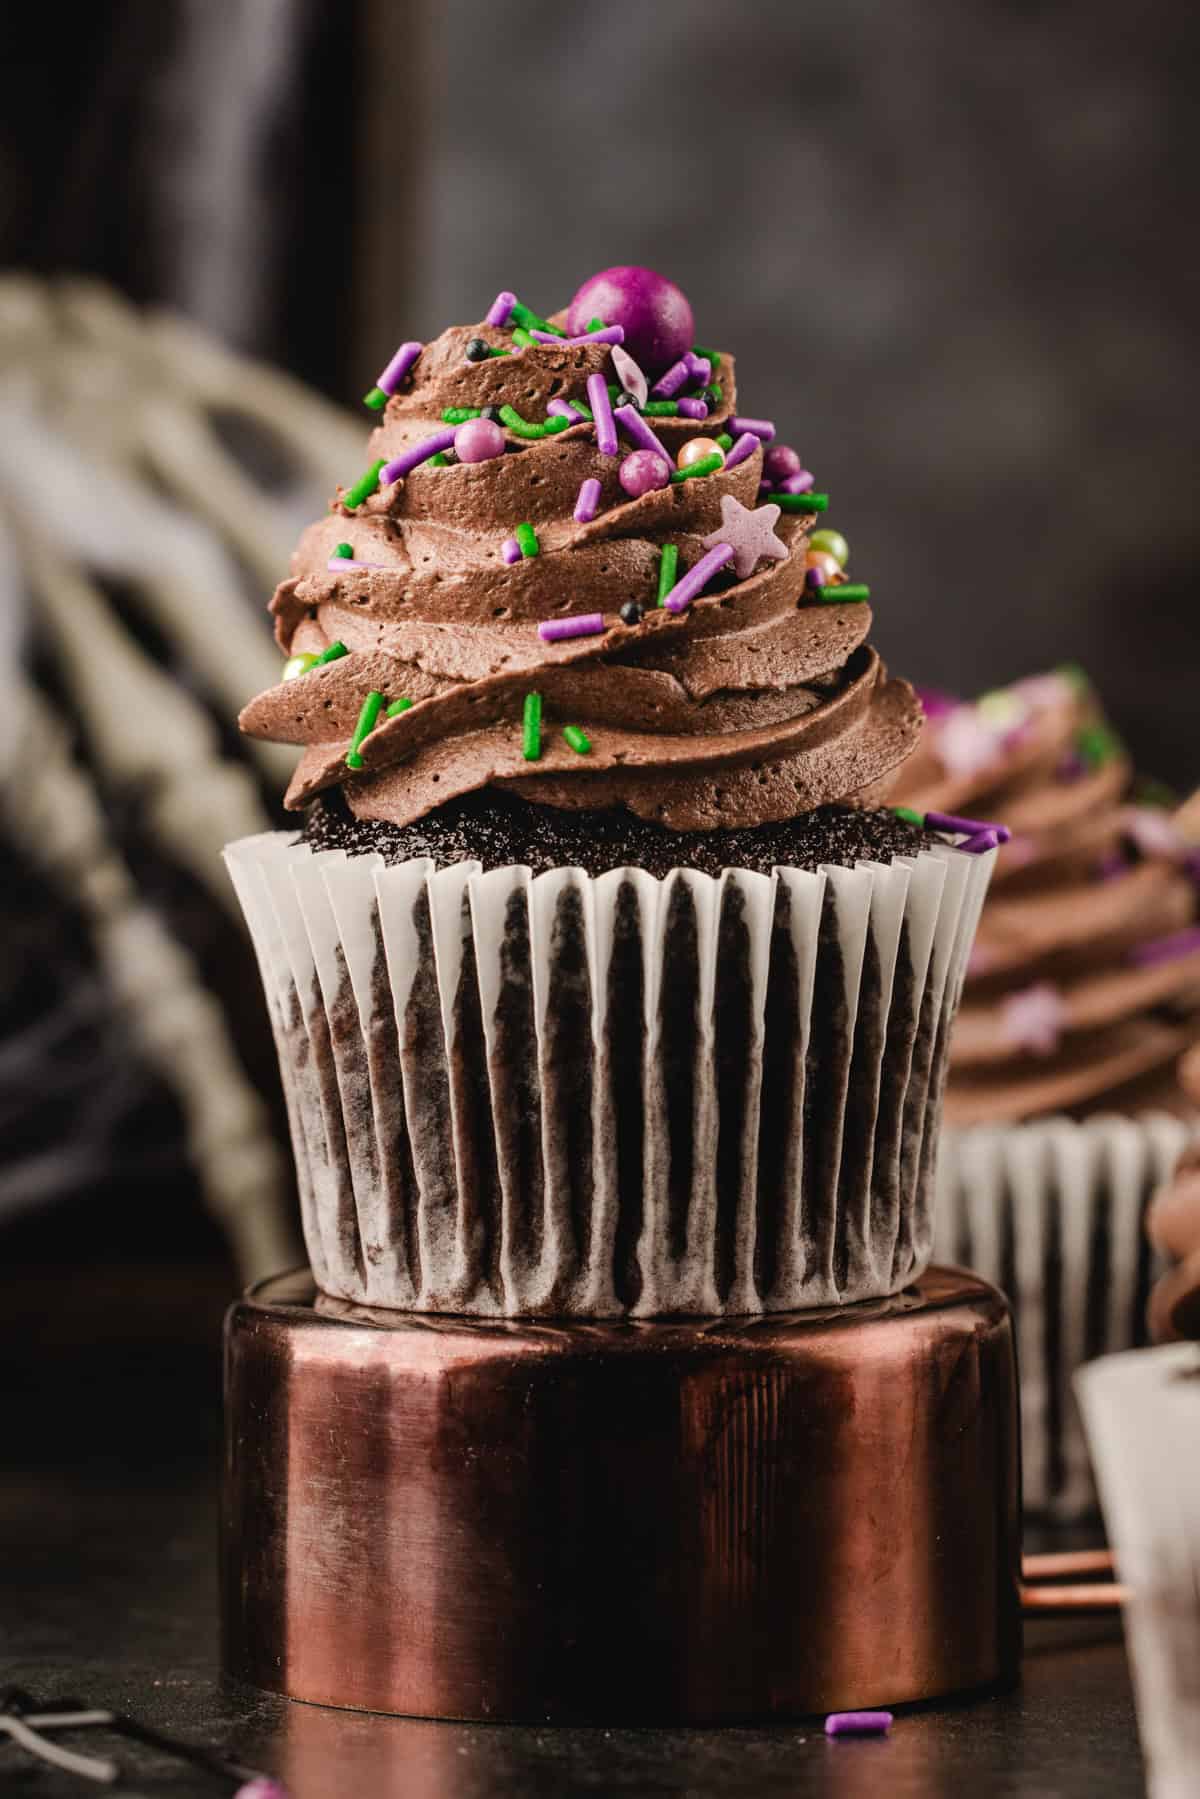
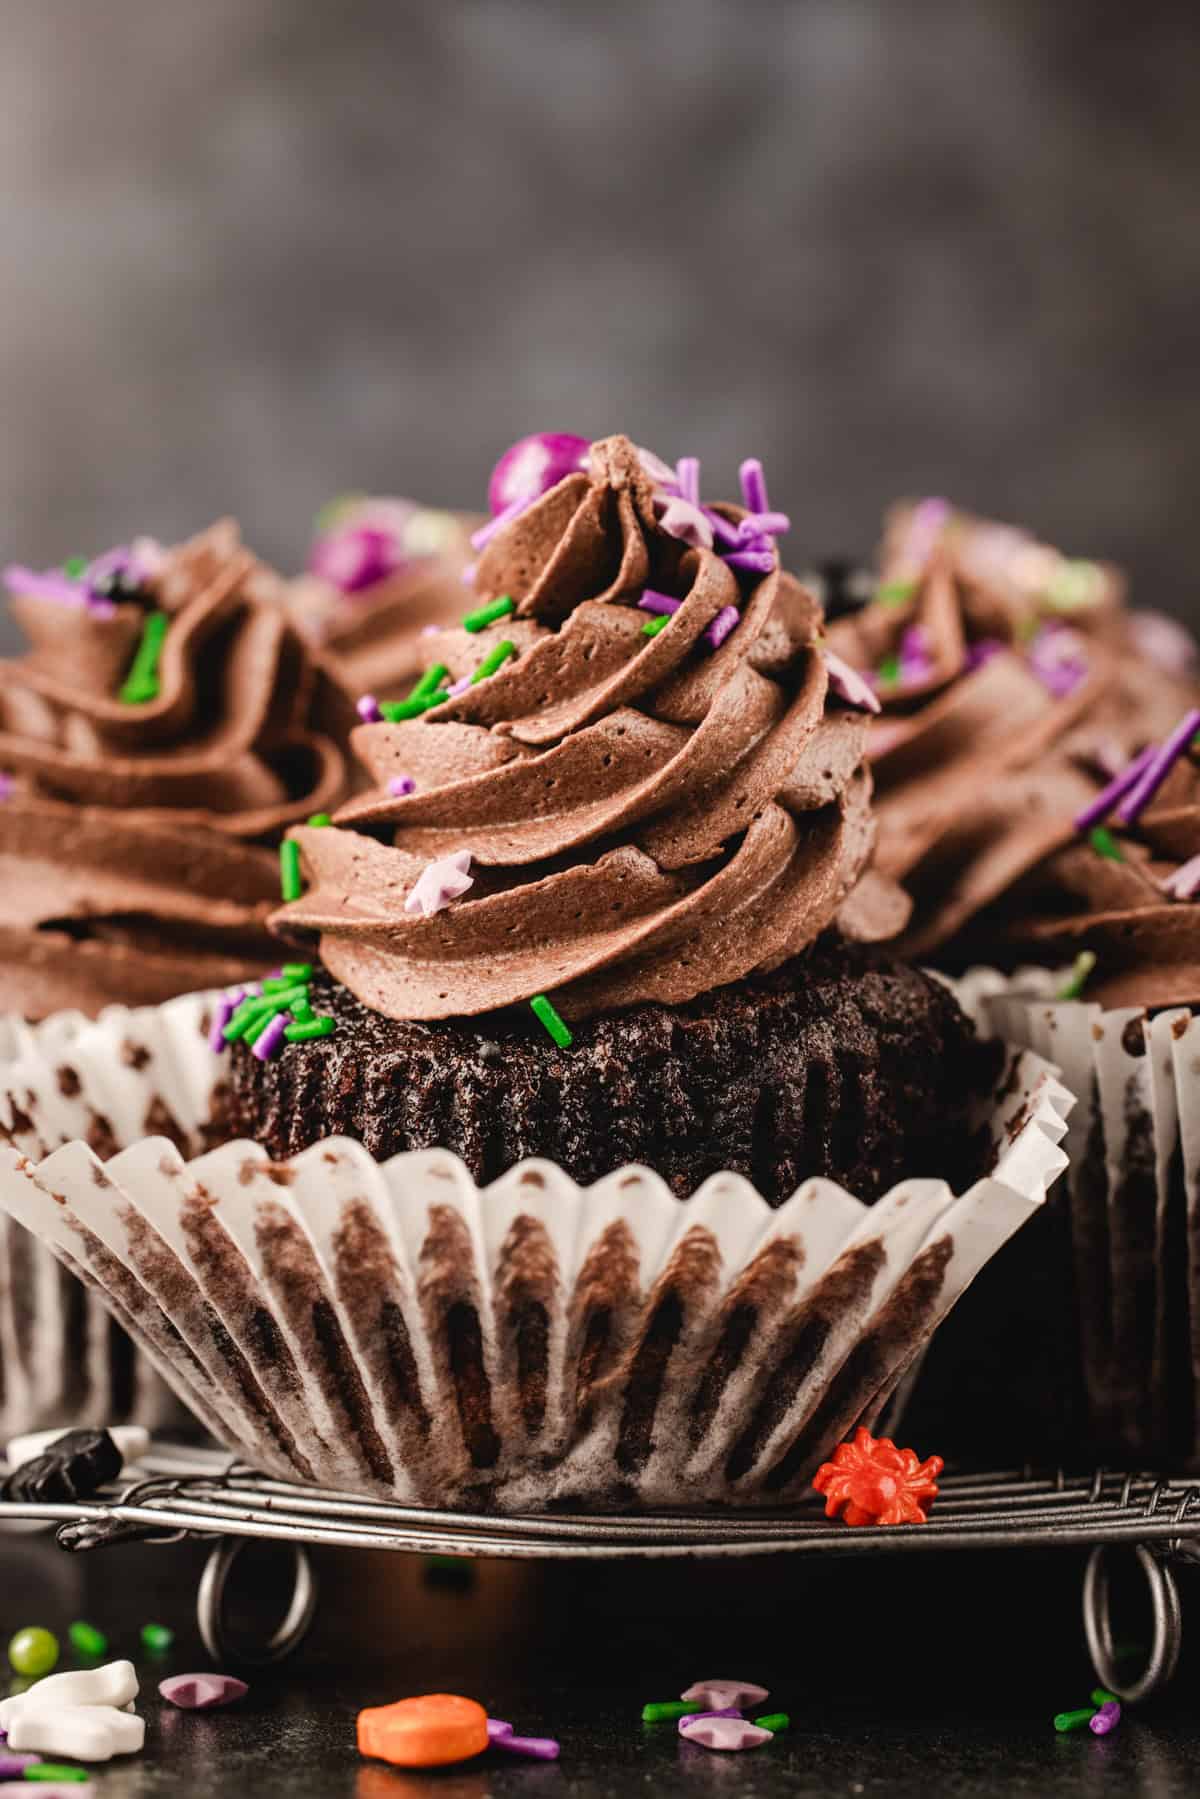
- Frost and decorate: Transfer the buttercream to a piping bag fitted with a large star tip. Pipe a generous swirl over each cupcake, making sure the filled center is completely covered.
- Top with Halloween candies, sprinkles, and candy eyes, if using.
Notes
- I provide step-by-step photos below this recipe card if you need extra guidance.
- Cocoa powder: Dutch-process cocoa gives the darkest color and smoothest flavor. Natural cocoa works, but the cupcakes will be lighter in color.
- Do I need a cupcake corer? No. The wide end of a large piping tip works great. A small sharp knife works too. Just don't cut all the way through to the bottom, or the candy will fall out. For more tips on how to make the cupcakes, click here. For my top tips on coring and filling the cupcakes, click here.
- Candy filling: M&M's, Reese's Pieces, mini chocolate chips, or chopped candy bars all work. Avoid large or very hard candies, since they're hard to bite through. Here are some other options for the surprise center.
- Sprinkles: Nonpareils and colored sugar can bleed into the cake over time. Fill the cupcakes on the day you plan to serve them. For more decorating tips, see my Decorating section.
- Buttercream too stiff? Add milk 1 teaspoon at a time. Too soft? Beat in a few more spoonfuls of powdered sugar or chill it for 10 minutes. Find more buttercream tips here.
- Special Tools: 12-Cup Muffin Pan | Cupcake Liners | Cupcake Corer or Large Piping Tip | Stand Mixer or Electric Hand Mixer | Piping Bag | Large Star Tip
Storage & Make-Ahead Tips
- Room Temperature. You can bake the unfilled cupcakes a day ahead and store them in an airtight container at room temperature. For the crispest, brightest piñata center, core and fill them closer to the time you plan to serve them.
- Refrigerator. For longer storage, refrigerate the cupcakes for up to 4 days. Let refrigerated cupcakes sit at room temperature for about 30 minutes before serving so the cake softens and the buttercream becomes creamy again.
- Freezer. You can also freeze unfrosted, unfilled cupcakes for up to 2 months. Once they're completely cool, wrap them well and place them in an airtight freezer-safe container. Thaw at room temperature before coring, filling, and decorating.
Nutrition
Nutrition Disclaimer:
The nutritional information on this website is only an estimate and is provided for convenience and as a courtesy only. The accuracy of the nutritional information for any recipe on this site is not guaranteed. It should not be used as a substitute for a professional nutritionist's advice.
How to Make Halloween Cupcakes (Step-by-Step)
This recipe overview includes helpful tips. Scroll up for the complete instructions and ingredient amounts in the Halloween cupcakes recipe card above. Let me show you how easy these are. Here are the main steps:
- Mix the wet ingredients. Whisk the sugar, oil, egg, egg yolk, and vanilla together. Then whisk in the sour cream and milk until smooth.
- Whisk the dry ingredients. In another bowl, whisk the flour, cocoa, baking powder, baking soda, and salt. Break up any cocoa lumps.
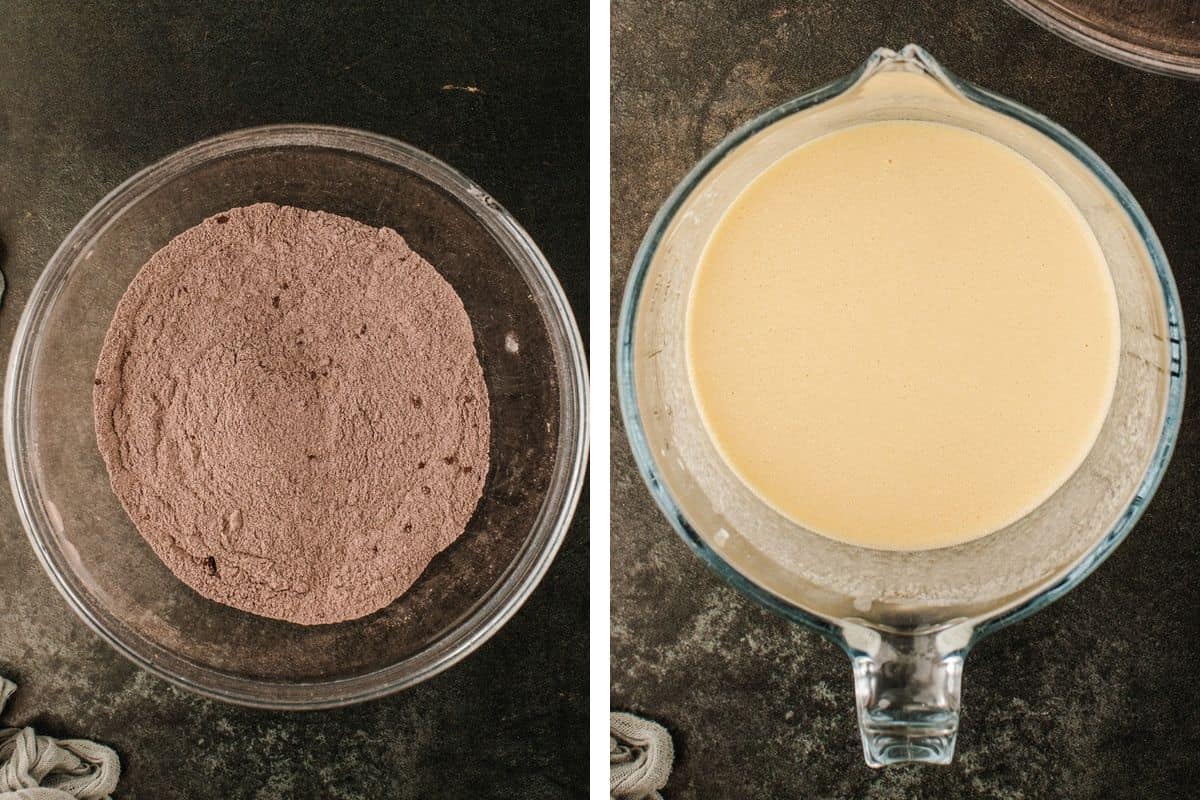
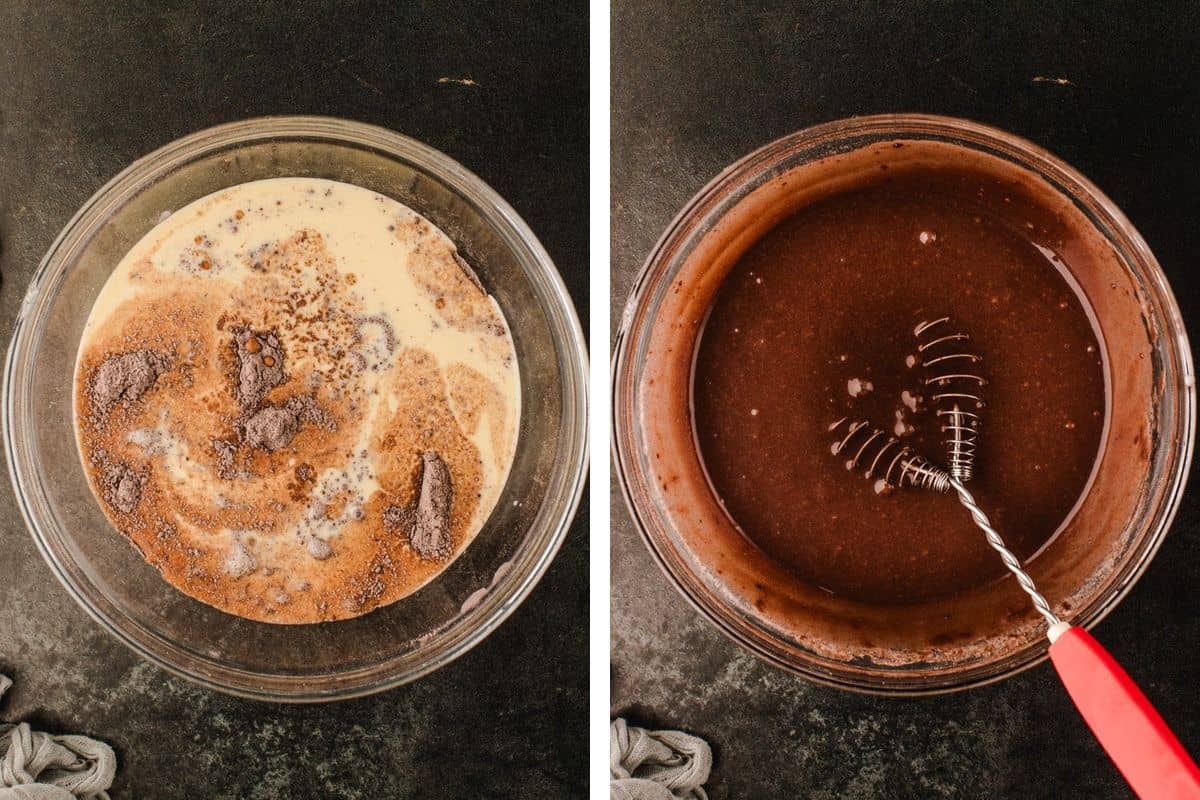
- Combine and bake. Pour the wet ingredients into the dry ingredients and whisk just until smooth. Fill the liners about two-thirds full and bake at 350°F (175°C).
- Cool completely. Don't skip this step. Warm cupcakes crumble when you cut into them, and they melt the frosting.
- Core and fill. Use the wide end of a piping tip to cut out the centers. Fill each hole with candy and sprinkles, then trim the removed pieces into thin caps and set them back on top.
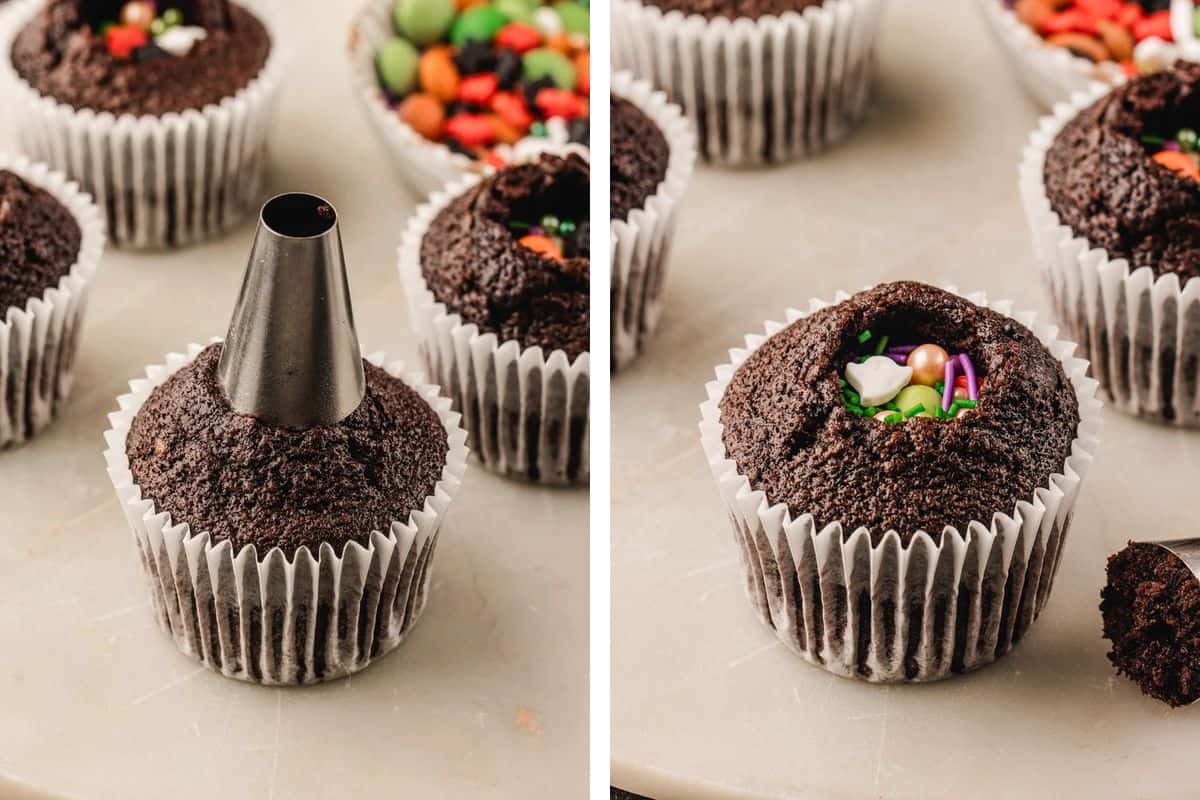
- Make the buttercream. Beat the butter until pale and creamy. Add the powdered sugar, cocoa, vanilla, salt, and enough milk for a soft, fluffy texture.
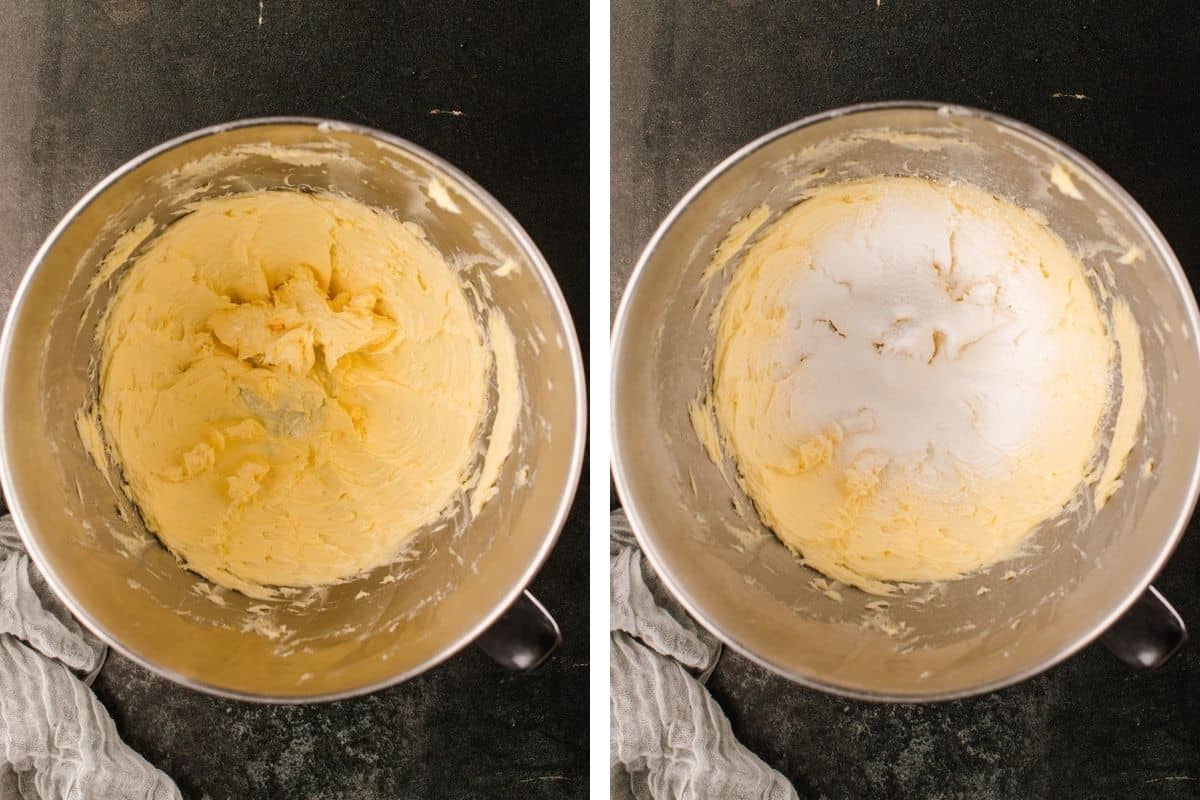
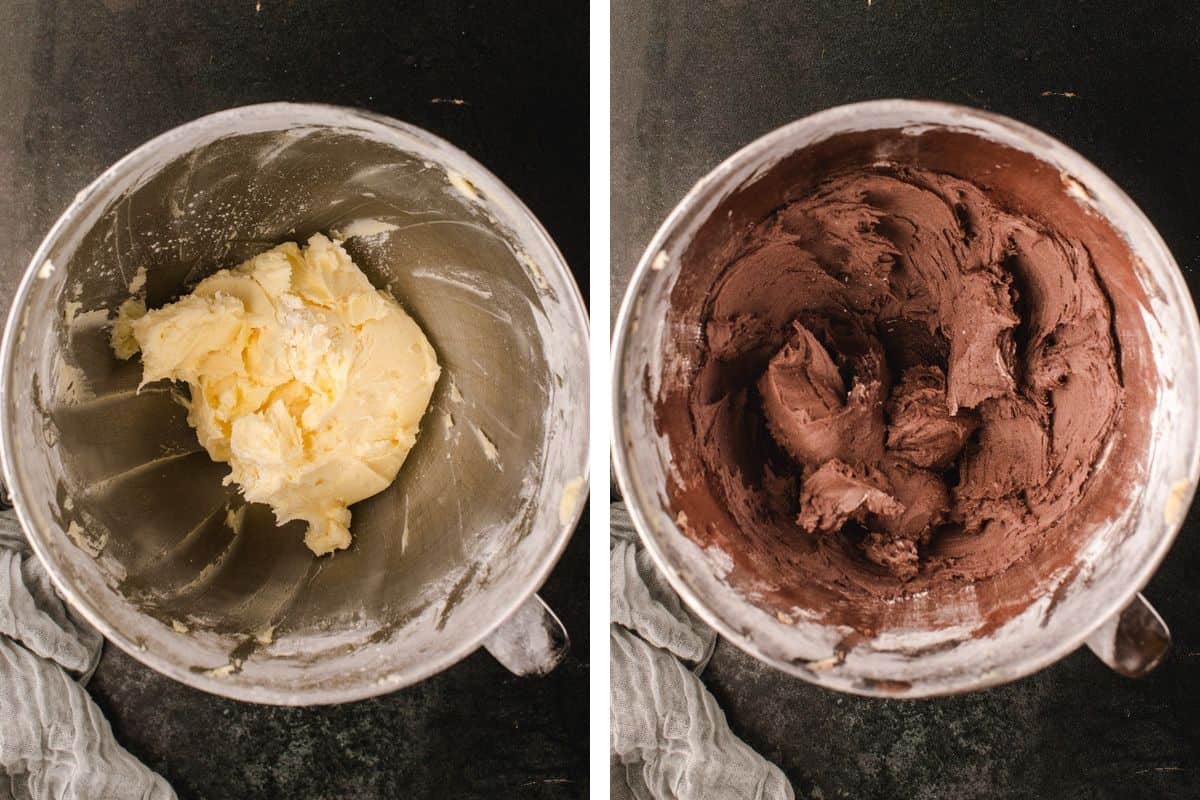
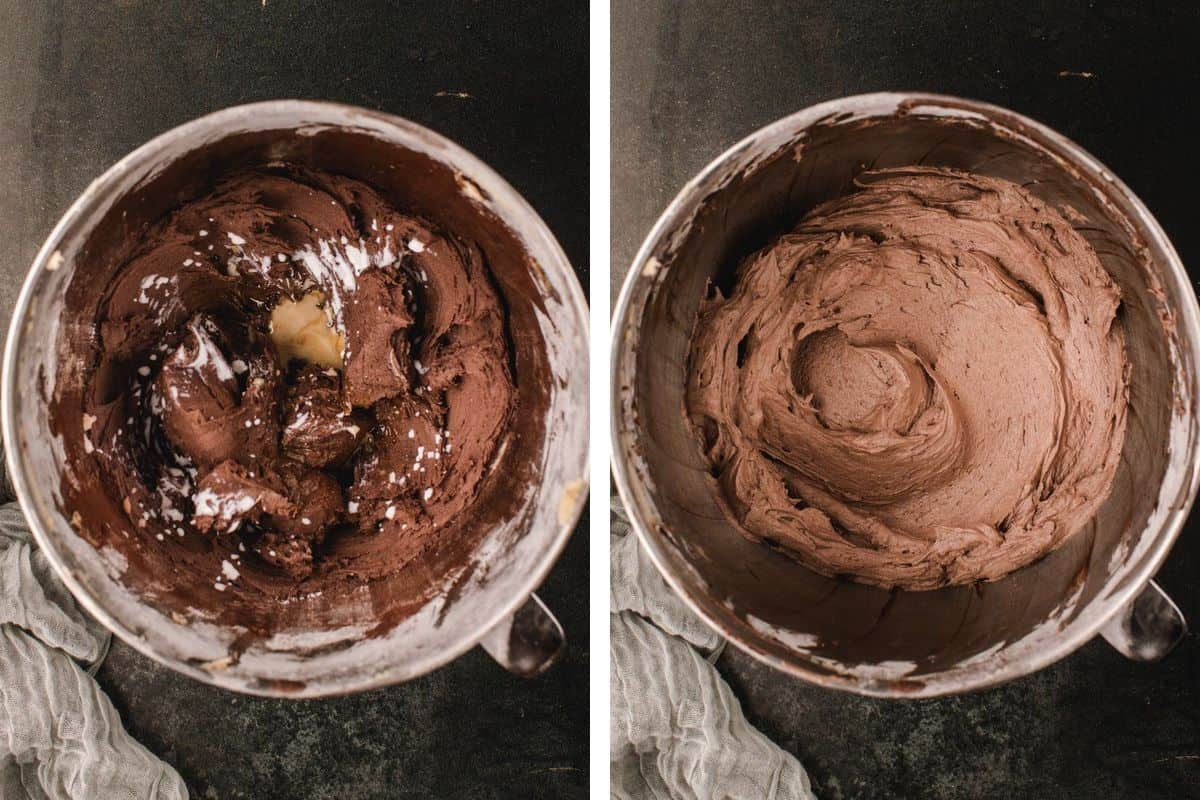
- Frost and decorate: Pipe a big swirl of buttercream over each cupcake so the center is fully covered. Top with candy, sprinkles, and candy eyes.
Serving Ideas
- Arrange the cupcakes on a tray and scatter extra M&M's and sprinkles around them. A few cupcakes with candy eyes make the platter look playful.
- Cut one in half before guests arrive so everyone can see the candy center. It gets people excited to grab one.
Variations
- Monster cupcakes: Tint vanilla buttercream green or purple and top each cupcake with candy eyes.
- Peanut butter filling: Fill the centers with Reese's Pieces and chopped peanut butter cups.
- Spooky spider cupcakes: Pipe the frosting in a flat layer, then add a black licorice spider on top. Or, Pipe the buttercream flat, add candy eyes, and draw legs with melted chocolate.
- Vanilla version: Use your favorite vanilla cupcake base and fill it with the same Halloween candy.
- Orange buttercream: Skip the cocoa in the frosting and add a few drops of orange gel food coloring for a pumpkin look.

Submit your question or provide a review of the recipe + star rating RIGHT HERE.