
This post may contain affiliate links. Read my disclosure policy.
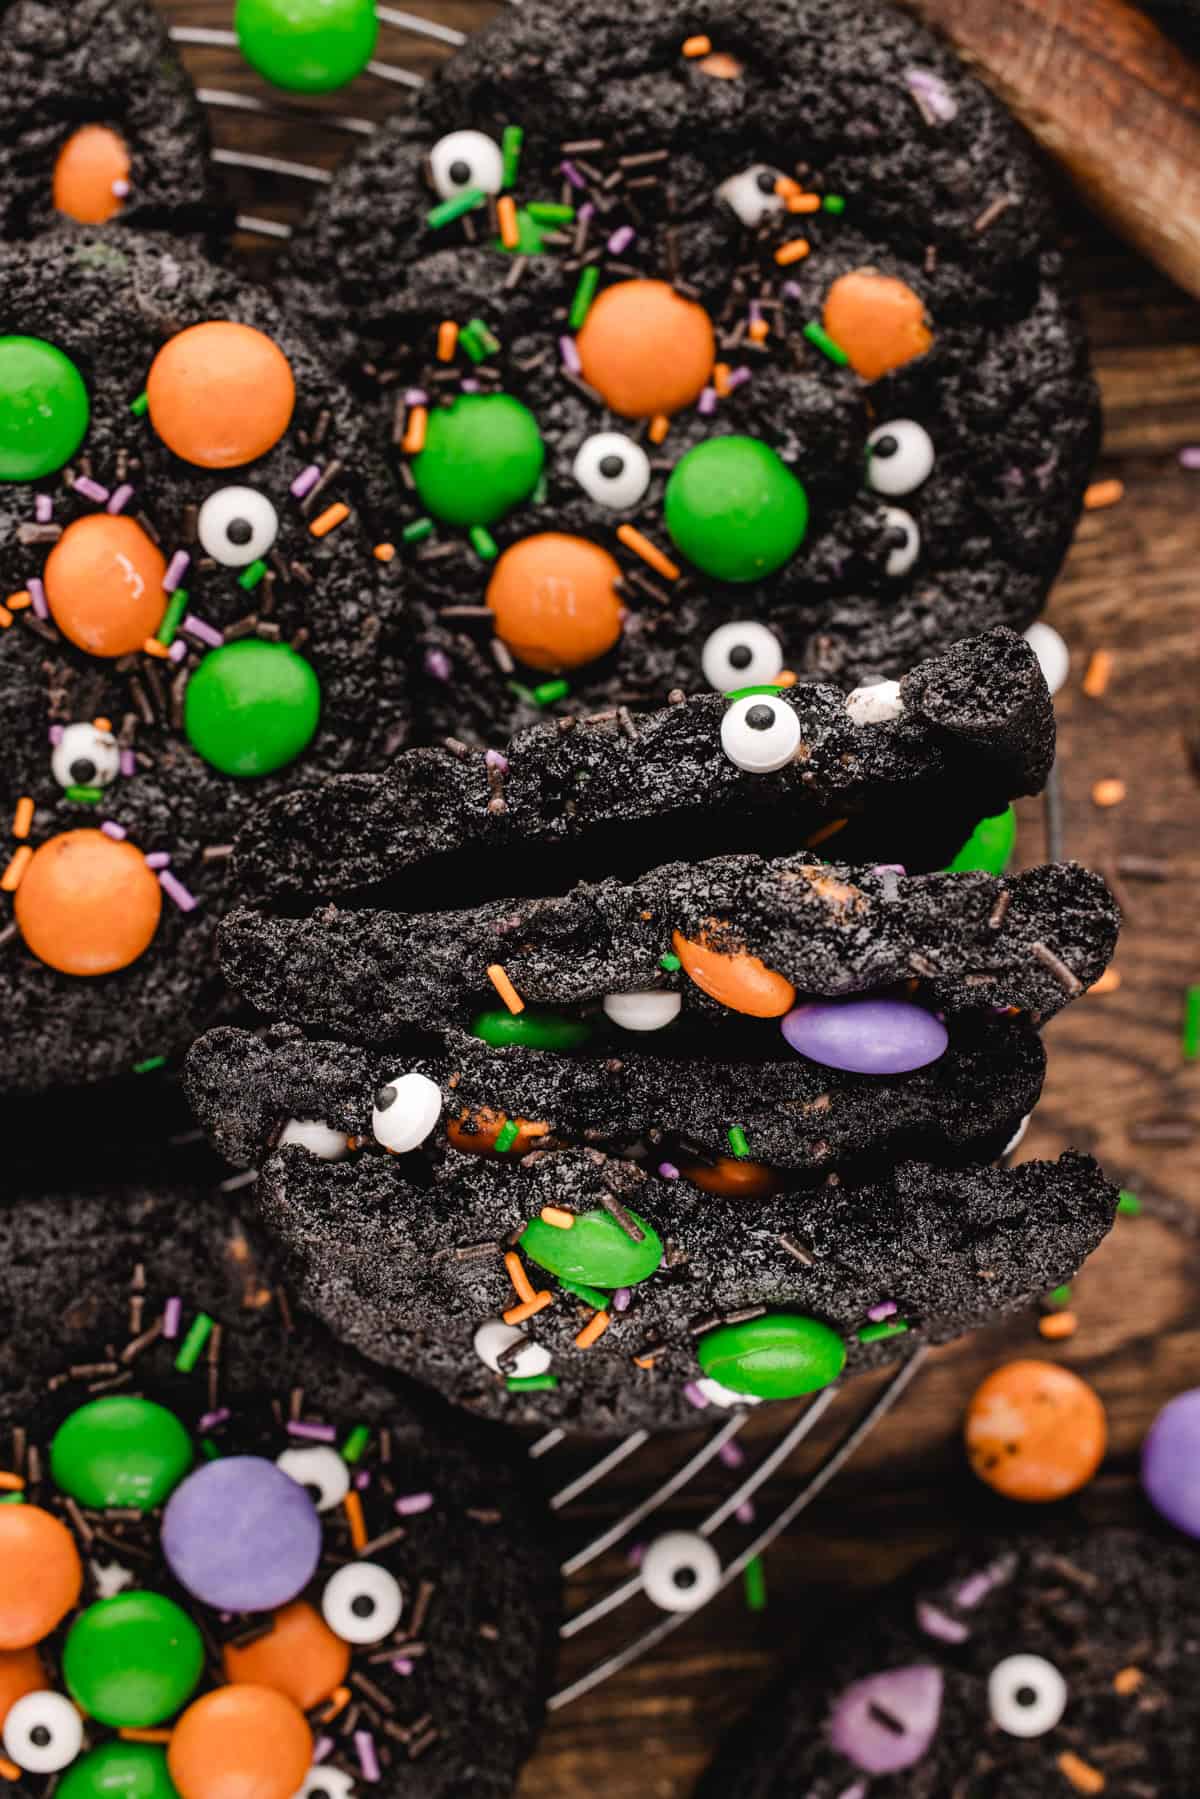
These Halloween cookies are soft, chewy chocolate cookies loaded with orange, green, and purple candy-coated chocolates, Halloween sprinkles, and candy eyeballs. One bowl of dough, a short chill, and about 12 minutes in the oven. Easy to make, fun to decorate, and perfect for Halloween parties.
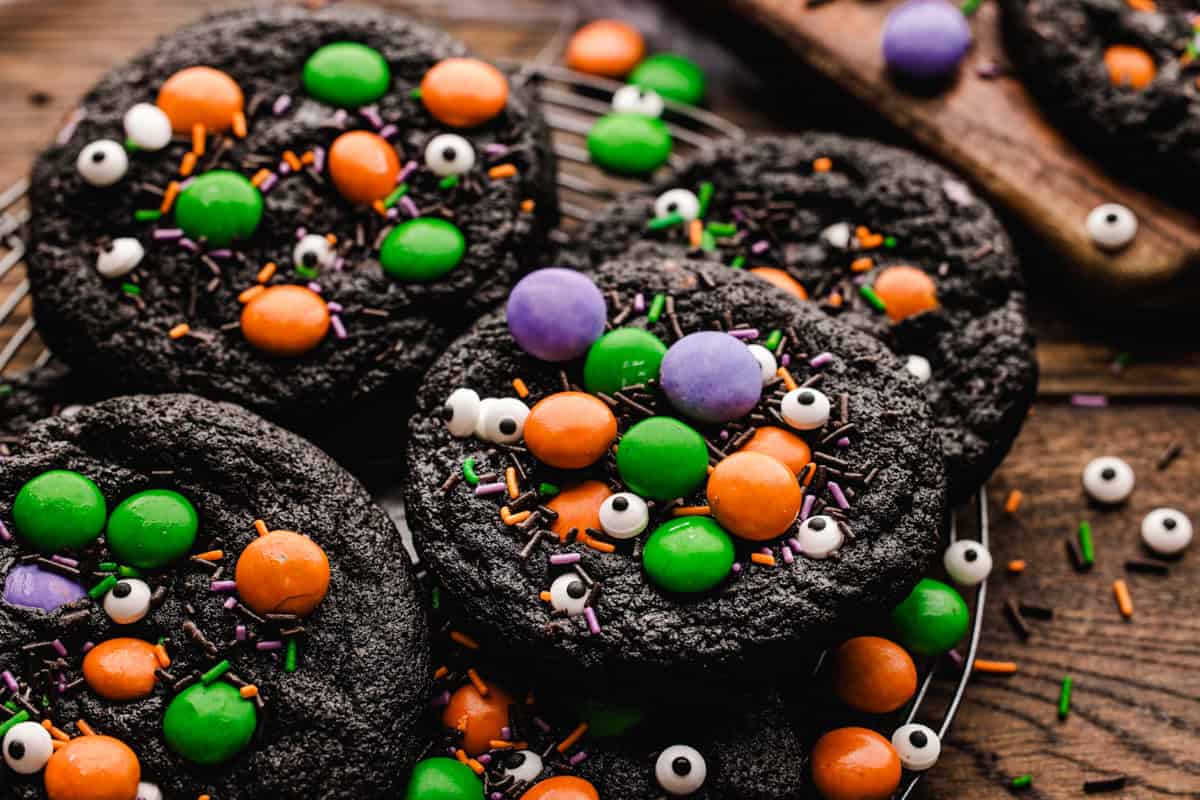
These Halloween Monster Cookies Are Staring Back at You
I've never been a fan of gory Halloween desserts. No bleeding fingers or creepy body parts at my house. I like Halloween treats that are spooky but still look edible, like my Halloween Ghost Cake and spooky Halloween chocolate bugs. These Halloween monster cookies are simple, colorful, and kid-friendly. They are easy to decorate, fun to make with kids, and perfect for Halloween parties or treat boxes.
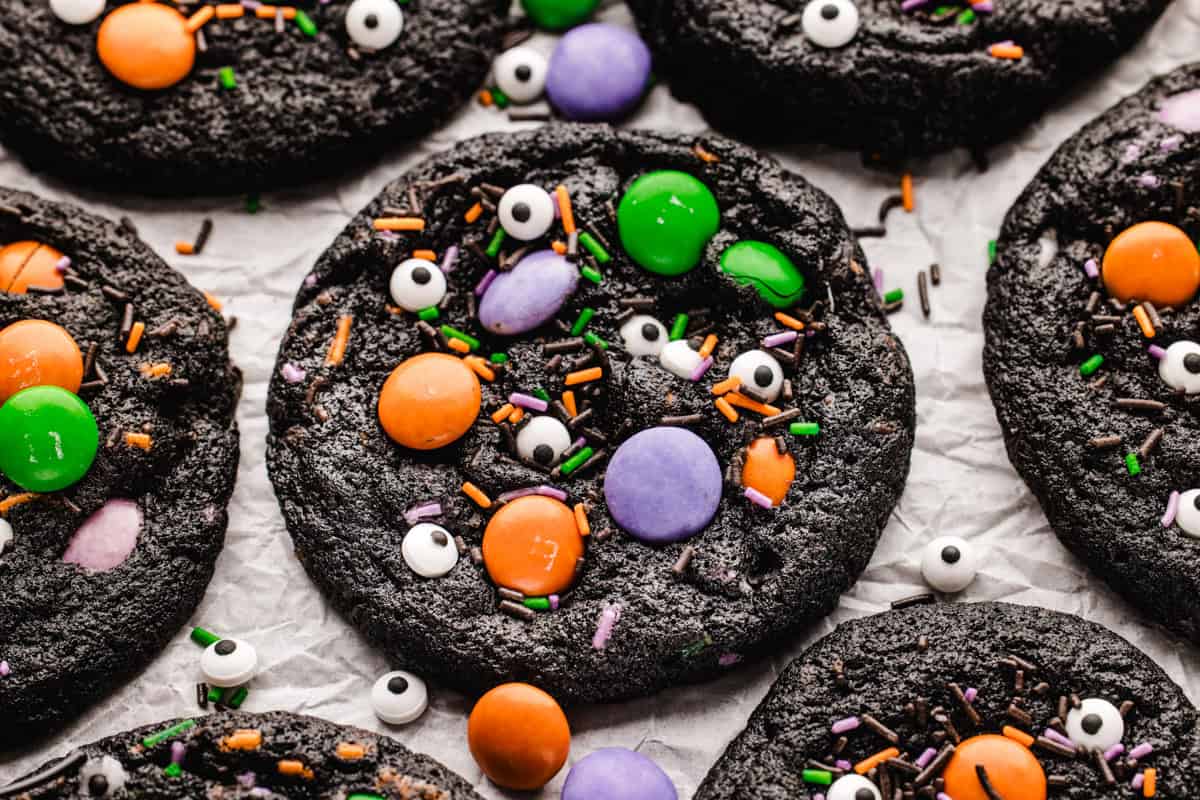
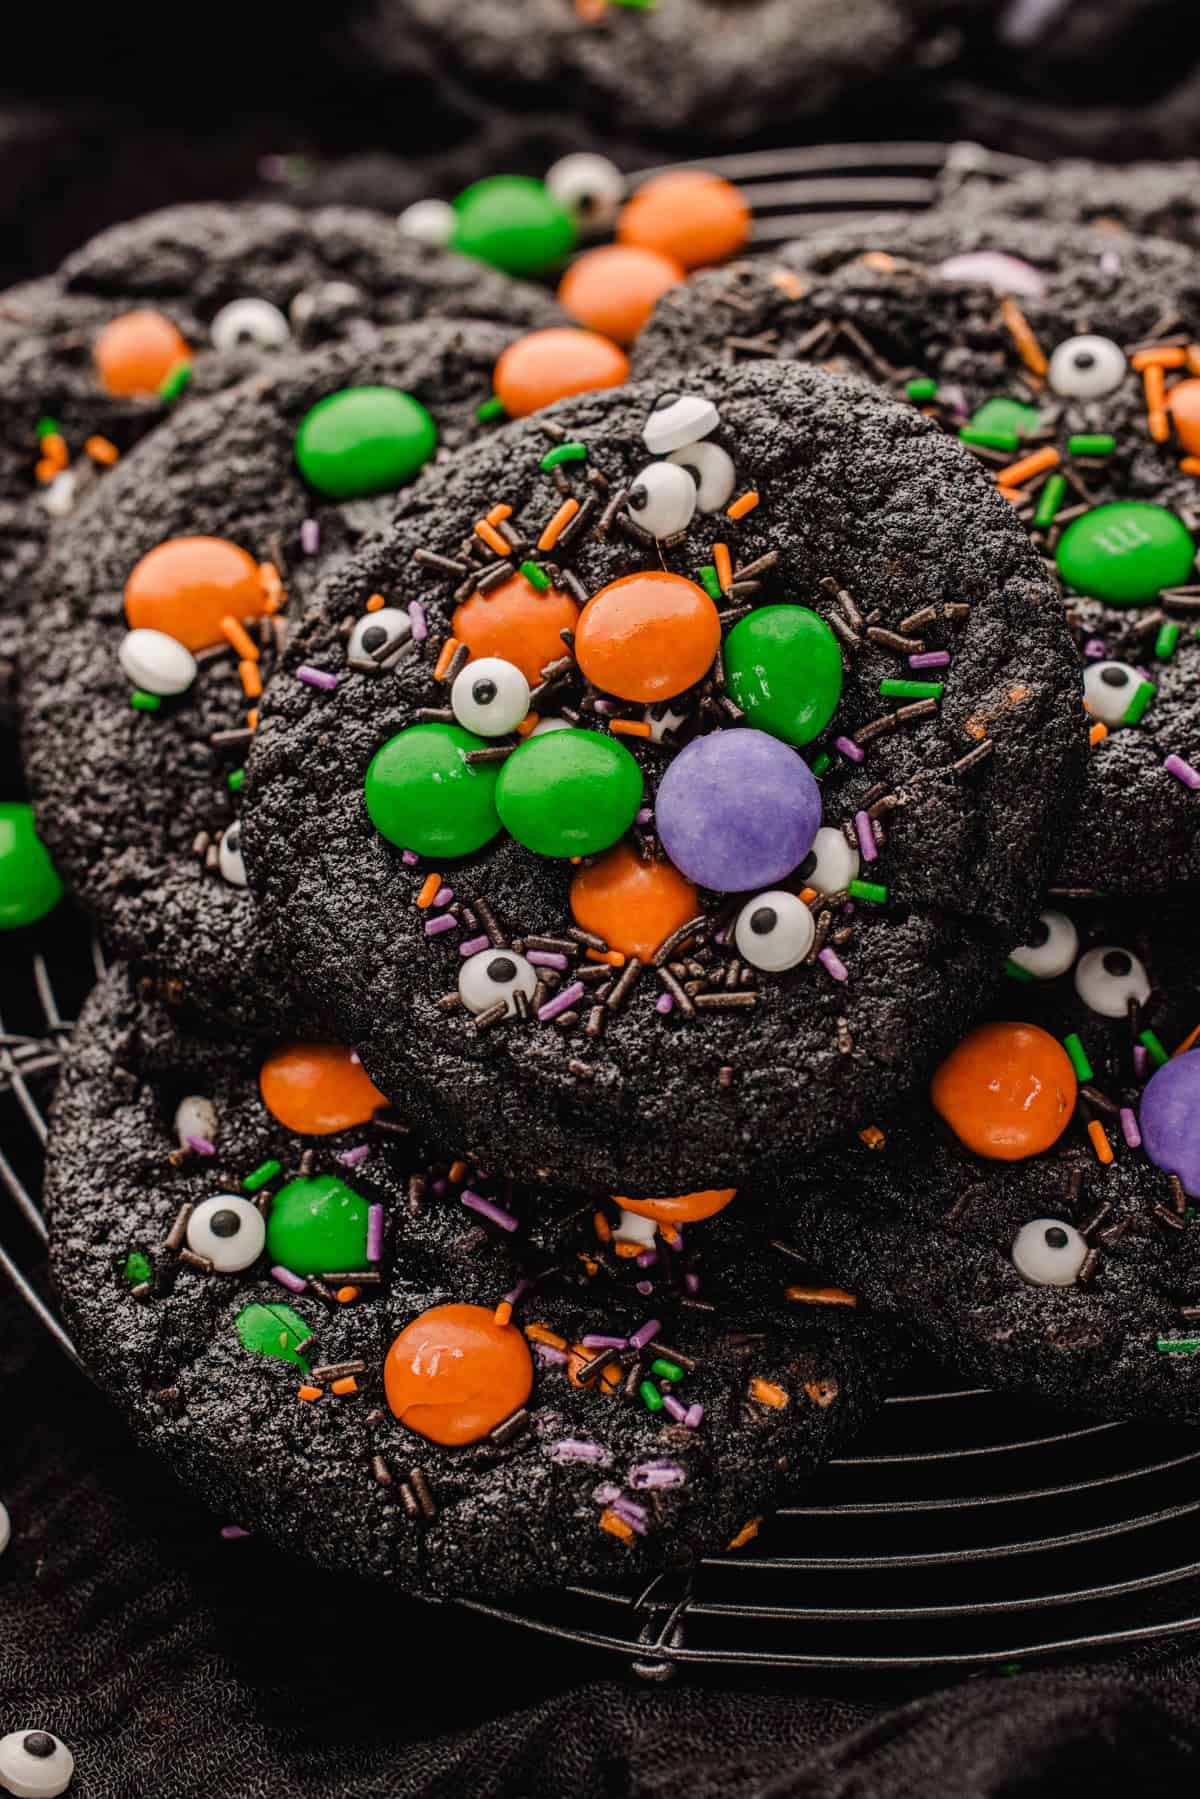
Black cocoa powder makes these cookies so unique yet easy to make. It gives the cookies their dramatic color and a deep, Oreo-like chocolate flavor without needing black food coloring. It turns the dough almost black, so the orange and purple candies really pop. Add a few candy eyes, and every cookie looks like a little monster peeking at you! Another fun holiday cookie to decorate is my hot cocoa cookies with marshmallows.
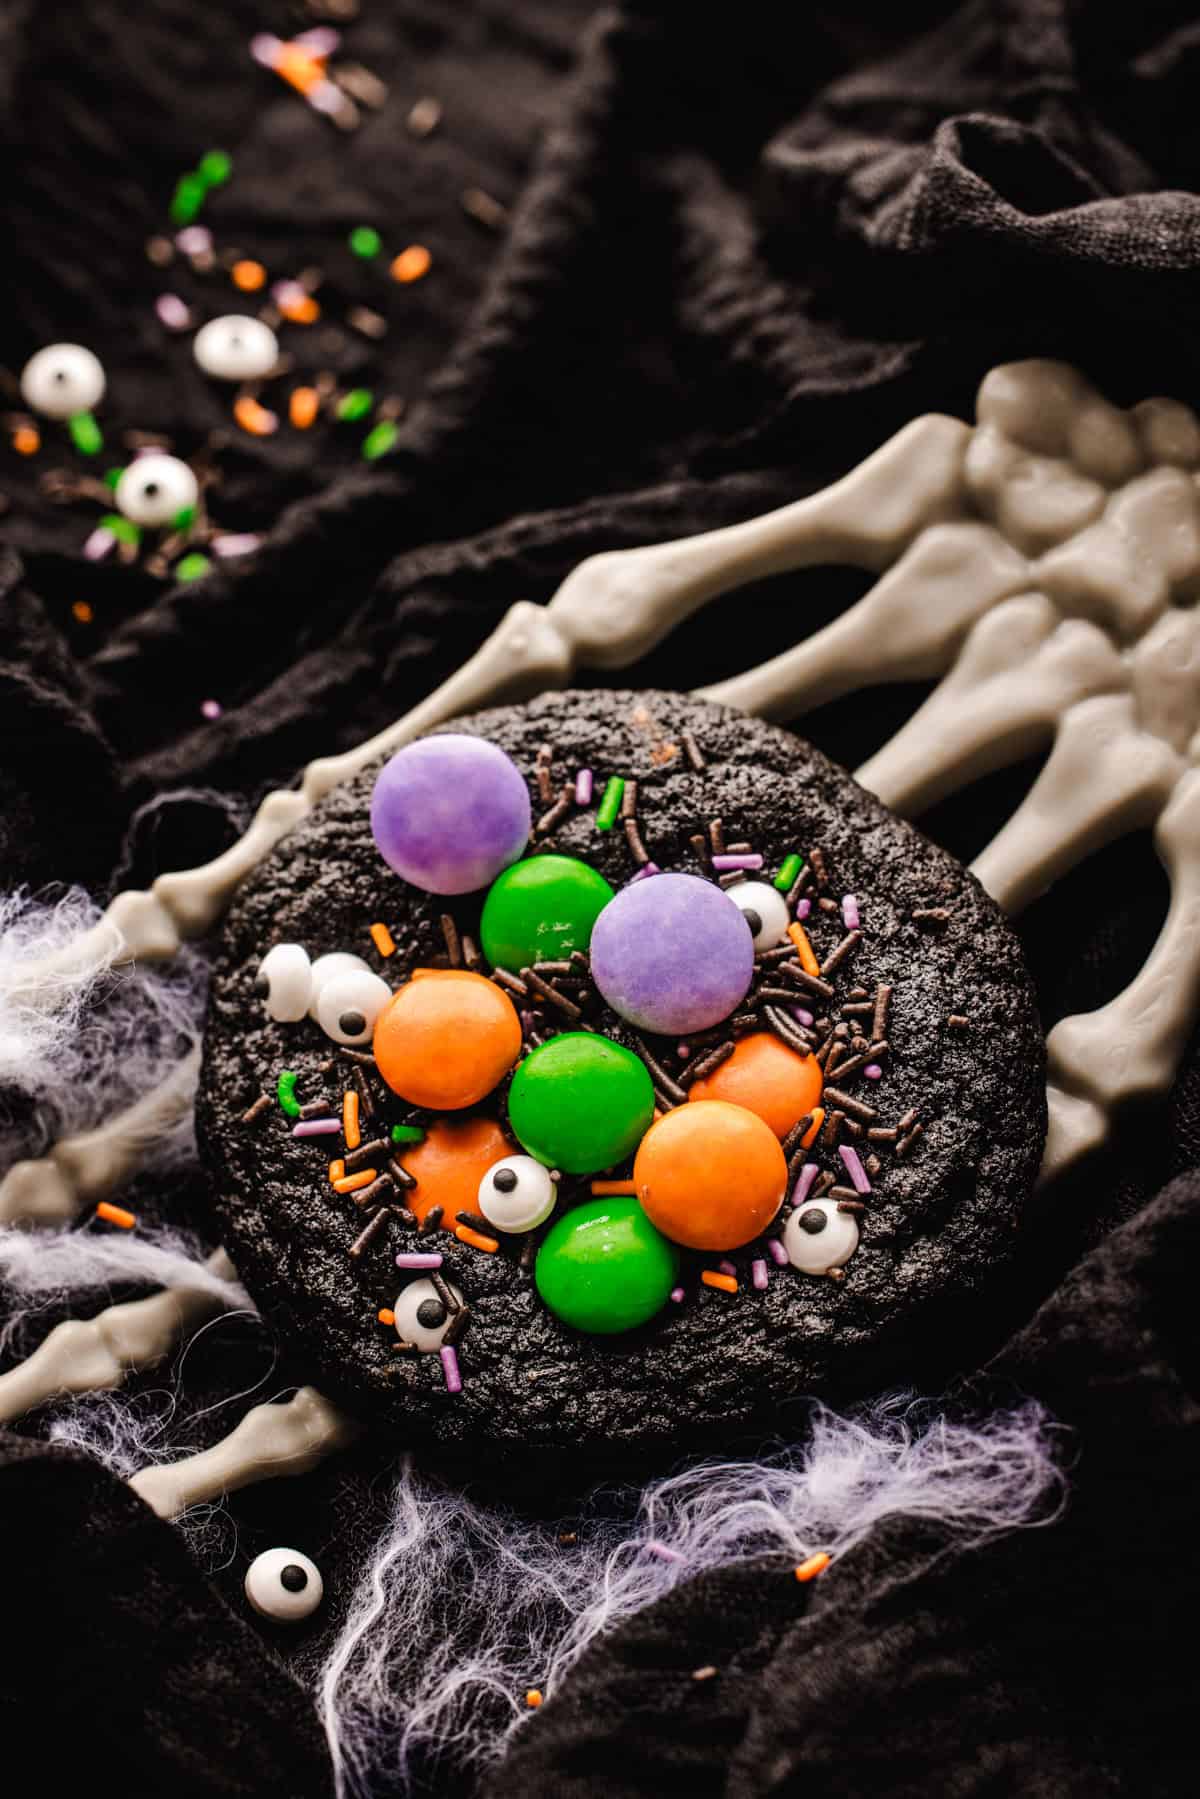
Think of these cookies as:
- Soft and chewy in the center!
- Dramatically black in color, with no food coloring needed!
- Easy to decorate. Candy eyes, candies, and sprinkles go on right out of the oven while the cookies are warm. No piping bags, no icing. Perfect for Halloween parties!
- Tasting a little like an Oreo, in cookie form!
- Easy to customize: Change the candy colors, and these work for any holiday. Use red and green candies for Christmas, or go pastel for a palette close to my Easter chocolate-covered Oreo color palette.
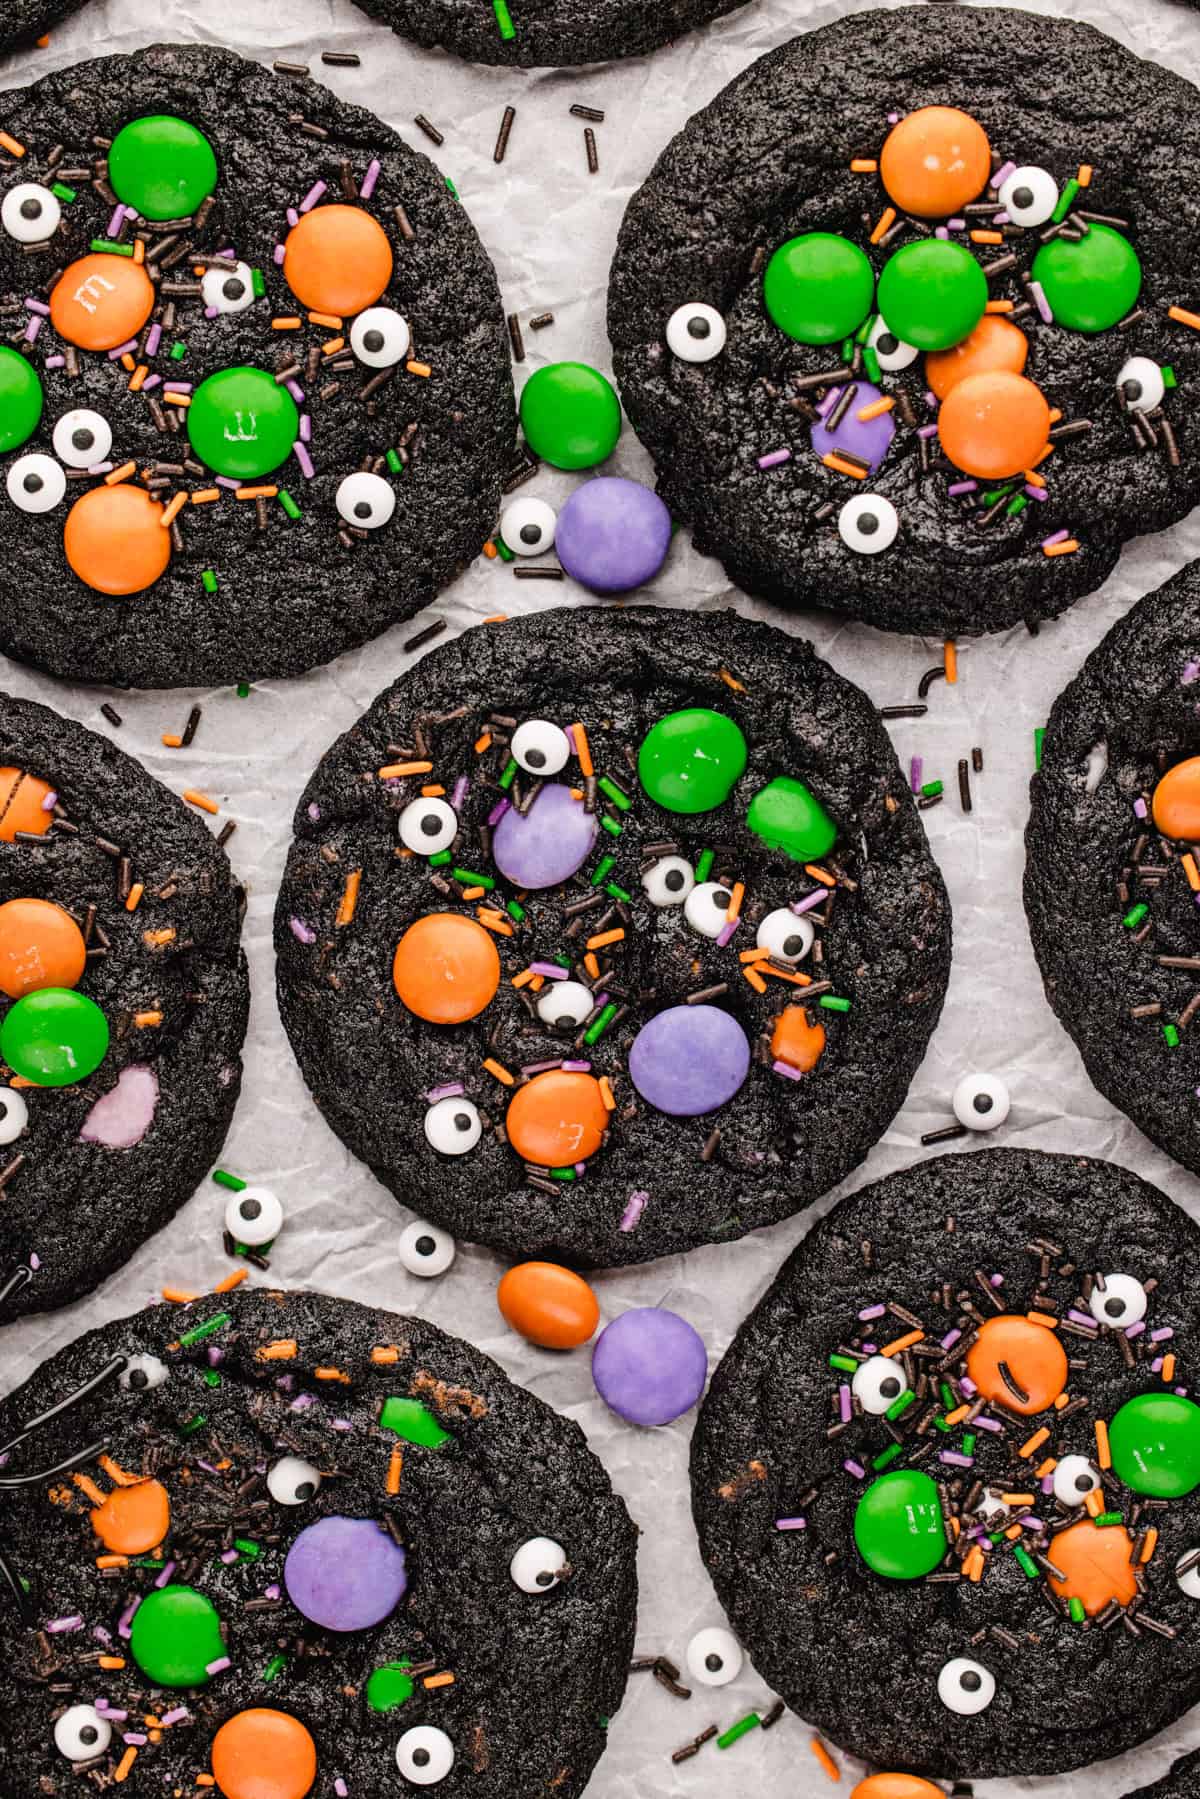
Key Ingredients You Need & Why
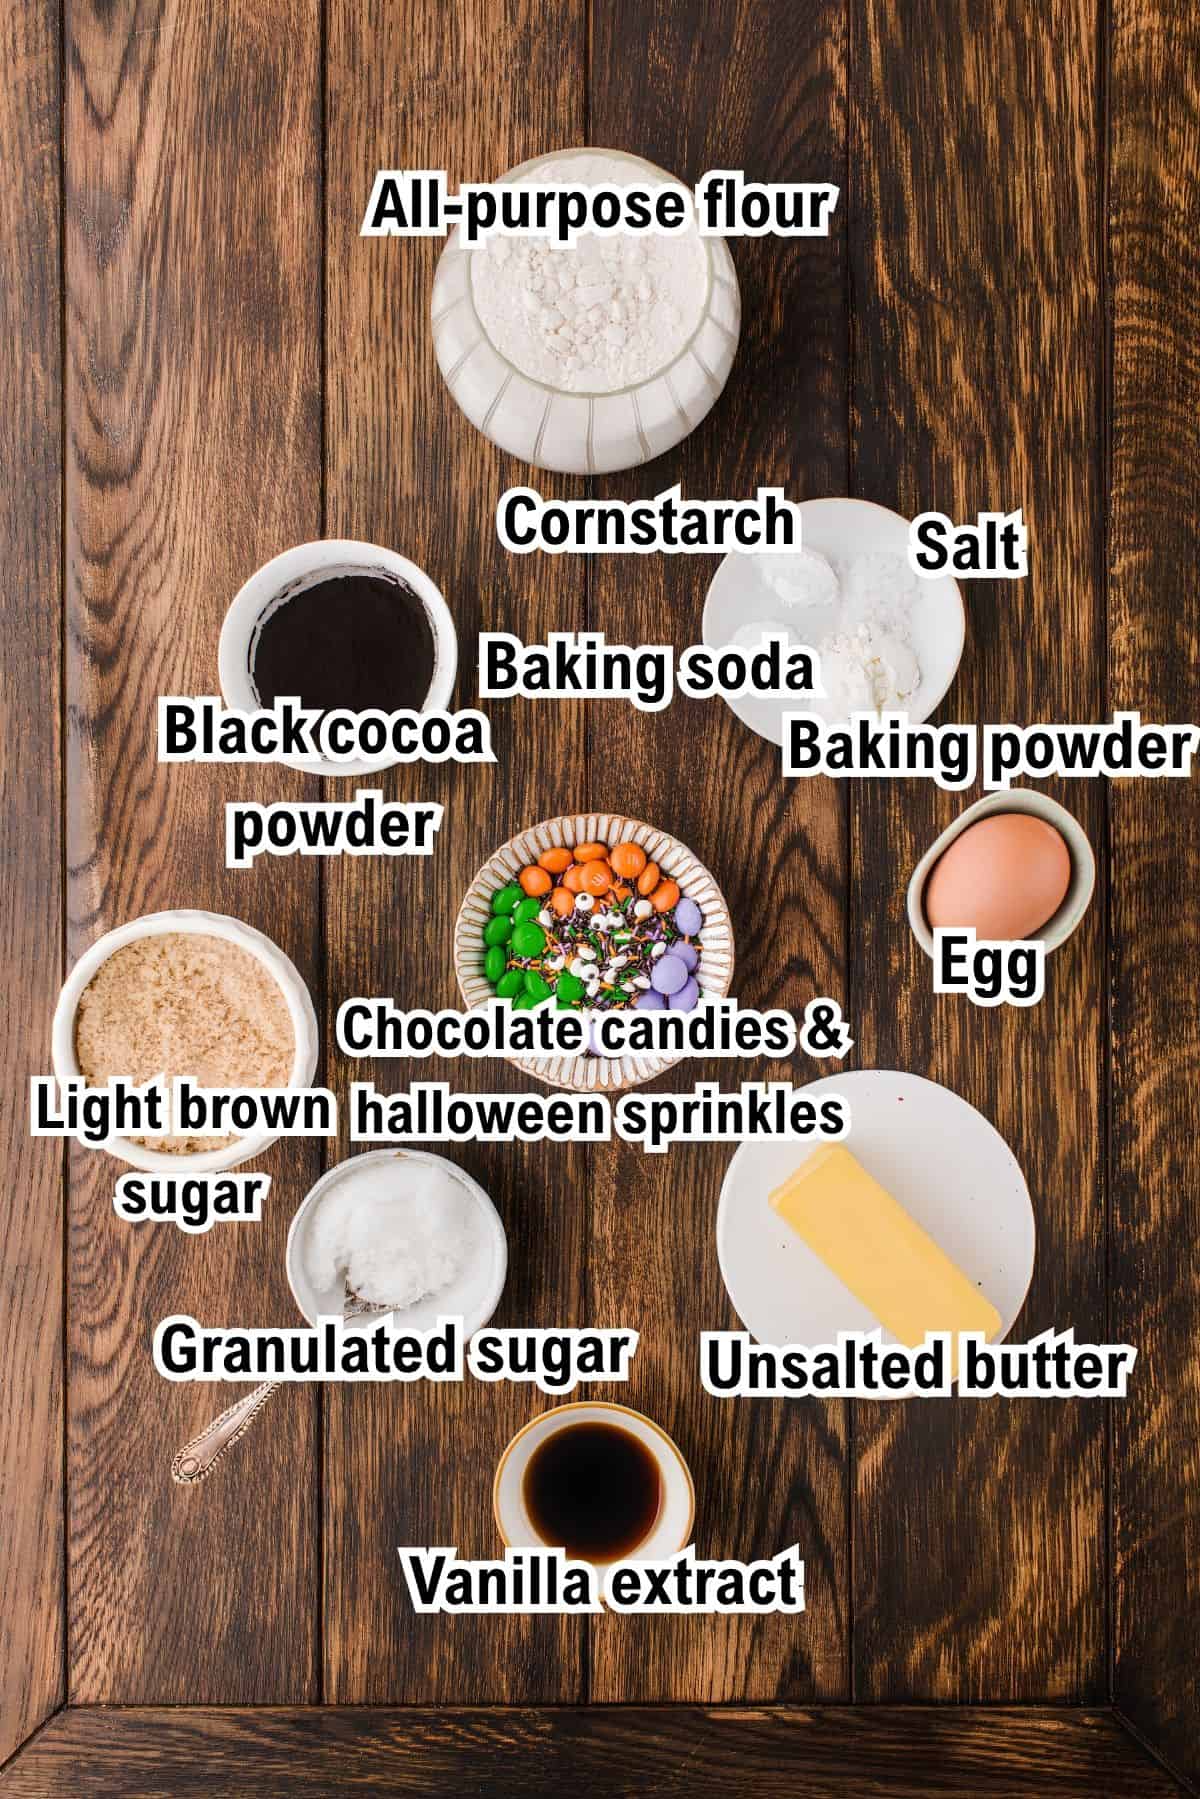
- Black cocoa powder: Black cocoa is what gives these cookies their almost-black appearance. It is more heavily alkalized (treated to be less acidic) than regular Dutch-process cocoa, and it has a smooth, mellow chocolate flavor similar to Oreos. Make sure you use black cocoa powder rather than simply a very dark regular cocoa. You don't need black food coloring to get the color shown in my photos.
- Where can I find black cocoa powder? Look for it at specialty baking shops or online. It's sold under a few brand names, usually labeled "black cocoa" or "ultra Dutch-processed cocoa."
- Can I use regular cocoa powder instead? Regular cocoa powder can technically be substituted, but the finished cookies will be brown rather than dramatically black.
- Flour: Measure the flour carefully. For the most accurate result, I recommend spooning the flour into the measuring cup and leveling the top rather than scooping directly from the bag. Packing too much flour into the cup can make the cookies thick and dry.
- Butter: The butter should be softened but not warm or greasy. It should give slightly when you press it with a finger while still holding its shape. Butter that is too warm can cause the cookies to spread too much.
- Halloween candies: You can use Halloween M&M's or another seasonal candy-coated chocolate mix if you can find one. If you cannot find a Halloween mix, simply use orange and green M&M's along with purple candy-coated chocolates. The exact combination does not need to be perfect. Aim for a good mix of orange, green, and purple across the batch.
- Sprinkles: Jimmies work especially well in these cookies because they hold their shape during baking. A mix of orange, purple, green, and black gives the strongest Halloween look.
- Candy eyeballs: These add a fun, spooky face to each cookie and are a favorite with kids and my husband!
Tips for Making the Dough
- Expect a soft dough: The dough is meant to be soft and a little sticky right after mixing. Resist the temptation to add more flour. After 30 minutes in the refrigerator, it should be much easier to scoop and shape.
- Do not skip the chilling time: Besides making the dough easier to handle, chilling firms up the butter and helps control how much the cookies spread in the oven.
Decorating Tips
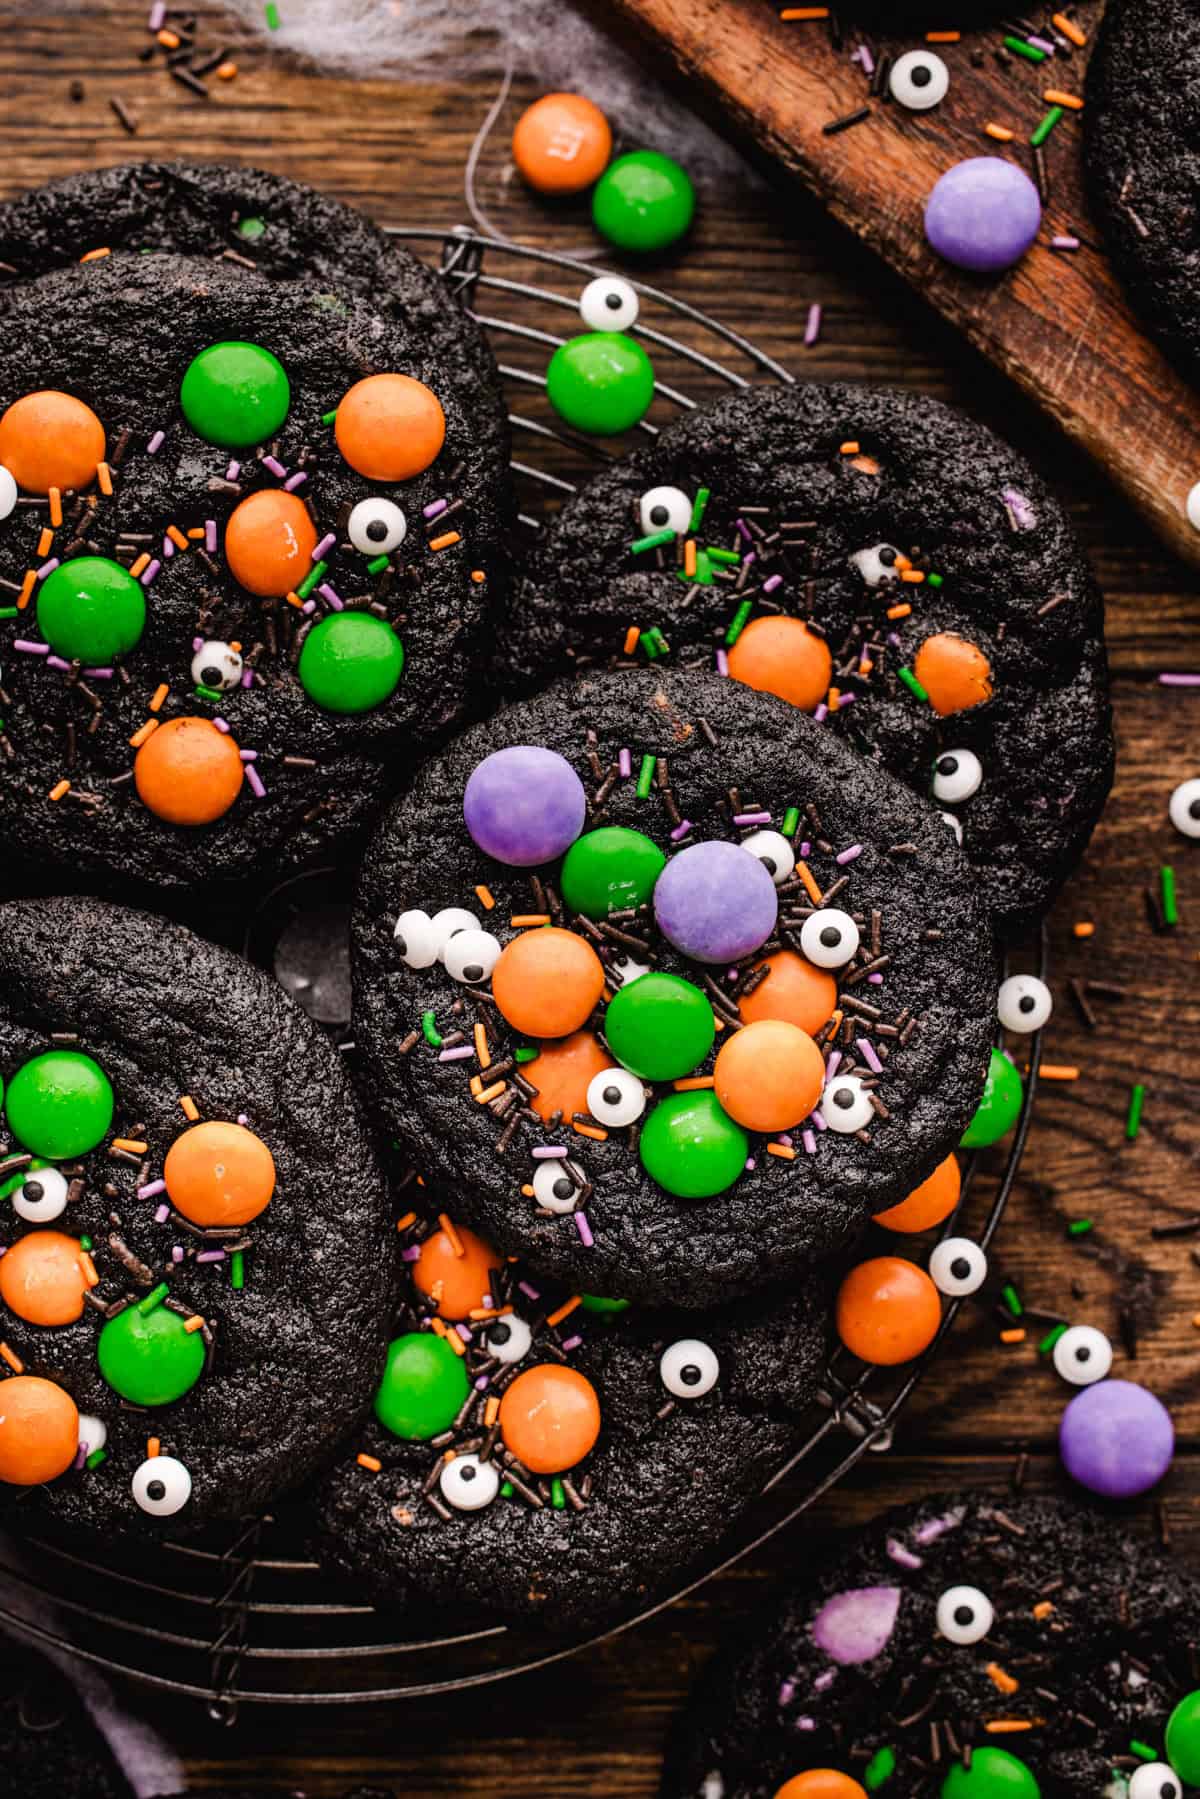
- Save plenty of decorations for after baking: Candies hidden inside the dough will not give the same colorful finish. I add some to the warm cookies right out of the oven, which lets me control where each color appears.
Baking Tips
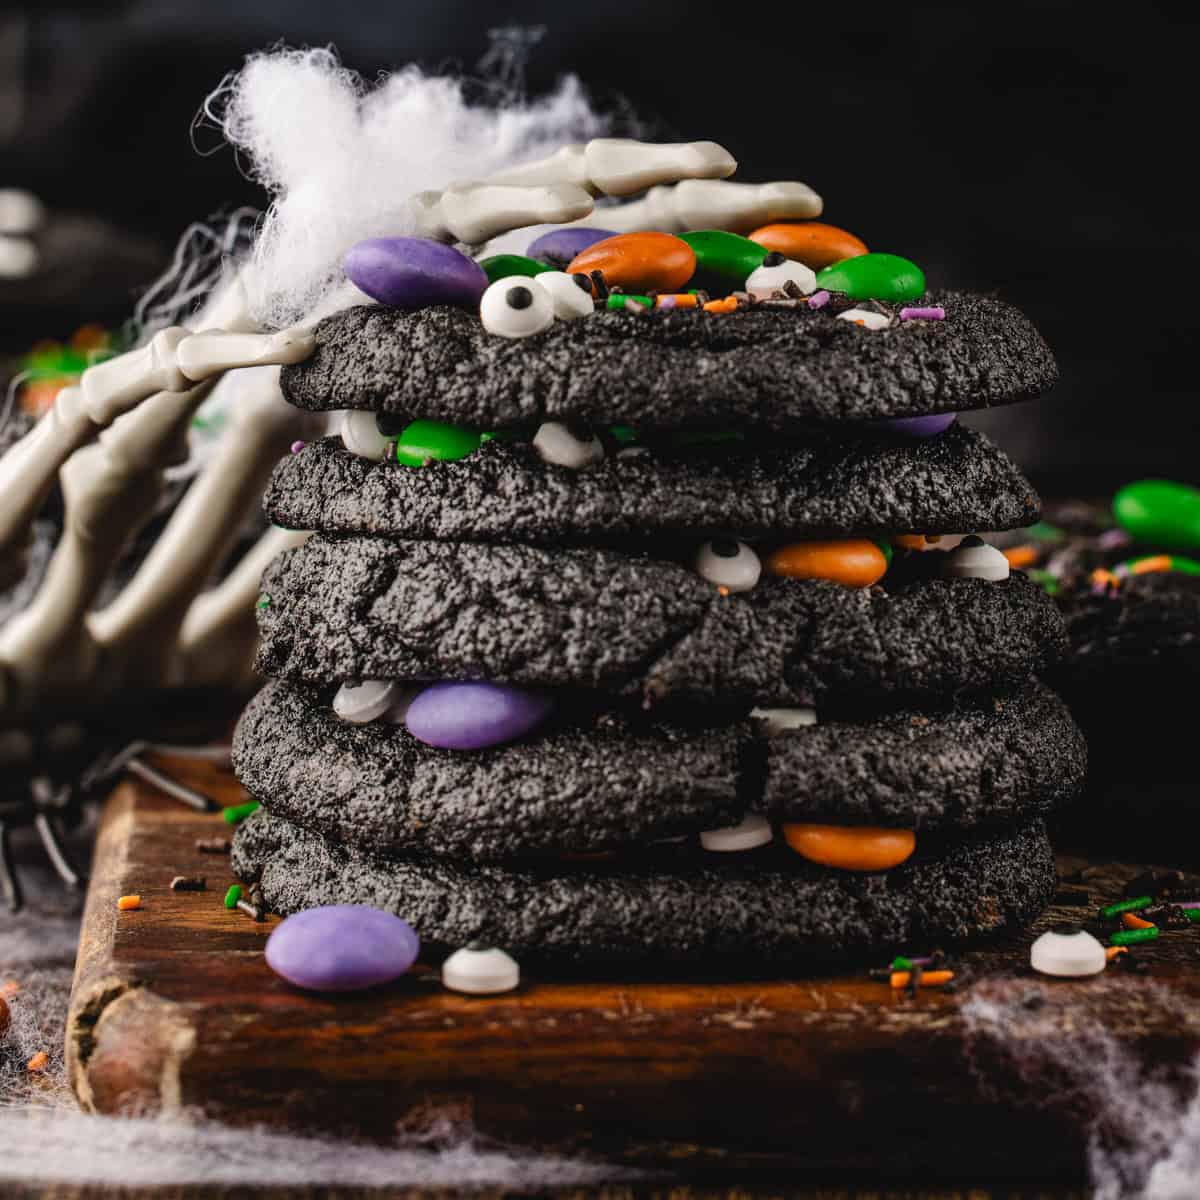
- Take them out while the centers still look soft: Do not wait for the centers to look completely firm before taking the cookies out of the oven. They will finish setting on the hot baking sheet, which keeps the centers chewy.
- Let the pan cool between batches: If you are baking more than one batch, let the baking sheet cool before adding the next batch of dough. Placing chilled dough on a hot pan can cause the cookies to start spreading before they even reach the oven.
- For perfectly round cookies: As soon as the cookies come out of the oven, place a large round cookie cutter (or the rim of a bowl or glass slightly larger than the cookie) over each one and gently swirl it around the edges. This nudges them into neat, round circles.
Variations
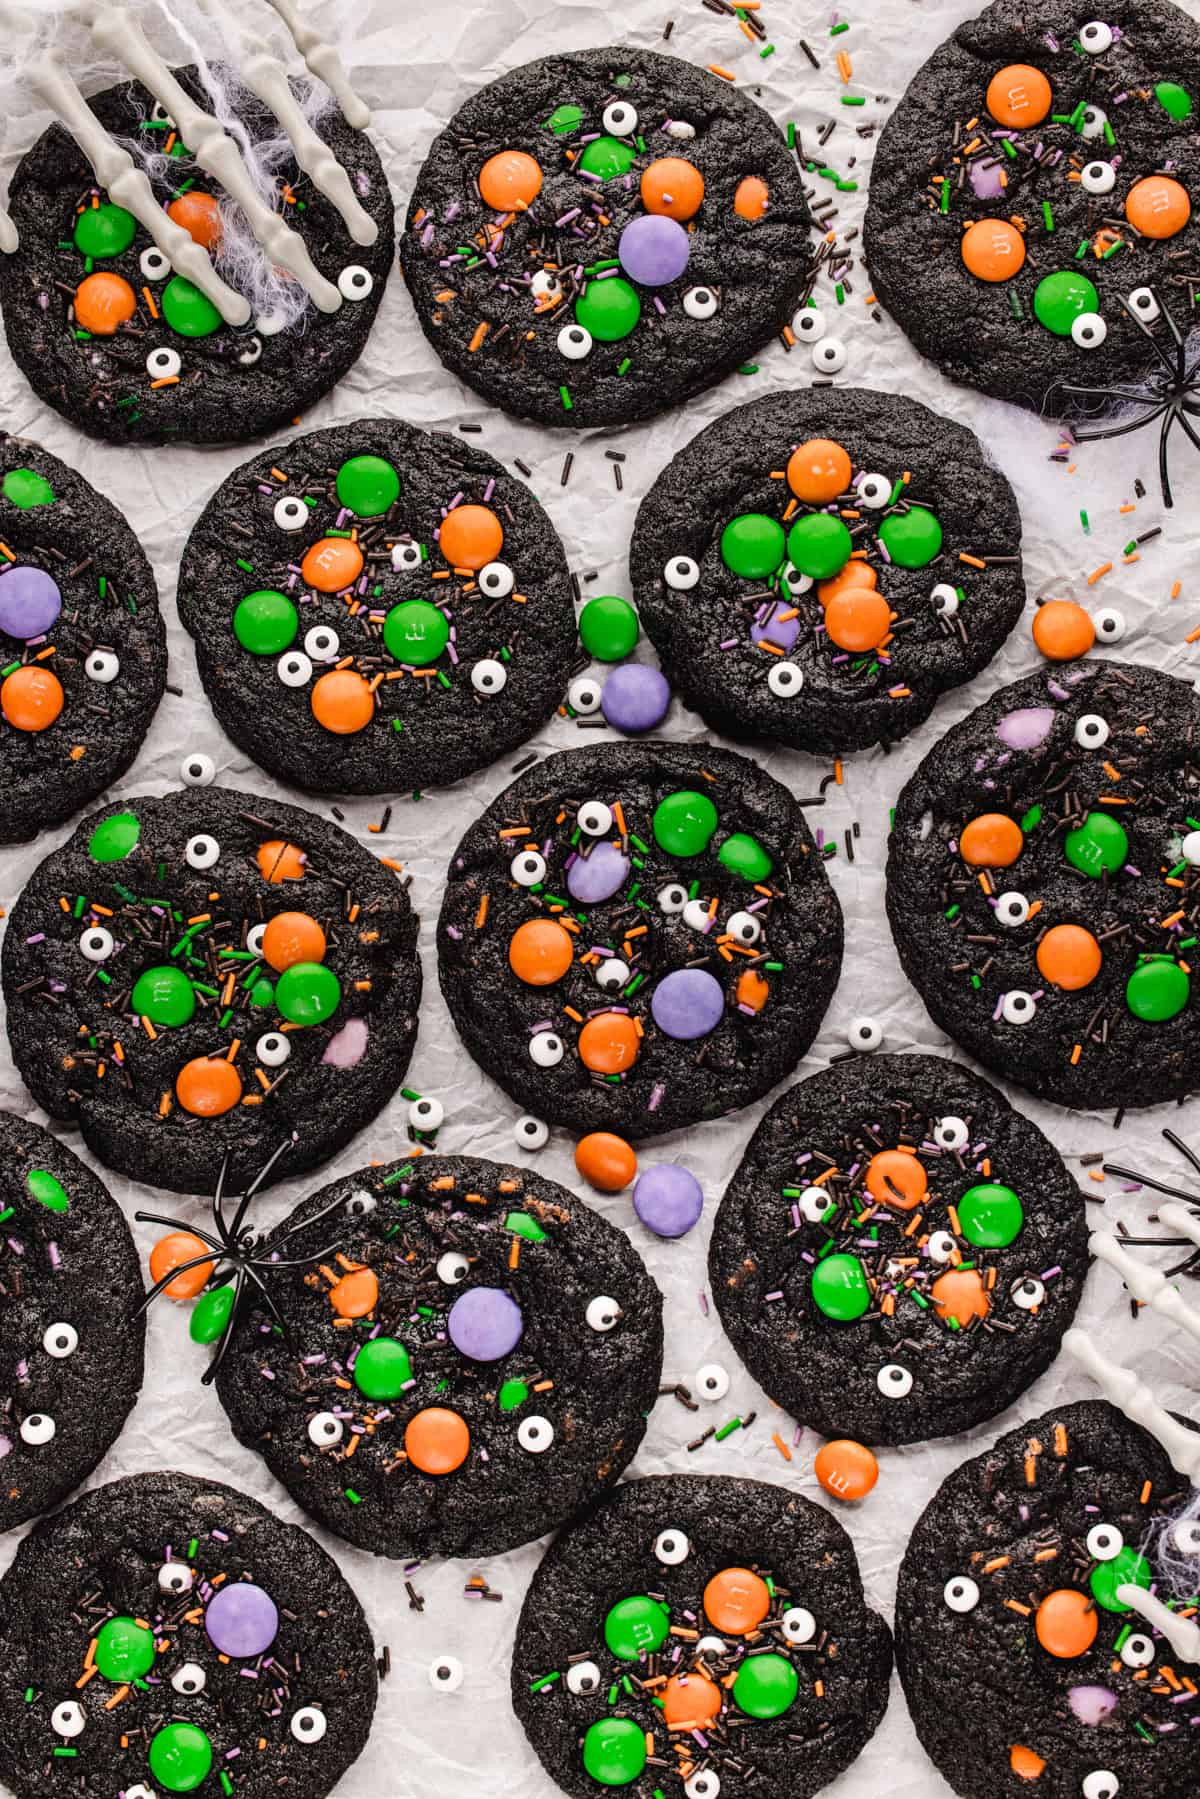
I like to keep it simple: candy-coated chocolates, Halloween jimmies, and candy eyeballs. Decorate while the cookies are warm. The heat helps everything stick. Wait about a minute before adding the eyeballs, so they don't soften too much.
- Extra decorations: You can also try mini pretzel "arms," candy corn, mini marshmallows, white chocolate drizzle, orange sanding sugar, or a few chocolate chips.
- Regular chocolate cookies: Use Dutch-processed cocoa instead of black cocoa. They'll look like my outrageous chocolate cookies.
- Peanut butter monster: Swap half the candies for peanut butter chips or chopped peanut butter cups.
- Candy corn: Press a few candy corn pieces on top right after baking.
- Mummy cookies: Skip the jimmies on top. Drizzle cooled cookies with melted white chocolate in zigzag lines, then add two candy eyeballs.
Halloween Cookies (Fudgy Chocolate Cookies with Candy Eyeballs)
Ingredients
- 1 ½ cups all-purpose flour (190 g), spooned and leveled
- ⅓ cup black cocoa powder (28 g)
- ½ teaspoon baking soda
- ½ teaspoon baking powder
- 1 teaspoon cornstarch
- ½ teaspoon salt
- ¾ cup unsalted butter (170 g), softened
- ¾ cup light brown sugar packed, (150 g)
- ¼ cup granulated sugar (50 g)
- 1 large egg room temperature
- 1 large egg yolk room temperature
- 2 teaspoons vanilla extract
- ¾ cup orange, green, and purple candy-coated chocolates (about 150 g), plus more for decorating
- 3 tablespoons Halloween jimmies plus more for decorating
- Candy eyeballs for decorating
Instructions
- Mix the dry ingredients. In a medium bowl, whisk together the flour, black cocoa powder, baking soda, baking powder, cornstarch, and salt until evenly combined. Set aside.
- Cream the butter and sugars. Add the softened butter, brown sugar, and granulated sugar to a large mixing bowl. Using an electric mixer, beat for about 2 minutes, until creamy and well combined.
- Add the egg, egg yolk, and vanilla extract. Beat again until smooth, scraping down the sides and bottom of the bowl as needed.
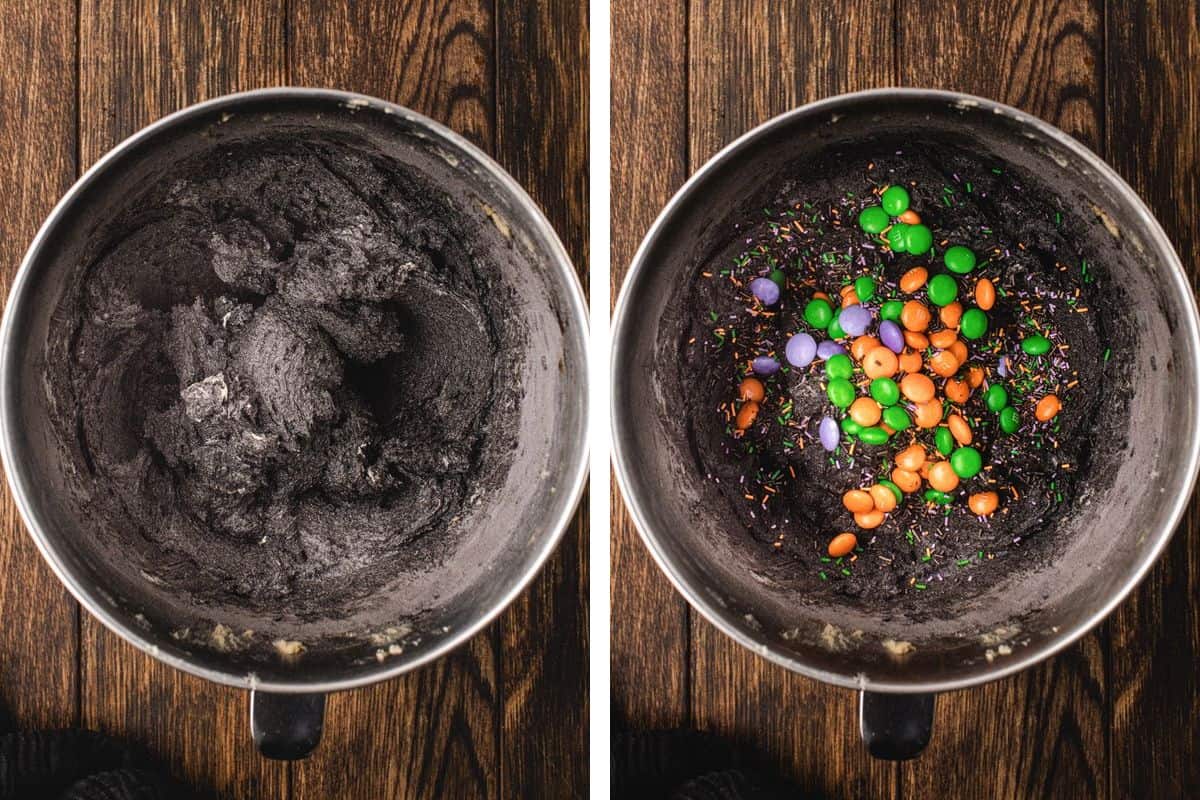
- Add the dry ingredients to the butter mixture. Mix on low speed just until a dark cookie dough forms and no streaks of flour remain. Avoid overmixing.
- Fold in most of the candy-coated chocolates and the Halloween jimmies, keeping a small handful of candies aside for decorating. The dough will be quite soft and slightly sticky.
- Chill the dough. Cover the bowl and refrigerate for 30 minutes. The dough should become noticeably firmer and easier to handle.
- While the dough finishes chilling, preheat the oven to 350°F (175°C). Line large baking sheets with parchment paper.
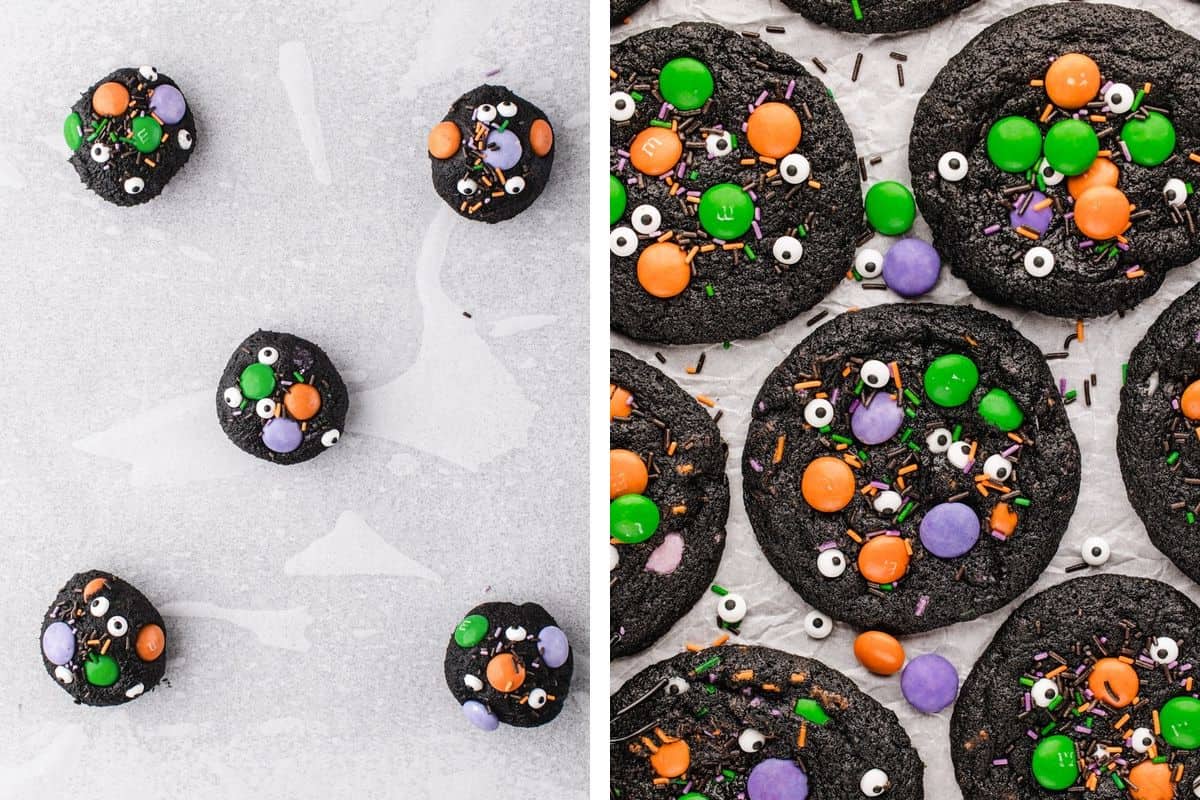
- Shape the cookies. Scoop the chilled dough into portions of about 3 tablespoons each and gently roll into balls. Arrange them on the prepared baking sheets, leaving plenty of space between each cookie.
- Press a few of the reserved candy-coated chocolates and a small pinch of sprinkles onto the tops of the dough balls. Keep some candies and sprinkles back for decorating after baking.
- Bake. Bake for 10 to 12 minutes, until the edges are set but the centers still look soft. Black cocoa makes it hard to judge doneness by color, so take care not to overbake.
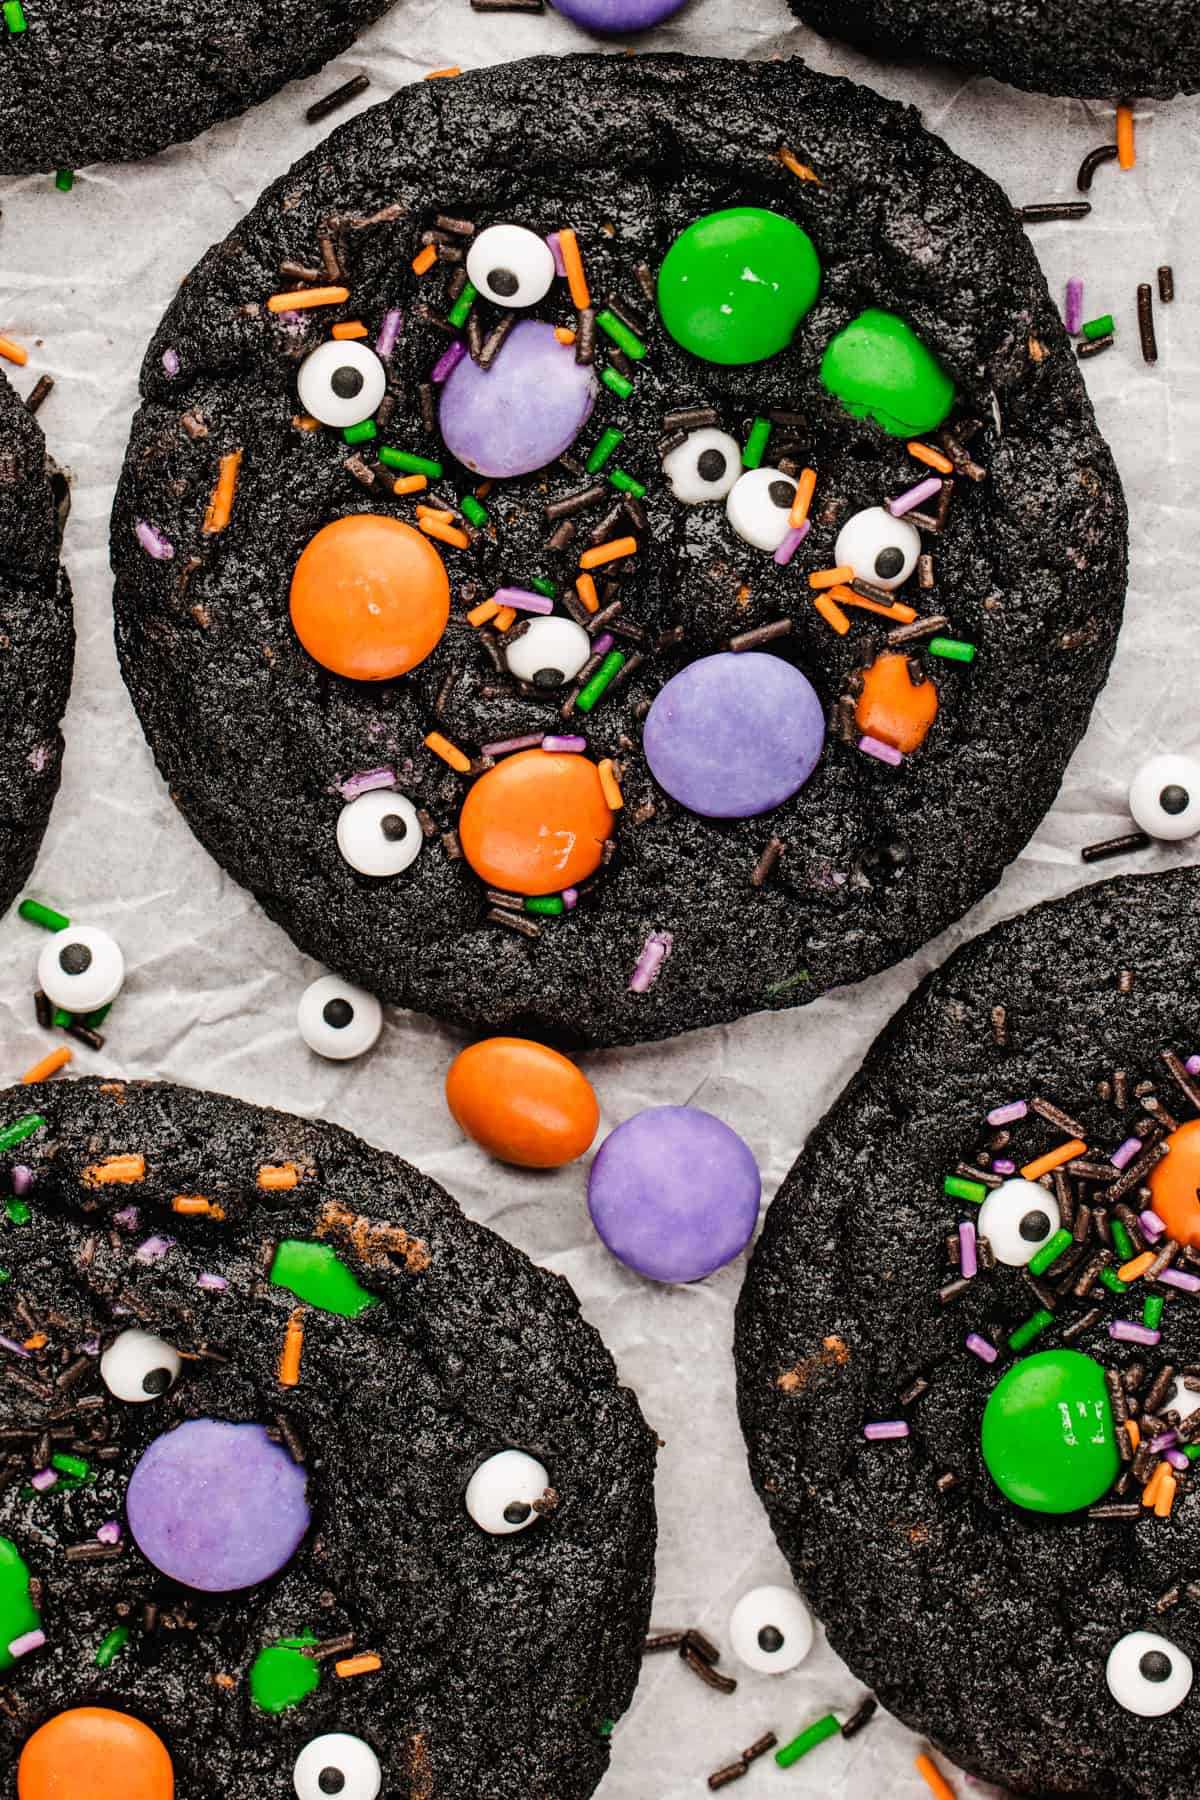
- Decorate while warm. As soon as the cookies come out of the oven, gently press candy eyeballs, more candy-coated chocolates, and a few extra sprinkles into the warm tops. The heat helps the decorations stay in place.
- Cool. Leave the cookies on the baking sheet for about 10 minutes. They will be soft at first but will set as they cool. Transfer to a wire rack and let cool completely.
Notes
- I've included step-by-step photos below this recipe card for visual guidance.
- Where can I find black cocoa powder? Look for it at specialty baking shops or online. It's sold under a few brand names, usually labeled "black cocoa" or "ultra Dutch-processed cocoa." See more ingredient tips here.
- Black Cocoa Substitute: Use the same amount of Dutch-process cocoa. The cookies will be dark brown instead of black.
- Measure the flour correctly. Spoon it into the cup and level it off. Packed flour makes dry, cakey cookies.
- Don't skip the chill. The dough is very soft at first. Chilling for 30 minutes keeps the cookies thick and prevents them from spreading too much.
- Watch the clock, not the color. Black cocoa hides browning. Start checking at 10 minutes. The edges should look set and the centers soft and puffy.
- Baking in batches? Keep the remaining dough in the fridge while the first batch bakes. Let the baking sheet cool before adding the next batch.
- Bake one sheet at a time: For the most even baking, bake one sheet at a time on the center rack. Keep the remaining dough in the fridge between batches.
- Don't overbake: Pull the cookies when the edges look set, even if the centers look underdone. They firm up as they cool.
- How do I know they're done? Since you can't see them brown, check the edges. They should look set and dry, while the centers still look soft and slightly puffy. The cookies finish setting as they cool on the baking sheet.
- Why did my cookies spread too much? The dough was too warm, or the butter was too soft. Chill the dough for the full 30 minutes and keep unbaked dough in the fridge between batches.
- Why did my candy eyeballs melt? Candy eyeballs can soften if the cookies are piping hot. If yours start to slide, wait 1 to 2 minutes after baking, then press them in. The tops will still be warm enough to hold them.
- Find more baking tips here and variations here.
- Special Tools: Electric Mixer | Large Mixing Bowl | Whisk | Cookie Scoop (3 Tablespoon) | Large Baking Sheets | Parchment Paper | Wire Cooling Rack
Storage, Freezing, Make-Ahead
- Room temperature: Let the baked cookies cool completely before storing. Keep them in an airtight container at room temperature for up to 4 days. I recommend placing a piece of parchment paper between layers to protect the decorations.
- Freezing baked cookies: Freeze in a single layer, then move to a freezer bag for up to 3 months. Thaw at room temperature. The candy eyeballs may get a little tacky, so I prefer freezing the dough.
- Freezing the dough: You can also freeze the unbaked cookie dough. Roll the dough into balls and freeze them on a baking sheet until firm, then transfer them to an airtight freezer container or freezer bag for up to 3 months. You can bake the cookies straight from frozen, adding an extra minute or two to the baking time as needed.
- Make-ahead: Make the dough up to 2 days ahead and keep it covered in the fridge. Let it sit at room temperature for 10 minutes before scooping.
Nutrition
Nutrition Disclaimer:
The nutritional information on this website is only an estimate and is provided for convenience and as a courtesy only. The accuracy of the nutritional information for any recipe on this site is not guaranteed. It should not be used as a substitute for a professional nutritionist's advice.
How to Make Halloween Cookies (Step-by-Step)
This recipe overview includes helpful tips. Scroll up for the complete instructions and ingredient amounts in the recipe card above.
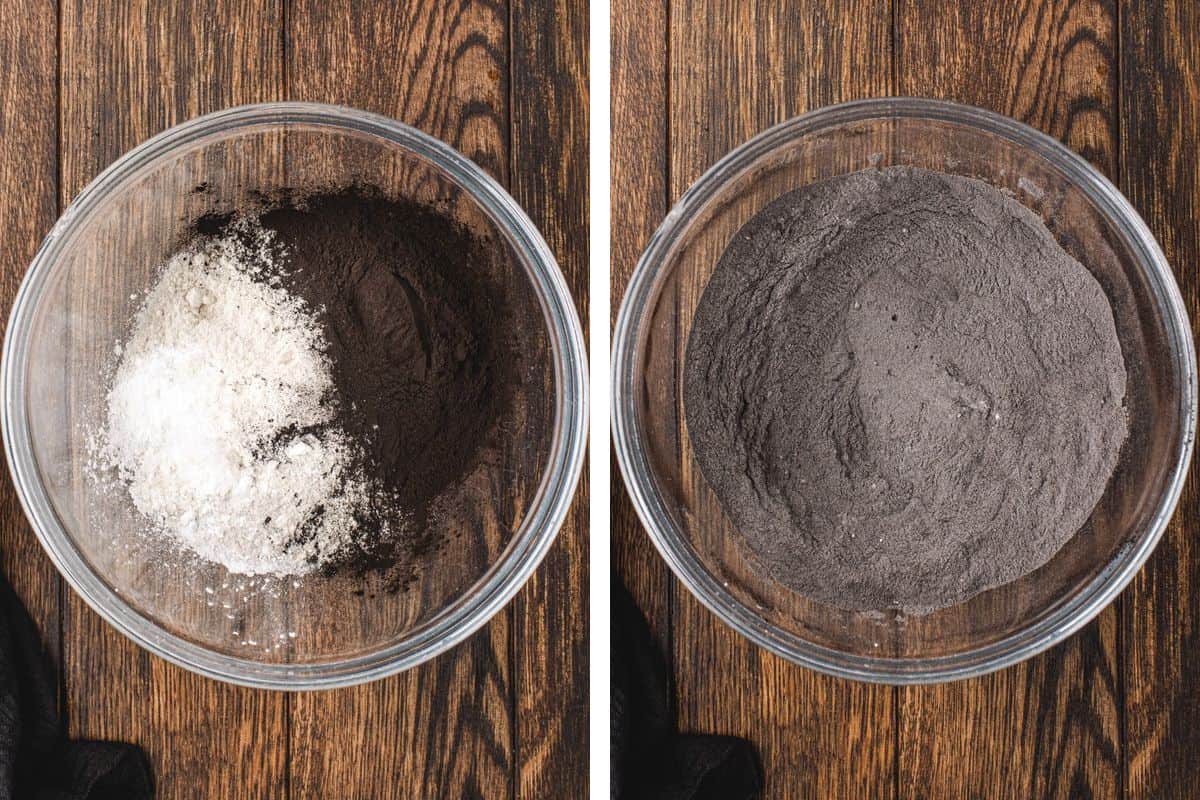
- Mix the dry ingredients: Whisk together the flour, black cocoa, baking soda, baking powder, cornstarch, and salt. Set aside.
- Cream the butter and sugars: Beat the butter, brown sugar, and granulated sugar with an electric mixer for about 2 minutes, until creamy.
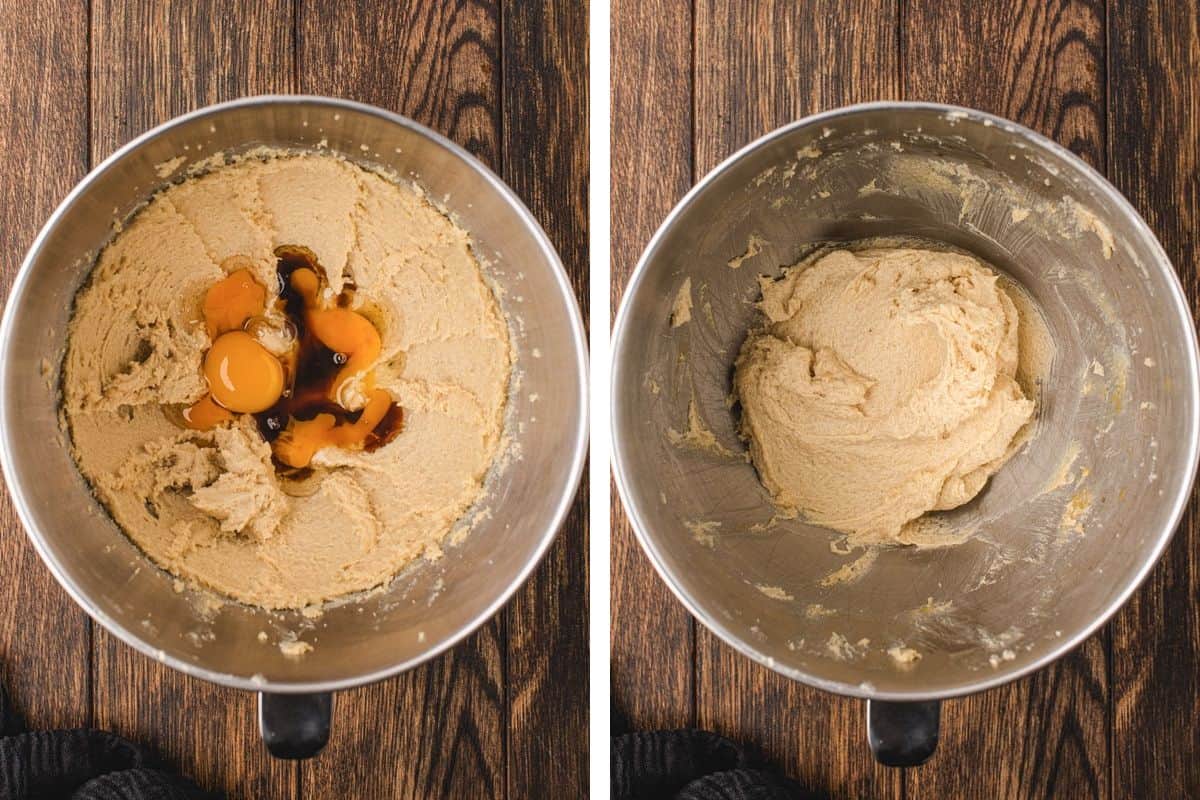
- Add the eggs and vanilla: Beat in the egg, egg yolk, and vanilla until smooth, scraping down the bowl as needed.
- Make the dough: Mix in the dry ingredients on low speed just until no flour streaks remain.
- Fold in the candy: Fold in the candy-coated chocolates and jimmies. The dough will be soft and a bit sticky.
- Chill: Cover and refrigerate for 30 minutes. Meanwhile, preheat the oven to 350°F (175°C) and line baking sheets with parchment paper.
- Scoop and top: Roll about 3 tablespoons of dough per cookie into balls. Press a few extra candies and sprinkles on top.
- Bake: Bake for 10 to 12 minutes, until the edges are set but the centers still look soft. Black cocoa hides browning, so watch the timer instead of the color.
- Decorate while warm: Right away, press candy eyeballs, more candies, and sprinkles into the tops.
- Cool: Let the cookies rest on the baking sheet for 10 minutes, then move them to a wire rack to cool completely.
More Halloween and Fall Dessert Recipes
- Pumpkin Brownies
- Pumpkin Turtle Pie
- Pumpkin Shaped Cake (Made with Two Bundt Cakes)
- Buckeye Candy
- Pumpkin Cream Cheese Bread with Streusel Topping
- Hot Cocoa Cookies with Marshmallows
- Spooky Halloween Chocolate Bugs
- Halloween Mummy Pastries with Apples and Pears
- Cinnamon Apple Wizard Hat Turnovers
- No-Bake Turtle Pumpkin Pie
If you try my Halloween Cookies, have questions, or just want to say hi, I would love to hear your feedback in the comments below. Julia.

Submit your question or provide a review of the recipe + star rating RIGHT HERE.