
This post may contain affiliate links. Read my disclosure policy.
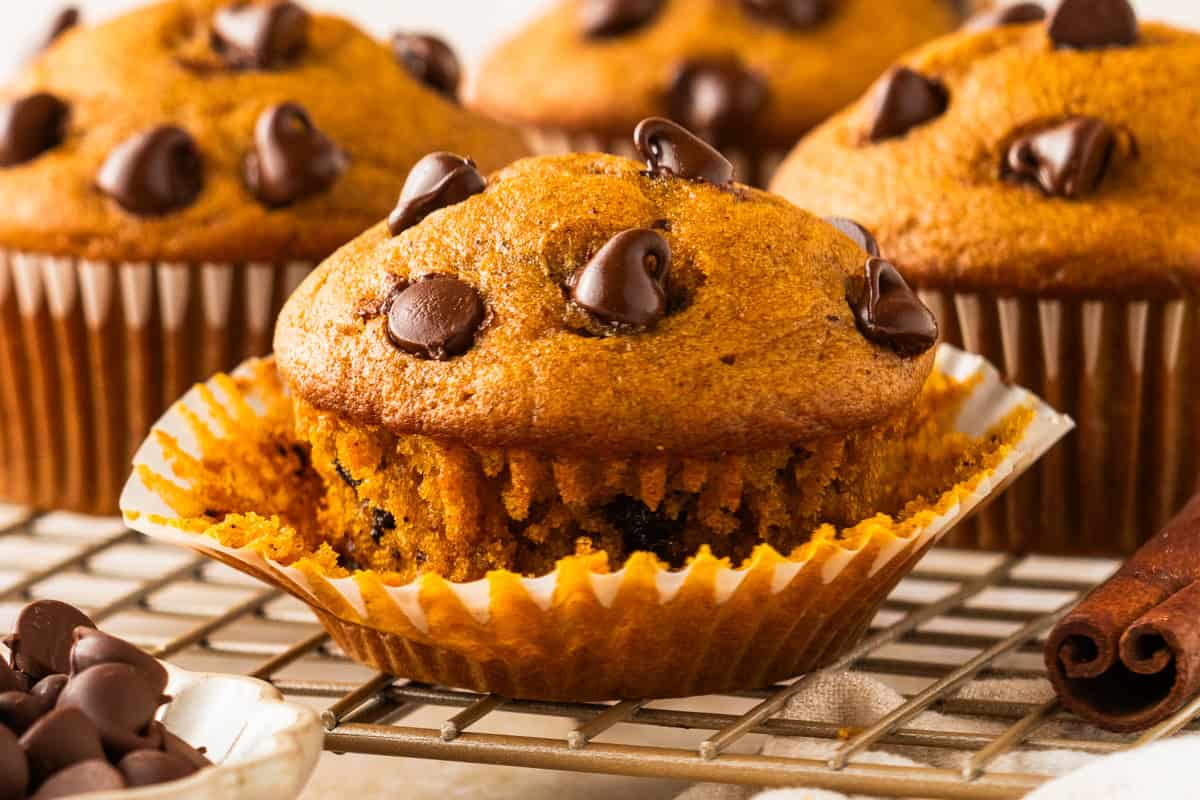
Soft, moist pumpkin chocolate chip muffins with tall bakery-style tops. Made with canned pumpkin puree, sour cream, and warm fall spices (cinnamon, nutmeg, and cloves). Ready in 35 minutes.
My Fall Baking Staple
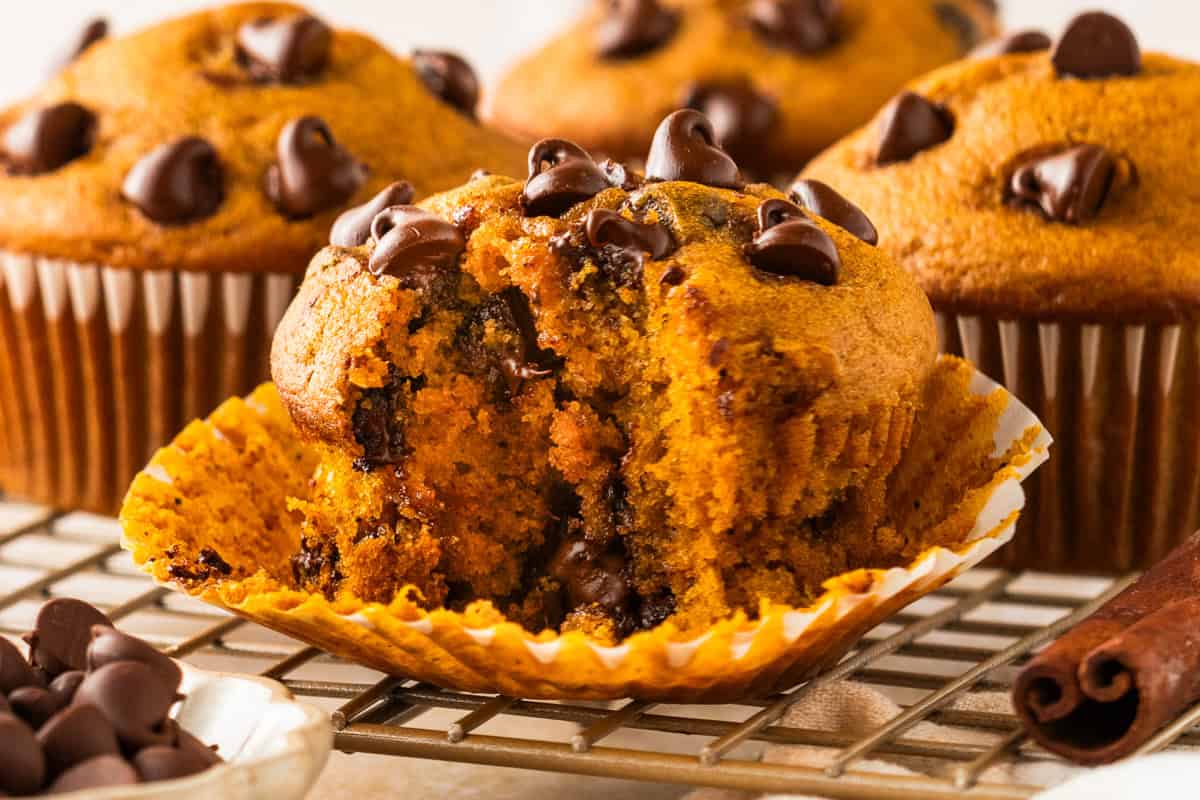
The first cold morning here in Colorado always signals it's time to open cans of pumpkin. These pumpkin chocolate chip muffins use 1 cup of canned pumpkin puree and sour cream, and I spice them with a homemade mix of cinnamon, nutmeg, and ground cloves. They come out tall, soft, and deeply spiced, with melted chocolate in every bite.
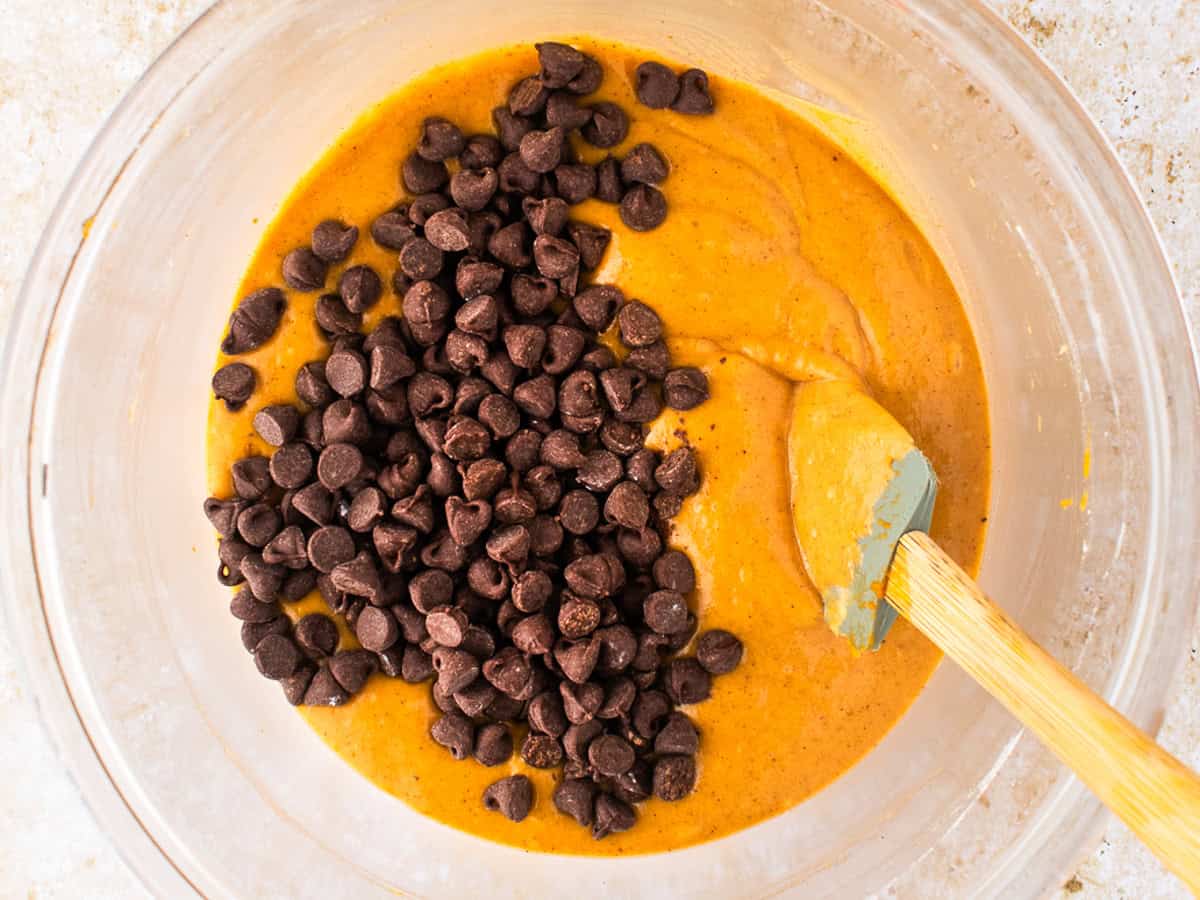
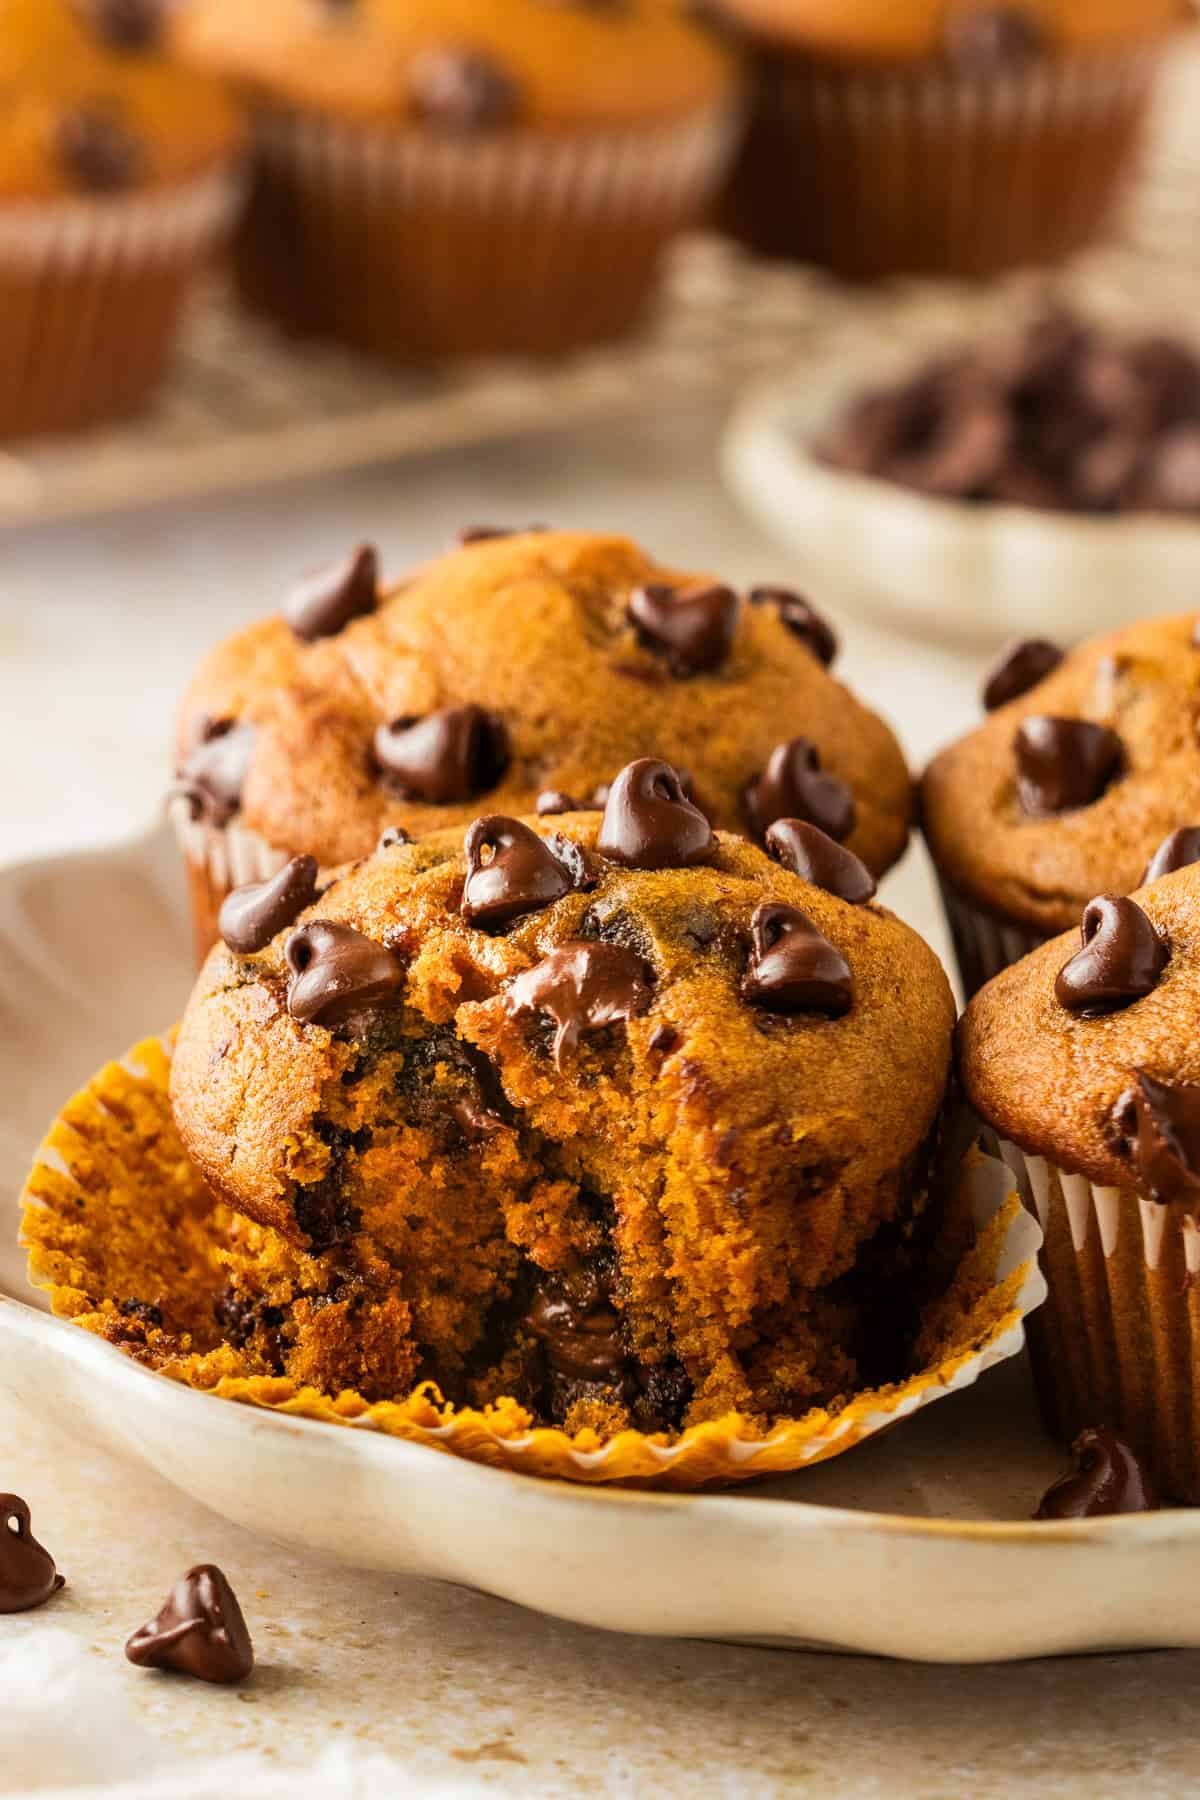
You'll love these because the crumb stays moist for days, and there's plenty of melted semi-sweet chocolate throughout. I make them all fall for holidays like Halloween and Thanksgiving, and even during the Christmas cookie-baking season.
These are also wonderful for meal prep. You can bake a batch on Sunday, keep half on the counter, and freeze the rest for school mornings and rushed workdays, exactly like I do with my strawberry banana bread muffins.
What to Expect From These Pumpkin Chocolate Chip Muffins
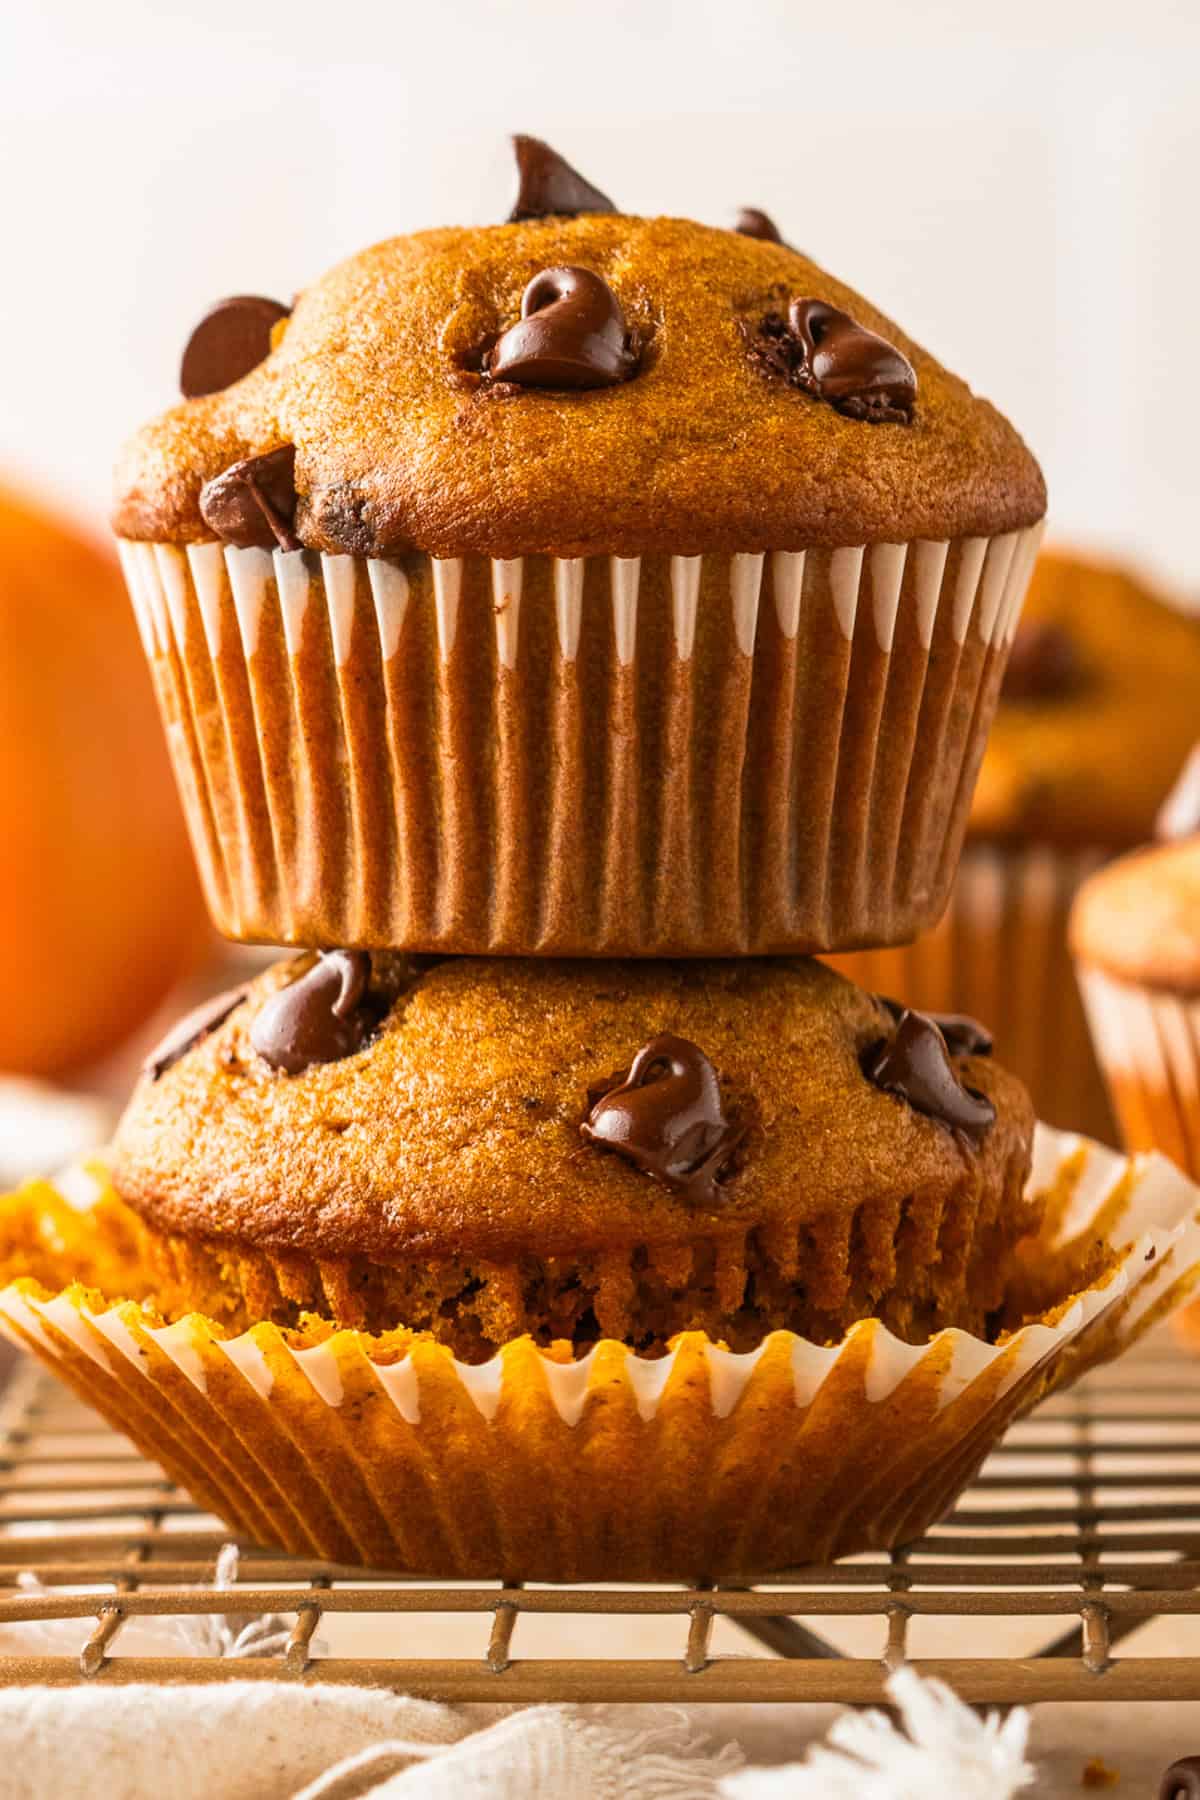
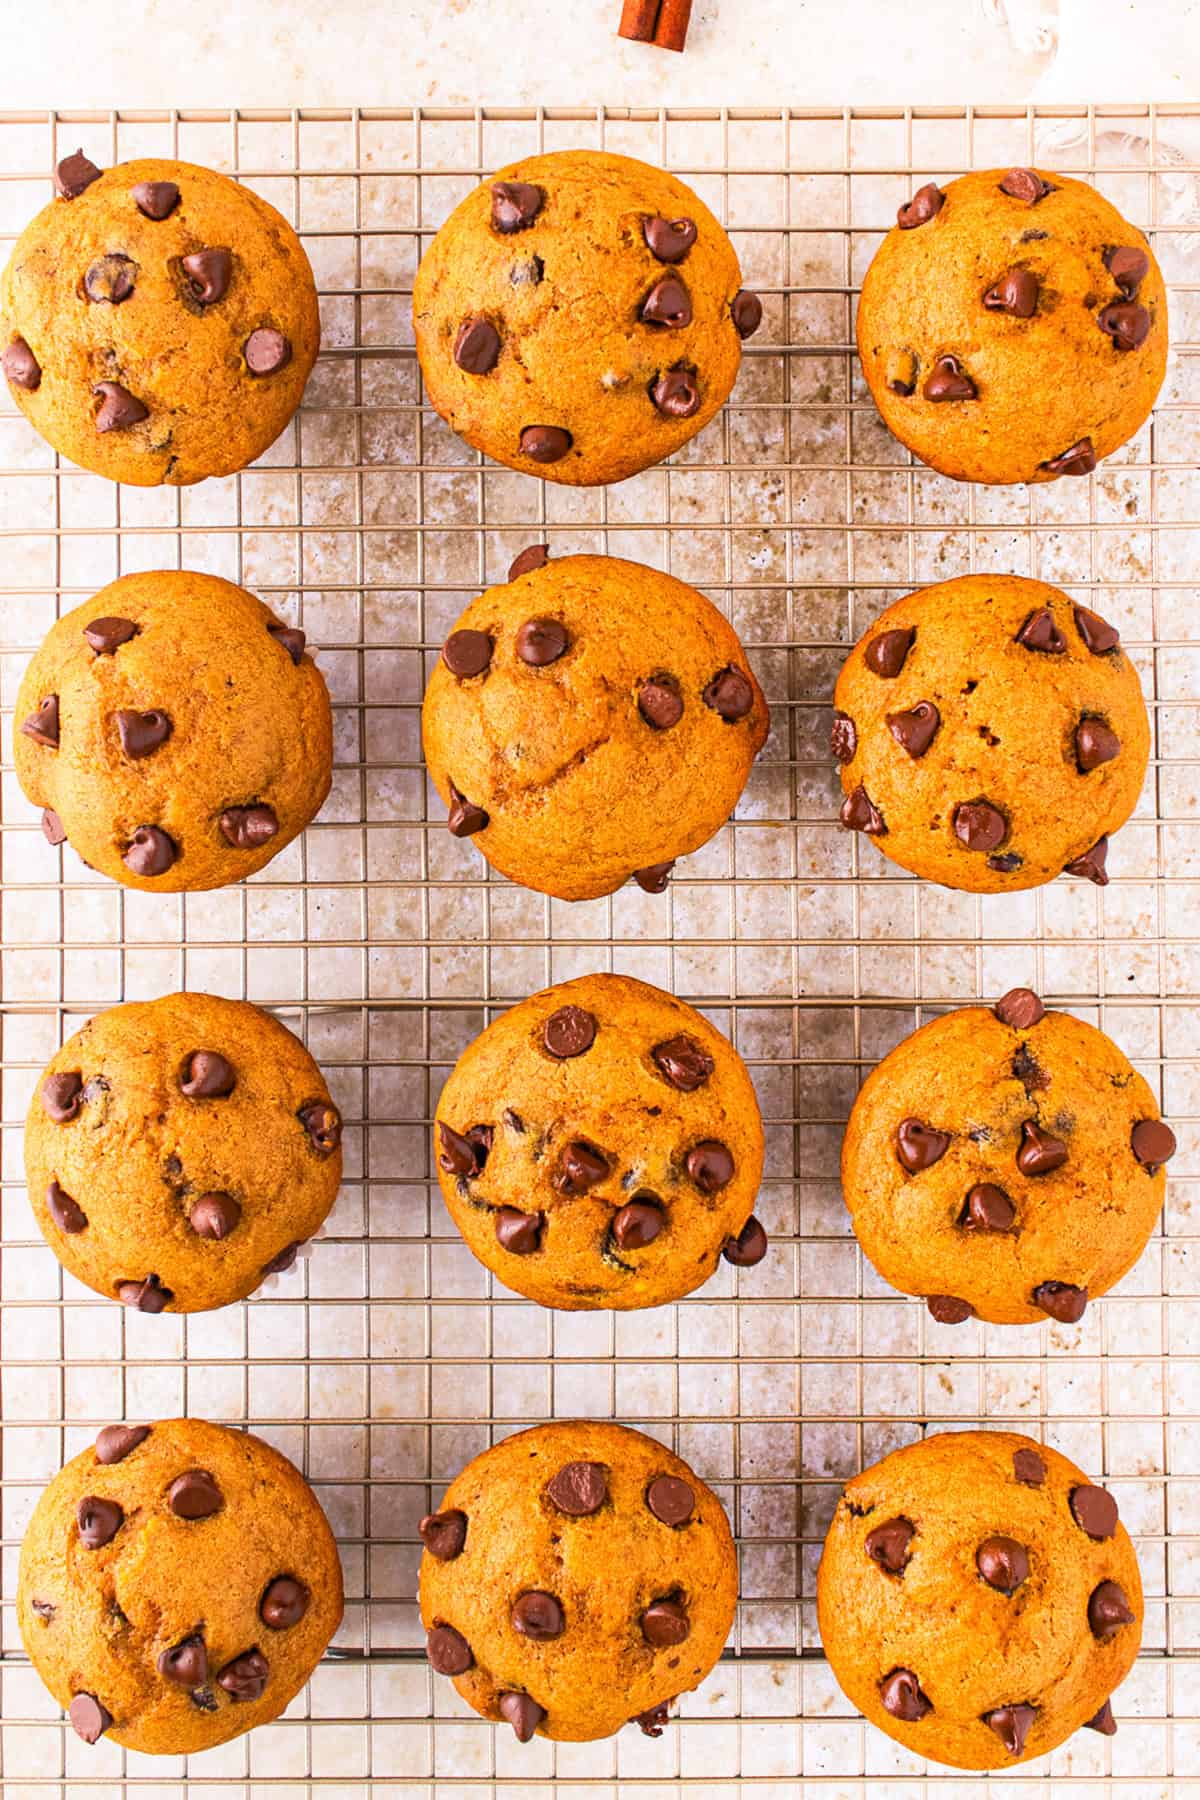
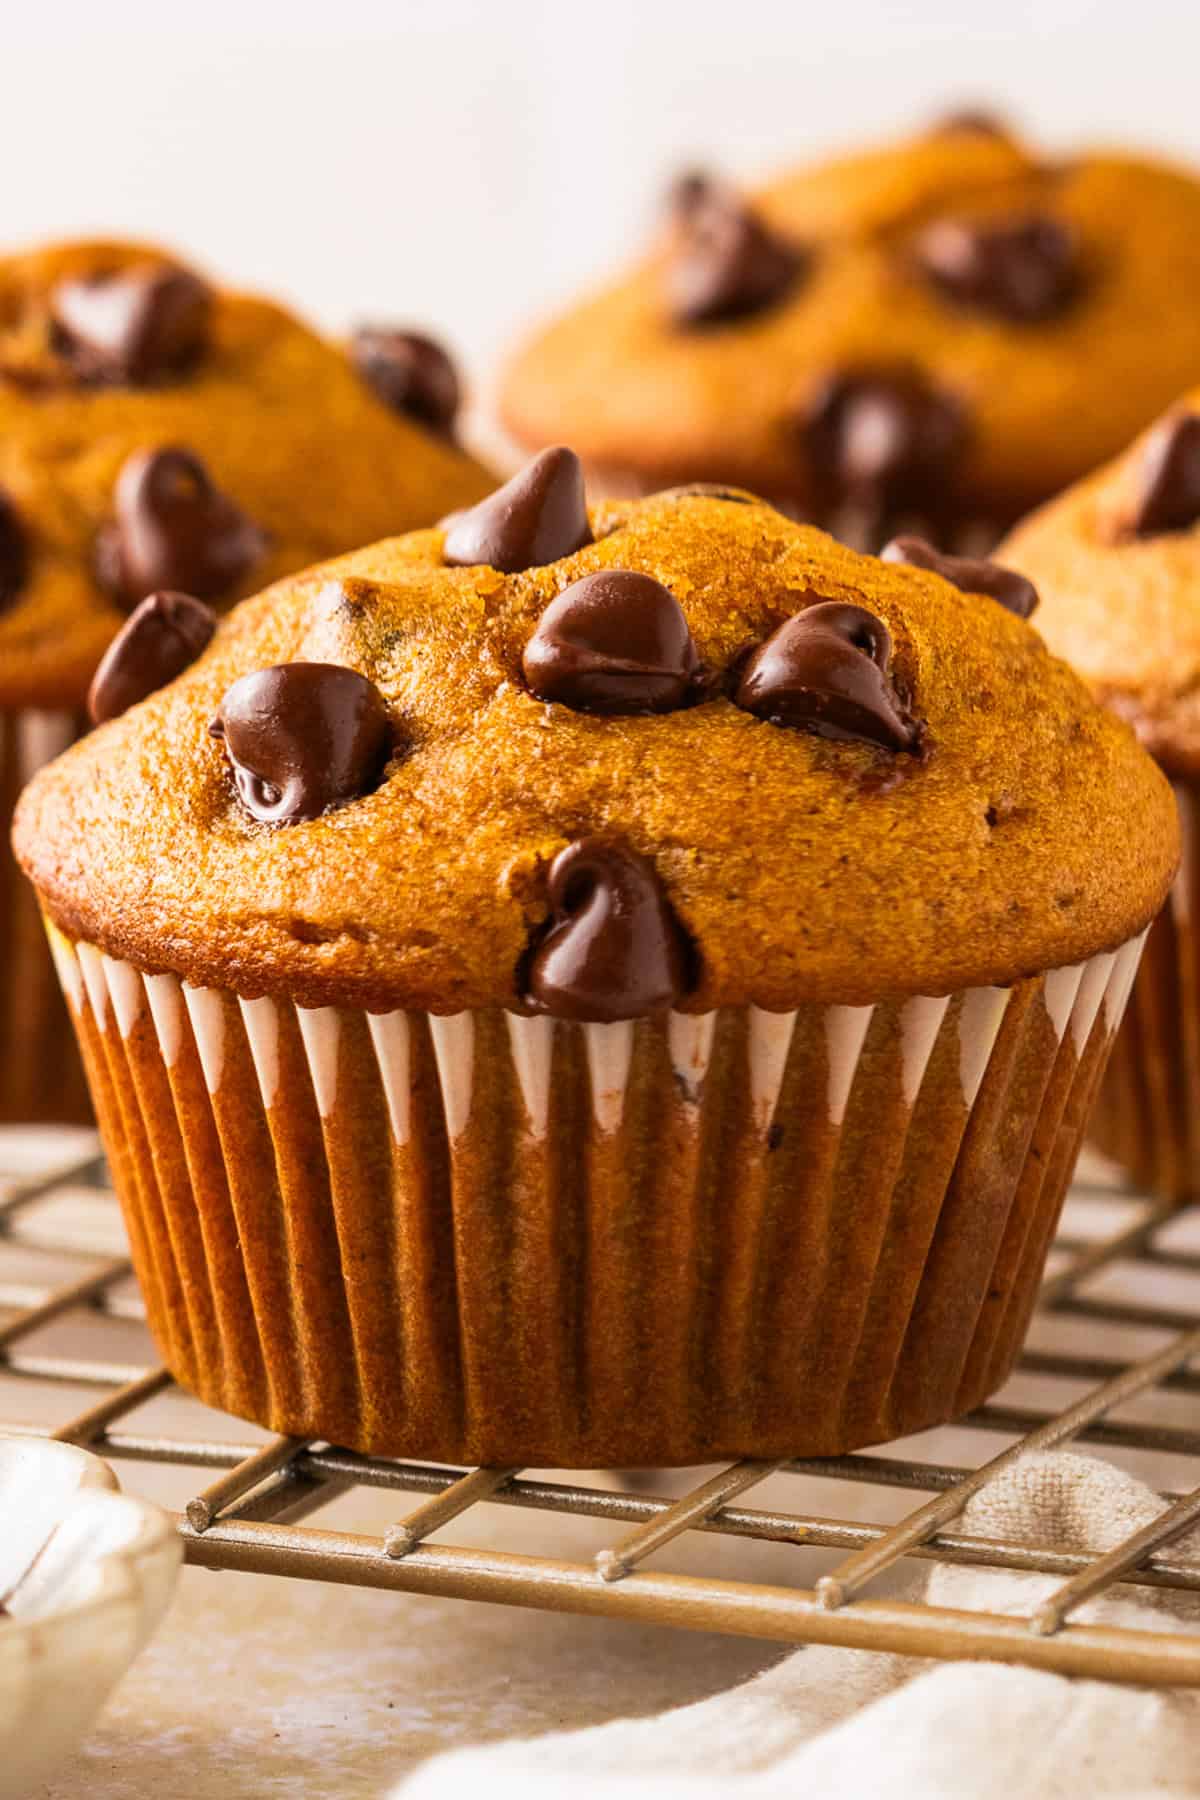
- Tall, domed tops. I start these hot at 400°F (200°C) for 5 minutes, then drop the heat to 350°F (175°C). That first blast of heat is what gives you the bakery-style crown. Do not open the oven door when you lower the temperature.
- Real pumpkin flavor. A full cup of pumpkin puree goes into the batter, so these taste like pumpkin, not just cinnamon.
- Really moist, and they stay that way. Oil, pumpkin puree, and sour cream keep the crumb soft for days - the same reason I use oil (not butter) in my very popular apple pumpkin bundt cake.
- No mixer needed. A whisk and a spatula, two bowls, 15 minutes of prep.
- Freezer-friendly and lunchbox-friendly. Make a batch on Sunday, freeze half, and pull them out throughout the week for breakfast and after-school snacks.
- My spice blend, not a jar. I make my own spice blend from scratch, which beats store-bought every time. You can still use pumpkin pie spice if that is what you have.
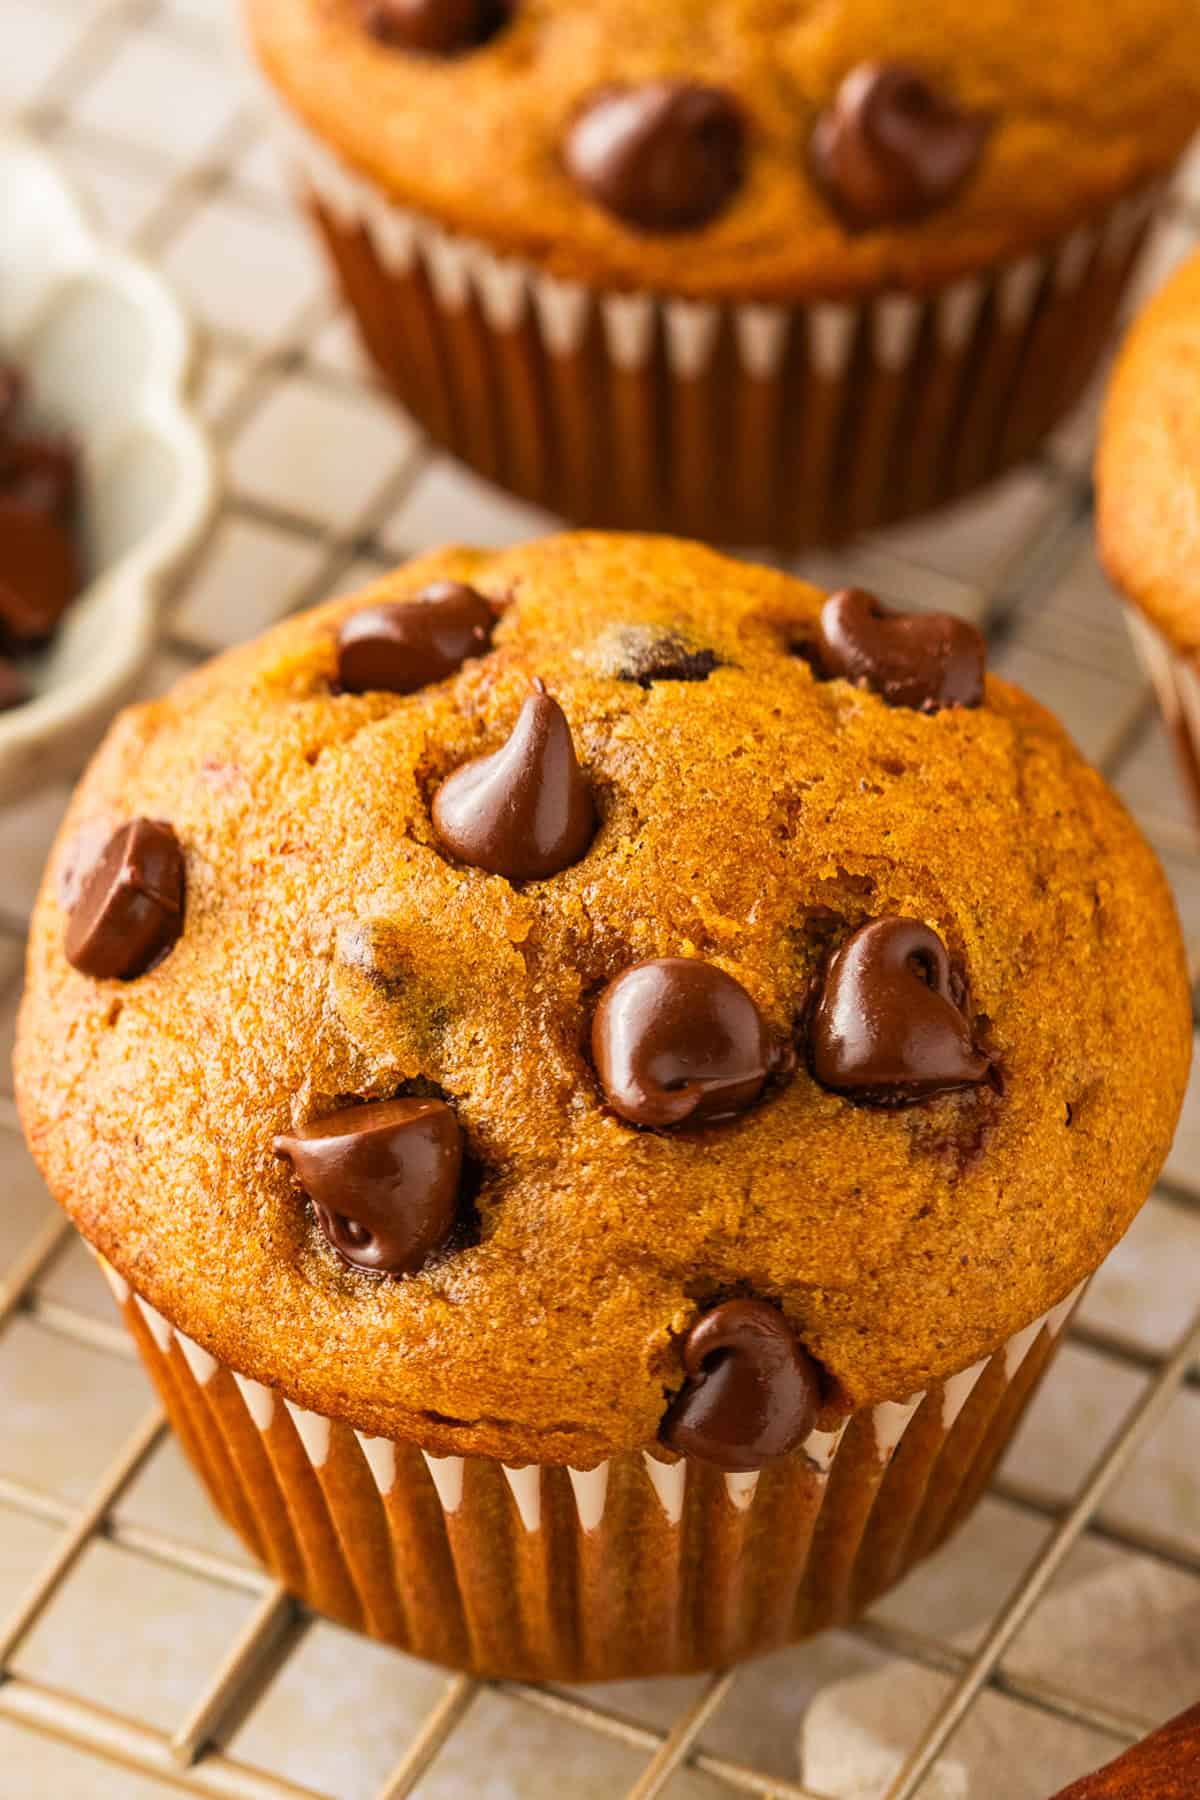
- Pretty Presentation. I sprinkle extra chocolate chips on top before baking. They stay glossy and visible, so the muffins look bakery-made with almost no effort. If you want a cream cheese center instead, my Pumpkin Cream Cheese Muffins are the Starbucks copycat and just as tall.
Ingredients and Substitutions
Read my helpful tips below or jump right to the recipe card for complete instructions and ingredient amounts.
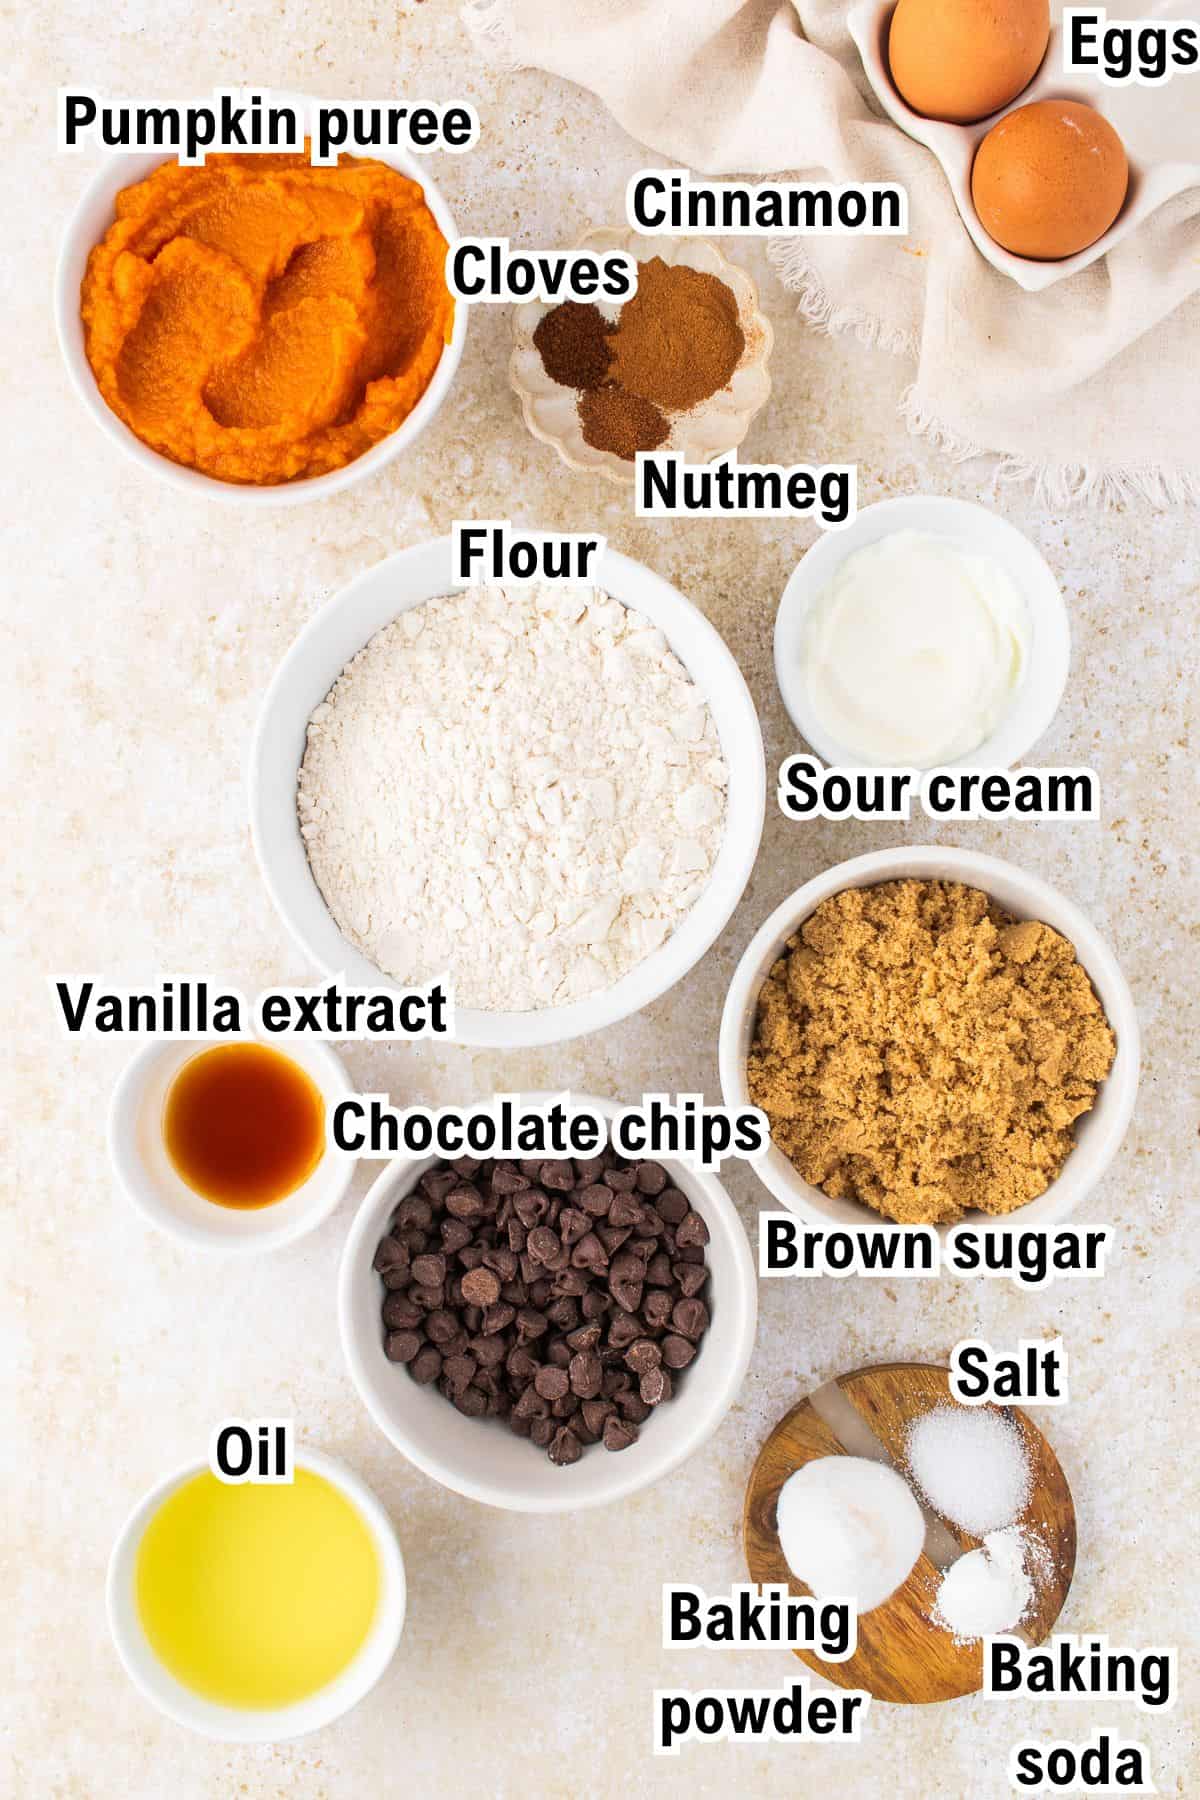
- Canned pumpkin puree: I used 1 cup of 100% canned pumpkin puree, not pumpkin pie filling. Pie filling is already sweetened and spiced, and it will throw off both the sugar and the texture. Well-drained butternut squash or sweet potato puree works as a substitute.
- Brown sugar: I use ¾ cup packed brown sugar instead of white, because the molasses adds moisture and a caramel flavor that suits pumpkin. Light or dark brown both work, with dark giving a deeper flavor. If you don't have either, use granulated sugar plus 1 tablespoon of molasses.
- Sour cream: I add ¼ cup of full-fat sour cream for tenderness. Plain Greek yogurt is a direct swap. Buttermilk works too, though the batter will be looser.
- Vegetable oil: I use ⅓ cup of neutral oil rather than butter, because oil stays liquid at room temperature and keeps the crumb soft for days. Canola, sunflower, or light olive oil all work. Melted and cooled butter is fine if you prefer the flavor, but expect a slightly firmer muffin by day two.
- Eggs: I use 2 large eggs at room temperature so they blend smoothly into the pumpkin mixture.
- All-purpose flour: I use 1 ¾ cups, spooned into the cup and leveled with a knife. Scooping straight from the bag packs in far too much flour and gives you dry, dense muffins. A 1:1 gluten-free baking blend works well here.
- Cinnamon, nutmeg, and cloves: I mix my own blend because I like it cinnamon-forward. You can substitute 1 ½ to 2 teaspoons of pumpkin pie spice for all three. A pinch of ground ginger is a nice addition if you have it.
- Semi-sweet chocolate chips: I fold in ¾ cup and scatter more on top before baking. Dark chocolate chips or chopped chocolate both work beautifully. Mini chips distribute more evenly if you want chocolate in every single bite.
- Other supporting ingredients: You will also need vanilla extract, baking soda, baking powder, and salt.
Expert Tips
- Measure the flour correctly. Spoon it into the measuring cup and level it off. This is the number one reason muffins turn out dry, and it's an easy fix.
- Do not open the oven when the temperature drops. You start at 400°F (200°C), then turn the dial down to 350°F (175°C) without opening the door. A short blast of high heat at the start pushes the tops up fast, then a lower temperature finishes them gently so the centers stay tender. This method gives you those high, rounded bakery-style tops.
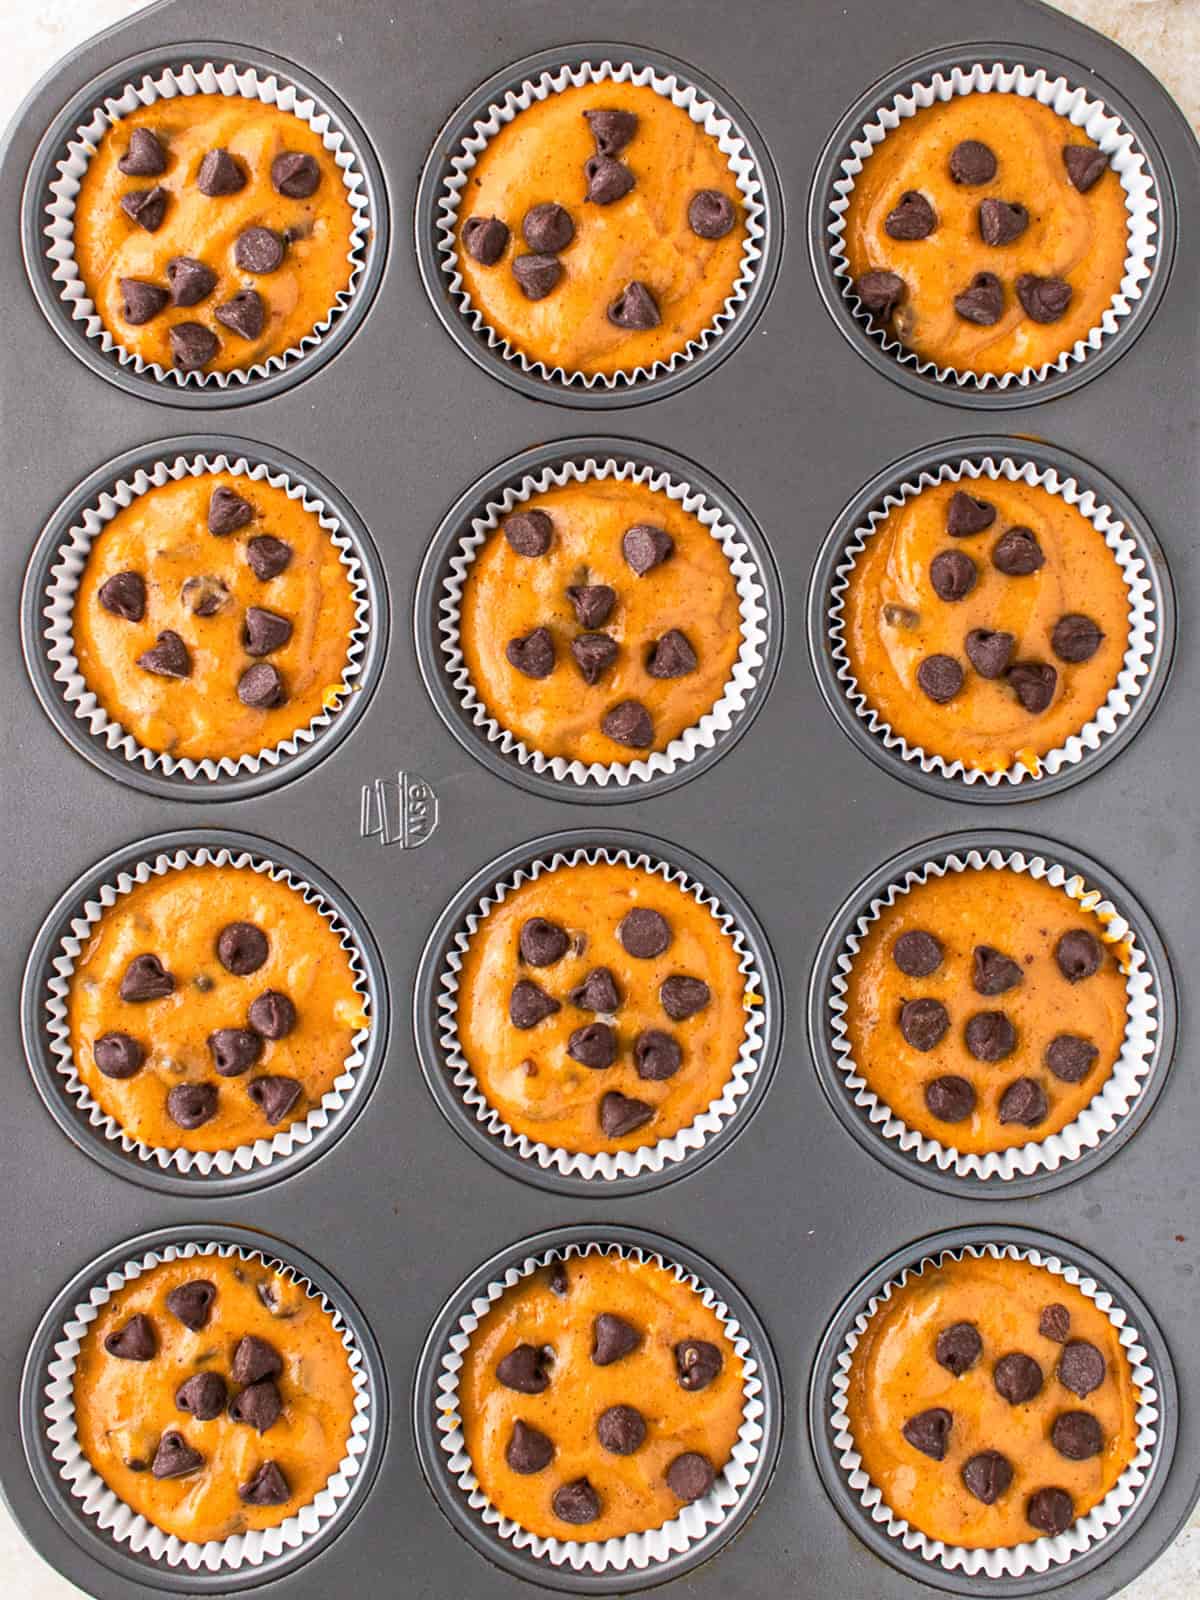
- Fill the liners nearly to the top. Most muffin recipes tell you two-thirds full. Not this one. Filling almost to the rim is what gives you a real bakery-style crown instead of a flat disc.
- Stop mixing early. A few streaks of flour left in the bowl are fine, because folding in the chocolate chips will finish the job. Overmixed batter makes tough, tunneled muffins.
- Toss the chips in a teaspoon of flour first if yours tend to sink. It helps them stay suspended in the batter.
- Press a few chips onto the tops before baking. The ones folded into the batter sink slightly, so the surface chips are what make them look good coming out of the oven.
- Use the center rack. Rotate only in the last few minutes, and only if your oven has hot spots.
- Trust the toothpick, not the clock. Ovens vary. Start checking at 13 minutes after the temperature drop.
- Test in the pumpkin, not the chocolate. A toothpick that hits a melted chip will look wet no matter how done the muffin is.
- Let them rest 5 minutes in the pan. The crumb is still setting. Moving them too early can tear the bottoms.
Mix-In and Variation Ideas
These muffins take well to additions. Keep the total add-ins around 1 cup so the batter can still rise properly.
- Nuts: Chopped pecans or walnuts, toasted first for 5 minutes. Half chips, half nuts is my favorite combination.
- Cinnamon sugar top: Sprinkle the tops with a mix of 2 tablespoons granulated sugar and ½ teaspoon cinnamon before baking for a crackly finish.
- Streusel: Rub together 3 tablespoons flour, 3 tablespoons brown sugar, and 2 tablespoons cold butter, then crumble it over the tops.
- Dried fruit: Dried cranberries or chopped dates in place of half the chocolate.
- White chocolate: Swap half the semi-sweet chips for white chocolate for a sweeter, prettier contrast.
- Cream cheese swirl: Beat 4 oz cream cheese with 2 tablespoons sugar and swirl a spoonful into each muffin.

Pumpkin Chocolate Chip Muffins
Ingredients
- 1 ¾ cups all-purpose flour
- 1 teaspoon baking soda
- ½ teaspoon baking powder
- ½ teaspoon salt
- 1 teaspoon ground cinnamon
- ¼ teaspoon nutmeg
- ¼ teaspoon ground cloves
- 1 cup pumpkin puree canned
- ⅓ cup vegetable oil
- ¼ cup sour cream
- ¾ cup brown sugar packed
- 2 large eggs
- 2 teaspoons vanilla extract
- ¾ cup semi-sweet chocolate chips plus extra for topping
Instructions
- Preheat the oven to 400°F (200°C). Line a 12-count muffin pan with paper liners and set aside.
- In a medium bowl, whisk together the flour, baking soda, baking powder, salt, cinnamon, nutmeg, and cloves. Set aside.
- In a separate large mixing bowl, whisk together the pumpkin puree, oil, sour cream, brown sugar, eggs, and vanilla extract until smooth.
- Add the dry ingredients to the wet mixture and stir just until combined. Do not overmix. Fold in the chocolate chips.
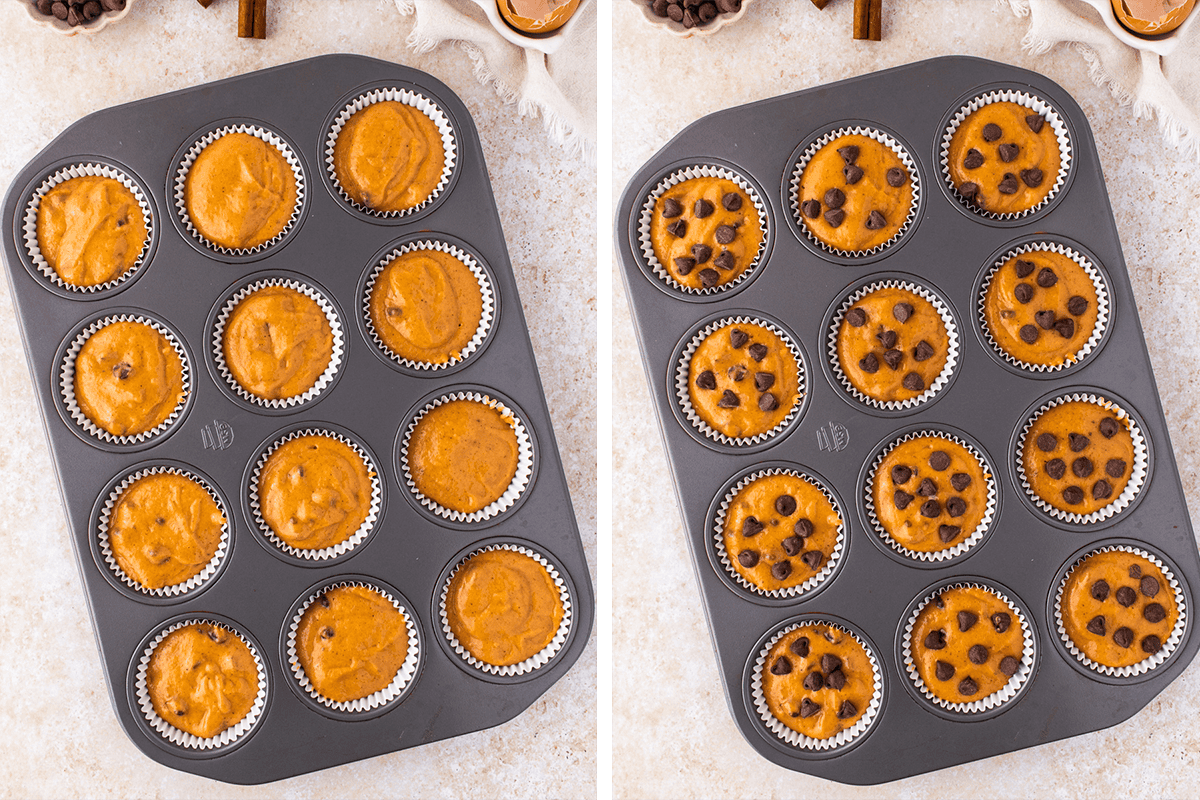
- Divide the batter evenly between the muffin liners, filling each nearly to the top. Sprinkle a few extra chocolate chips on each muffin for a pretty top.
- Bake at 400°F (200°C) for 5 minutes, then reduce the oven temperature to 350°F (175°C) without opening the oven door. Bake for another 13 to 17 minutes, or until a toothpick inserted into the center comes out clean.
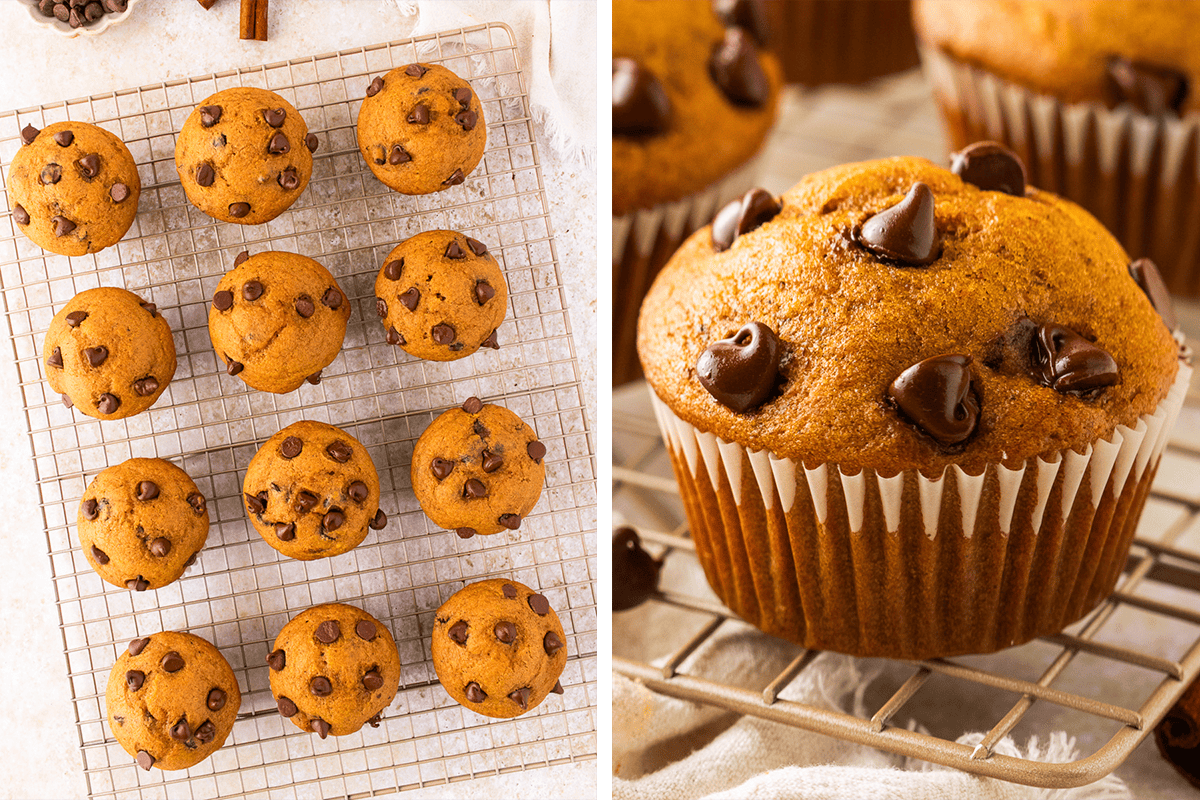
- Cool the muffins in the pan for 5 minutes, then transfer them to a wire rack.
- Step-by-step photos: I have detailed step-by-step photos below this recipe card, so scroll down.
Notes
- Pumpkin puree, not pie filling: Look for cans labeled 100% pure pumpkin. Pie filling is already sweetened and spiced.
- Sour cream substitute: Full-fat plain Greek yogurt, cup for cup.
- Spice substitute: Use 1 ½ teaspoons pumpkin pie spice in place of the cinnamon, nutmeg, and cloves.
- Measure flour correctly: Spoon it into the cup and level it off. Packed flour is the number one cause of dry muffins.
- Don't overmix: Gently fold the batter just until you no longer see dry streaks of flour to keep the muffins tender.
- Fill nearly to the top: This is what gives you the tall crown.
- Top with chocolate chips: A few extra on top before baking gives them a prettier, more put-together look.
- Start at a high temperature: Beginning at 400°F helps the muffins rise quickly to create a domed top. Lowering the temperature partway through keeps them from overbaking.
- Don't open the oven door when you lower the temperature. The drop in heat is what sets the domes, and cool air will deflate them.
- Check early: Start testing at 13 minutes after the temperature drop. Overbaked pumpkin muffins lose their moisture quickly.
Variations
- Streusel top: Rub together 3 tablespoons flour, 3 tablespoons brown sugar, 2 tablespoons cold butter, and ½ teaspoon cinnamon, then sprinkle over the batter before baking.
- Nutty: Fold in ½ cup chopped toasted pecans or walnuts along with the chocolate chips.
- Extra spiced: Substitute 1 ½ to 2 teaspoons pumpkin pie spice for the cinnamon, nutmeg, and cloves.
- Mini muffins: Bake in a 24-count mini pan at a steady 350°F (175°C) for 11 to 13 minutes.
Storage and Freezing
- Room temperature: Store in an airtight container for up to 3 days. I put a clean paper towel in the bottom to absorb condensation.
- Refrigerator: Up to 5 days in an airtight container.
- Freezer: Wrap each muffin individually and freeze for up to 2 months.
- Reheat: Thaw at room temperature, or microwave for 20 to 30 seconds to soften the chocolate again.
Supplies you will need:
- 12-count muffin pan
- Paper muffin liners
- Medium mixing bowl
- Large mixing bowl
- Whisk and a rubber spatula
- Wire cooling rack
Nutrition
Nutrition Disclaimer:
The nutritional information on this website is only an estimate and is provided for convenience and as a courtesy only. The accuracy of the nutritional information for any recipe on this site is not guaranteed. It should not be used as a substitute for a professional nutritionist's advice.
How to Make Pumpkin Chocolate Chip Muffins (Step-by-Step Photos)
This is a quick recipe overview with helpful photos. Scroll up for the complete instructions and ingredient amounts in the recipe card above.
- Prep: Heat the oven to 400°F (200°C) and line a 12-count muffin pan with paper liners.
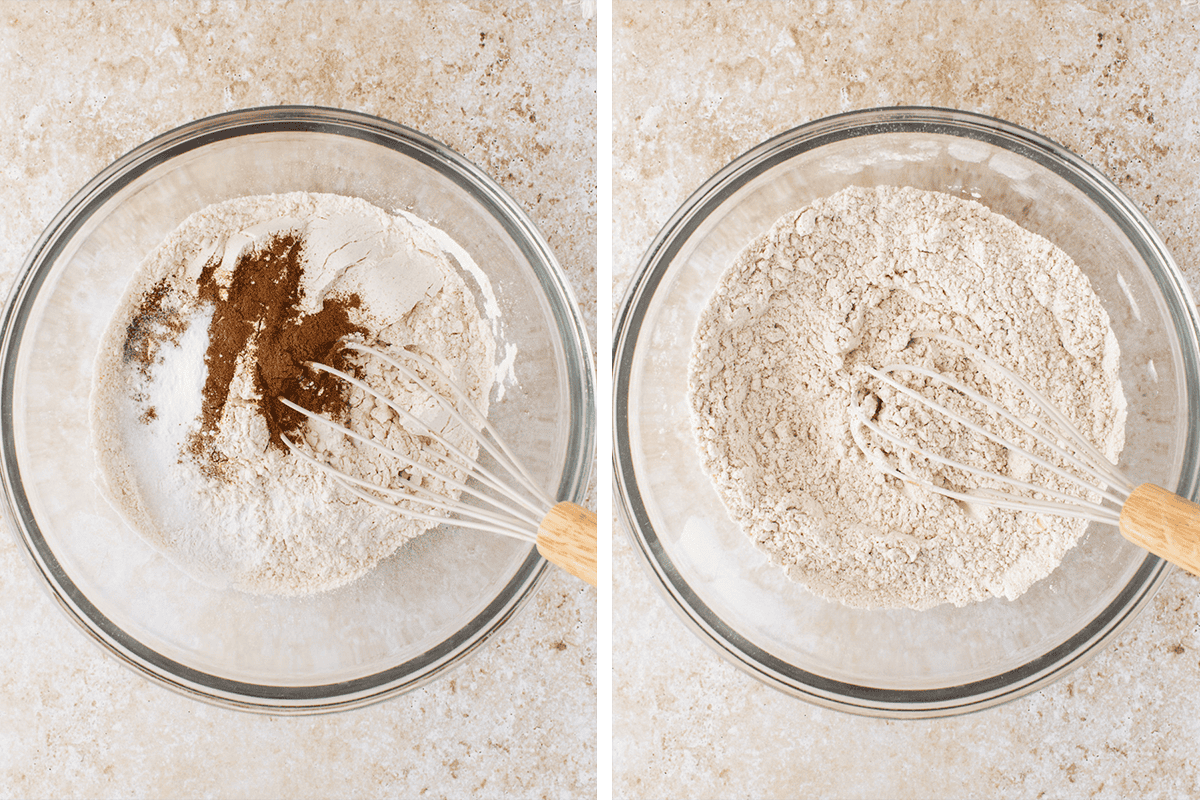
- Dry ingredients: Whisk the flour, baking soda, baking powder, salt, cinnamon, nutmeg, and cloves in a medium bowl.
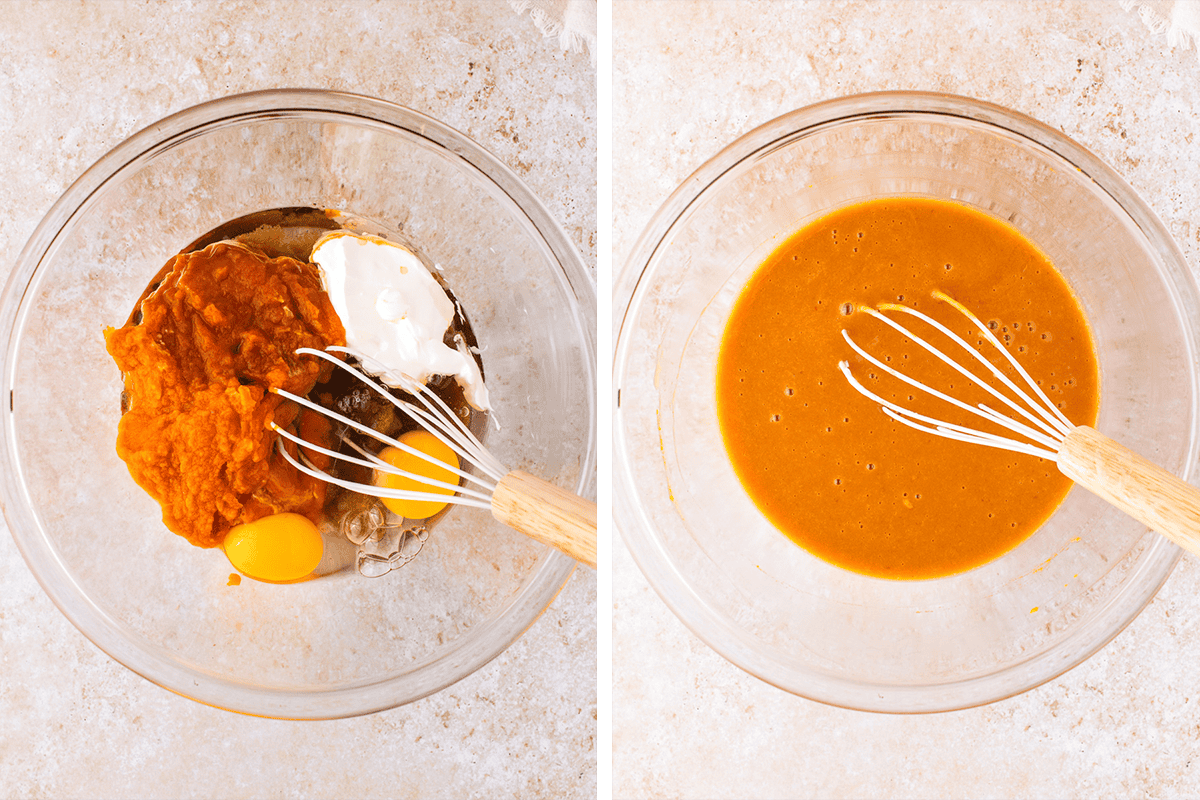
- Wet ingredients: In a large bowl, whisk the pumpkin, oil, sour cream, brown sugar, eggs, and vanilla until smooth.
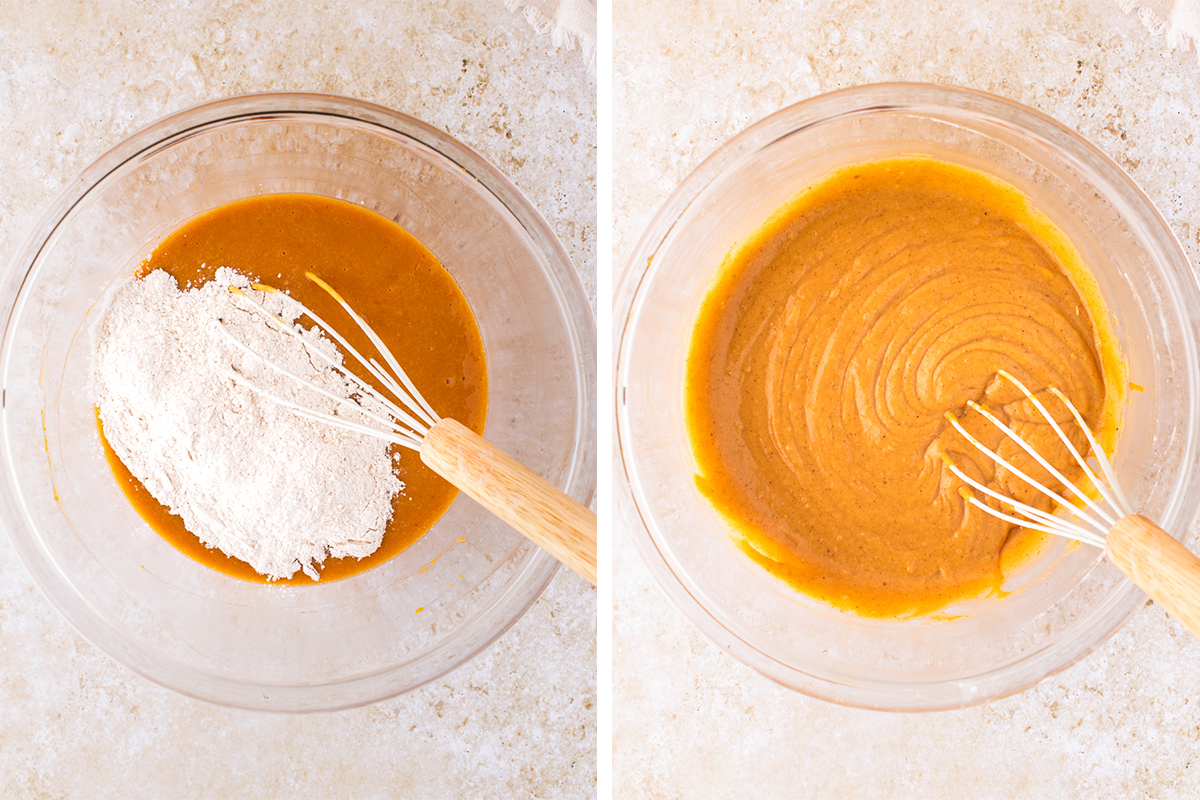
- Combine: Stir the dry mixture into the wet just until the flour streaks disappear, then fold in the chocolate chips. The batter should look thick.
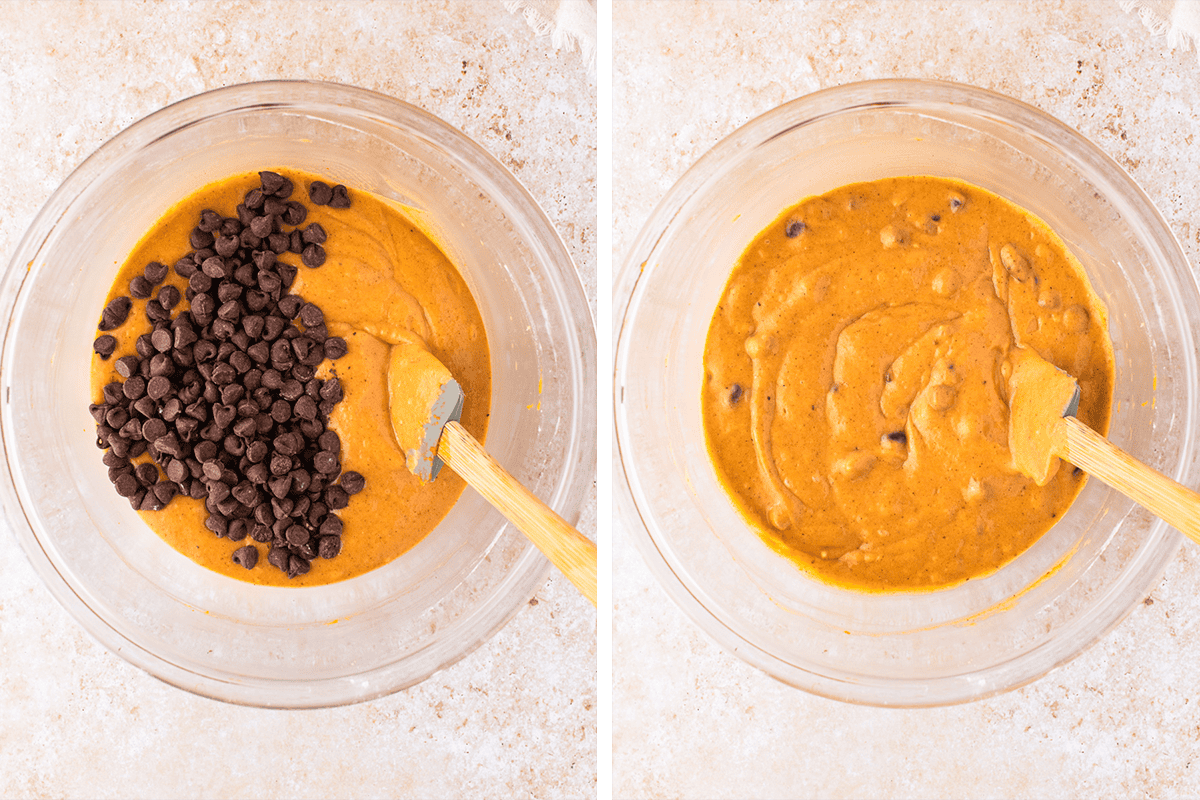
- Fill the liners: Divide the batter evenly and fill each liner nearly to the top, then scatter a few extra chips over each one.
- Bake in two stages: Bake 5 minutes at 400°F (200°C), then reduce the heat to 350°F (175°C) without opening the door and bake 13 to 17 minutes more, until a toothpick comes out clean.
- Cool: Let the muffins rest in the pan for 5 minutes, then move them to a wire rack.
FAQs
- Can I use pumpkin pie filling instead of puree? I do not recommend it. Pie filling is already sweetened and spiced, so your muffins will come out overly sweet and softer than they should be. Look for a can labeled 100% pumpkin.
- Can I use fresh pumpkin instead of canned? You can, but drain it first. Spread the purée on a plate lined with paper towels, press gently, and repeat until very little liquid transfers. Homemade purée is usually much wetter than canned, and extra moisture makes the muffins gummy.
- Can I make these into mini muffins or a loaf? Yes. For mini muffins, bake at 350°F (175°C) for 11 to 14 minutes and skip the high-heat start. For a loaf, pour the batter into a greased 9x5-inch pan and bake at 350°F (175°C) for 50 to 60 minutes, tenting with foil if the top browns too fast.
- What can I use instead of sour cream? Full-fat plain Greek yogurt is the best swap, cup for cup. Buttermilk also works, though the batter will be looser.
- Why did my muffins turn out dense? The two usual culprits are too much flour and overmixing. Spoon and level your flour, and stop stirring as soon as the flour streaks are gone.
- Can I make these dairy-free? Yes. Use plain dairy-free yogurt instead of sour cream and dairy-free chocolate chips.
- What do I do with the rest of the can? A 15-ounce can holds a little under 2 cups, so you will have about ¾ cup left. Make my Pumpkin Banana Bread with Apples, or go savory with Creamy Pumpkin Gnocchi or Pumpkin Ravioli with Brown Butter Sauce.
I’m so excited to try these! I wonder if there is a way to doctor this up to be protein muffins without jeopardizing the integrity of the goodness!?