Black Bean and Butternut Squash Casserole - meatless and gluten-free dinner recipe! This Southwestern-style enchilada casserole is made with lots of vegetables and corn tortillas.
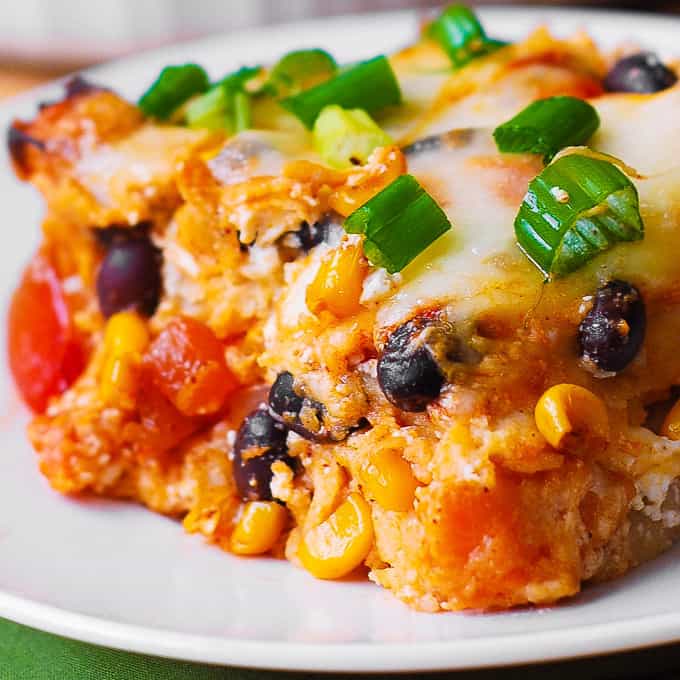
I love making recipes with butternut squash in a casserole dish, such as everyone's favorite butternut squash and spinach lasagna. Butternut squash is a great vegetable with a rich flavor which works great in meatless recipes! Take a look at beautiful butternut squash tortellini.
Butternut Squash Casserole - meatless and gluten-free recipe
- The vegetables are roasted in spices (cumin and chili powder). That adds lots of Southwestern flavor!
- Other ingredients include green and red bell peppers, corn, salsa, enchilada sauce, sour cream, Mozzarella cheese, and corn tortillas.
How to make butternut squash casserole gluten free
- This recipe is gluten-free. Use corn tortillas, and all other ingredients are also naturally gluten-free.
- Use gluten-free enchilada sauce. Keep in mind that some store-bought enchilada sauces can have gluten ingredients. So look carefully at the label. You can also make your own gluten-free enchilada sauce or skip it in this recipe.
How to store butternut squash casserole
- Store butternut squash casserole refrigerated and covered air-tight for up to 5 days.
- This black bean and butternut squash enchilada casserole is amazing when hot right out of the oven. It tastes even better the next day, or 3-4 days later! I just finished the last slice of this casserole 5 days later, and I can tell you that it was better than the 1st day! I guess all the flavors really blend while sitting in the refrigerator for days. 🙂
Other butternut squash recipes
- Roasted Butternut Squash, Brussels Sprouts, Pecans, Cranberries
- Butternut Squash and Spinach Salad with Pecans, Cranberries, Pomegranate Seeds
- Butternut Squash Chili
How to make black bean and butternut squash casserole:
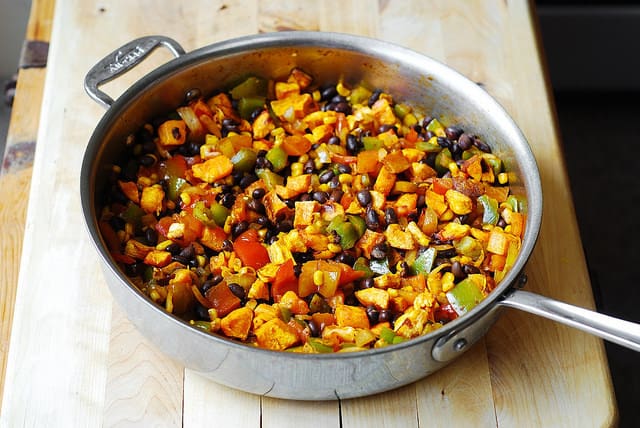
1) Heat 1 tablespoon olive oil in a large skillet on medium-high heat.
2) Add chopped onion, chopped green bell pepper and chopped red bell pepper, and seasonings.
3) Add corn to the skillet and roast the vegetables in olive oil on high heat until charred a bit.
4) Add rinsed black beans.
5) Add roasted butternut squash.
6) Mix all vegetables, add more spices and salt, if needed.
7) I used a casserole dish 11 inches x 8.5 inches x 3 inches deep. Add 1 cup of salsa to the bottom of the 3-inch deep casserole dish and spread to coat the bottom evenly.
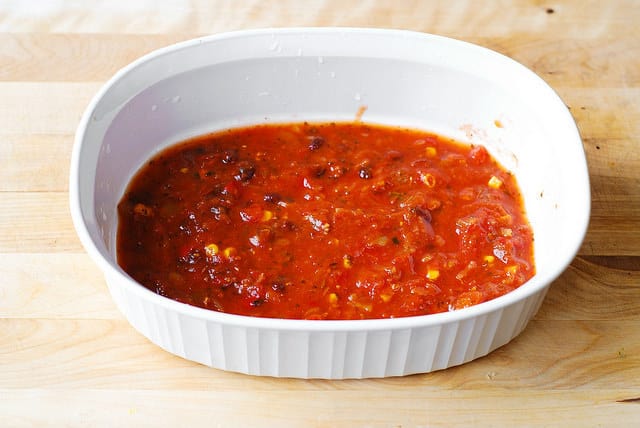
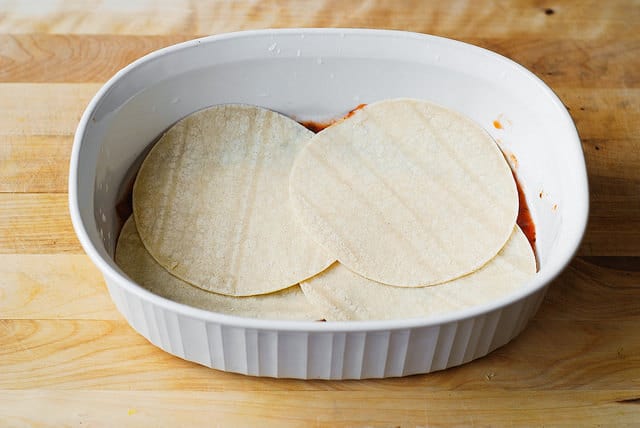
8) Start layers. Layer 1: Place 4 corn tortillas over the salsa, overlapping to cover the bottom of the casserole dish.
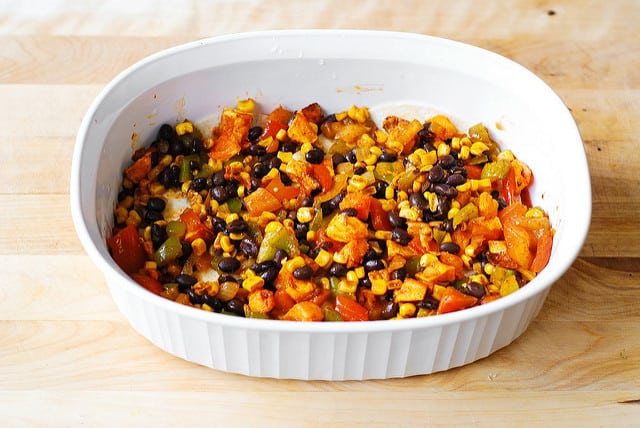
9) Spread ⅓ of the vegetable mixture over the corn tortillas.
10) Top with ½ cup sour cream, dropping it in small dollops all over. Then spread it carefully over the veggies.
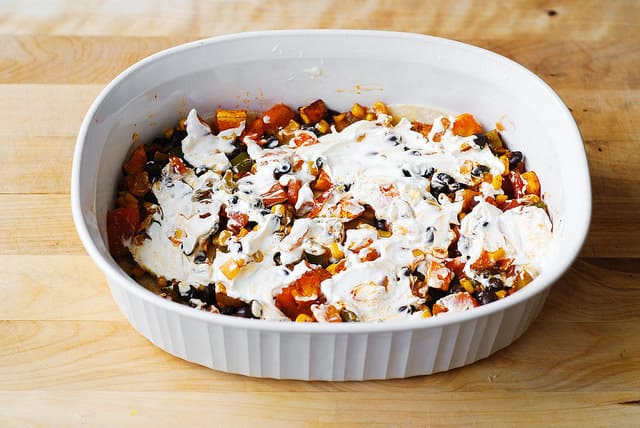
11) Pour ½ cup enchilada sauce evenly all over, spreading sour cream evenly all over.
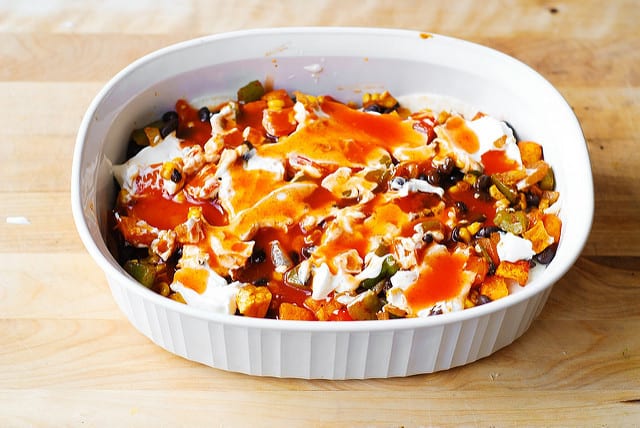
12) Sprinkle with ½ cup Mozzarella cheese.
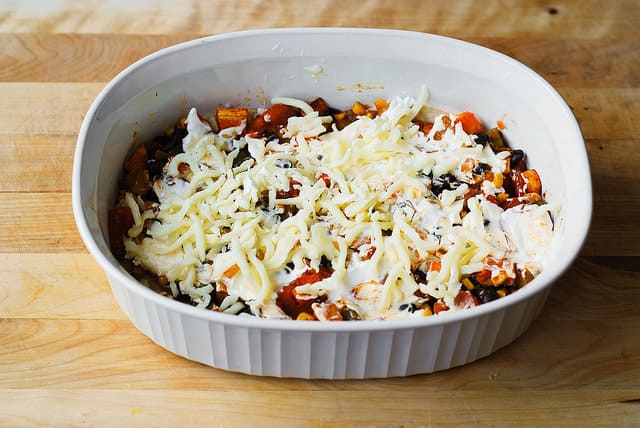
13) Repeat all layers 2 more times. Sprinkle the final layer generously with cheese. Use at least ½ and ¼ cups of Mozzarella cheese.
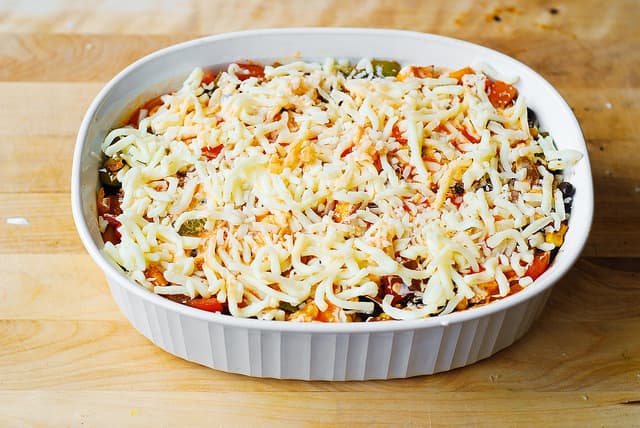
14) Cover with foil.
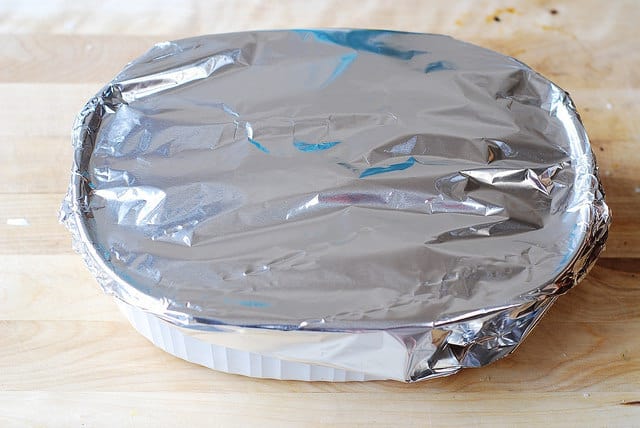
15) Bake at 375 F in the preheated oven for 25 minutes covered. Then remove foil. Bake for 10 more minutes uncovered.
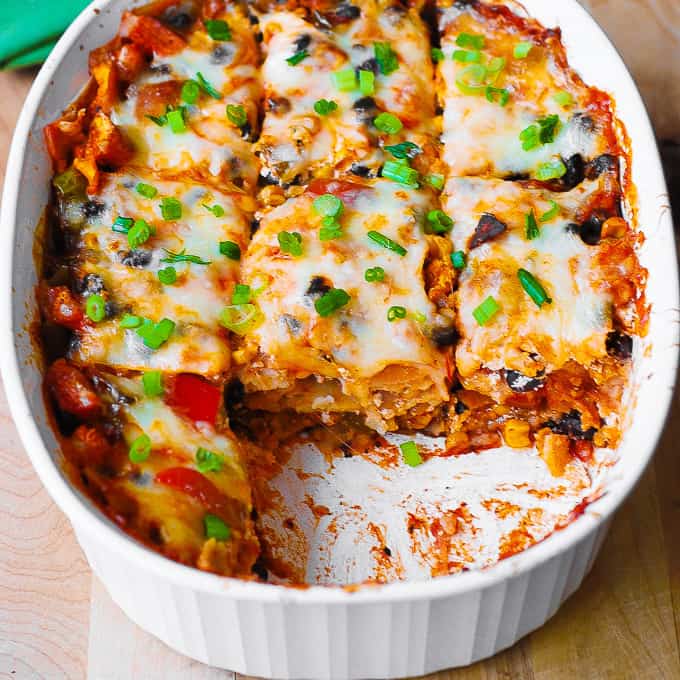
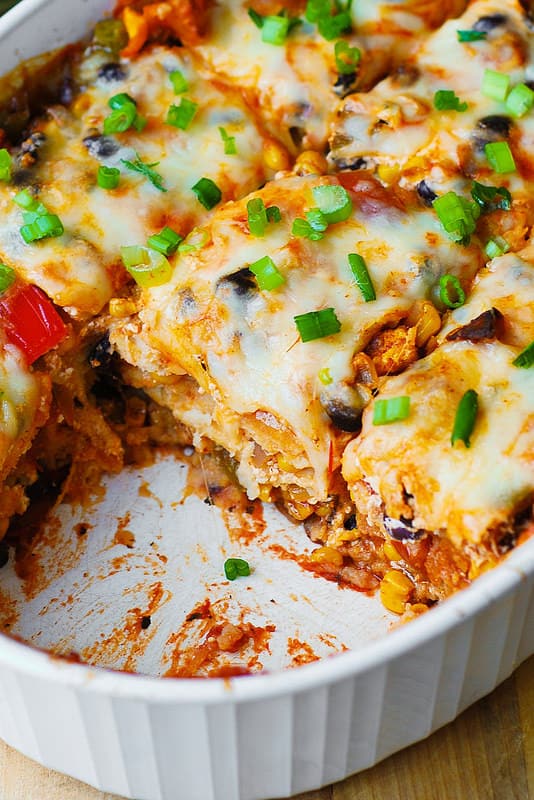
This is what the black bean and butternut squash enchilada casserole looks like right out of the oven:
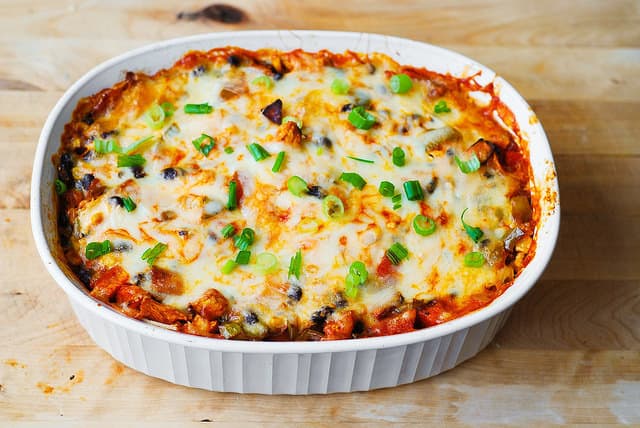
Let it cool a little bit, then slice it right in the casserole pan.
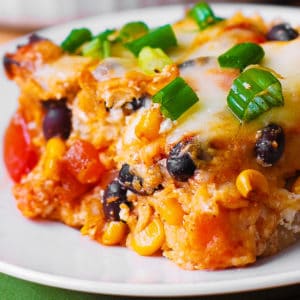
Black Bean and Butternut Squash Casserole
Ingredients
Roasted Butternut Squash
Vegetable mixture:
- ½ onion , chopped
- 1 tablespoon olive oil
- 1 green bell pepper , chopped into cubes
- 1 red bell pepper , chopped into cubes
- 1 teaspoon cumin or more
- 1 teaspoon chili powder or more
- 8 oz corn (from the can, rinsed and drained)
- 15 oz black beans (from the can, rinsed and drained)
- ¼ teaspoon salt (add more, to taste)
Other ingredients for assembling the casserole:
- 1 cup salsa (to go on the bottom of the casserole dish)
- 12 corn tortillas , 6 inch diameter each (4 corn tortillas per each of 3 layers)
- 1 ½ cups sour cream (½ cup sour cream for each of 3 layers)
- 1 cup enchilada sauce (if you're gluten free, make sure to buy the sauce without gluten!)
- 1 ¾ cups Mozzarella cheese , shredded
Instructions
How to roast butternut squash:
- Preheat the oven to 375 F. Line the baking sheet with aluminum foil and grease with 1 tablespoon of olive oil.
- Peel the squash and slice it into ¾ inch cubes. You will only need about ½ of the medium size squash.
- Toss the squash cubes in a large bowl with 2 tablespoons olive oil and generously sprinkle with salt.
- Place cubed butternut squash on the greased baking sheet and roast for about 30 minutes, until soft.
- Flip the squash cubes over midway through baking. Let it cool slightly.
How to roast vegetables on the stove top:
- Heat 1 tablespoon of olive oil in a large skillet on medium-high heat.
- Add chopped onion, chopped green bell pepper, and chopped red bell pepper, 1 teaspoon cumin, and 1 teaspoon chili powder.
- Roast the vegetables in olive oil and spices on high-medium heat for about 1 minute, until charred just a bit.
- Add corn. Add rinsed and drained black beans. Add roasted butternut squash.
- Season with ¼ teaspoon + ⅛ teaspoon salt and taste. Add more salt if needed.
- Add more chili powder or cumin, than indicated in the recipe, if needed.
How to assemble the butternut squash casserole:
- I used a casserole dish 11 inches long x 8.5 inches wide x 3 inches deep.
- Add 1 cup of salsa to the bottom of this 3-inch deep casserole dish and spread to coat the bottom evenly.
- Layer 1. Top with 4 tortillas, overlapping to cover the bottom of the casserole dish. Spread ⅓ of the vegetable mixture over the tortillas. Top with ½ cup sour cream, dropping it in small dollops all over, then carefully spread it over the veggies. Pour ⅓ cup enchilada sauce evenly all over, at the same time spreading sour cream evenly all over. Sprinkle with ½ cup Mozzarella cheese.
- Repeat the layer described above 2 more times. Total you will have 3 layers. On the final layer, add extra cheese: Sprinkle with ½ and ¼ cups Mozzarella cheese.
- Cover with foil.
- Bake at 375 F for 25 minutes covered. Then remove foil. Bake for 10 more minutes uncovered.
Video
Nutrition
Nutrition Disclaimer:
The nutritional information on this website is only an estimate and is provided for convenience and as a courtesy only. The accuracy of the nutritional information for any recipe on this site is not guaranteed. It should not be used as a substitute for a professional nutritionist’s advice.

I made this yesterday and it was a huge hit! No leftovers as everyone had seconds. I ended up adding a third layer of sour cream on the third layer and then put more tortillas on top covered with enchilada sauce. Baked covered for 20 minutes, uncovered and added cheese. Baked 20 more minutes. I was confused when you said to half the sour cream as there were 3 layers. It was absolutely delicious!!
Cathi, thank you so much for your rave review and 5-star rating! ❤️ So glad everyone enjoyed this dish! I hope you try some of my other recipes and like them as much as this one! 🙂 Happy Thanksgiving!
Hi,
I made this recipe yesterday and it was great! I decided to freeze the leftovers. How should it be reheated? Should it be thawed or cooked from frozen and at what temperature?
Thanks very much.
Rose, I am so glad you gave this recipe a try! 🙂
1) I would reheat this from frozen.
2) If you frozen the whole casserole (or half of it) in an oven-proof dish, place it in the oven, and only then turn the oven on (to 350 F) so that the oven-proof dish gently warms up as the oven warms up.
3) Once the oven temperature is 350 F, reheat for about 40 minutes to 1 hour (that doesn't include the time that it took for the oven to reach 350 F with the casserole dish in it). Total reheating time depends on the size of the leftovers, the type of the baking dish, and your oven.
4) You might have to add moisture to keep the casserole from drying out, for example, salsa, enchilada sauce, etc.
5) An internal temperature should be at least 165°F (74°C) before serving.
I made it last night . It was fantastic. Easy to prepare. Definitely a keeper . Thanks .
Katrin, I am so glad you gave this recipe a try and loved it! ❤️
I made this recipe for lunch with co-workers, it was fabulous, everyone loved it (there were no leftovers). I made it in a clay pot, it was beautiful and the flavor was wonderful. It's a shame it's not possible to send a photo.
I love Julia Album, I make a lot of recipes from here.
Sorry for my English, I follow you from Portugal.
Thanks 🙂
Maria, thank you for such a sweet and positive comment - it truly made my day so much better! ❤️
loved how this came out, thank you! I will be making again
Kathleen, I am glad you loved it! 🙂
Hi Great recipe. One thing to mention is that you say 1/2 cup enchilada sauce per layer at the top of the recipe but 1/3 cup enchilada sauce per layer at the bottom section of the recipe. Which is it? Thanks
Can I use wheat tortillas?
Renata, yes, you can. They will work great!
Can you double recipe and put one in the freezer?
Michelle, yes, you can easily double this. And, yes, this recipe freezes well.
Fabulous! Used zucchini as I forgot to get peppers! Also subbed Taco cheese instead of mozzarella .
Really tastty! Thanks!
Helen, I am so glad you tried this recipe and loved it! Love the zucchini in this casserole! 🙂
Can I make this a day ahead and bake it in the oven the next day?
Erika, yes, you can assemble this dish, cover it air-tight, refrigerate it, and bake it within the 2 days. Enjoy! 🙂